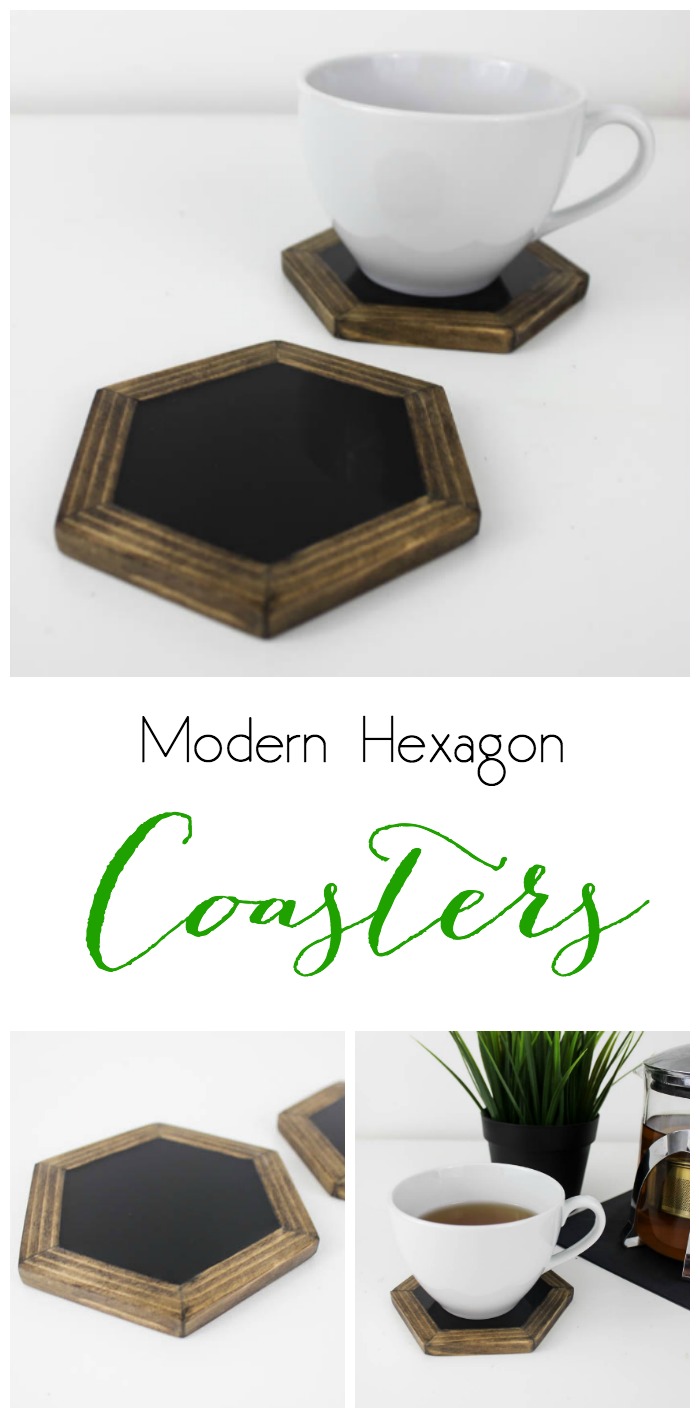
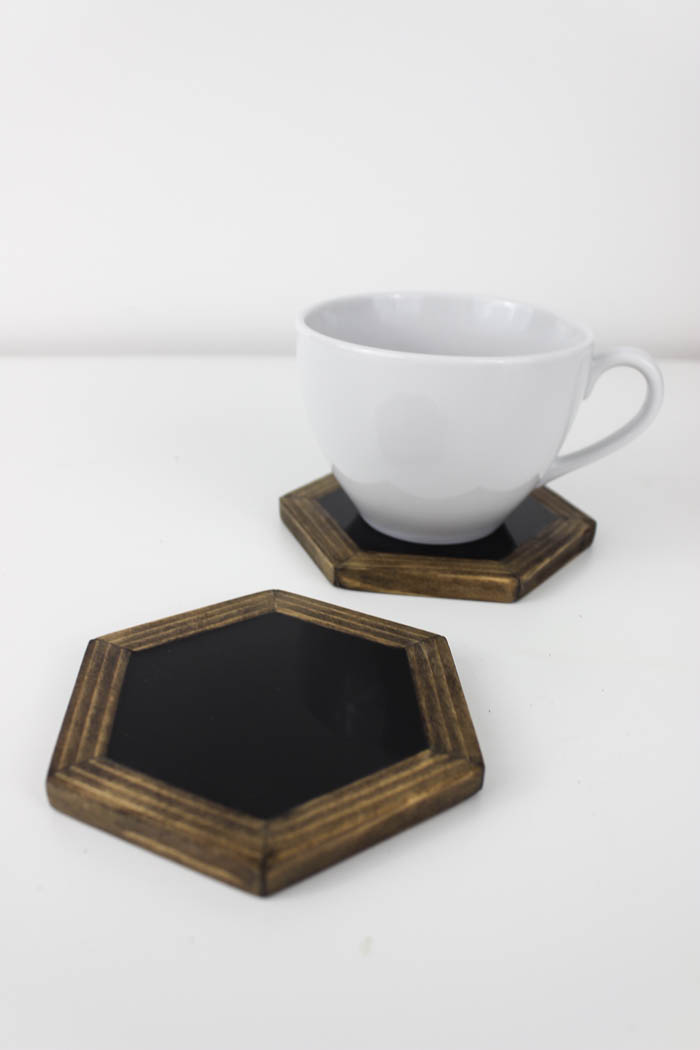
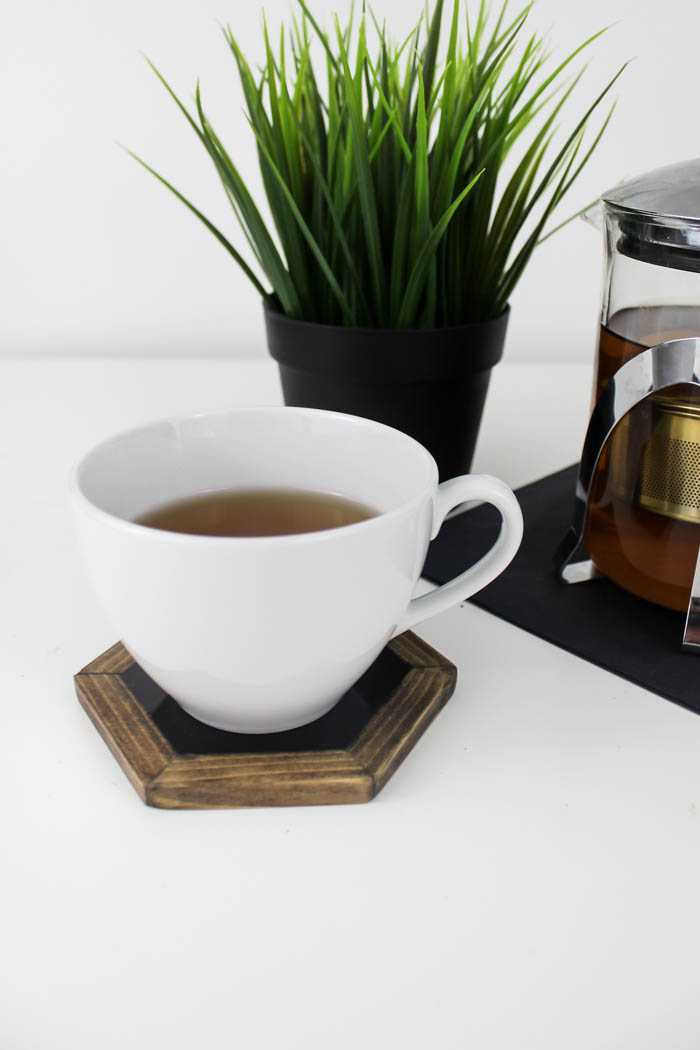
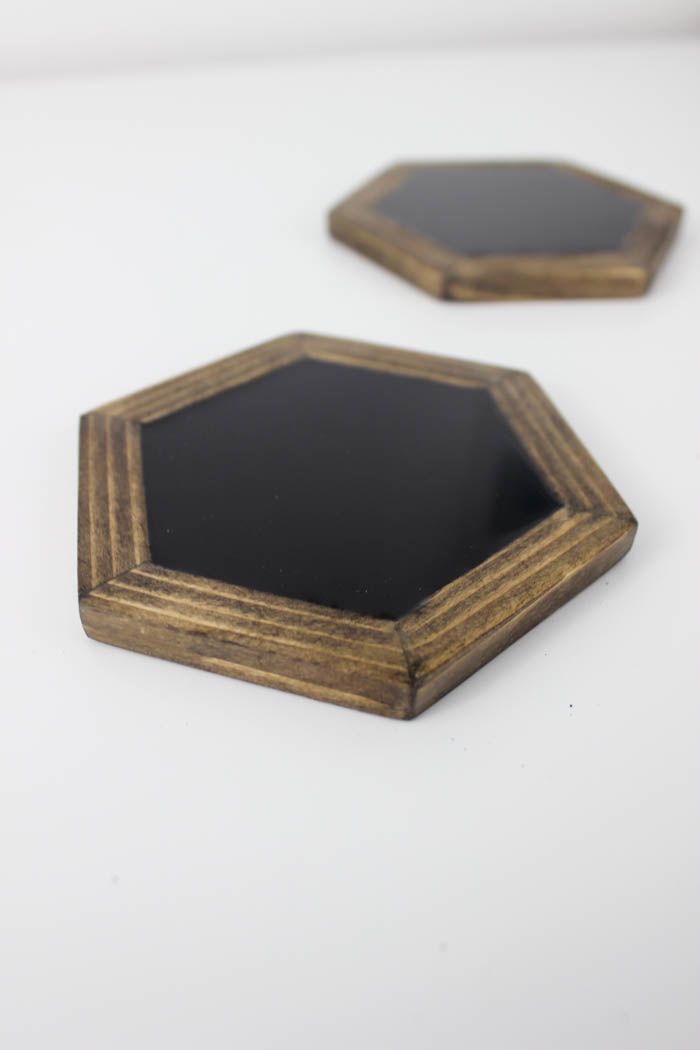
Hey everyone! This is Lindi, from Love Create Celebrate. I’m very excited to be over here on the Resin Crafts Blog sharing my first ever resin project! The shiny black against the natural wood really gives these coasters a unique look that will definitely draw the attention of your guests.
This project takes a little bit of woodworking know-how, but I provided some great, downloadable plans to make the project go quick and easy!
SUPPLIES:
EnviroTex Lite (resin)
Black acrylic paint
Wood stain (of your choice)
Wood varnish
Sandpaper
Wood glue
Large mixing cups
Popsicle sticks
5/8″ flush router bit
TOOLS:
Table saw
Miter saw
Sander
Router table
Measuring tape
Clamps
INSTRUCTIONS:
Start by downloading the free hexagon coaster plans HERE.
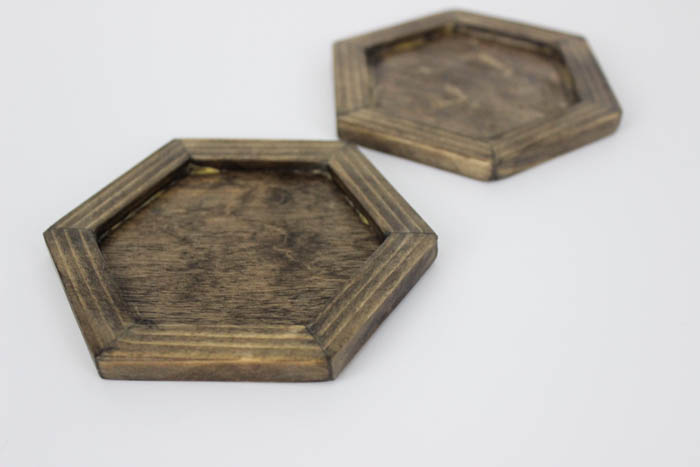
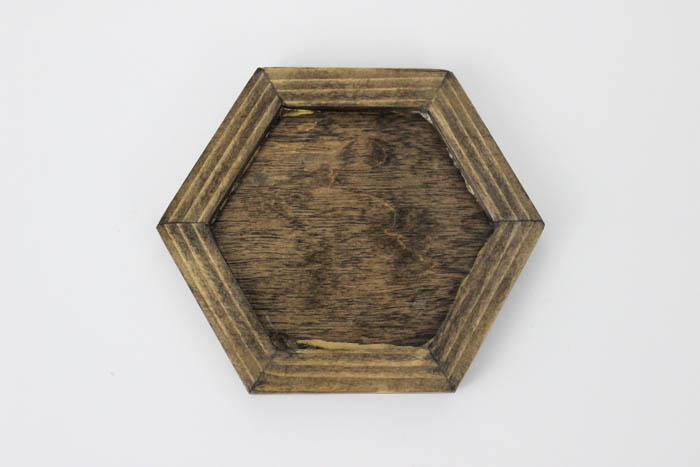
Once you’ve downloaded the plans, you need to make the wooden portion of the coaster. You just have to cut the edge molding, according to the attached plans, with your miter saw set at 30 degrees, and then glue it and clamp it to the wood.
The wood acts as a mold for the resin, which is why it’s important that it is sealed correctly. Once the glue is dry on your wood coasters, sand them gently, then stain them. When the stain is dry, apply a varnish to protect them.
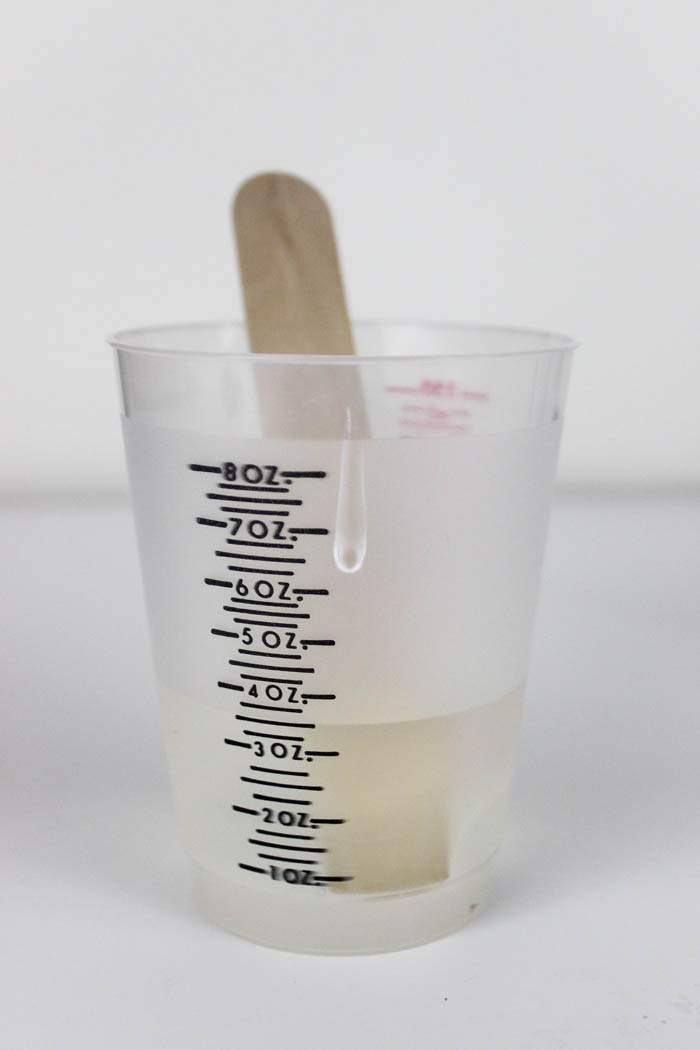
I used the EnviroTex Lite resin to fill in my coasters. I mixed 1 3/4 oz. of each part in the two-part resin (3.5 oz total), but only needed about 1/2 of that amount, so you could mix less if you wanted to.
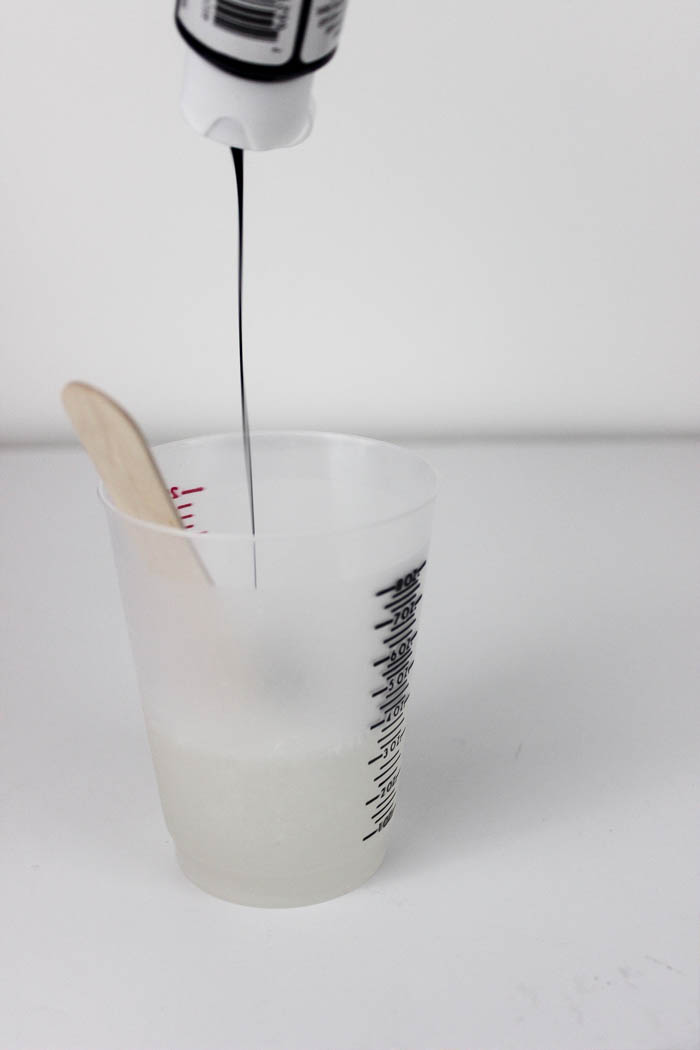
Once the resin was mixed, I added a few drops of black acrylic paint. Just until the resin was no longer transparent. Mix the paint in thoroughly.
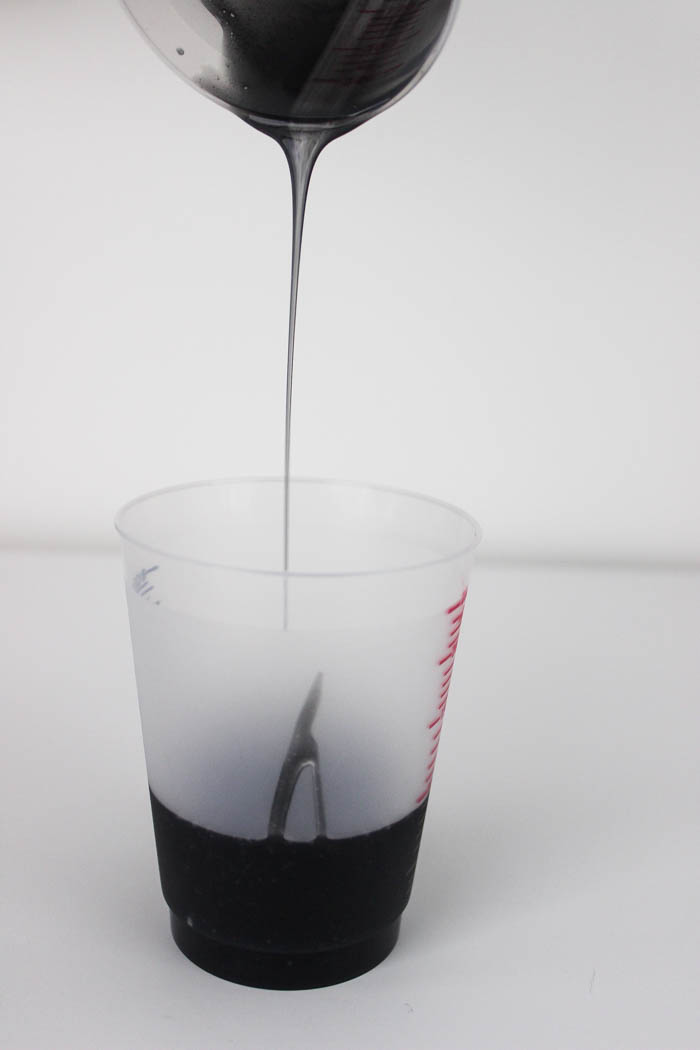
Then you want to add the entire mixture into another cup, making sure to scrape the bottom of the cup and all of the edges well.
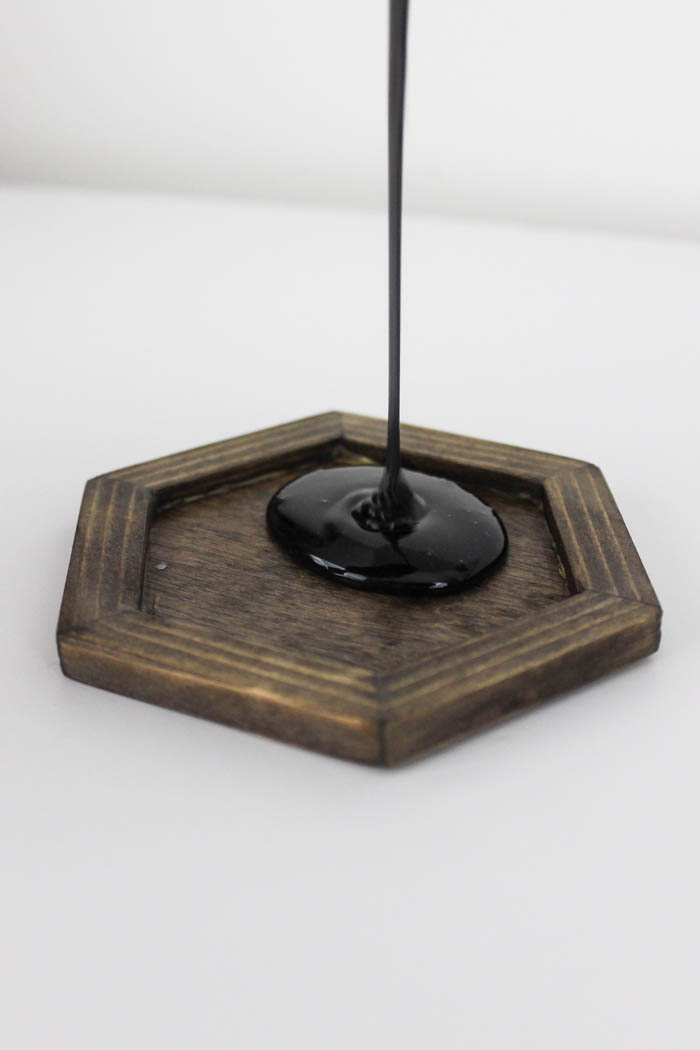
When the resin is mixed well, you can pour some into your wooden coasters. Pour slow and steady so that the resin does not overflow. It levels itself out, so you just need to watch and make sure that it comes up to the top of your hexagon molds – you want the entire top surface to be flat.
You can breathe (yes, I said that! lol) on top of the molds to release any air bubbles. The CO2 from our breath is what releases the bubbles before the piece cures.
Let it cure, according to the directions on the box. When it’s ready, you’ll be wanting to use these gorgeous hexagon coasters every day!
Hope you enjoyed the project. I’d love to hear your thoughts!
I’ll be back in a couple of weeks with another great project 🙂

Lindi is a DIY blogger at Love Create Celebrate that focuses on the home. She lives in Northern Canada where she became a self-taught crafter, decorator, builder, photographer – you name it! Her focus is helping her readers love, create, and celebrate their homes by sharing her favorite DIY furniture projects, DIY home décor projects, and home renovations.


This looks great, Lindi! I love the smoothness of the black resin paired with the natural wood grain.
Thanks ladies! I’m so happy with how they turned out!
I love these coasters, Lindi! I want to try these with a painted wood and white resin!
YES! That would look amazing!
Nice diy idea…. I have some coasters of glass and wood mix and i’m about to buy new coasters…but, after reading this blog… i know very well… how to make new coasters out of old one… thanks for the idea