Hi Resin Crafters, it’s Natalie from Doodlecraft sharing a fun resin magnet DIY with you today! Make resin magnets with EasyCast Clear Casting Epoxy as a stand alone craft or as a great way to use up leftover resin.
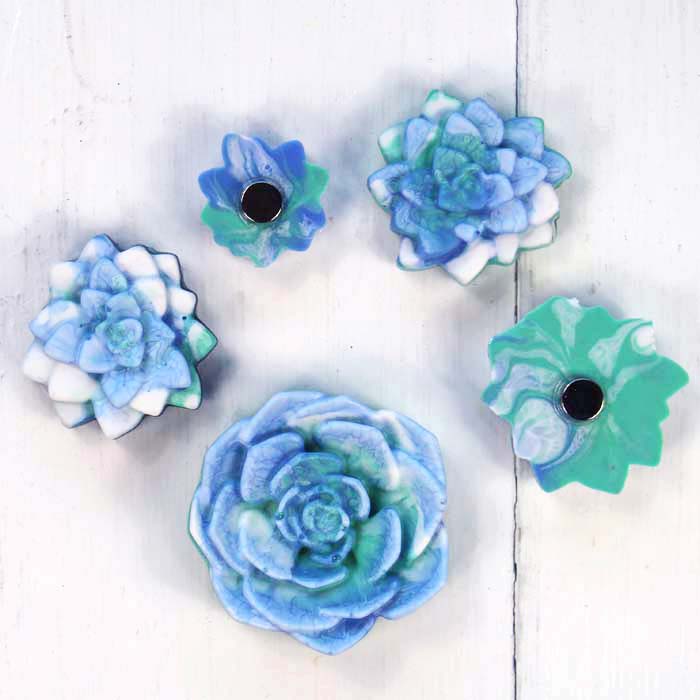
This fun craft is great to add some Spring sunshine to your fridge, filing cabinet or message board…and can be a great way to use the spare bits of resin from other projects.
Let’s get started!
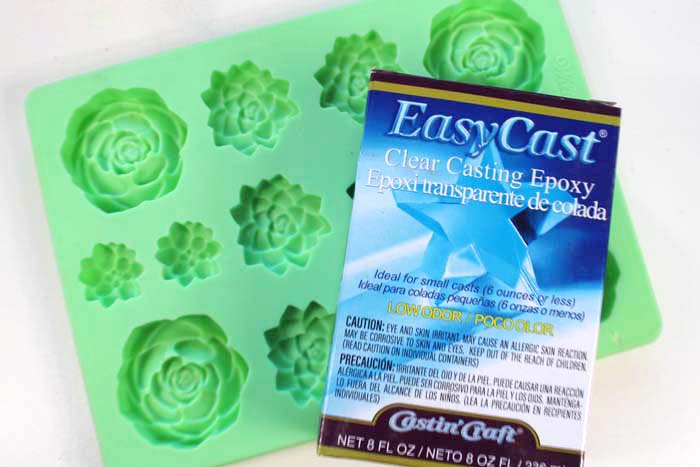
Supplies Needed for Resin Magnets:
Silicone Mold
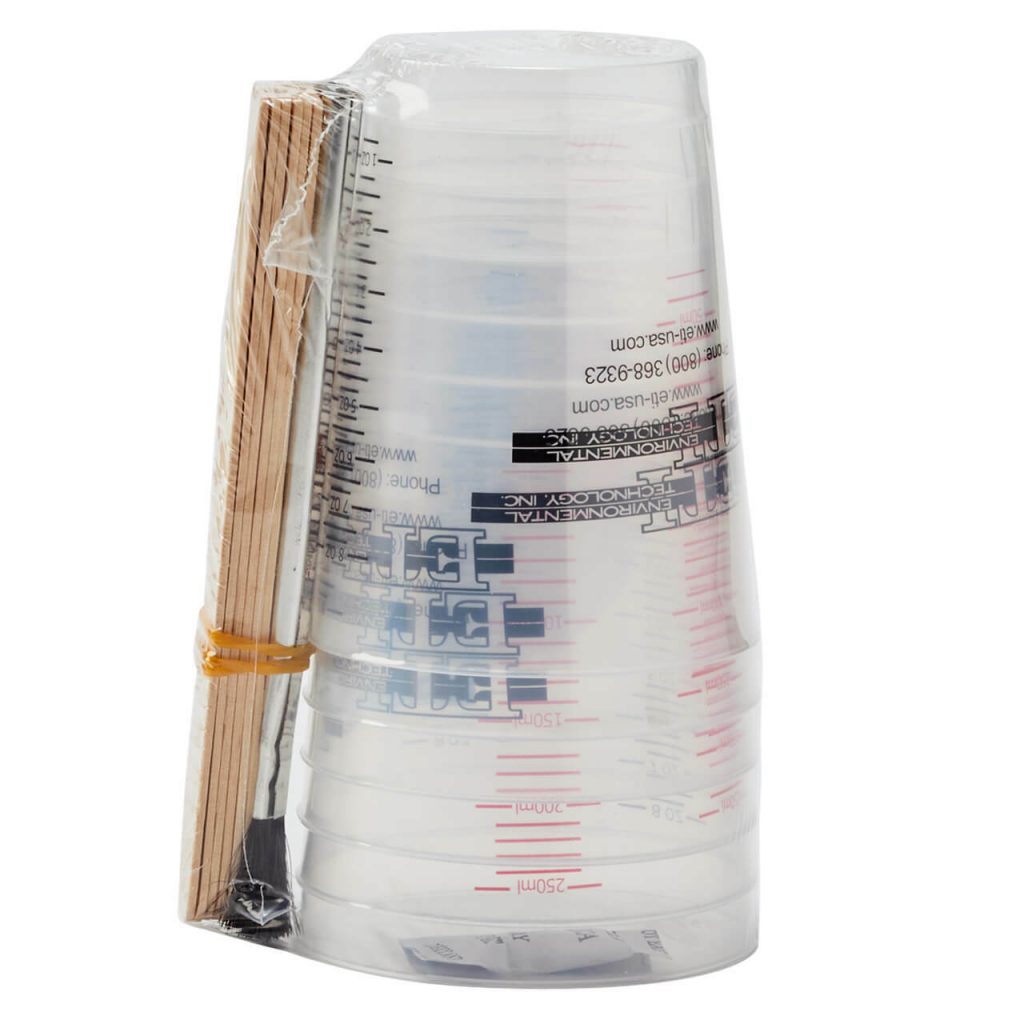
Mixing Cups/Stirring Sticks/Disposable Gloves
E6000 Glue
Rare Earth Magnets

Step 1: Mixing Resin
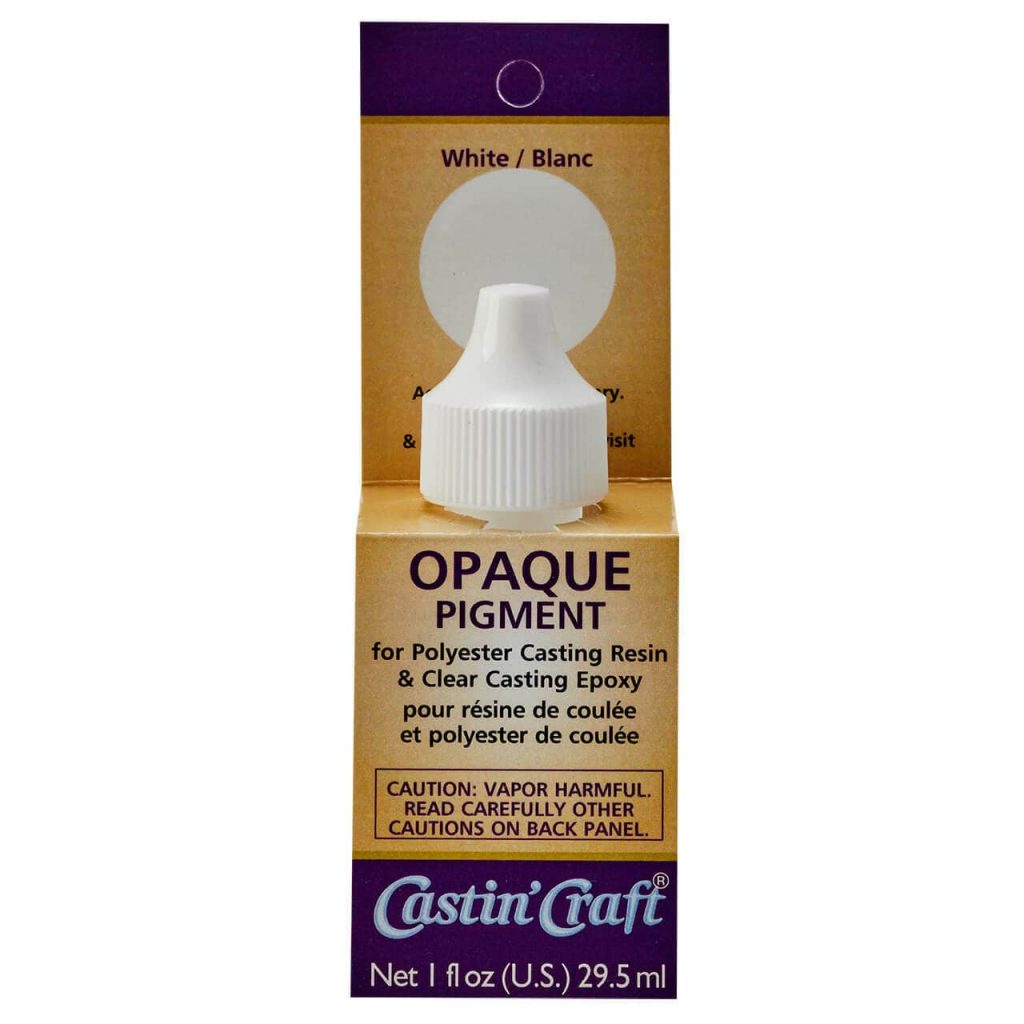
Begin by mixing resin according to the package directions. It’s very important to mix the right quantities for the right time in order for the resin to cure hard.
**RESIN TIP**
If you are using resin for a different project but have a little leftover, pour it into this mold and set it aside until you have more to fill them up. It’s a great way to make sure you use all the product you bought.
Step 2: Filling Mold
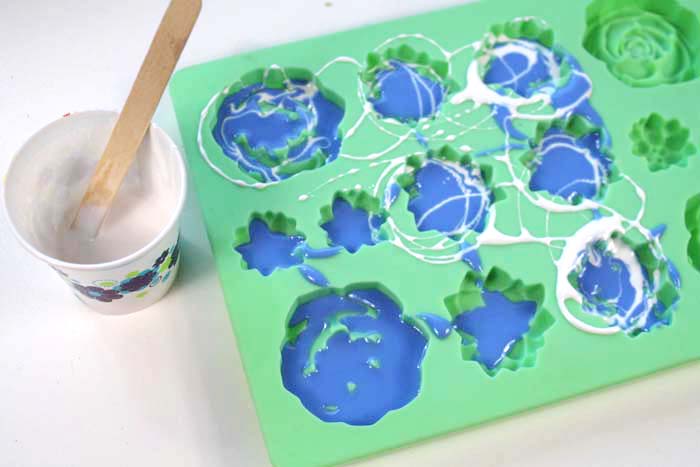
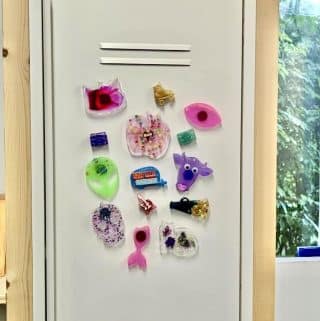
Fill the mold with resin in a variety of colors. Use the stirring stick to run lines of color on each of the shapes. Then set the mold on a level surface and allow it to dry and cure for 24 hours.
Step 3: Resin Reveal
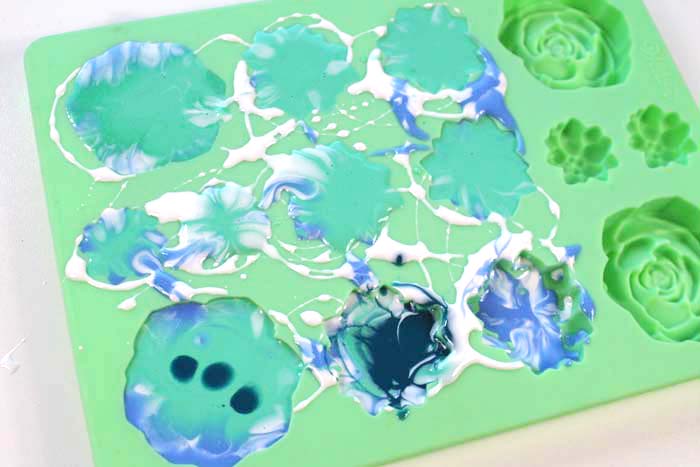
After the resin is hardened, pop the pieces out of the mold. I like silicone molds because they are so easy to remove.
**It’s best not to use the same molds you use for candy making for resin.
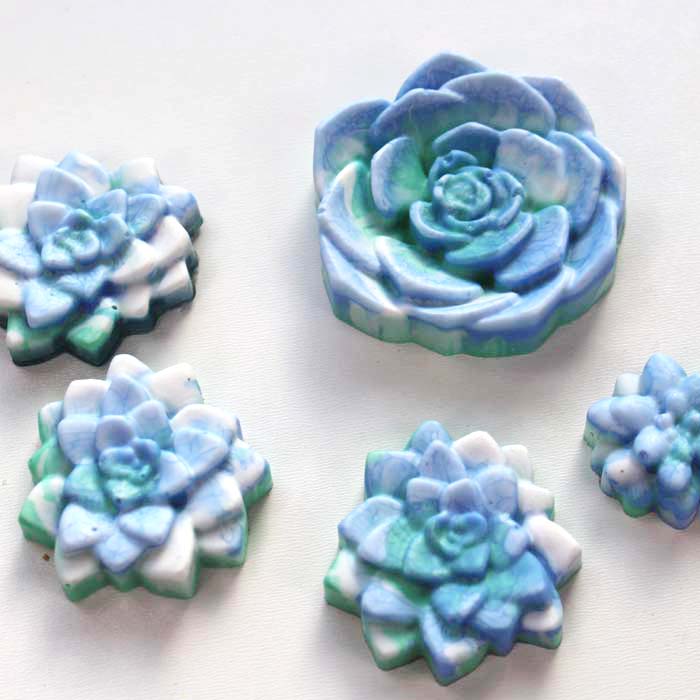
Step 4: Magnet Making
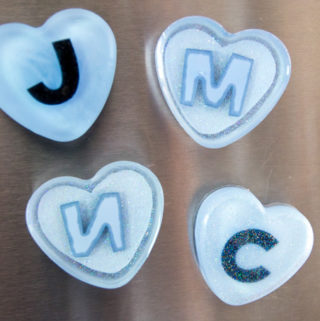
Now turn the resin pieces over and use E6000 glue to adhere a rare earth magnet to the backside of each one. Place them far enough away from each other that they don’t attract!
**ALTERNATIVE IDEAS**
Instead of magnets try these ideas:
- Add jewelry bails and create stunning earrings, necklaces and jewelry.
- Glue to dowels and add them in the garden as plant markers.
- Glue them around a picture frame for a fun effect.
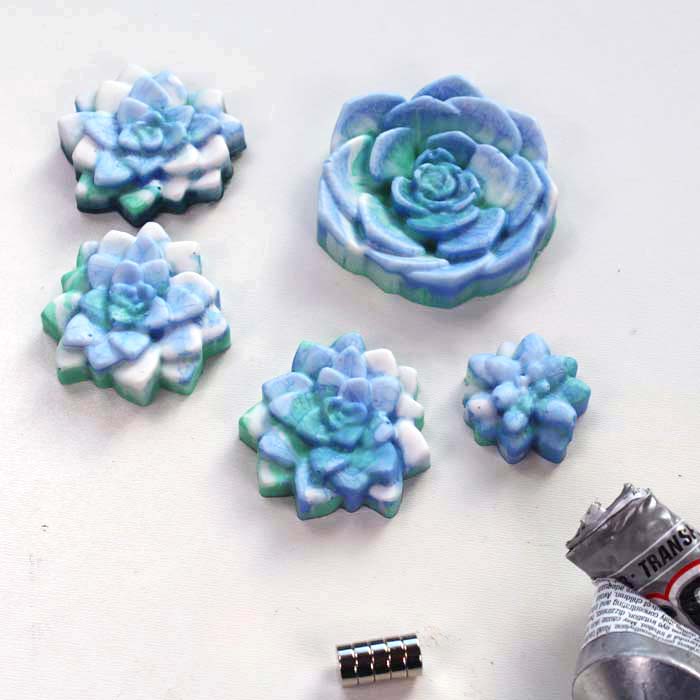
Then let the E6000 glue dry completely, at least 4 hours before sticking them to anything.
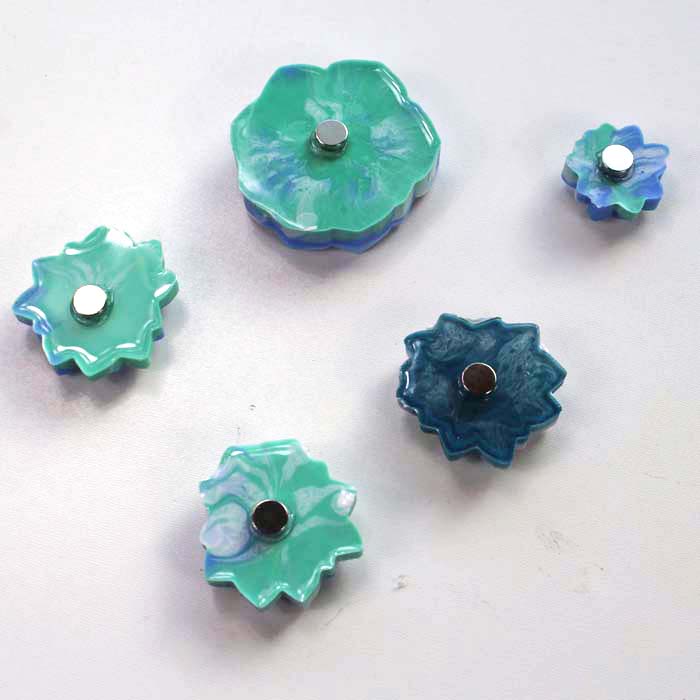
Now you have some fabulous magnets to hang up works of art on the fridge, keep track of memos or simply for decoration.
Keep a cute mold on hand during your other resin projects so you don’t ever waste a bit of resin. Once they are full, they make the perfect resin magnets.
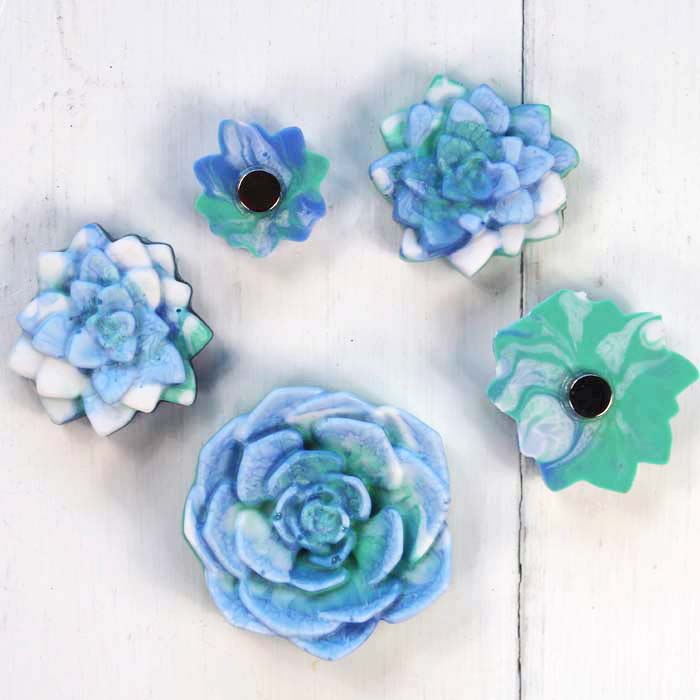
Make resin magnets using leftover resin from other projects–or mix up fresh resin just for these fresh Spring additions to the fridge!
Natalie Shaw is a Craft/DIY blogger at Doodlecraftblog.com. She loves sci-fi, fantasy and video game geekery and that comes out in many of her projects. She posts budget conscious DIY’s, crafts, jewelry, kid friendly projects, upcycled treasures and other fun on her blog 5 days a week.
Natalie Shaw is a Craft/DIY blogger at Doodlecraftblog.com. She loves sci-fi, fantasy and video game geekery and that comes out in many of her projects. She posts budget conscious DIY’s, crafts, jewelry, kid friendly projects, upcycled treasures and other fun on her blog 5 days a week.


Leave a Reply