We’re so excited to have a previous Resin Crafts Blog contributor, Kristi Callahan, back to guest post for us! We’re sure you will be as inspired by her planetary art as we are!
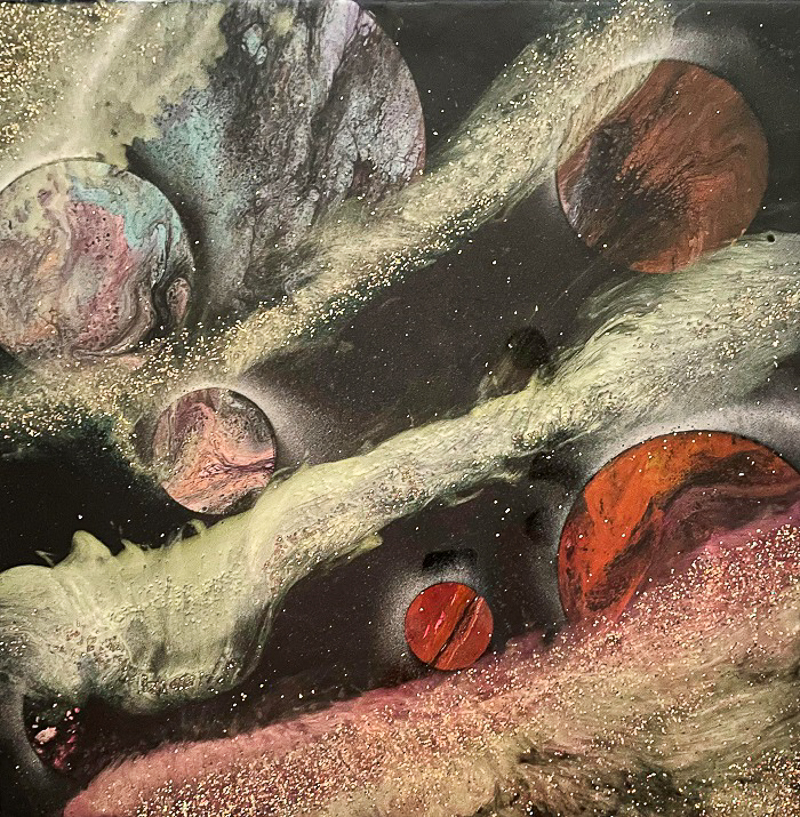
Hello! It is great to be back on the ETI Blog. I took time off to get married, relocate and find my footing in the art world. One thing that has never changed, my love for ETI Resin. I enjoy all things resin but continue to come back to ENVIROTEX LITE POUR-ON RESIN. In over 30 years of using resin, I have not ever had a fail using this product!
I started doing some Planetary Art over the summer as my nephew inspired me with spray paint art. I wanted to transfer this from a thick paper to canvas and that is what we are doing today. To get started you need to gather your supplies, Below are the items I used. You, of course can do smaller or larger pieces as desired.
Supplies Needed for Large Scale Planetary Resin Art
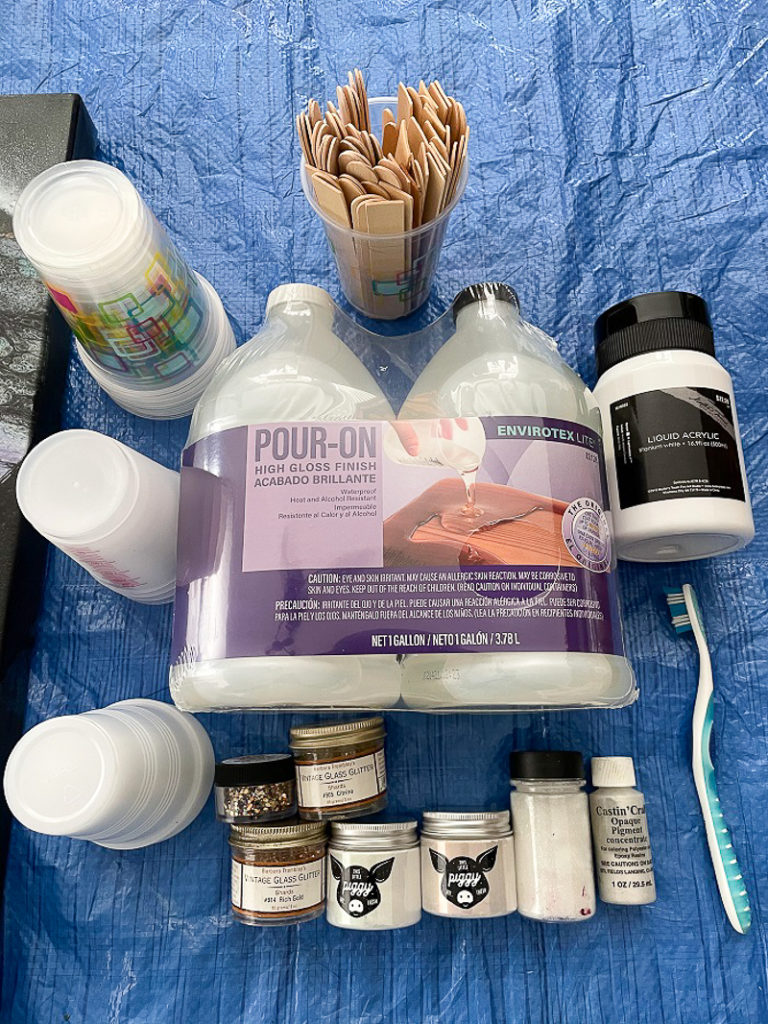
- 24 x 24 Canvas
- ETI Envirotex LitE
- Painters tape
- Push Pins (larger head of possible)
- Hammer
- Various Colors of Acrylic Paints
- Silicone for Paint Pouring
- Flood by Flotroel (I get mine at Lowes)
- Bottles for mixing & dispersing paints
- Hand held hair dryer
- Brulee torch
- Various sizes of buckets/containers for planets
- Black Satin Spray Paint
- White Satin Spray Paint
- White Acrylic Paint
- Tooth Brush
- Mixing and measuring cups
- Castin’ Craft Pearl Opaque Pigment
- Various Glitters and Pigments
- Wooden stir sticks for mixing
How to Create Planetary Art with Envirotex Lite
I like to tape the back and sides of the project I’m working on so when my customer purchases the art work it is not sloppy on the back.
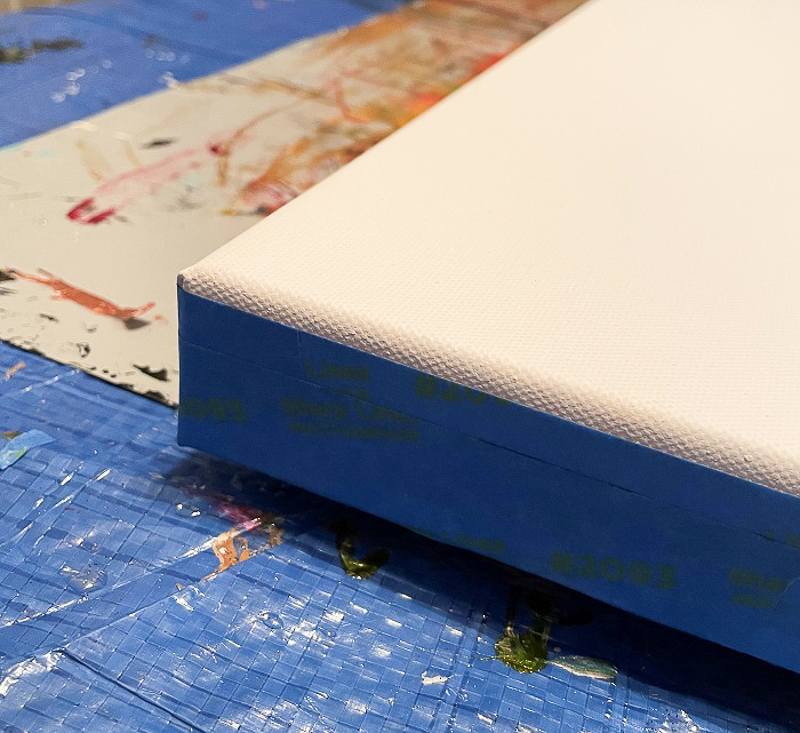
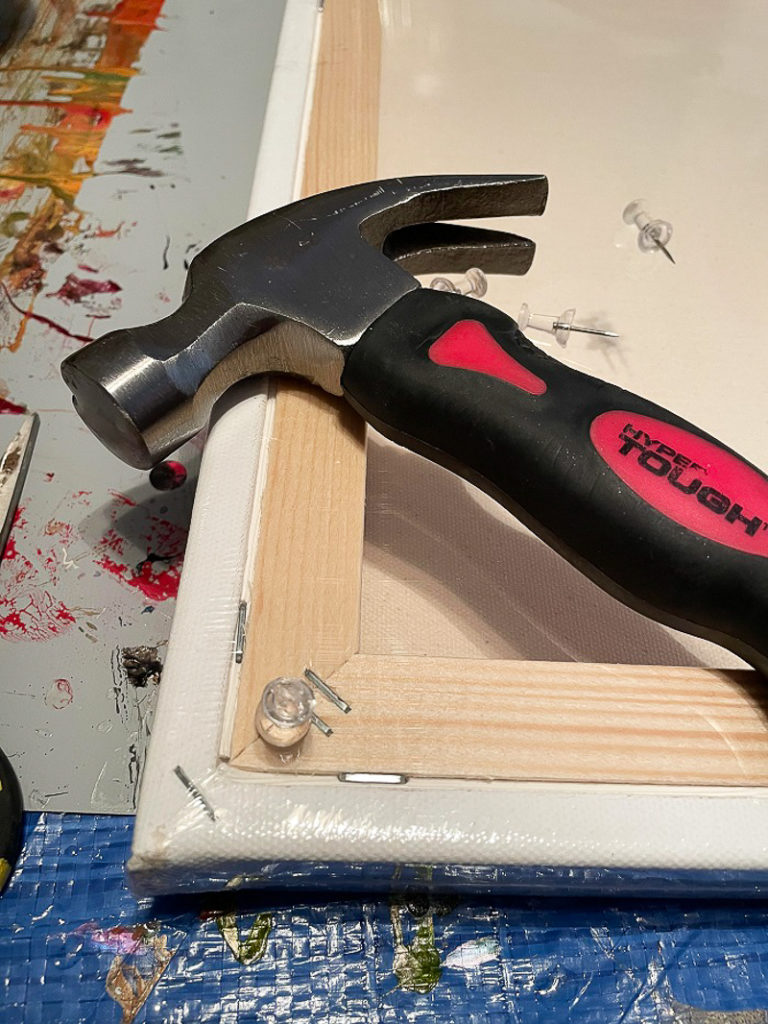
Push pin are then put in each corner to raise the canvas slightly off the table.
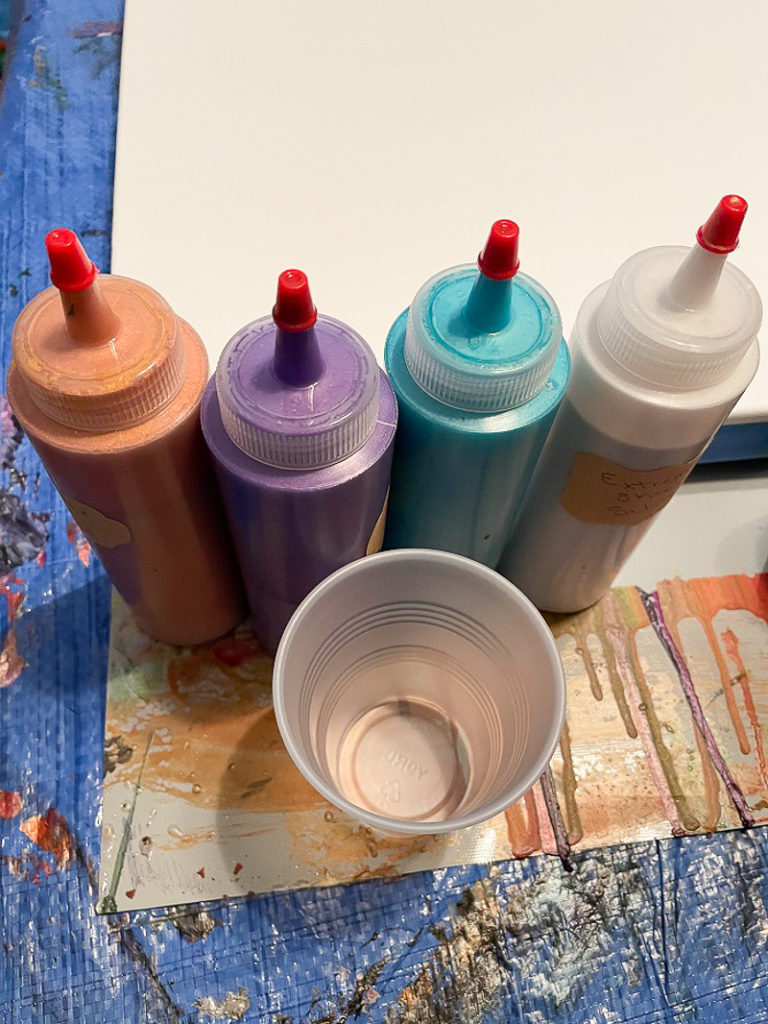
Mix colors for your “planets”. (This is 2 parts Flood, 1 part paint with a maximum of 10 drops of silicone. Silicone, if too heavy handed, will come to the surface making the resin break later in the process (but I will give tips to help with that later.)
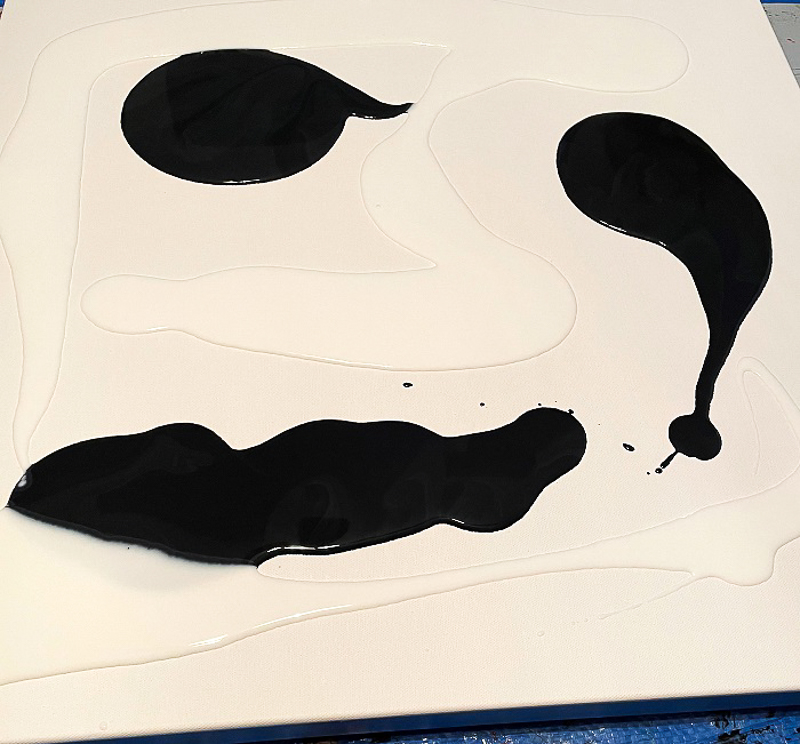
Pour combination of tinted black Flood with untinted Flood on the canvas and spread evenly. I use my gloved hand to spread out the Flood.
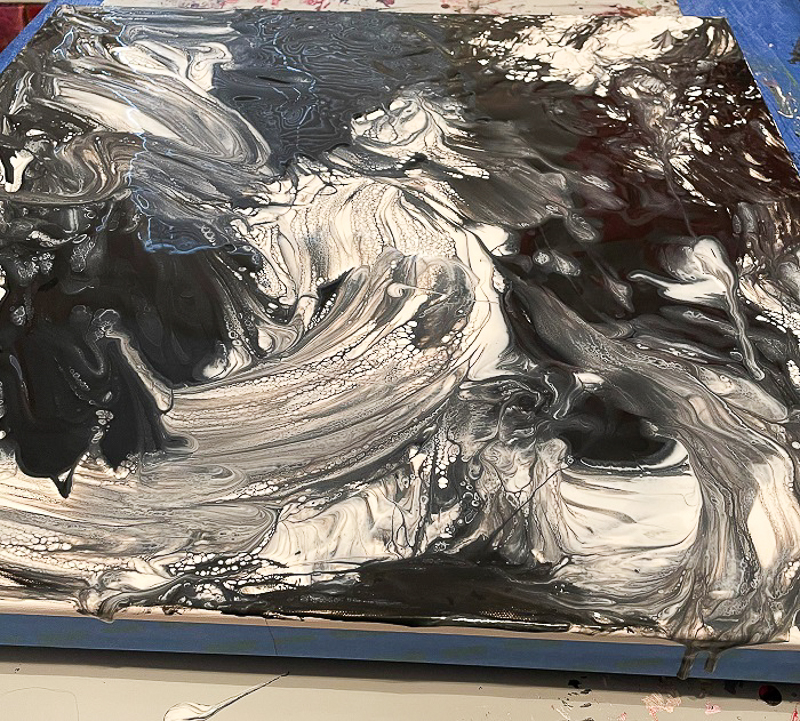
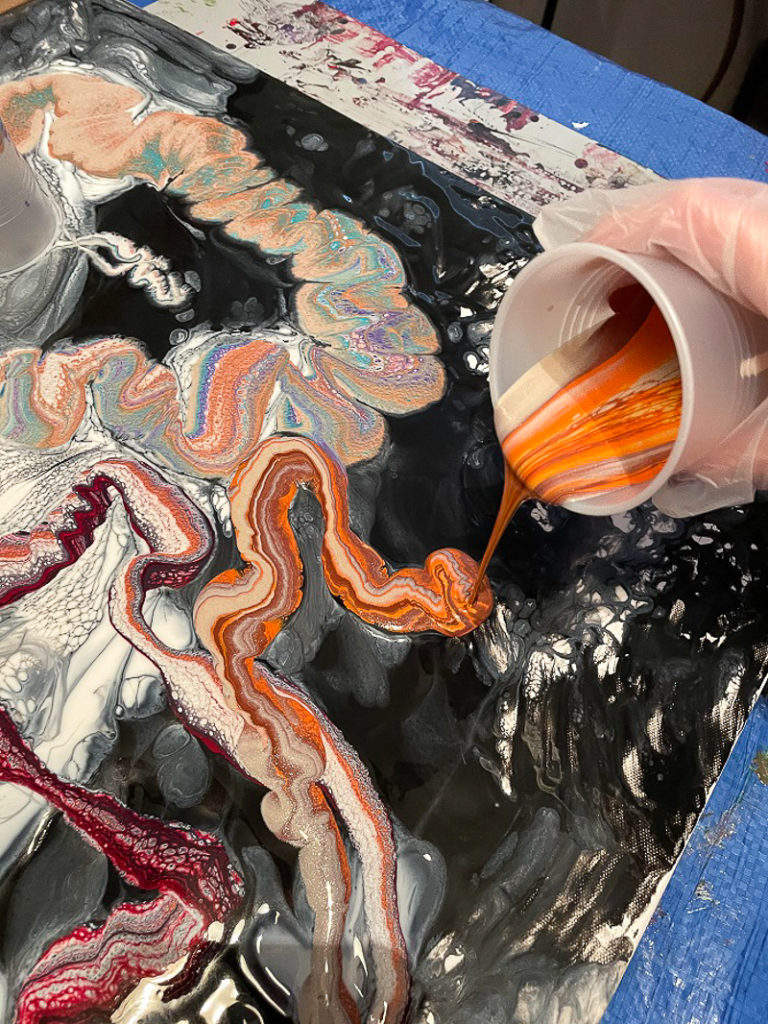
I place the color combinations I want to use in cups to pour on the base layer of Flood. I poured 3 different color combinations for this piece.
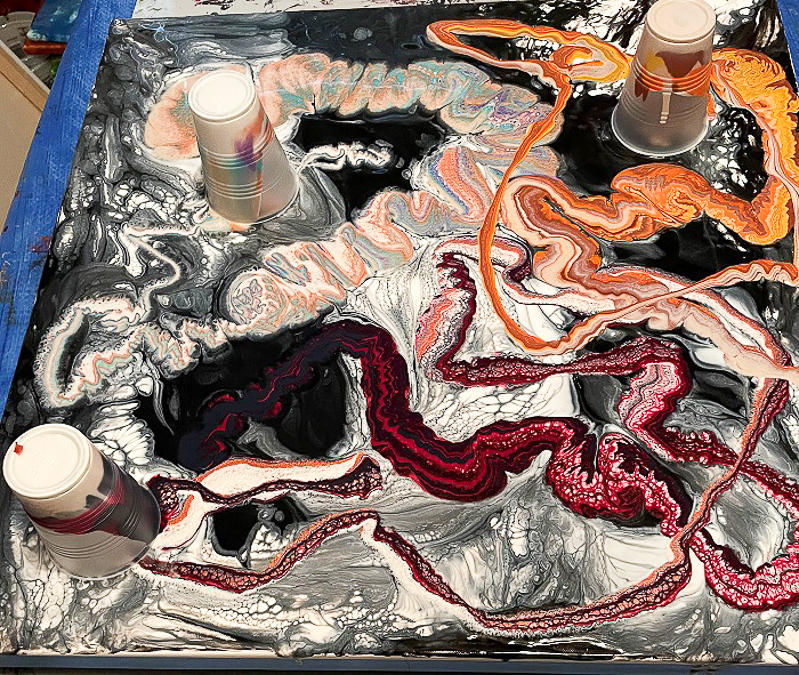
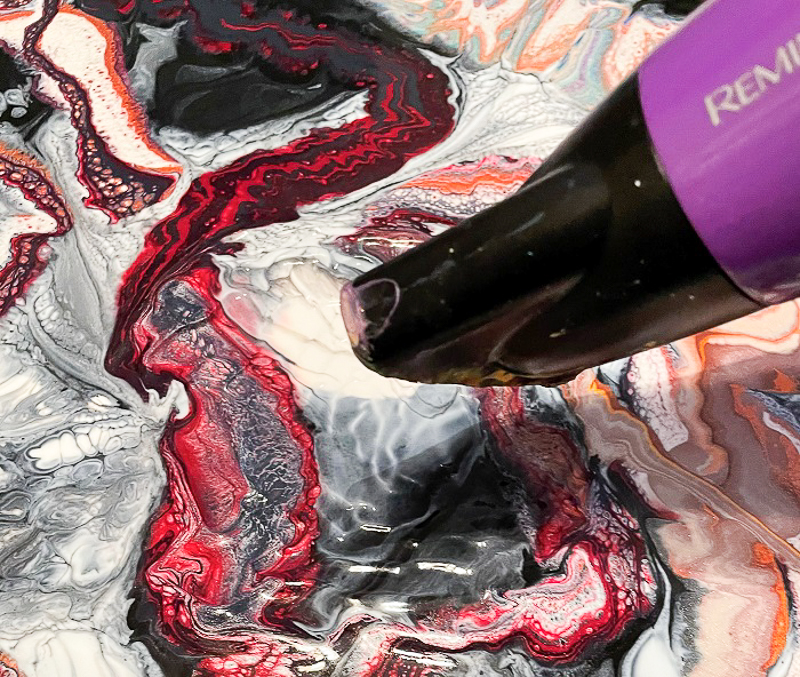
Break out the Hair Dryer and start moving the paint. The Flood underneath helps the movement. If you don’t want to do that you can blow directly on the project. You can also use a straw to move the paint. Let the canvas dry.
Now to create the “Planets”. Place several different sizes of buckets, lids, bowls etc. on your piece and get ready to spray paint the entire exposed surface with black spray paint… OUTSIDE!
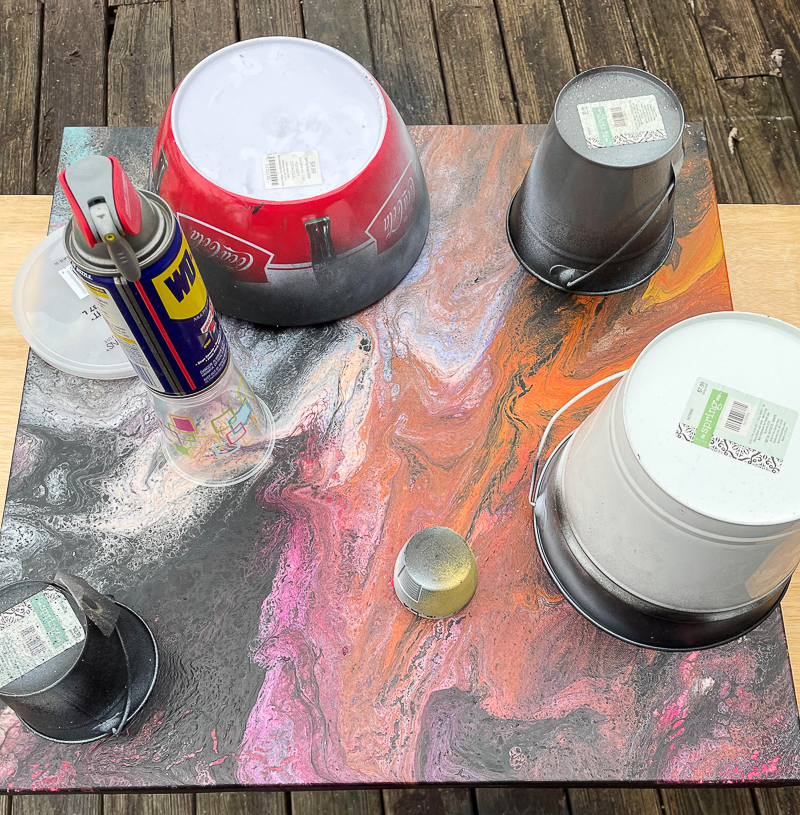
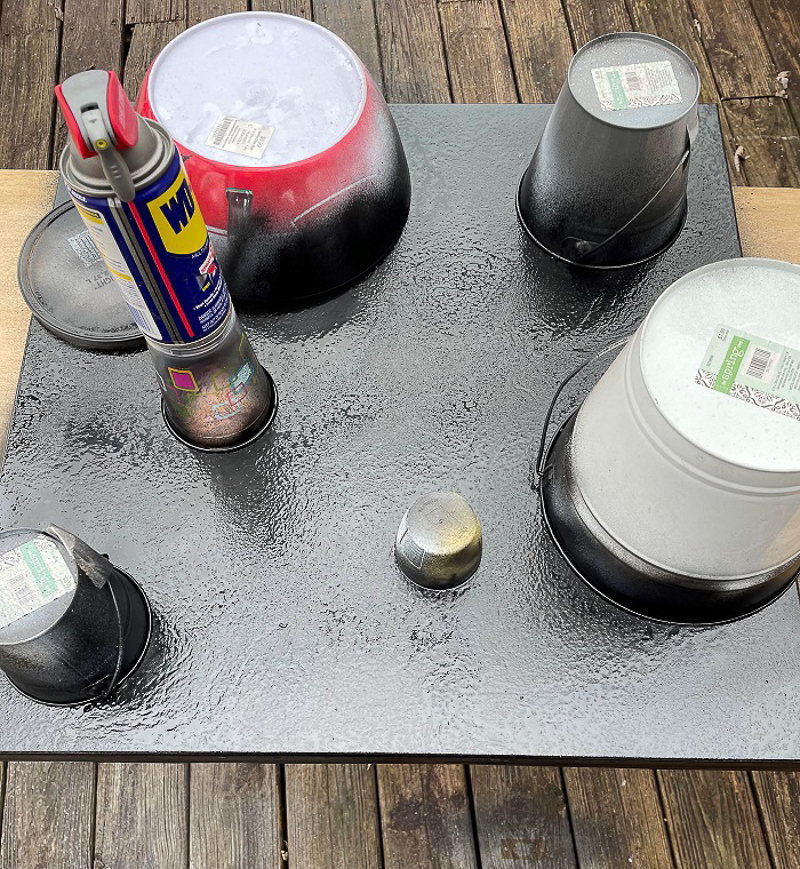
I now spray around a few edges of the cans for my light source with white gloss paint. The trick is to not spray too heavy but to get some depth.
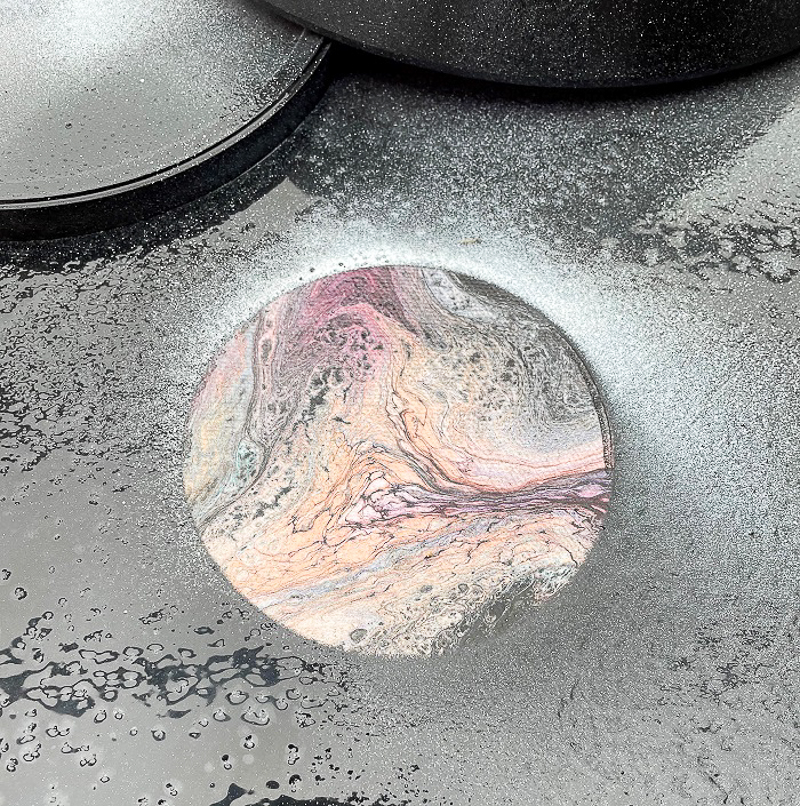
Once dry, you may want to wipe the surface if you feel silicone on the surface. I didn’t wipe mine down as it did not have any that floated to the surface.
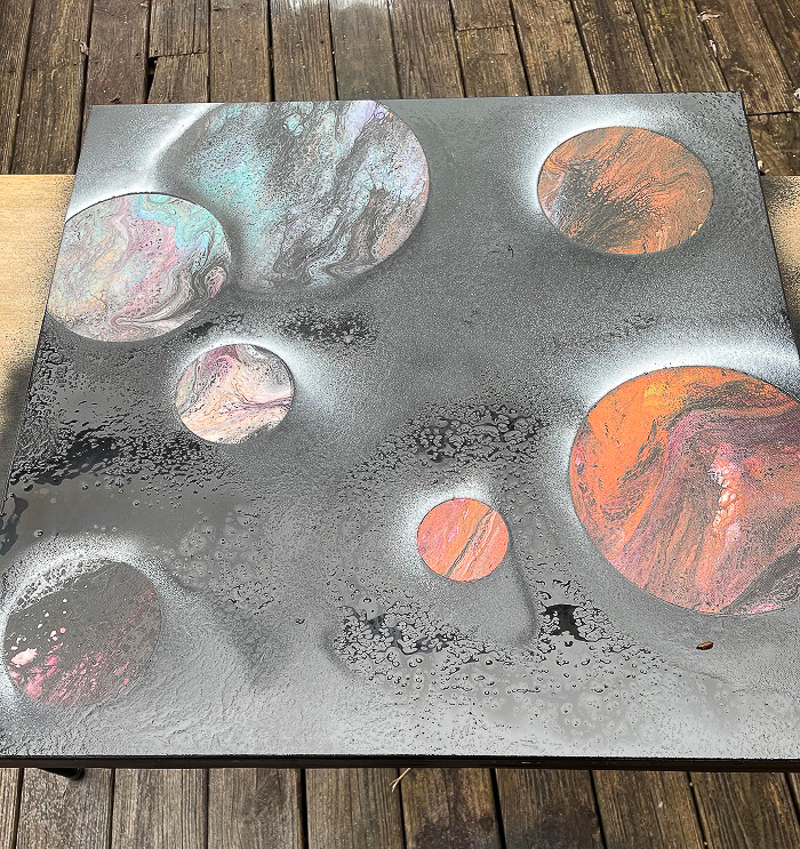
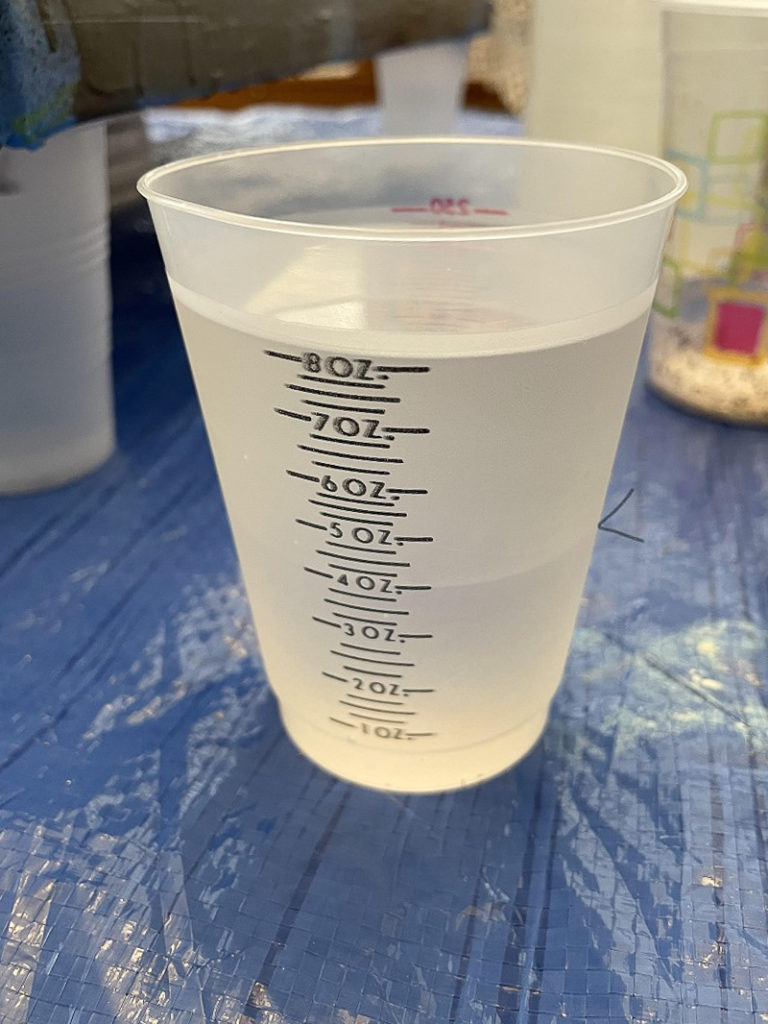
NOW FOR THE FUN PART! Add 8 oz of resin into a cup ( 4oz of each part). MIX WELL! I slowly mix for about 3 minutes then pour the contents to a second cup and mix for an additional 2 minutes. I make sure to put on protective gloves before I do anything with resin. I put the resin to one side for just a couple of minutes to let some of the bubbles come to the surface.
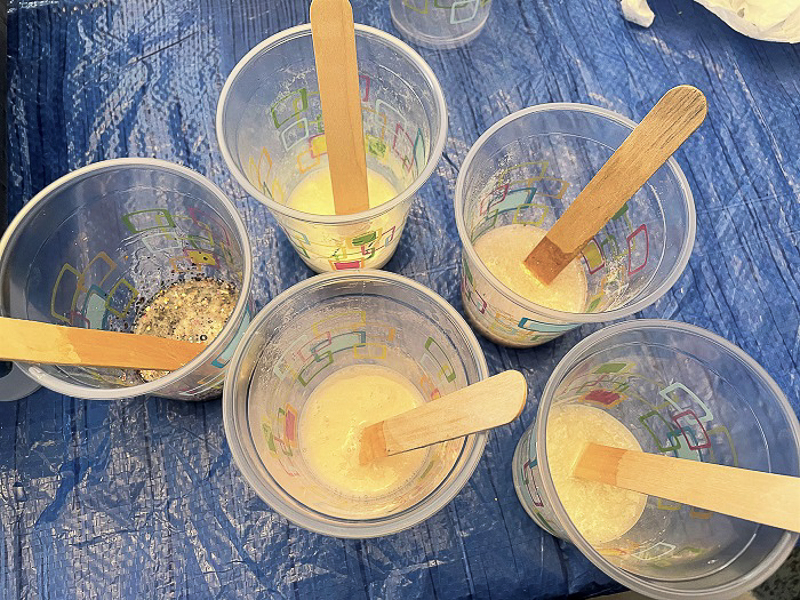
I put small amounts of glitter and pigments in other cups and poured approx 2oz of mixed resin in each cup and stirred well.
Start pouring your resin mix ins on your canvas. I just play until I have a look I like.I don’t worry a lot about the edges or streaks as the next step smooths these.
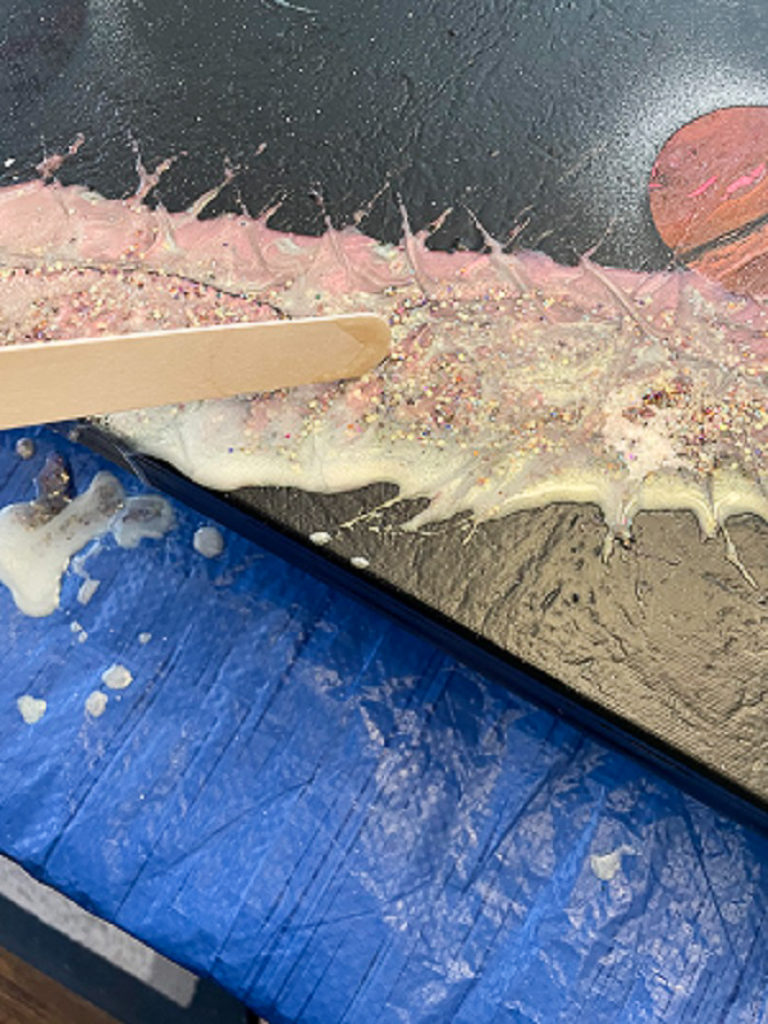
I mixed an additional 8 oz of resin to pour in the spaces between the tinted resin. Then I use my gloved hand to move the resin and blend colors. I then use the kitchen torch lightly over the surface to pop any air bubbles. I have also used a heat tool. Let dry for at least 5 hours.
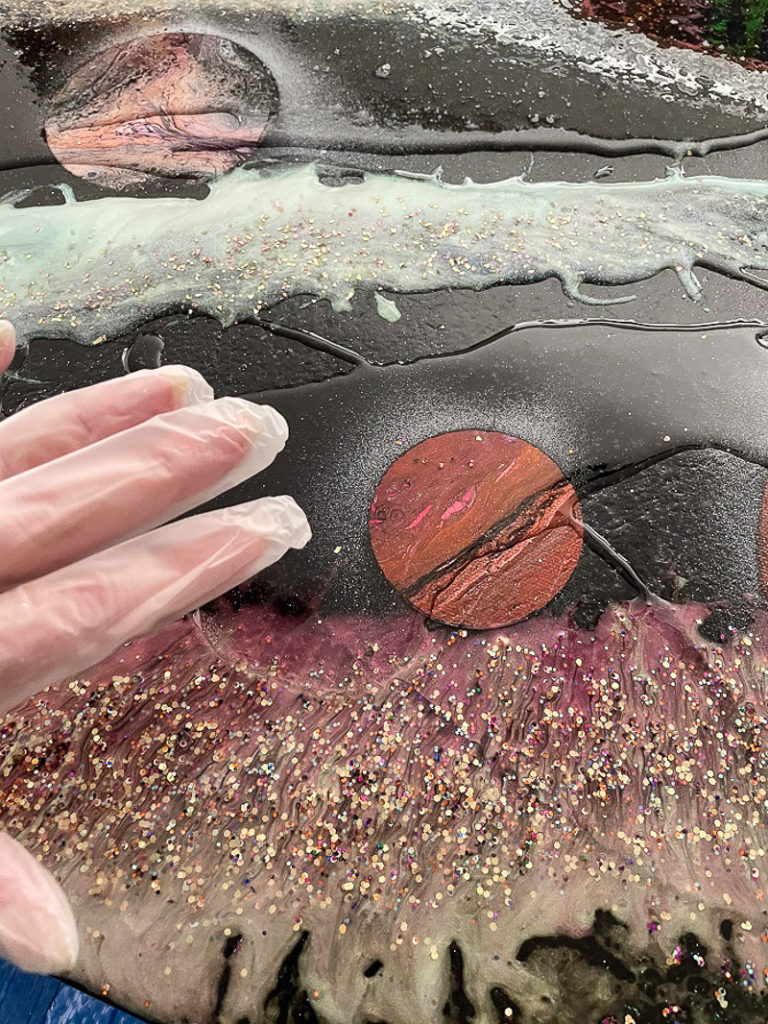
The final step is to mix up an additional 16 oz of resin to cover the entire piece. I make sure and pop air bubbles in this layer. I also check back for the first hour and pop any other bubbles that may come up.
At times the resin will pull away from the edge of the canvas. I have had this happen on canvases regardless of materials used on the surface. If this happens, I use some of the drips from the piece to put back on those areas that pull away. They are usually very small spots and right on the edge. The drips are usually partially but not completely cured so I can just use a wooden stick to put a little in those spots. It will just blend right back onto the resin on the surface. Let your piece dry/cure for at least 24 hours. Remove tape and frame or hang!
Thank you so much for taking time to read this! I hope you enjoyed reading as much as I did creating!

About the Author
Kristi Callahan has been involved with creating in one way or another, for over 45 years. She taught many classes at stamping and scrapbooking stores, as well as special events and professional conferences. She also owned a brick and mortar store where she used most mediums in the mixed media world.
Kristi really enjoys creating a large spectrum of projects with a broad range of styles. She has had her work featured in industry booths at trade shows along with running demonstrations. She has been blessed to attend CHA and demonstrate for several companies.
Kristi has also participated on and led design teams for several companies. Her work has been featured in a variety of books and magazines. She now is working as a full time artist living in middle Tennessee with her husband.
You can find her on Facebook HERE!
Lydia Nordhoff is the creator of Lydi Out Loud, a blog where she shares her adventures in crafting and DIY. Lydi Out Loud has been featured on the Home Depot Blog, House Beautiful, Good Housekeeping, Southern Living, Elle Decor, Brit + Co., Buzz Feed, Cricut and Somerset Home Magazine.


Leave a Reply