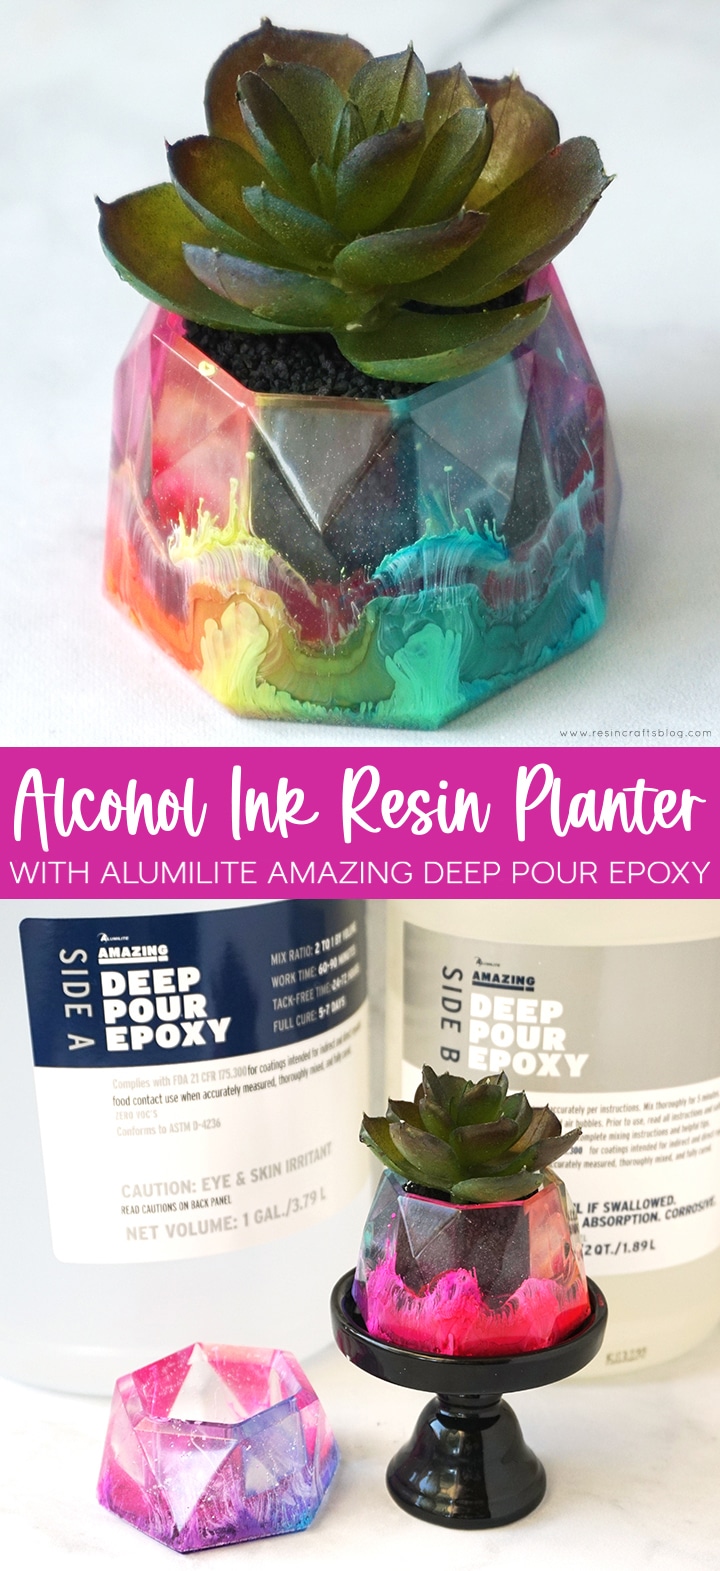
Create colorful and unique mini succulent planters using Alumilite Amazing Deep Pour Epoxy and vibrant alcohol ink!
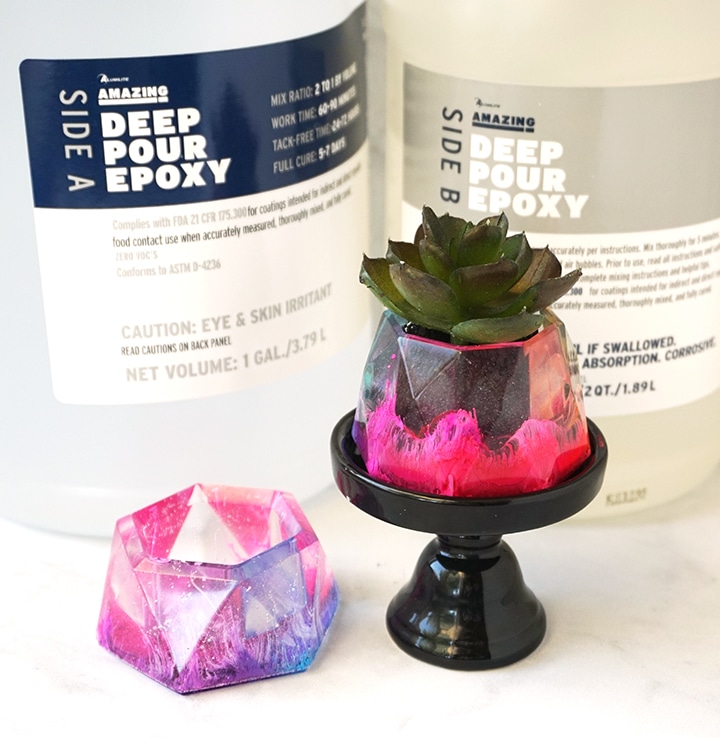
Hello, Resin Crafters! Lindsay from Artsy-Fartsy Mama here with a colorful new resin project for you to try! With a little bit of alcohol ink and Alumilite Amazing Deep Pour Epoxy, you can create some stunning and vibrant mini planters to hold your favorite succulents or other trinkets. This project is a great one for resin beginners, and working with alcohol ink is a lot of fun. You can get creative using different color combinations, and the result is always stunning!
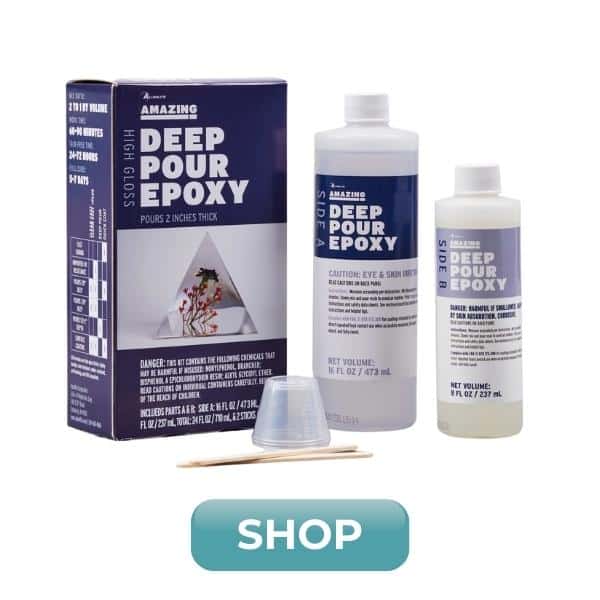
Amazing Deep Pour Epoxy is a 2-part, extremely clear, deep-cast epoxy that is ideal for thicker pours (up to 2 inches thick) for a glass-like finish. In addition to alcohol inks, Amazing Deep Pour can also be colored with other non-water based colorants. Always start with smaller quantities of colorants (not more than 5 – 10% of your project’s total volume) as too much can negatively impact the resin curing. A little goes a long way!
TO MAKE YOUR OWN ALCOHOL INK RESIN PLANTERS, YOU WILL NEED THESE SUPPLIES:
- Alumilite Amazing Deep Pour Epoxy
- Alcohol Inks – magenta, yellow, blue, white
- Silicone Mini Planter Mold
- Mold Release and Conditioner Spray
- Mixing Cups
- Stirring Sticks
- Disposable Gloves


Safety first! Before you start working with resin, make sure that you’re wearing protective eyewear and gloves, cover your workspace in case of spills, and be sure to work in a well-ventilated area.
STEP 1:
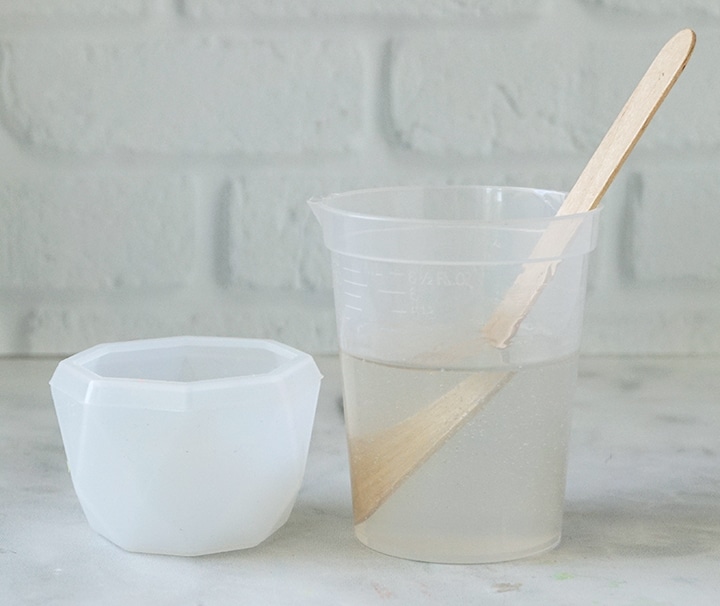
Prep your silicone mold with Mold Release and Conditioner Spray and let it dry completely. This will help to make sure your project comes out perfectly every time and will also extend the life of the mold.
STEP 2:
Prepare 1 ounce of Alumilite Amazing Deep Pour Epoxy according to package directions, and follow all safety guidelines. Pour in equal parts resin and hardener into a mixing cup. Stir the resin mixture together SLOWLY with a stir stick for two minutes, and then pour the resin into a clean mixing cup. Stir the resin again for another minute or two with a clean stir stick. If the resin still has streaks running through it, keep mixing until it becomes clear. Amazing Deep Pour has a 30 – 40 minute working time (depending on the temperature in your workspace).
STEP 3:
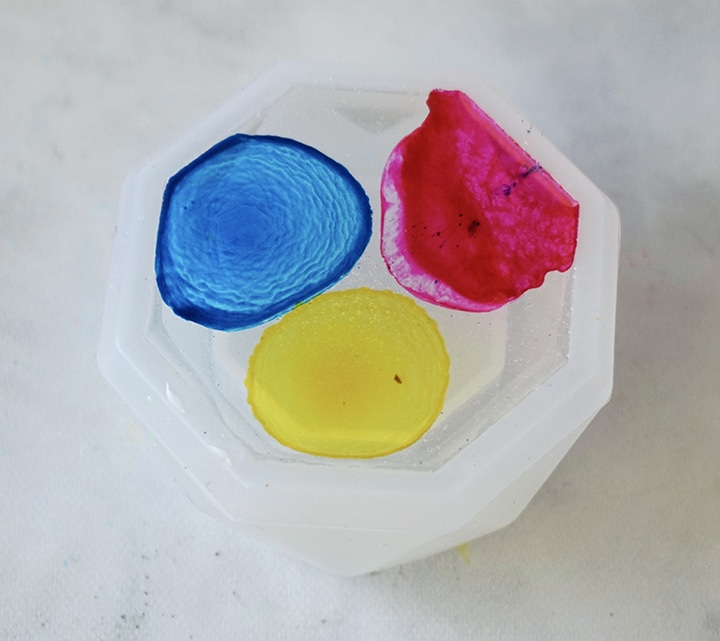
Slowly pour the resin into the mold so that it is about 3/8″ thick. Wait a few minutes for bubbles to rise to the top, and then pop them by blowing through a straw, using a heat gun, or lightly spritzing with alcohol. Let that layer sit for about 3 hours, and then add an additional layer. Repeat this process until the mold is filled to the top (you will need about 3 ounces of resin total).
STEP 4:
To get a “rainbow” of colors around the planter, add one drop each of magenta, blue, and yellow alcohol inks to the surface of the resin.
STEP 5:
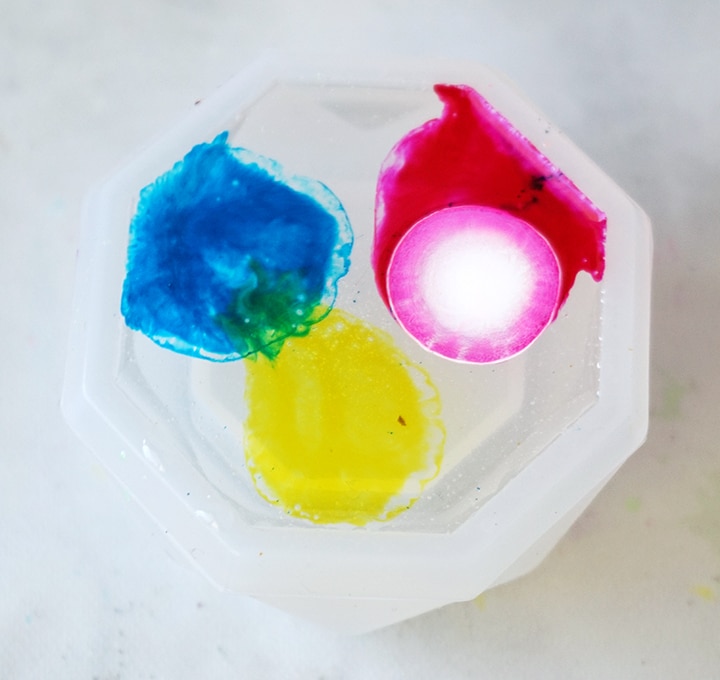
Next, add one drop of white alcohol ink over each of the colored alcohol ink drops. The white alcohol ink is heavier than the colored inks, so it “pushes” the ink down into the resin, leaving a really cool effect once cured!
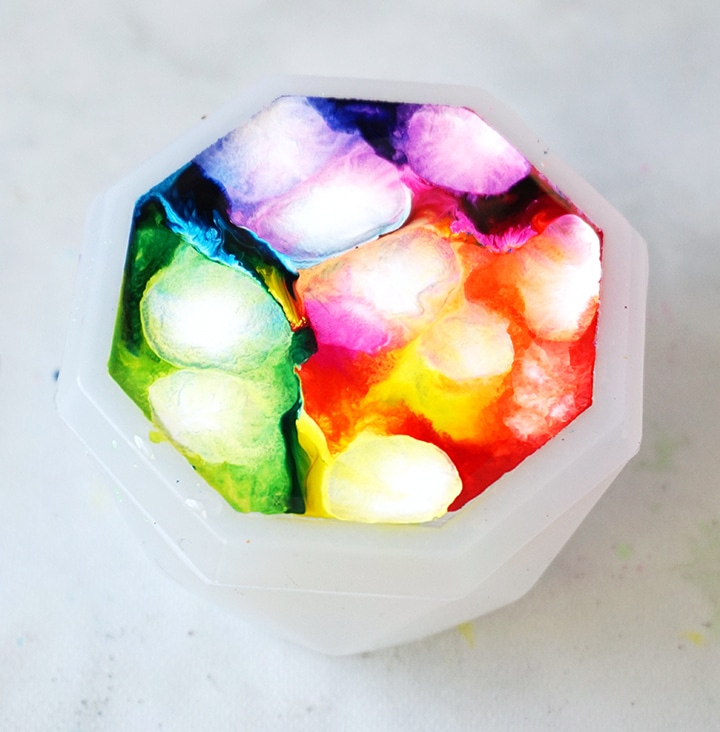
STEP 6:
Repeat the process of adding drops of color (over the same spots), and then topping with a drop of white 2-3 more times. Watching the inks move around on the surface is mesmerizing!!
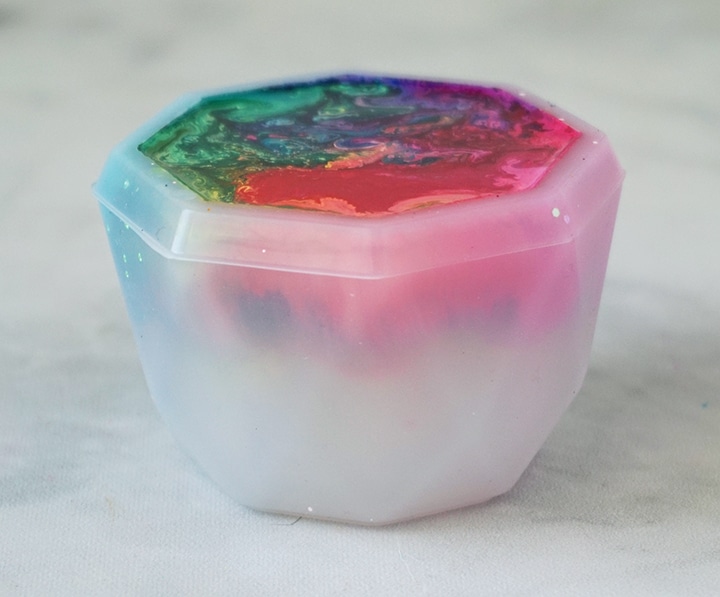
STEP 7:
As the resin cures, you can see the alcohol inks slowly sinking into the resin, which is pretty exciting! Leave the resin to cure in an undisturbed area for at least 24 hours. You will know that the resin is completely cured when it is no longer tacky.
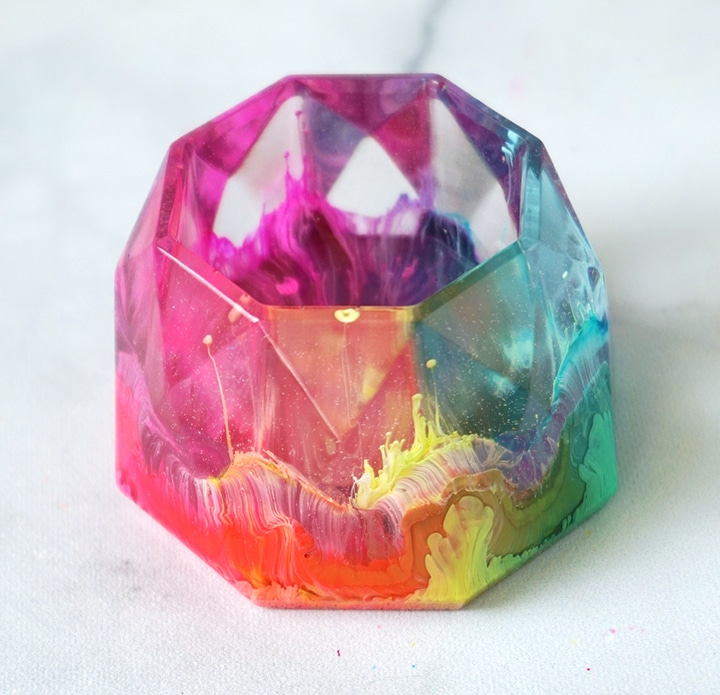
STEP 8:
Carefully remove the planter from the mold and admire your work! “Demolding” is one of my favorite parts of working with resin because the big reveal so exciting, especially when using alcohol ink! Even if you drop the inks the same way, the result is always a little bit different, making each planter unique. I love how the alcohol inks look suspended in the resin. The effect is almost like looking through a microscope.
Tips: If you have any over-poured resin around the edges, you can trim the excess away using a craft knife or scissors. If the planter still feels a little flexible, it may just need more time to cure. Let it sit in a warm, flat area to cure for a few hours (or days) if necessary.
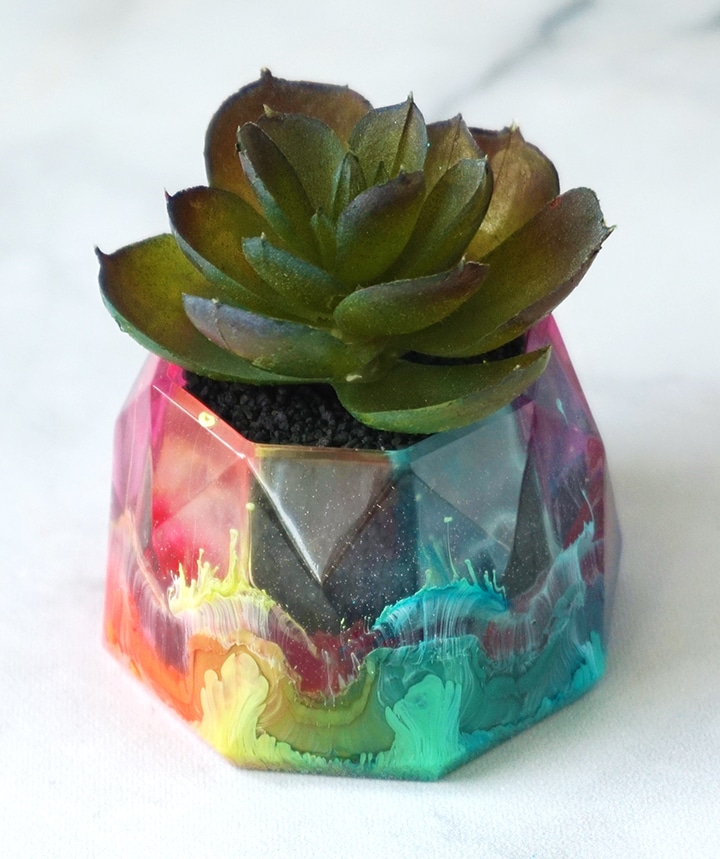
STEP 9:
I don’t know that I would put a real succulent inside this planter unless you drill a drainage hole or two in the bottom of the planter. Otherwise, this mini planter is the perfect size to home a miniature succulent to keep on a desk or a small shelf. Fill the planter with small rocks or sand, and place the faux succulent in the center.
STEP 10:
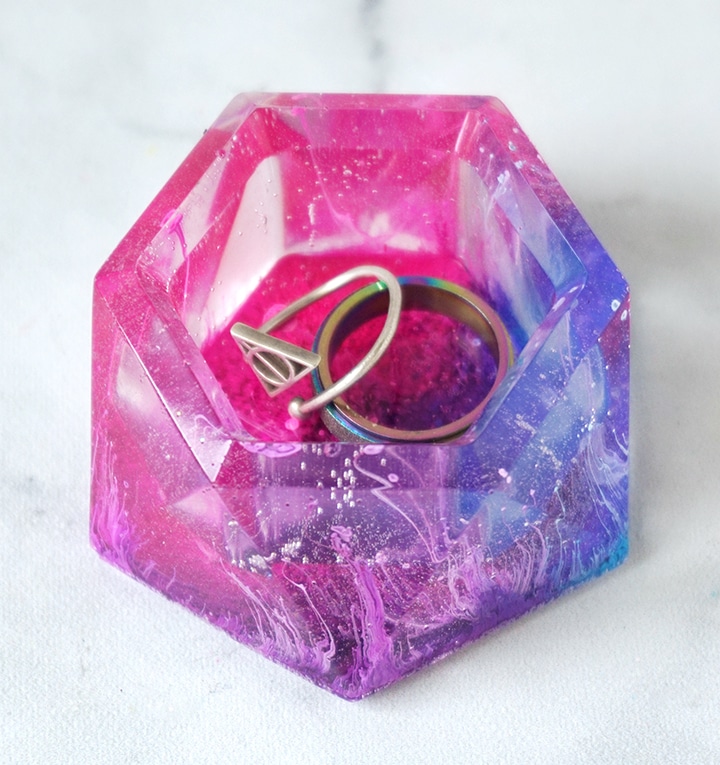
If plants aren’t really your thing, this “planter” is also great for holding rings and other small trinkets! It would even be beautiful on a desk to hold paper clips and other small office supplies.
These Mini Alcohol Ink Resin Planters are such a simple project, but are sure to add a pop of color to your home or office decor! As always, I would love to hear what you think about these planters made with Amazing Deep Pour Epoxy! Be sure to check out these other alcohol ink tutorials for more inspiration, and share your own creative resin projects in the ETI Facebook Group!
Don’t forget to Pin, Like, and Share!
Lindsay is a crafter, graphic designer, and glitter enthusiast from Utah. She’s passionate about homeschooling her creative daughter, traveling, and spending time in the craft room. Lindsay shares DIY project tutorials, printables, recipes, kids crafts, and more on her blog, ArtsyFartsyMama.com, where she inspires readers to live a creative life.

I’m trying to find a guide for your products. I need to see what each product works best for, so I don’t find myself using the wrong one.
Thank you,