Hello! This DIY Glossy Photo Transfer Wood Slice is one of my new favorite additions to my home decor. My house is full of wooden decor and furniture, and I just keep adding to the collection. The great thing about this project though is that it adds some gloss and shine to complement all of the reclaimed wood pieces that I already had.
Here’s how you can make a glossy photo transfer wood slice too!
Supplies:
- Wood Slice – available at any craft store
- Ultra Seal
- Craft brushes
- Photo printed on laser printer
- Towel (will need to be damp when ready to use)
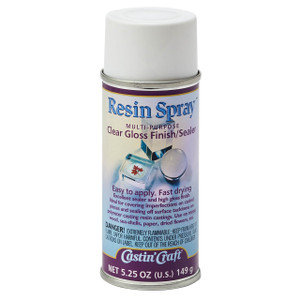
- Resin Spray
- Tray or short box to catch excess resin as it pours off sides. (I used a cookie sheet lined with a few layers of Press N Seal.)
- Small disposable item to elevate your wood slice. I used a small wood scrap.
- Envirotex Lite
- Disposable Stir Sticks
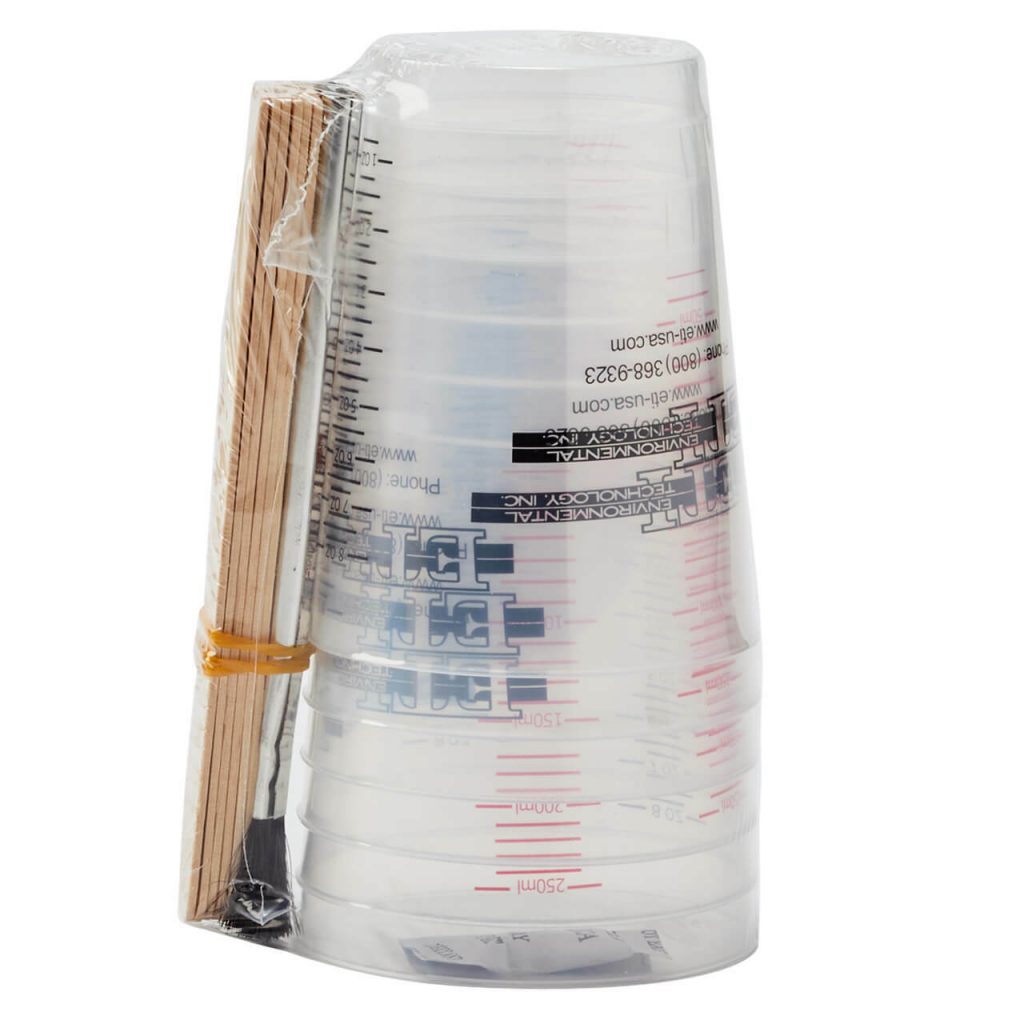
- 2 Disposable Mixing Cups
- Cover for work area while project is curing
- Micro Butane Torch (optional)
Alright, so once you’ve got all your supplies together, you’ll just need a really clean work area and level work surface. You’ll want a fairly warm area without any fans or air movement so that no dust or debris gets into the resin after it is poured.
Photo Transfer Wood Slice:
Our first step is transferring the photo to the wood. This isn’t required, you could always just seal the photo onto the wood, but I wanted the wood grain to show through a bit, so I opted to do a transfer. Here is that process:
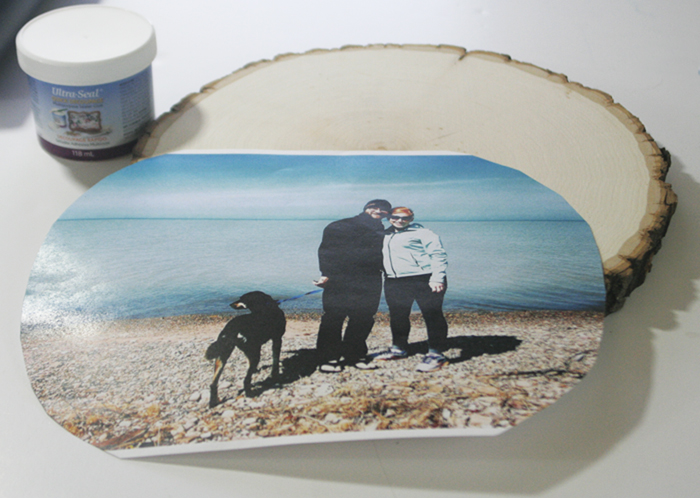
First, get your wood slice, laser printed photo, Ultra Seal, and craft brush. This is all you’ll need for the first step. Trim your photo to fit onto your wood slice. Remember that the photo will be placed face down if you are transferring it to the wood, so it will be flipped on the wood slice. This is only a concern if you have letters or numbers in your photo because they will be backward. If this is a concern and you do want to do the transfer, you’ll need to flip the image in whatever photo software you use before you print it.
Ultra Seal:
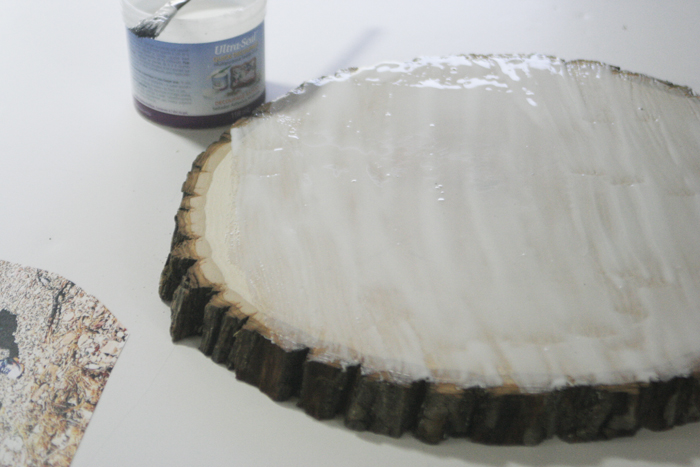
Next, completely cover the wood slice top in Ultra Seal using your craft brush. This will prep for adding the photo, and also seal the wood which is important to prevent bubbles during the Envirotex Lite stage. I put a generous coat of Ultra Seal, as you can see in the process photo below.
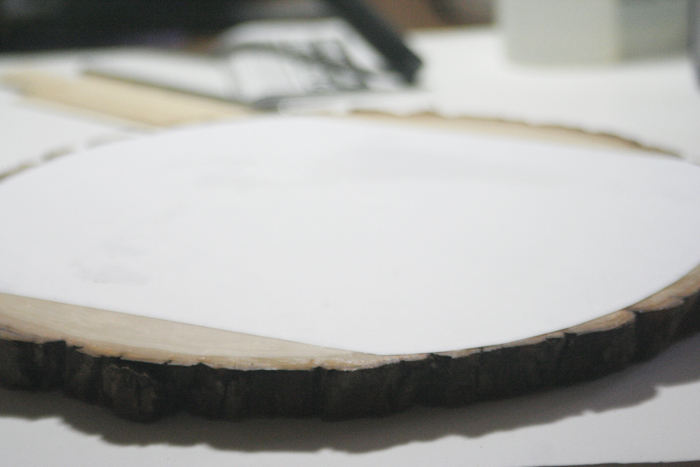
Okay, now quickly add the photo to the wet wood slice and press down to eliminate any bubbling in the paper. Then immediately coat the entire picture with Ultra Seal.
Let this dry overnight or for at least 12 hours.
Remove Paper:
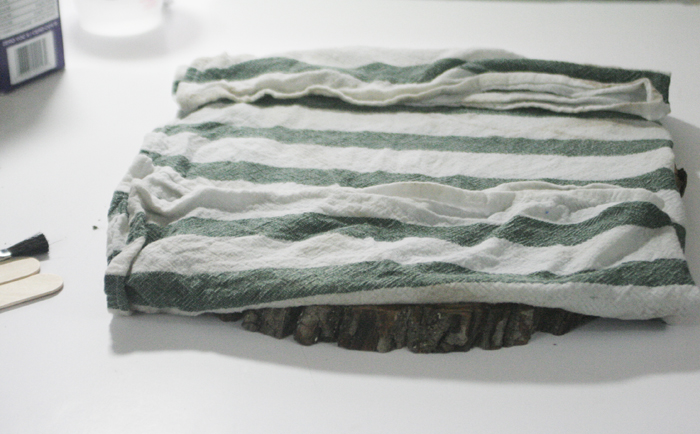
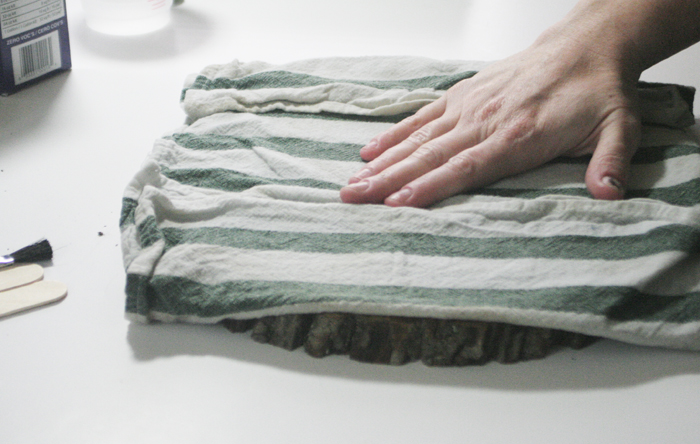
Next, we’re going to remove the paper to show the ink from the image is now on the wood slice. To do this, we get a large towel wet. You don’t want it dripping but you don’t want it barely damp either. Just soak it and ring it out really well. Then lay the towel on top of the paper, as shown, and let the water soak into it for about 15 minutes. I came back a couple times in those minutes and pressed down on the towel, just to be sure it would soak in.
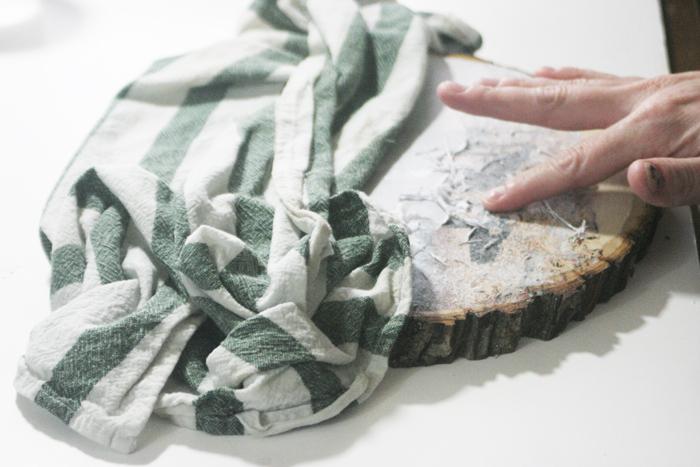
Okay, now peel up part of the towel and start to rub on the wet paper lightly with your finger. It should begin to peel off. Be sure to rub gently, with barely any pressure from your fingers. If you rub too much in one area the ink will sometimes rub off. Once the paper looks like it’s gone, move to another area.
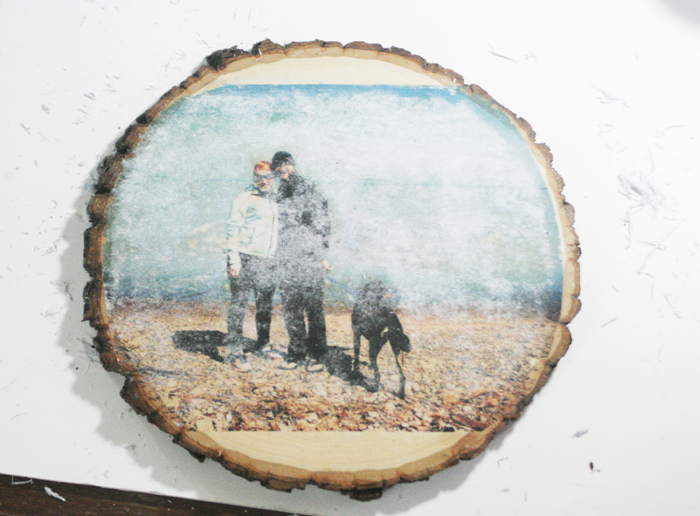
Now, it’s important to know that even though the paper is gone, as it dries sometimes it starts to appear white again as if paper is left. The best way to know if the paper is gone is get it wet again and if it is clear, then enough paper is gone and it will appear clear when you apply the epoxy. I hope that makes sense. The following pictures will help you understand. Some of the colors were much more sensitive and easily rubbed off. There are a few spots here where that happened, but I was quite happy with it overall, so I just went with it!
Seal with Resin Spray:
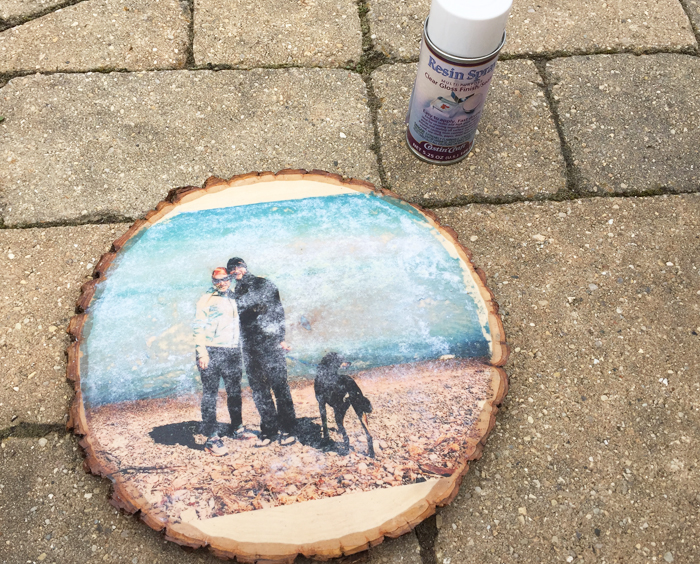
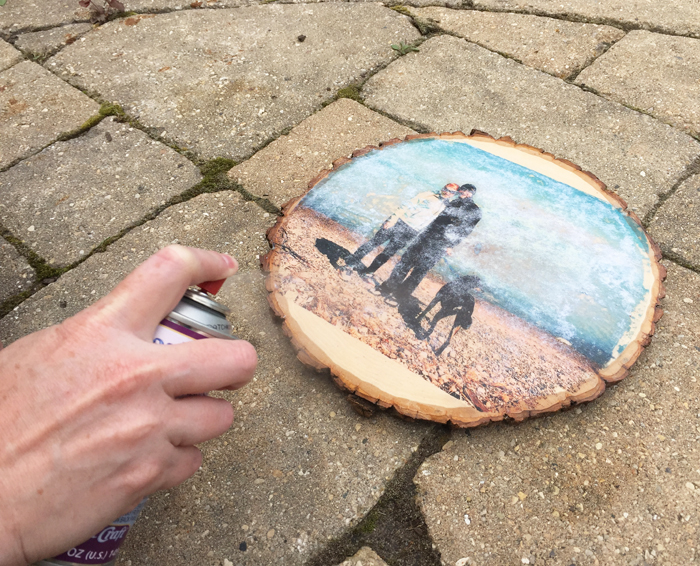
Alright, so now that it’s all rubbed off, the final step for the photo transfer wood slice process is to coat it with Resin Spray. I do this outside because it is pretty stinky. It dries quickly so I just spray in an area without wind and bring it back inside as soon as it is dry. This step will definitely show if you removed all the paper correctly because all the colors will return unless there is still too much paper.
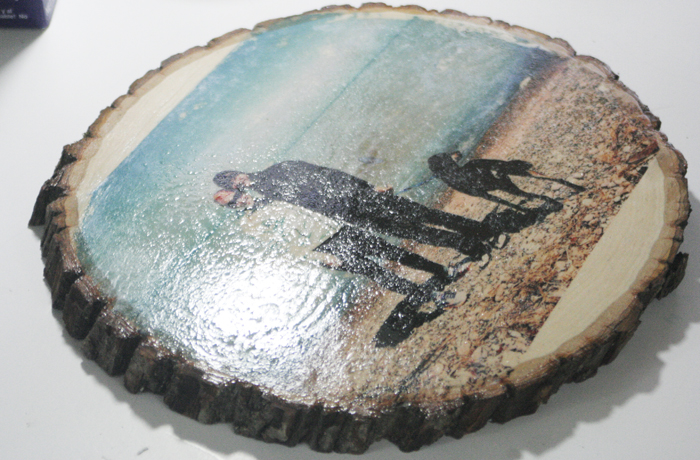
Alright, the next picture looks pretty bad, but really it’s just the angle I had the light on for the photo. I did this on purpose to show that there is still texture on the photo. It doesn’t look as rough straight on, but I’ve done this before and there’s always some texture. This is the main reason I thought Envirotex Lite would be PERFECT for this project! It makes a super glossy and glass smooth finish. I just love it.
Time for Envirotex Lite!
Alright, let’s get that perfect, glossy finish!
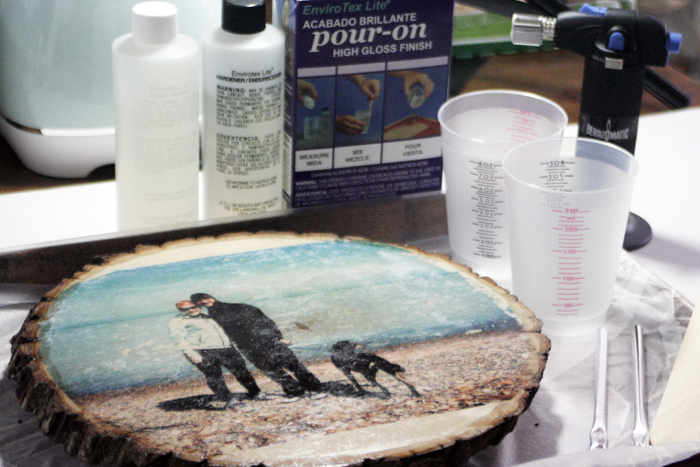
Grab your Envirotex Lite bottles, one resin and one hardener, also your stir sticks, mixing cups, craft brush, work surface tray or box, butane torch and item that will elevate the project. Put your wood slice photo on top of that item, inside the box. Read the directions thoroughly so you understand how it works and the DOs and DON’Ts. There are a few things you’ll want to understand, like temperature, curing time, and detailed mixing instructions.
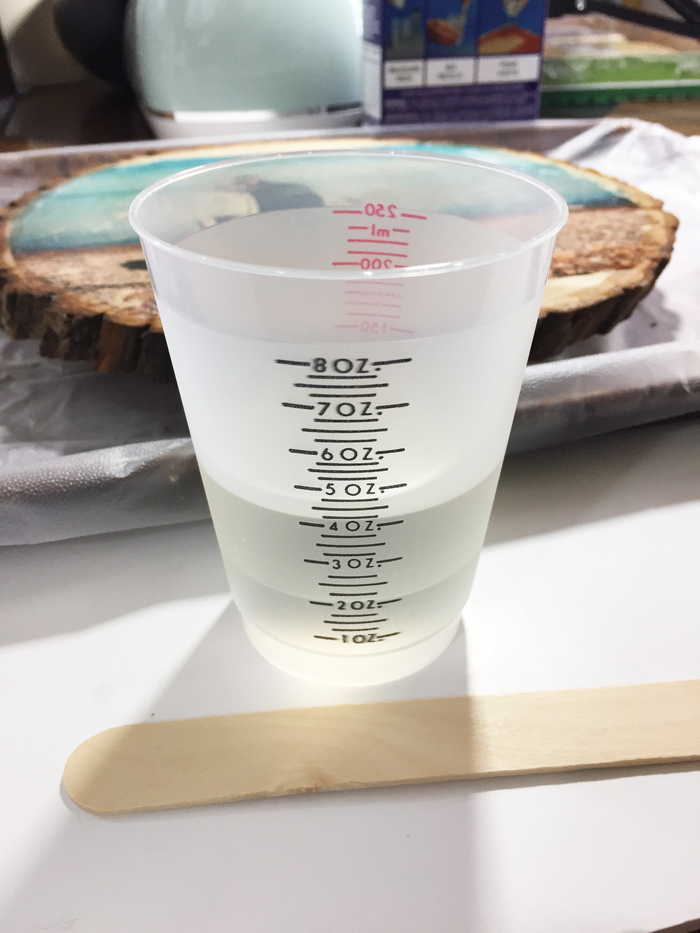
Now we’re going to mix the resin. Pour 2 oz. of Part A of the resin into your mixing cup.
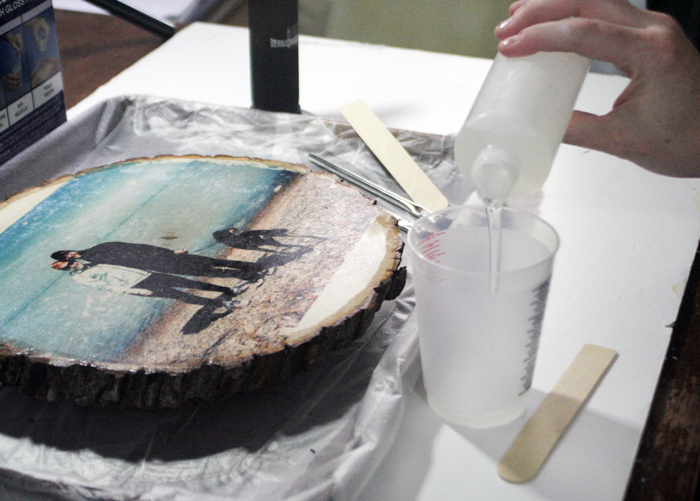
Add 2 oz of part B. It is very important to have exact equal amounts.
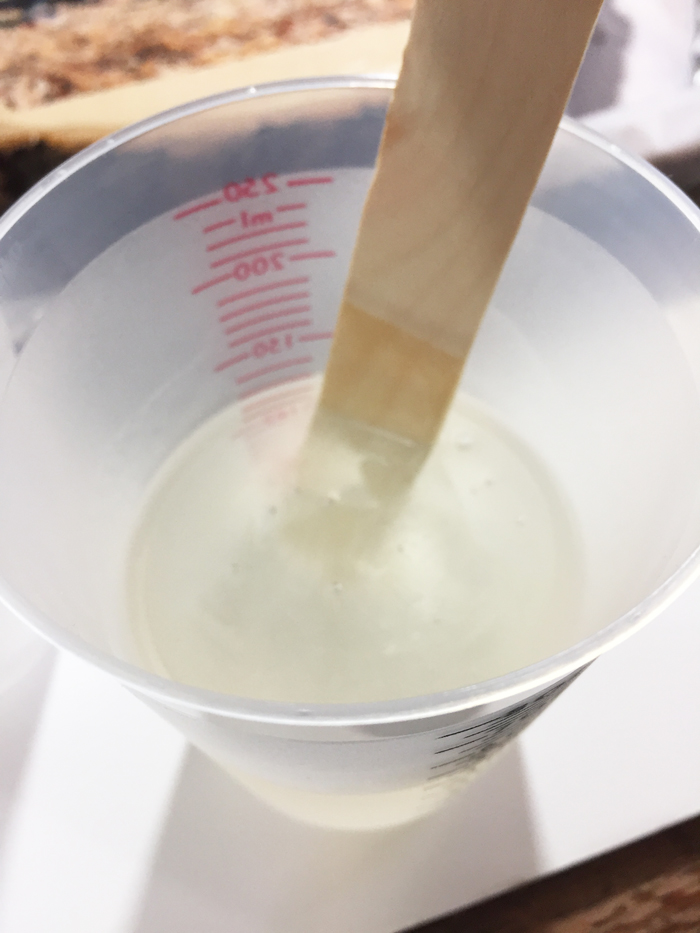
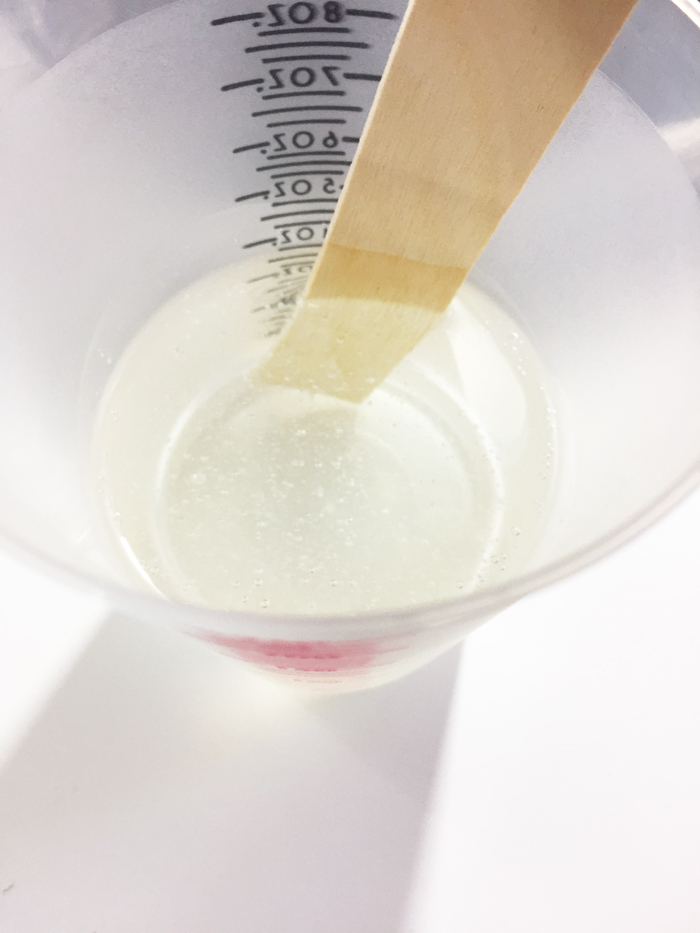
Stir the two parts together thoroughly. As you can see in the next two photos, when you begin to stir it is a little cloudy, but once they are mixed it gets much clearer with just bubbles (we’ll take care of those later!)
Once it’s all mixed together, pour it into your SECOND cup and stir again thoroughly with your SECOND stir stick. This prevents any excess of one part or another from ruining the cure and causing sticky spots.
Once that’s done, we’re ready to pour!
Pouring Envirotex Lite:
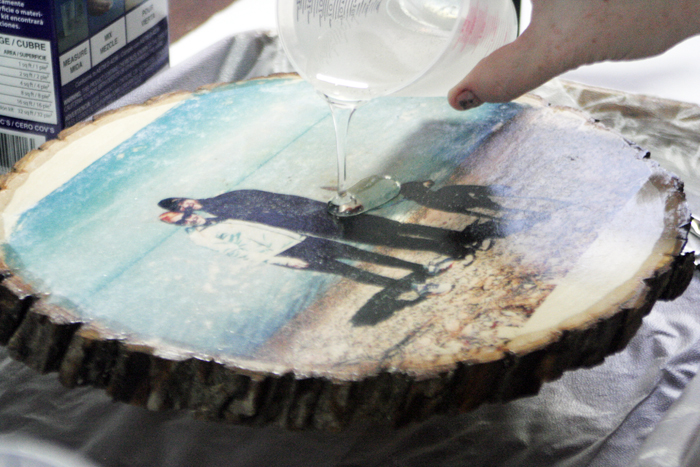
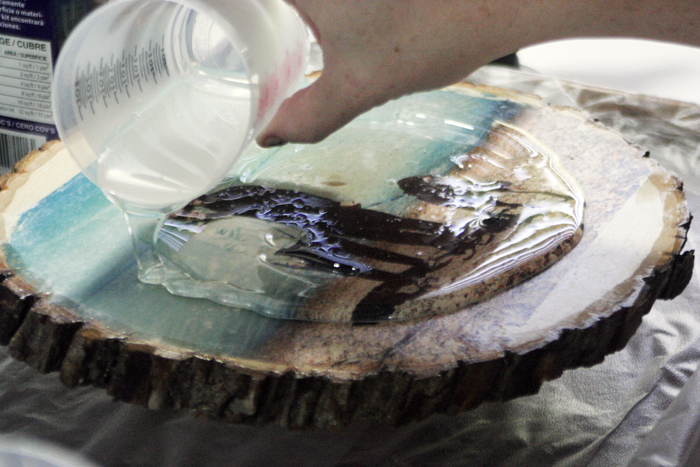
Start pouring the resin in the center of the photo transfer wood slice, moving outwardly in a spiral. It will spread out fairly quickly, just make sure it coats the entire top.
The resin will self-level as it spreads out and the excess will pour off the sides. This is why you want a good disposable material underneath that you’ll just be able to throw away, to catch the excess.
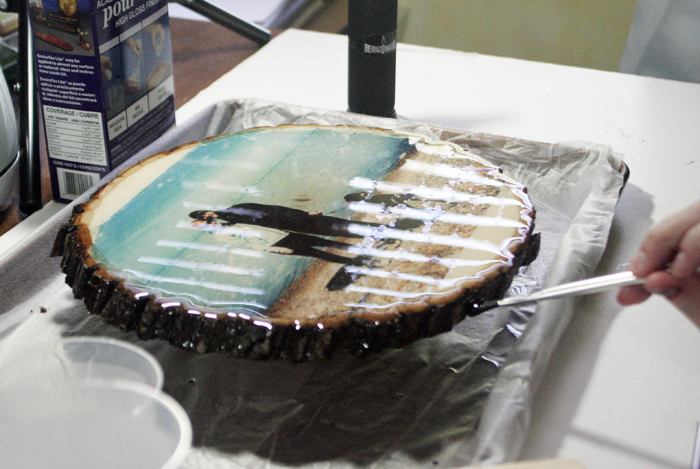
Okay, so it’s completely covered the top. For this project, because the sides are so uneven, I actually used a craft brush and painted resin onto the bark of the wood slice. I used the excess resin in the tray. This worked well and I don’t see another way to get it over and into all of the grooves. As the resin settles, you’ll also need to use your brush to wipe off the drips underneath all the sides. (You can see the reflection of my window and that just gets more clear as it settles.)
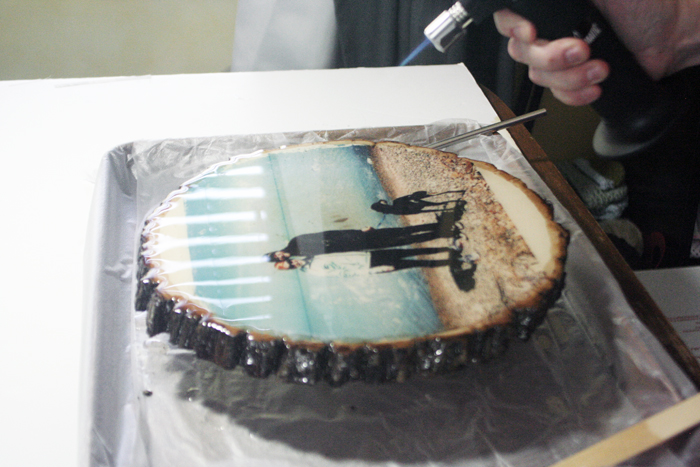
Wipe off the drips for a little while, but then take a short break and come back about 15-20 minutes later. Wipe off any remaining drips and use the micro butane torch (or exhale over the project) and pop the bubbles. The carbon dioxide is what will pop them, so your exhalation can work, but a butane torch is MUCH faster.
Alright, now we just cover the project as carefully as possible and wait for it to cure. The recommended time varies depending on room temperature, but here is the information on the directions: At 70 degrees it takes 4-7 hours in dust free area and 72 hours for a hard cure. At 80 degrees it takes 3-6 hours dust free, and 48 hours for hard cure. And at 90 degrees it takes 2-5 hours dust free and 36 hours for a hard cure. I let mine sit for a few days under the covering just so I wouldn’t mess anything up. I’m so pleased with the results!
Finished!
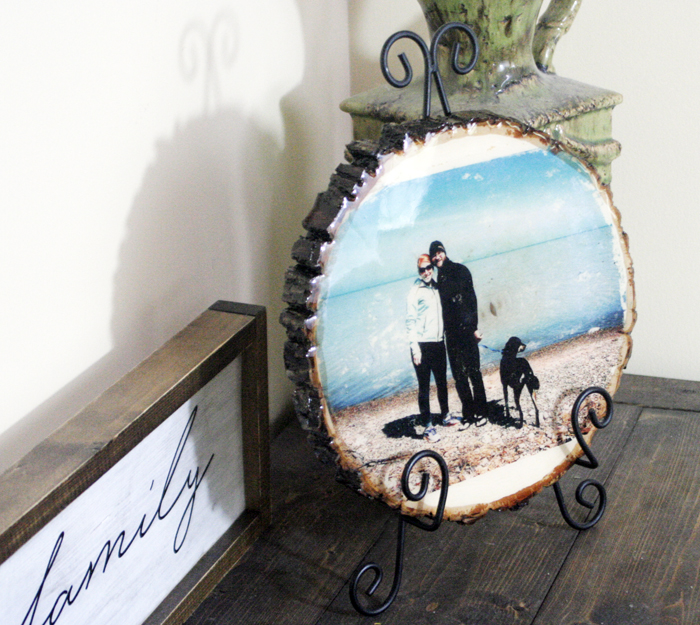
As you can see in these finished photos, the light reflects off of this just like it would with glass. It’s just perfect and glossy and beautiful. I really love this product!
Sheri is a Maker and DIY blogger at Hazel + Gold Designs. She is usually in the middle of multiple projects at once and finds great satisfaction and joy in creating something new. She is constantly learning new skills, putting them to the test, and sharing her experience and knowledge with others. Her favorite hobbies are crafting, painting, crocheting and basic woodworking. Her goal is to inspire others to step out of their comfort zone, learn a new skill and have the confidence to make their life a little more beautiful!




[…] Download Image More @ resincraftsblog.com […]