DIY: Gold Leaf and Emerald Resin Cabinet Knobs
Have you ever crafted your own cabinet knobs and pulls? It’s an awesome DIY.
Using Emerald green translucent dyes and gold leaf curls, these knobs are gorgeous!
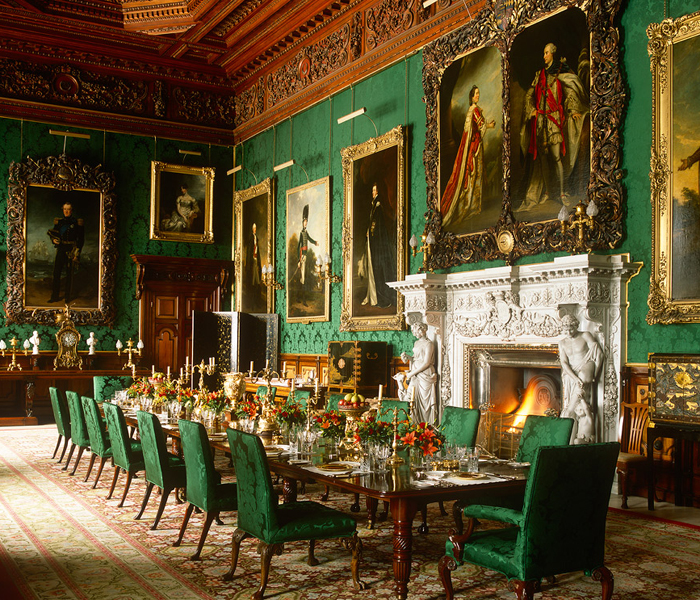
I was totally inspired by Brancaster Castle on the Chrismtas Special of Downton Abbey.
It’s also the castle that Lady Edith marries into.
I love the emerald green and the gold! It’s so glorious!
So that’s the inspiration for these awesome cabinet knobs.
Imagine the possibilities as you read through this tutorial!
You will need:
Cabinet knob molds (these are ovals)
Gold Leaf
Knob Hardware
E6000 glue
Baking sheet/wood board/surface for working on
This stuff is very smelly, please work in a well ventilated environment.
I should have taken these to the garage, but I did it in the house instead.
Even with all the windows and doors open, I still got a chemical headache.
~
Read the instructions on the clear casting resin well.
They are a little bit vague on how much of the hardener to drop in.
I mixed up a whole cup of resin at once, because I had several other projects going.
But really, you just need enough to fill half of your molds initially.
You can use Mold Release Spray, but mine popped out just fine without it.
Fill the molds half way.
My mold had a bit of a bow in it so I set some items on top of it to straighten it out while setting.
Let it sit for about an hour.
It won’t be completely set, but it will be gel like and ready for leafing.
I used less than one sheet of leafing and just rolled and broke it up.
If you have gold leaf flakes, that would be easier.
Just add leaf flakes and rolls into the molds.
It kind of gets everywhere!
No worries. Just let it sit undisturbed for another hour.
Next I mixed up a little more resin (in a new cup with a new stirring stick)
I made just enough for my molds and added just a couple drops of green resin dye.
It’s not opaque, it’s translucent, so the gold leaf will still show through.
Then gently pour right on top of the gold leaf and fill to the top of the mold.
Then let it sit undisturbed for a few days.
I let mine sit for a week to be sure it was cured.
I popped them out of the mold and let them sit a couple more days because they still had a little resin smell to them.
But look at that! They look amazing.
Now, because I did not wait for the clear resin to set completely, the green resin mixed in with the clear and made them all emerald. I actually love it.
They wouldn’t have looked as good if they had a harsh clear to colored line.
The undersides were a bit uneven and had some sharp edges, so I just sanded them smooth.
After sanding and washing them off, they looked perfect.
Next I used the cabinet pull hardware and the E6000.
A dab of glue on the hardware and then set gently on the back of the knobs.
I set them on bubble wrap so I could keep them straight even though the surfaces are rounded.
Let them dry for at least 4 hours.
Add in the machine screw and they are ready to use!
I’d love to feature these on a vintage dresser or high boy or added to all the cabinets in the kitchen, imagine all 6 knobs visible!
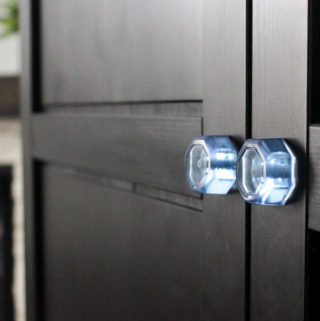
But alas, I have this short hutch and it needed a knob…this adds so much classiness to it!
Such a delightful effect with the curls and flakes of gold leaf and the smooth and shiny green resin.
It’s stunning and personal!
I have so many other fun cabinet knob ideas now.
Like, share, save, follow, comment and pin!
Natalie Shaw is a Craft/DIY blogger at Doodlecraftblog.com. She loves sci-fi, fantasy and video game geekery and that comes out in many of her projects. She posts budget conscious DIY’s, crafts, jewelry, kid friendly projects, upcycled treasures and other fun on her blog 5 days a week.
A Yates
I love these, thank you for this post. I’ve tried to find the metal pieces for the back of the knob everywhere, but struggling, without the handle. Any ideas on where I can find these? Ideally in the UK. Thank you.
Natalie Shaw
Purchased mine here: https://www.dlawlesshardware.com/ But try Etsy by searching “drawer pull base”. Good luck!
Naz
What dye did you use?
Lydi
Hi Naz! It’s the green transparent dye.