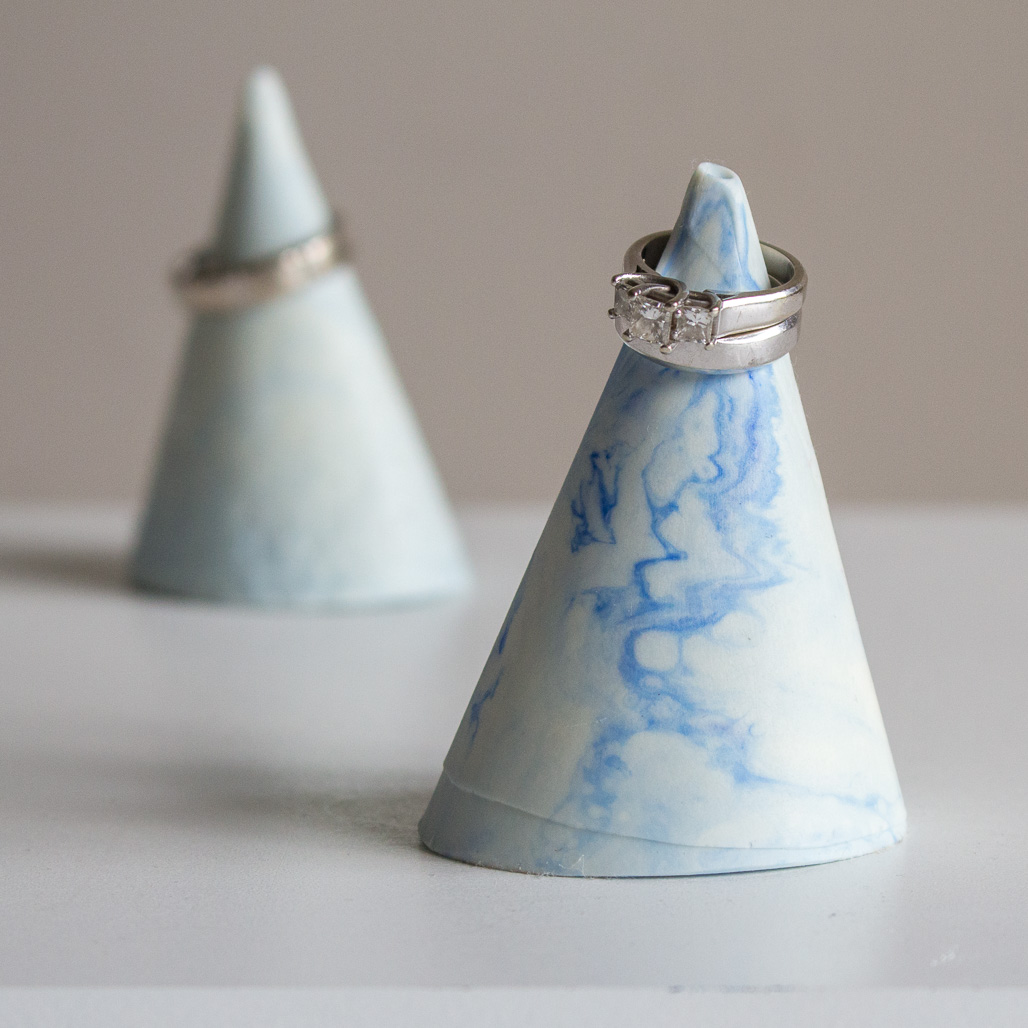
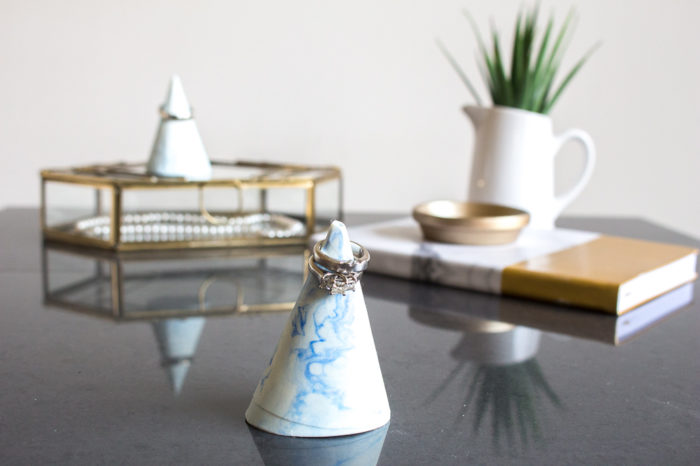
Hi, Sonja here from Sustain My Craft Habit! I am very excited to show you how to make your own trendy and stylish faux-marble DIY jewelry organizer, specifically a ring cone!
Is it just me or have you ever misplaced your rings? I recall that feeling of instant panic, and then memory searching to retrace my steps to relocate the ring. With these pretty ring cones, you will have a place to store your rings whenever you’re not wearing them.
And the icing on the cake here is how quickly this project came together. I made my own cone-shaped silicone mold using EasyMold Silicone Putty. I used the mold then to create the cones. Now that I have the mold, I think I’ll make a bunch to give as gifts for birthdays, a wedding and Christmas. Since you can use the EasyMold to replicate any shape that inspires you, the possibilities are endless. So let’s get right to it!
Supplies Needed to Make this DIY Jewelry Organizer
- Cone-shaped Silicone Mold
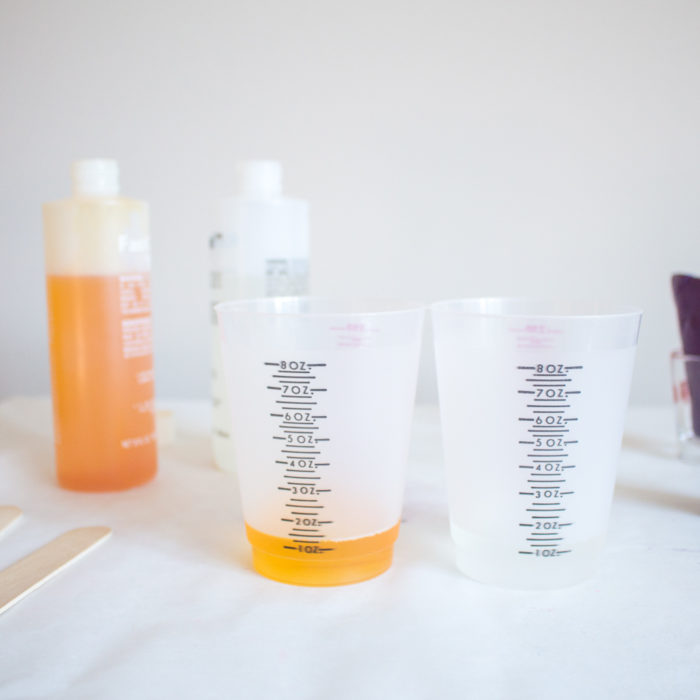
- FastCast Urethane Casting Resin
- Wooden Stir Stick
- Plastic Measuring Cups
- Newspaper or plastic drop sheet to protect work surface
- Castin’ Craft Universal Transparent Dye (blue or any color of your choosing)
- Fine sandpaper (e.g. 200 grit)
How to make a Faux-Marble Ring Cone
Before starting your project be sure to cover your work surface and completely read through the instructions provided on the FastCast Urethane Casting Resin box for the best results. Ensure your work area is free of dust and dirt and well-ventilated.
A helpful tip before starting: To determine how much FastCast to mix, you can fill mold with rice, then pour the rice into a measuring cup. This will give you a good indication of how much product will be required.
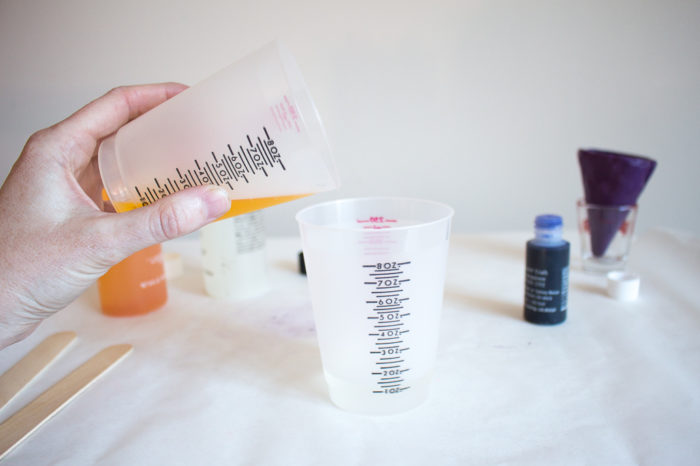
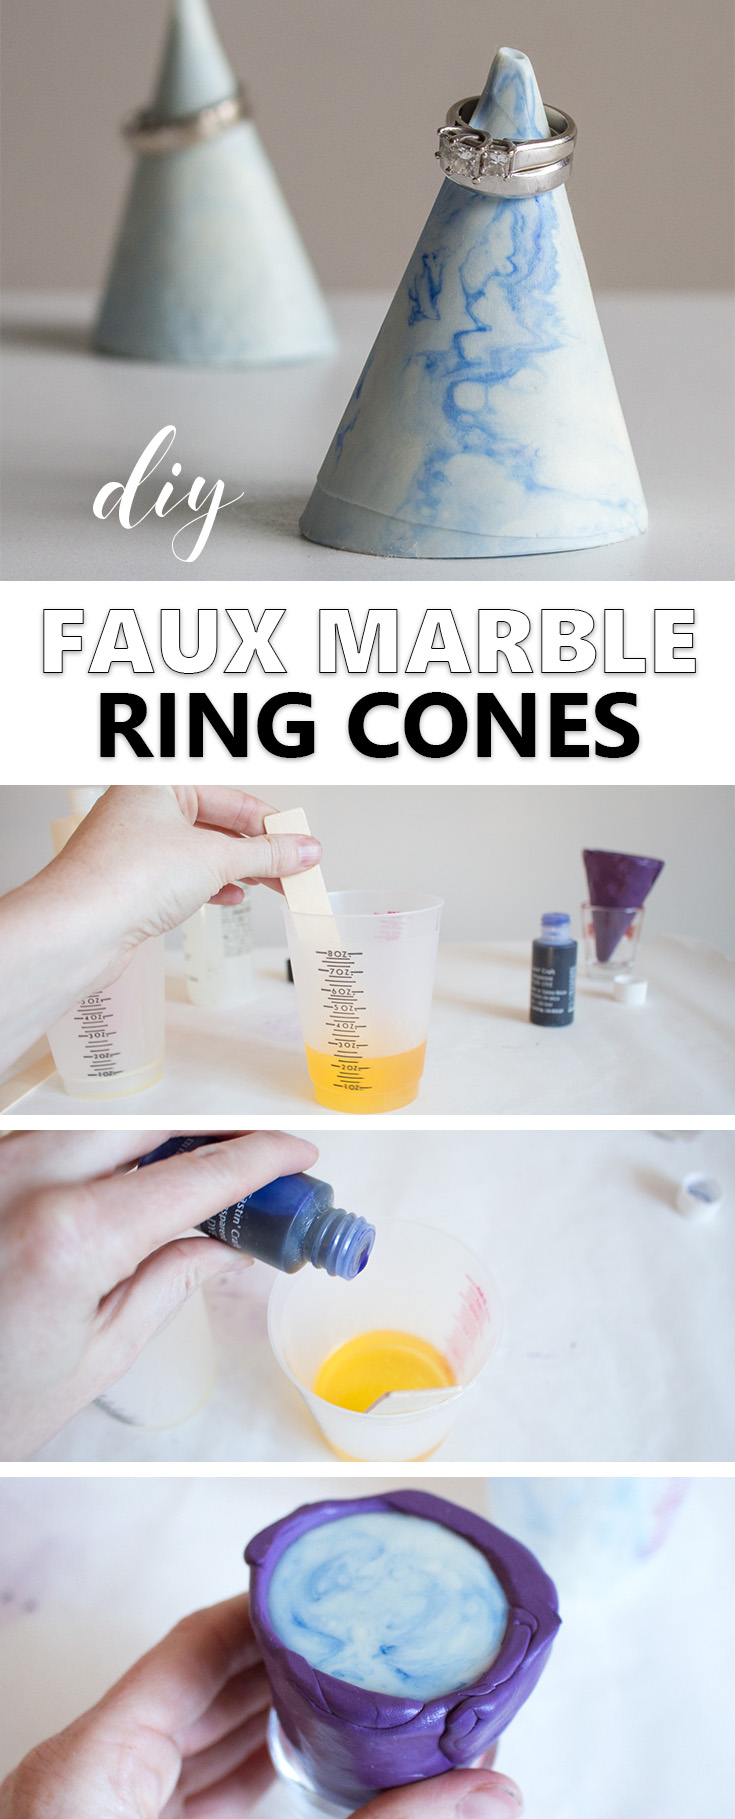
1. Measure equal amounts of components A & B by volume into a straight sided, flat bottom, wax free container.
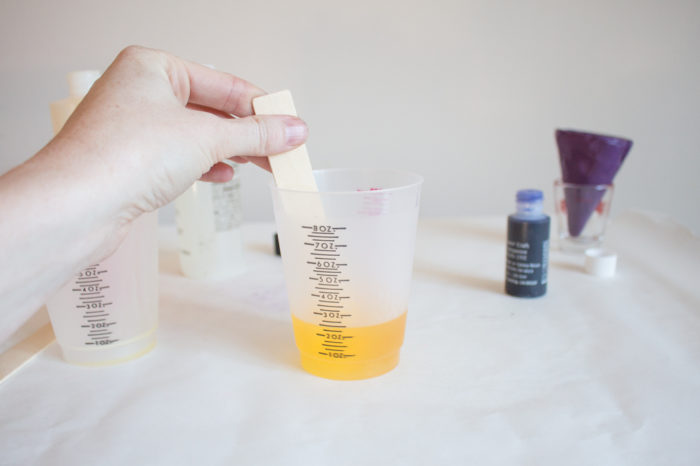
2. Working quickly (FastCast has a working time of 2 minutes at regular room temperature), mix components A & B together for 30 seconds, scraping sides and bottom of container.
3. Pour the contents into a second container and mix again for another 30 seconds.
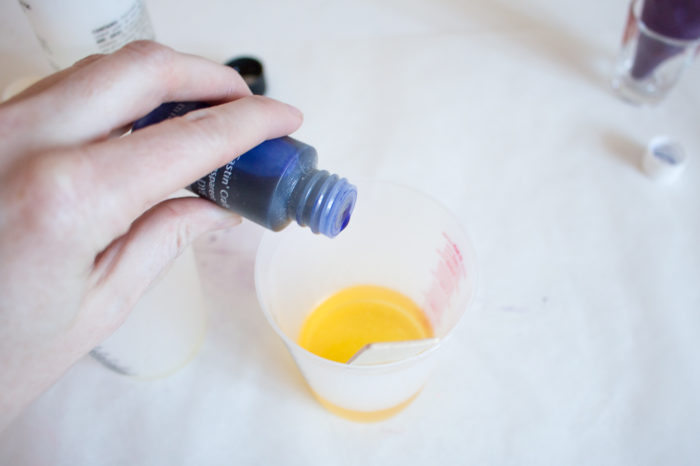
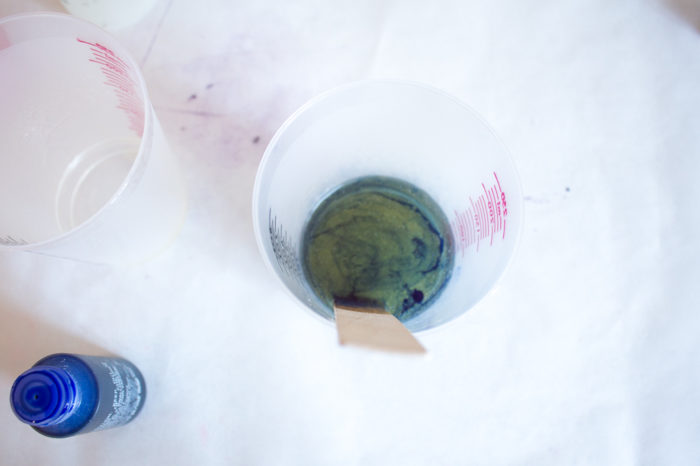
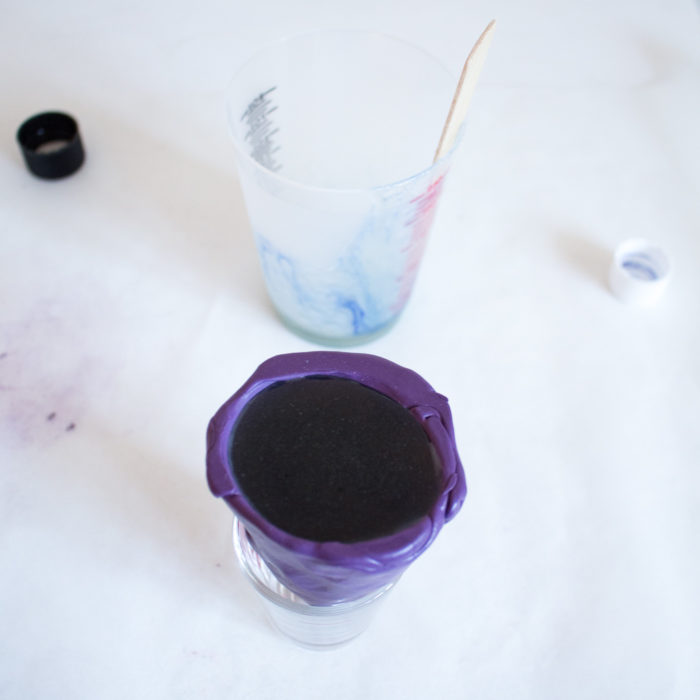
4. Add 3 or more drops of the pigment dye and mix again for 3 seconds. Don’t over mix the dye, since we are looking for a marbled effect.
5. Immediately pour this solution into your mold, do not hesitate!
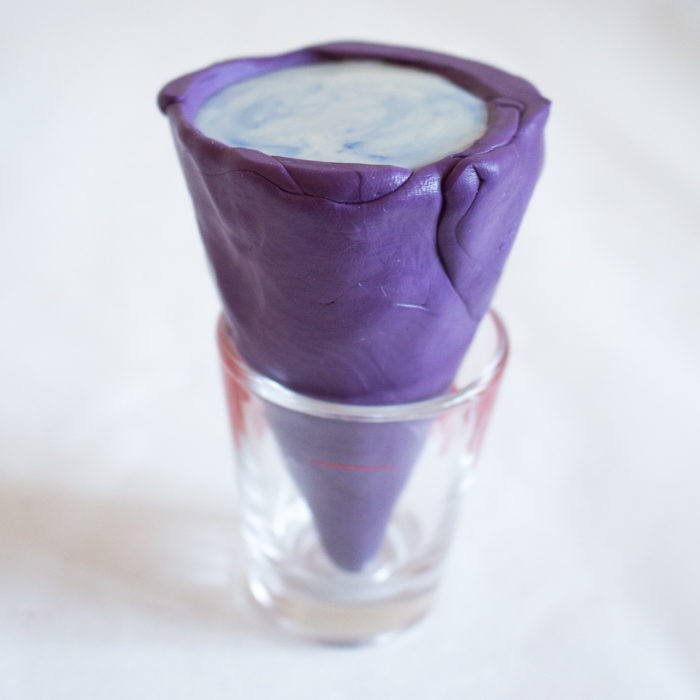
6. Allow 10-15 minutes for your casting to set and cure.
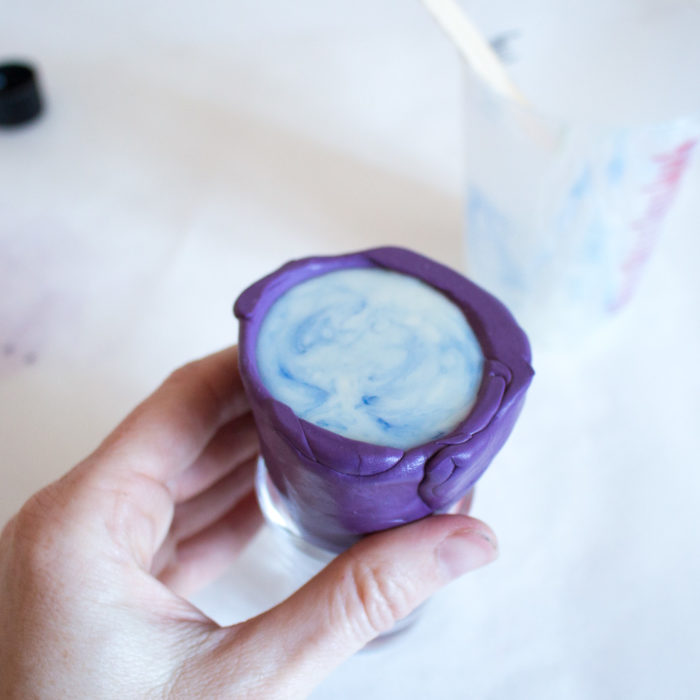
7. Gently remove from the cone mold (you’ll be able to use it again!).
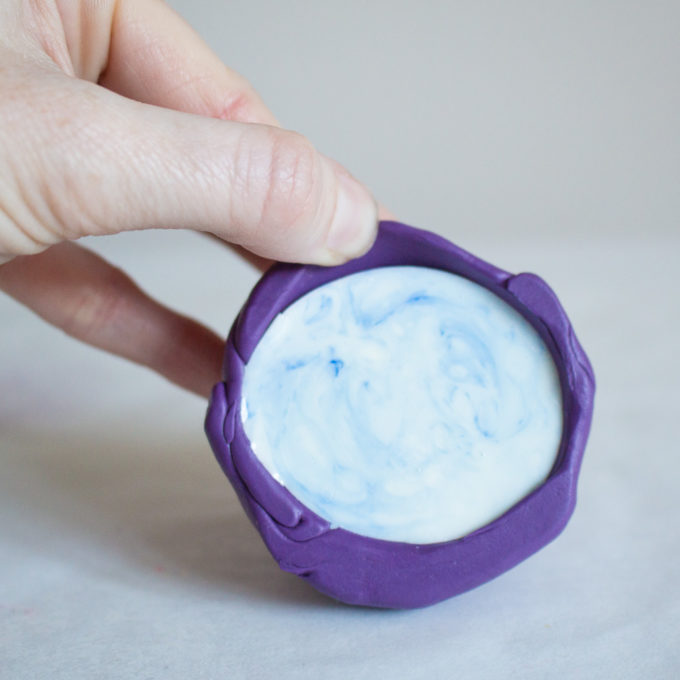
5. Allow pieces to cool and completely cure before sanding any uneven or rough edges off of your new DIY jewelry organizer.
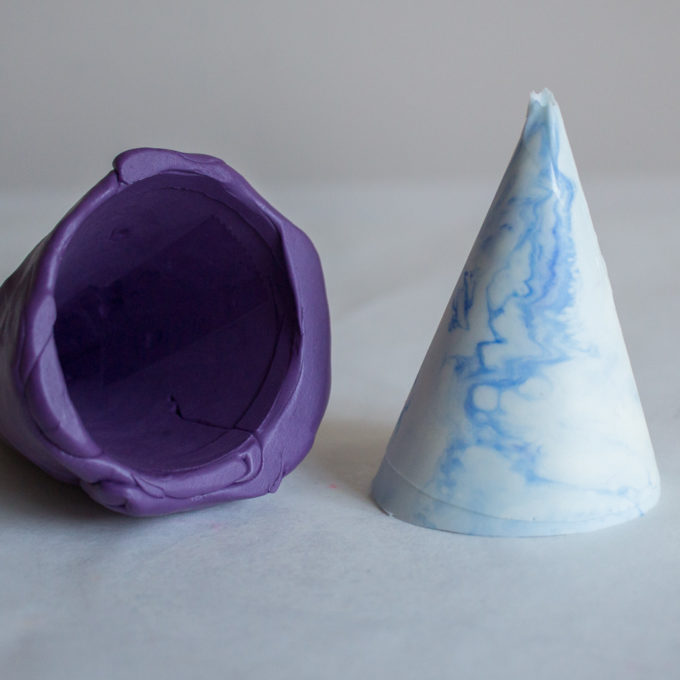
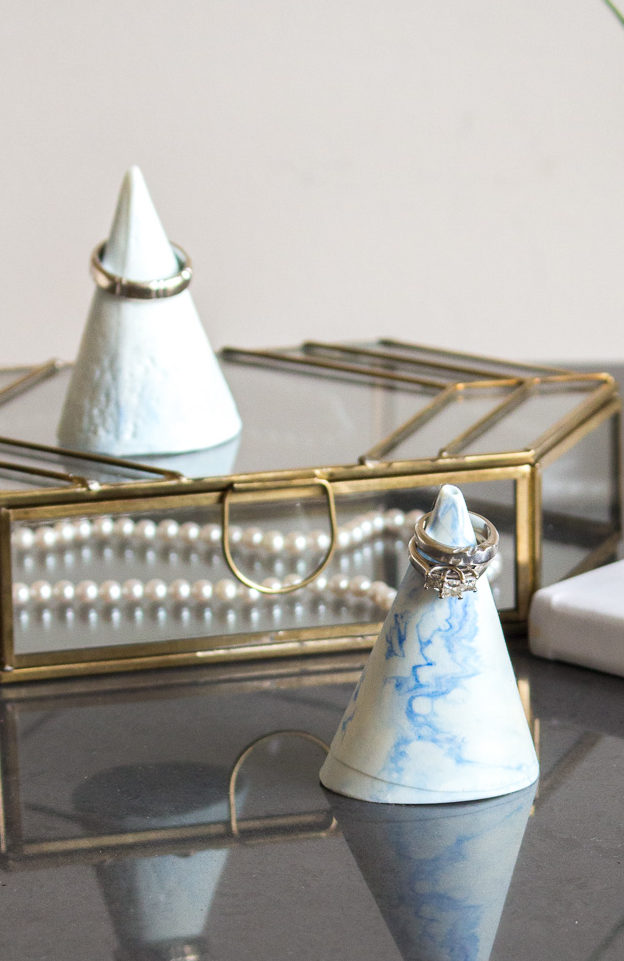
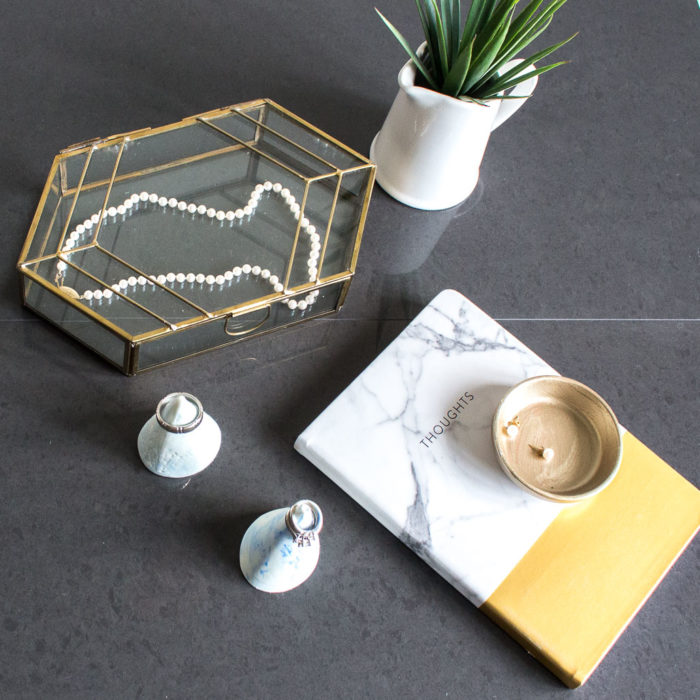
There you go! I made two of the ring cones: one to keep in the bedroom and one in the bathroom where I sometimes take off my rings. I have no doubt that my husband’s ring will also find it’s way onto these cones!
Thank you so much for the opportunity to share this DIY idea with you! If you’re interested in more jewelry craft ideas, pop over and see our tutorial on how to make your own birth-month flower pendants, or see how we made faux-stone bracelet beads using EasySculpt modeling clay.
Like it? Pin it for later!
Jane and Sonja are sisters, moms and lifelong craft addicts both living near Toronto, Canada with their families. They share their love of creativity, nature and coastal DIY ideas on their blog Sustain My Craft Habit. They craft and decorate their homes using repurposed and upcycled items and materials found in nature.
[…] Step by Step Instructions Here: resincraftsblog […]