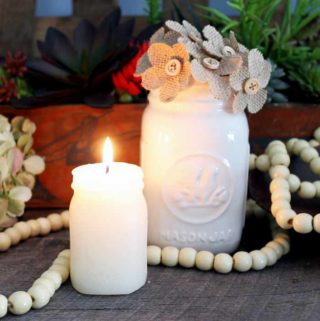
Light up any space with your own custom DIY Epoxy Resin Candle Holders!
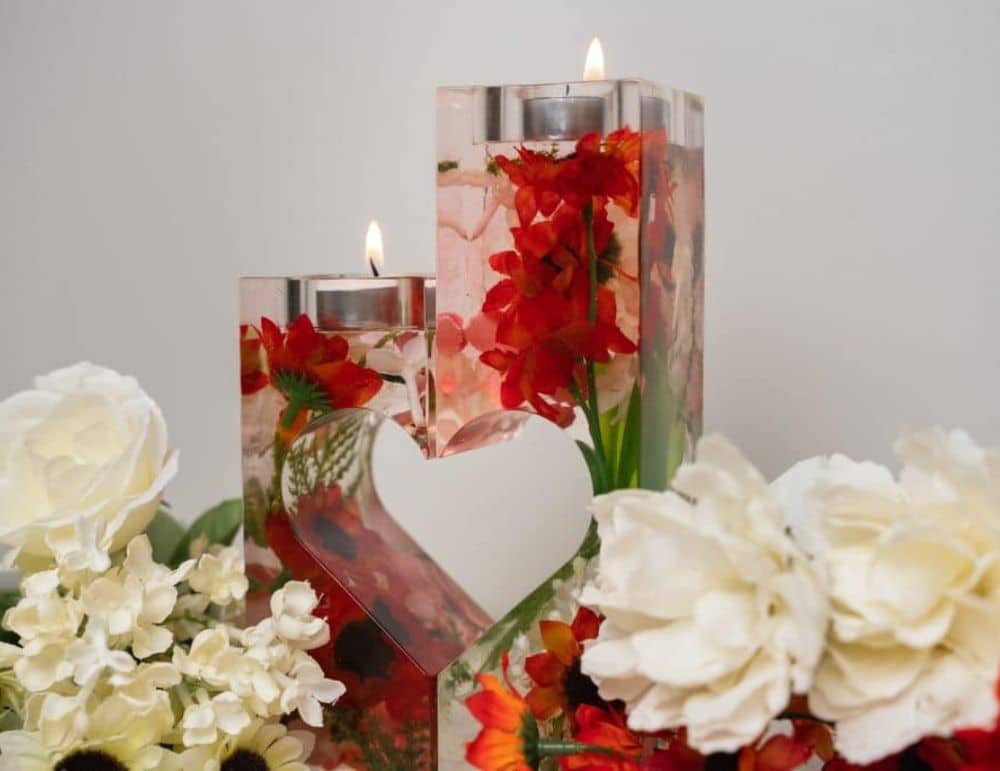
Pepper your home with your favorite scented candles and, better yet, give them colorful distinctive “homes” of their own to rest in or on! From tea lights and incense to votives and pillar candles, you can use resin to build a holder of any kind and shape.
Before you look into making your own candle holder and candle trays, there are some things you should keep in mind about resin and high temperatures.
Can you use Resin to Make Candle Holders?
The answer is complicated, but not “no.” One popular trend that we see in resin crafting involves a simple but undoubtedly atmospheric decoration: the candle. Now, while we don’t advise making a candle from resin, we have seen a variety of inventive uses for resin candle holders and candle tray decor.
Resin and Flame
Resin is affected by heat, even after being cured. The hottest part of a flame, specifically the blue area at the bottom, can burn at over 2,500 degrees Fahrenheit. In order to ensure minimal damage to your creation, you’ll want to avoid having flame, wax, or the metal that might contain a candle’s wax come into direct contact with the resin.
You don’t want the resin candle holder to encase the candle in any way. This is why flatter candle holders or candle trays are a safer alternative. As a flame burns down through a candle, you will also want to avoid a burning flame surrounded by resin on all sides. An ideal resin candle holder will involve minimal to no contact between the source of heat, the flame, and the resin component.
Now that we’ve covered the basics of how heat affects resin, let’s talk about how you can make your own candle holder.
Advice for Making Candle Holders
A gifted DIYer by the name of Rebecca Dillon offers insight into the process of making her custom resin candle glass holders with Promise Table Top Epoxy. In her post about the subject, Dillon arranges dried flowers, twigs, holly berries, and pinecones before adding layers of resin to complete her final product!
There are many safety factors to consider ahead of time before you create. As mentioned above, heat and flame can damage even cured resin. Dillon has her own methods of addressing any heat concerns:
“You don’t want resin to get too hot. Therefore, I used a glass insert inside the resin when making my homemade candles. This allowed me to create a decorative resin candle holder that enabled me to burn my candle safely for short periods of time without having to worry about fumes from the resin or the resin melting.”
To take a look at her blog post, click the link provided here, and get started making your unique candle holder vision a reality!
Now, we’ll take you through our tutorial for creating your own candle holder with pre-purchased molds and faux flowers and greenery.
Supplies to Make an Epoxy Candle Holder
- Promise Table Top Epoxy Resin
- Promise Deep Pour Epoxy Resin
- Candle holder molds
- Dried flowers and greenery
- Mixing containers
- Paint stir sticks
- Popsicle sticks
- Heat gun
- Nitrile gloves
- Safety glasses


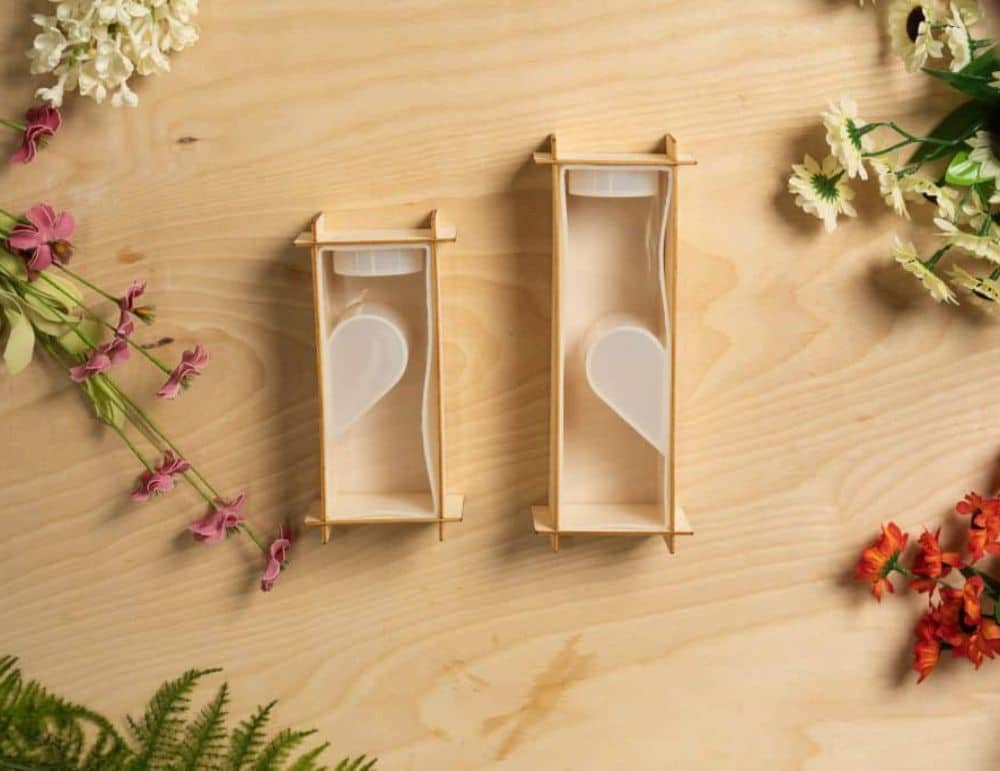
How to Make a Resin Candle Holder
Don’t forget to put on safety glasses and gloves before using any epoxy resin!
Prior to starting this project, you’ll want to make sure your flowers are dry. If you’re using organic flowers, there is a simple process for drying them to prepare for encapsulation.
Assemble all of your supplies in your workspace and review the instructions for using both of the Promise resins. We’re going to start with a small amount of Table Top epoxy to create a layer for the flowers to adhere to. Measure out one part of the resin (Side A) and the hardener (Side B) and mix to thoroughly combine.
Pour a thin layer into your molds and let it cure. You want it to start to cure for about half of its open/work time. Check on it frequently to monitor for the consistency you need. You want it to start curing, but still have enough give to hold the flowers and greenery you’re adding.
Arrange the flowers however you’d like. We’ve found that fake flowers seem to float less in the resin. If you decide to use fake flowers, you may not need the initial Table Top layer. For this tutorial, we used fake flowers. You can also use a glue based sealer like Amazing Sealer to adhere the flowers to the mold.
We’ll then move on to using Deep Pour.
One of many things to keep in mind is that Deep Pour is measured in a 2-to-1 by volume ratio. This means you need two parts of resin (Side A) to one part hardener (Side B). To determine how much Deep Pour epoxy you will need, fill your mold with water and then pour it into a measuring cup. This will give you the total volume you will need of mixed epoxy.
Pour slowly to ensure you combine exact amounts and then it’s time to mix. Feel free to use a heat gun at any point to remove any resin bubbles.
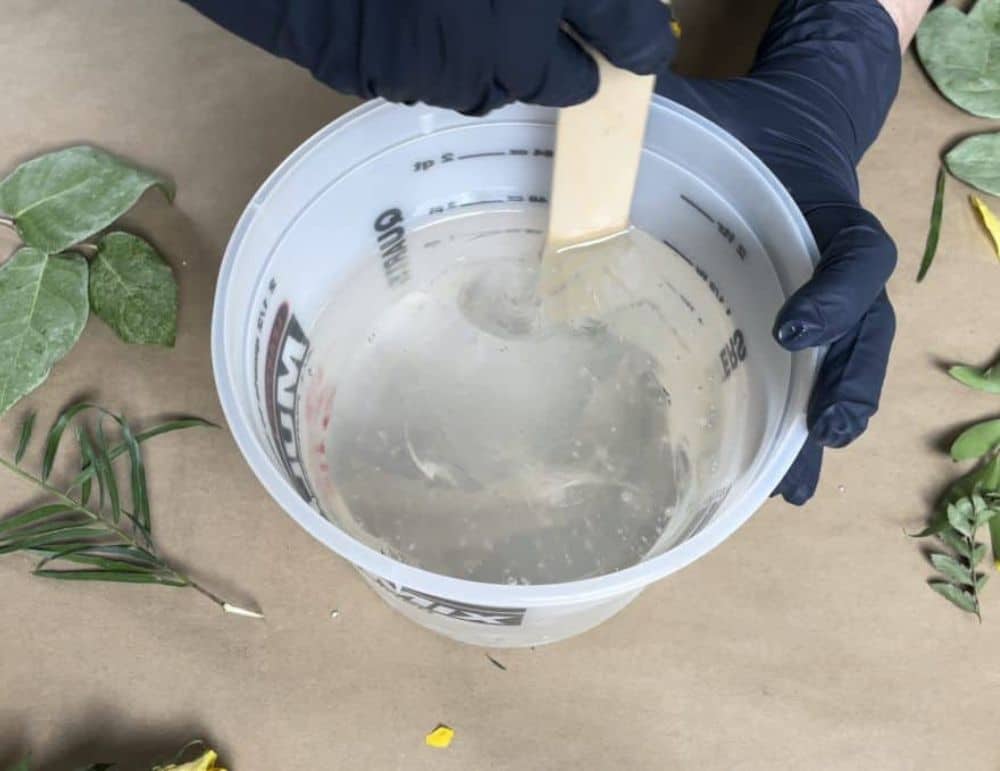
Carefully pour your mixed Deep Pour into your molds to coat the flowers. Make sure to fill it to the very top.
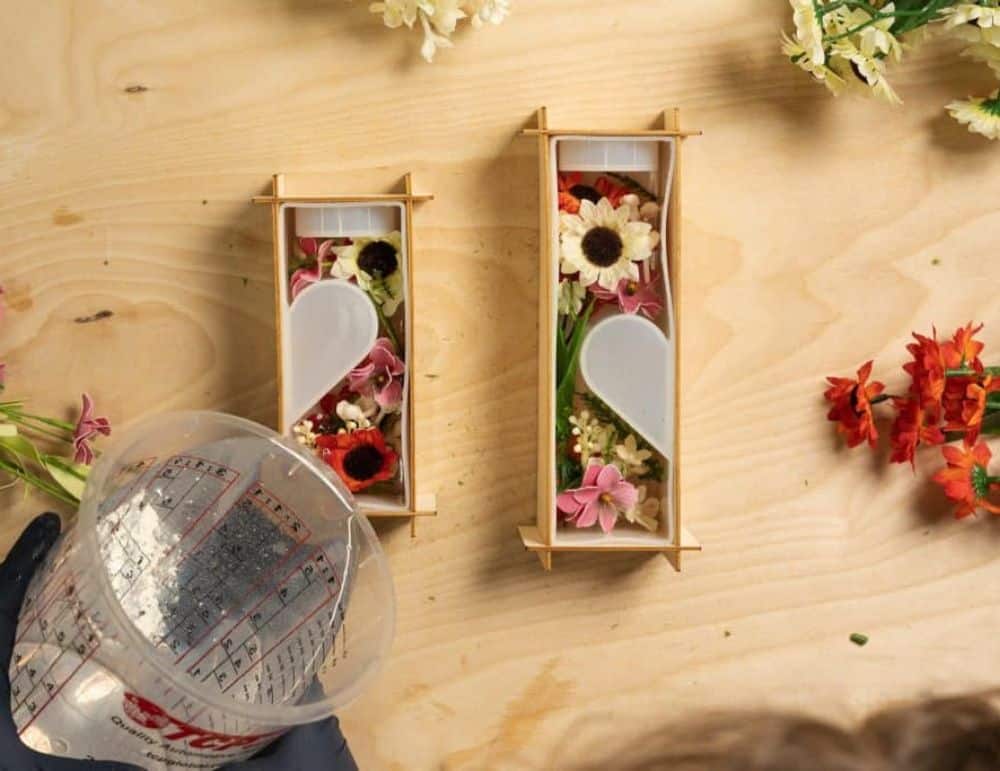
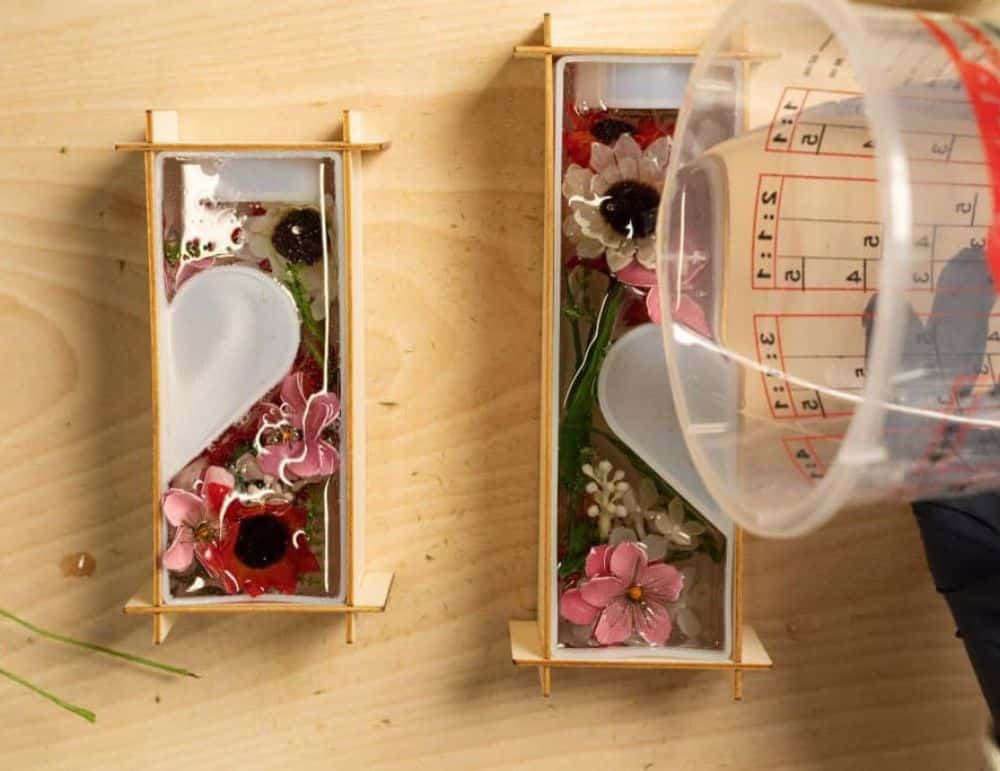
You can use a popsicle stick to press down any flowers that poke up out of the resin. However, with that first layer of Table Top, they should stay in place.
Once you complete your pour, it’s all about waiting. Let it cure for the amount specified in the product’s instructions.
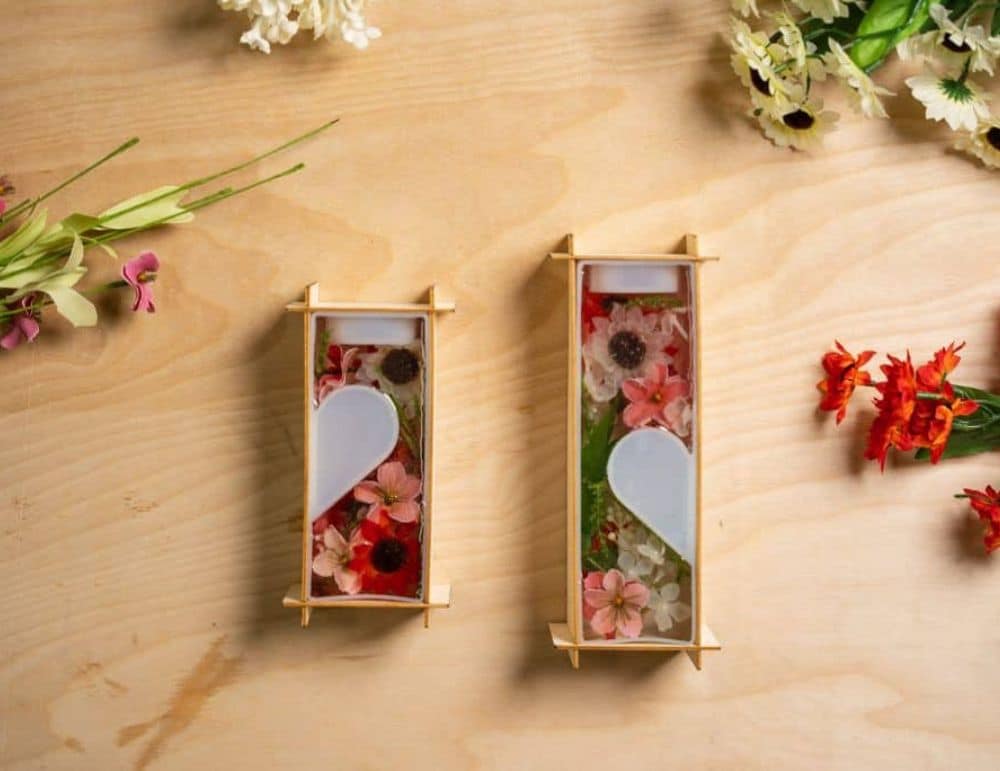
Once the resin has cured, you can demold your candle holder. Gently pull the silicone mold away from the cured resin.
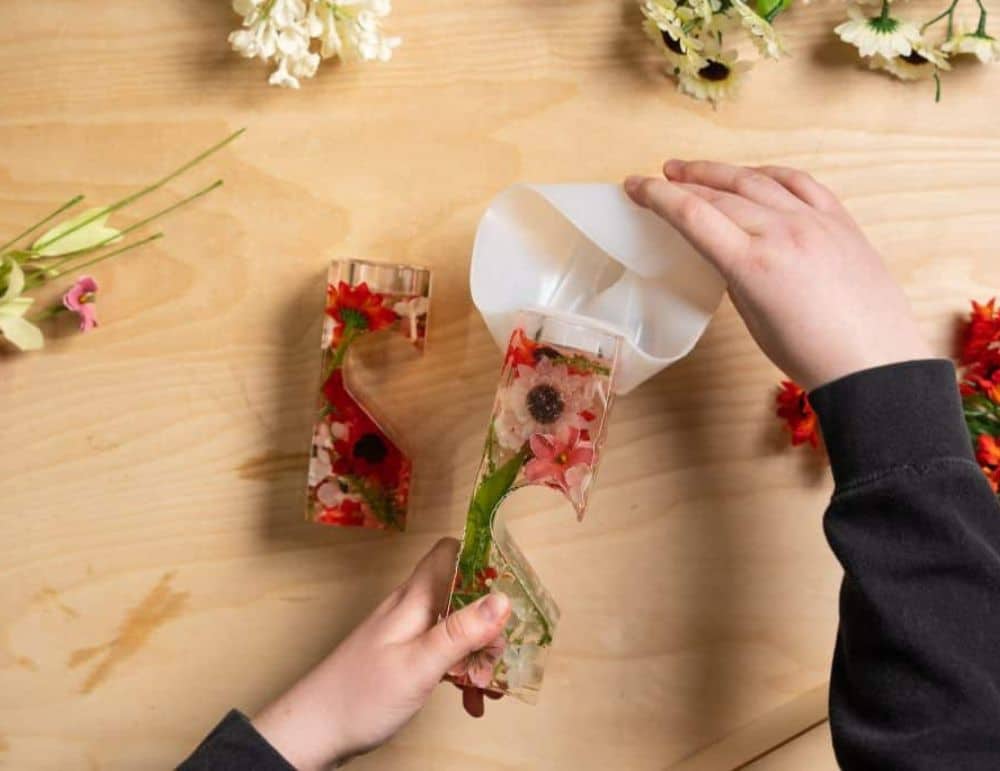
And it’s finished! You can use this process to encapsulate any kinds of flowers, whether they have a special significance to you or you just like the way they look, to create these adorable resin candle holders.
Below is a picture of the final product!
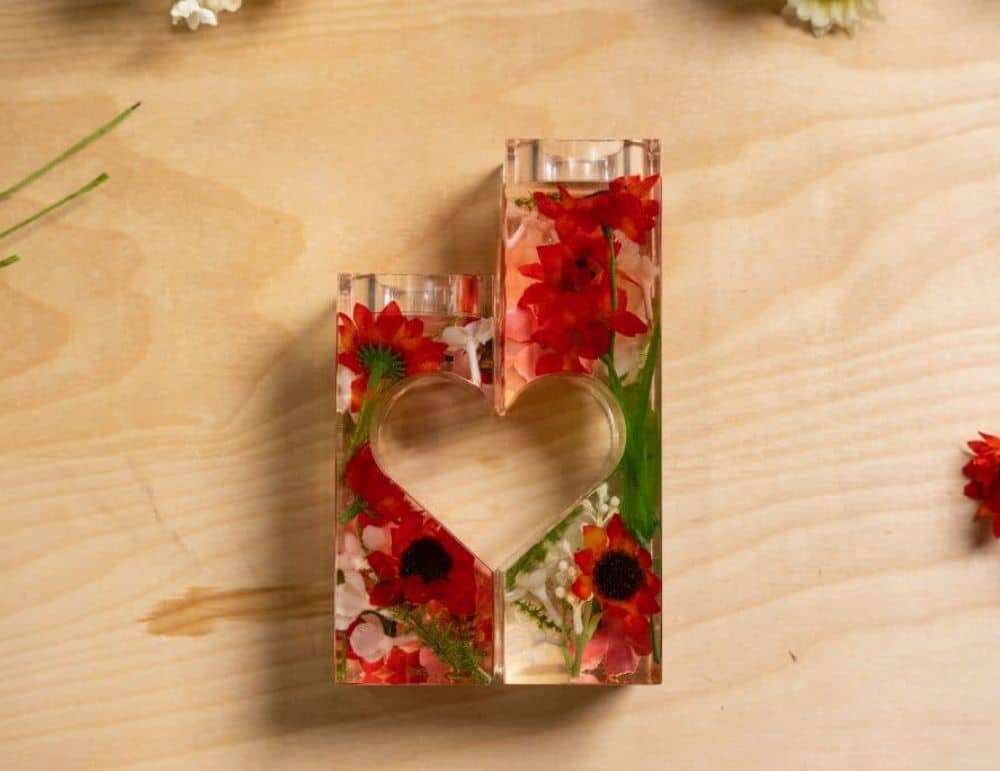
Since you can encapsulate objects in resin or even tint its color, there are no limits to your creativity. You can even combine different mediums, such as wood, to make wooden candle trays with resin accents or make round candle trays out of concrete to break up the texture in a space.
Continue to browse our social media for more ideas, candle holder-related or otherwise! If you have any questions, don’t hesitate to reach out to us!
How to Make Resin Candle Holders
Materials
- Promise Table Top Epoxy
- Promise Deep Pour Epoxy
- Candle holder molds
- Dried flowers and greenery
- Mixing containers
- Paint stir sticks
- Popsicle sticks
- Heat gun
- Safety glasses
- Nitrile gloves
Instructions
- Don't forget to put on safety glasses and gloves before using any epoxy resin!
- Prior to starting this project, you’ll want to make sure your flowers are dry. If you’re using organic flowers, there is a simple process for drying them to prepare for encapsulation.
- Pour a thin layer into your molds and let it cure. You want it to start to cure for about half of its open/work time. Check on it frequently to monitor for the consistency you need. You want it to start curing, but still have enough give to hold the flowers and greenery you’re adding.
- Arrange the flowers however you’d like. We’ve found that fake flowers seem to float less in the resin. If you decide to use fake flowers, you may not need the initial Table Top layer. For this tutorial, we used fake flowers.
- We’ll then move on to using Deep Pour. One of many things to keep in mind is that Deep Pour is measured in a 2-to-1 by volume ratio. To determine how much Deep Pour epoxy you will need, fill your mold with water and then pour it into a measuring cup. This will give you the total volume you will need of mixed epoxy. Pour slowly to ensure you combine exact amounts and then it’s time to mix. Feel free to use a heat gun at any point to remove any resin bubbles.
- Carefully pour your mixed Deep Pour into your molds to coat the flowers. Make sure to fill it to the very top.
- You can use a popsicle stick to press down any flowers that poke up out of the resin. However, with that first layer of Table Top, they should stay in place.
- Once you complete your pour, it’s all about waiting. Let it cure for the amount specified in the product’s instructions. Once the resin has cured, you can demold your candle holder. Gently pull the silicone mold away from the cured resin.
- And it’s finished! You can use this process to encapsulate any kinds of flowers, whether they have a special significance to you or you just like the way they look, to create these adorable resin candle holders.
