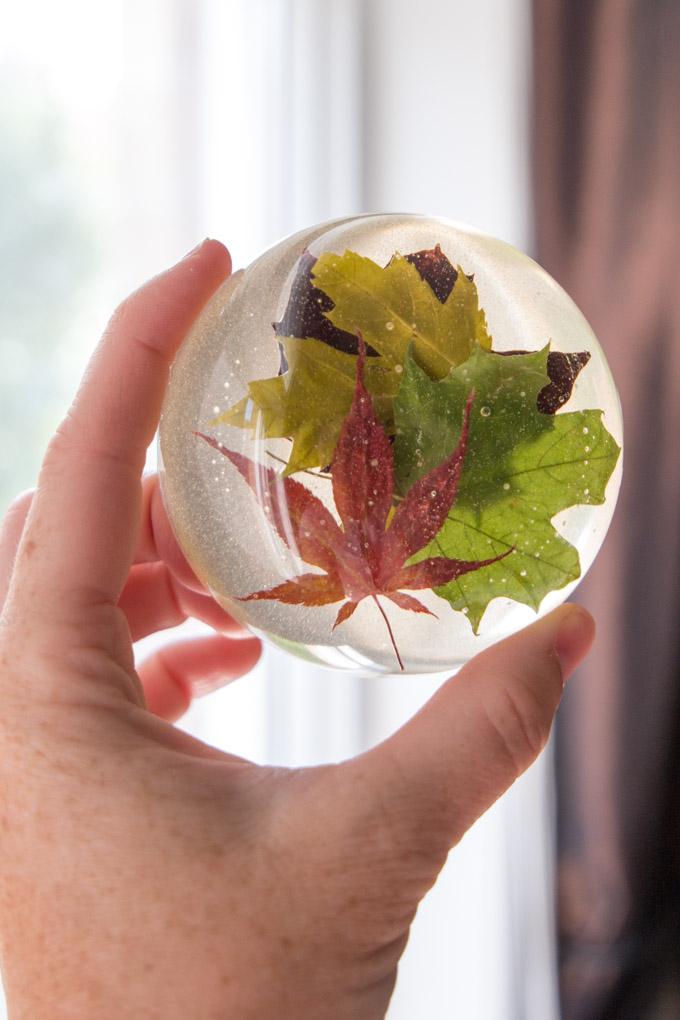
Capture the natural beauty of the late summer by making a one-of-a-kind maple leaf resin paperweight.
One of the few good things about summer coming to an end is that the beautiful rainbow of autumn leaves is just around the corner. In a few short weeks the leaves will start turning colours and some of most beautiful transformations are by the maple leaves.
Hi again! It’s Jane from Sustain My Craft Habit, a DIY, craft and home decor blog where my sister Sonja and I share new nature-inspired ideas each week.
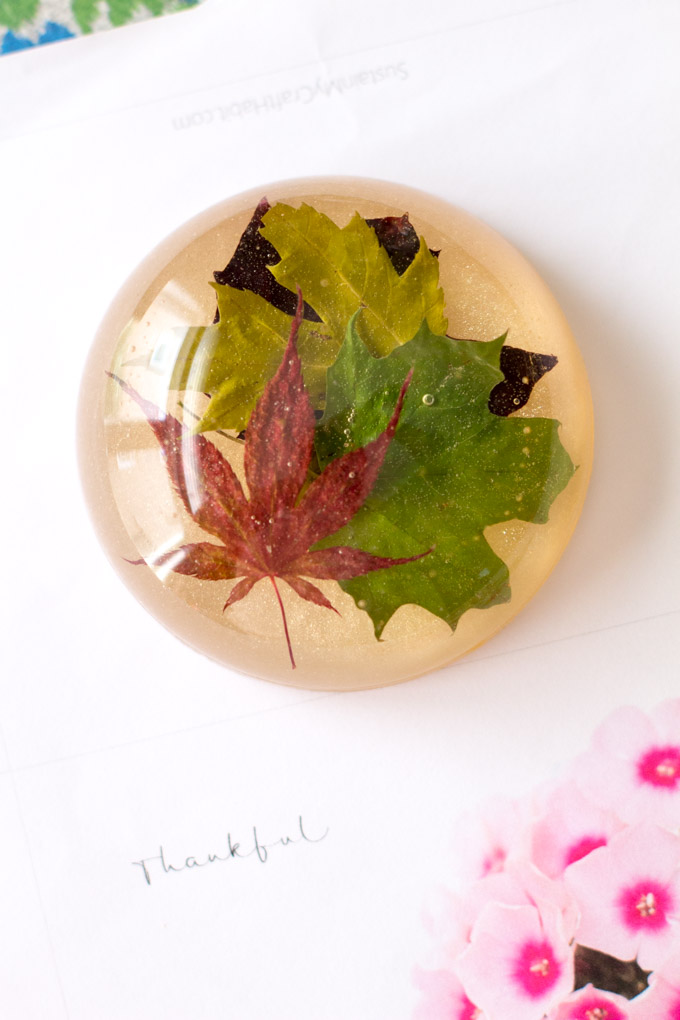
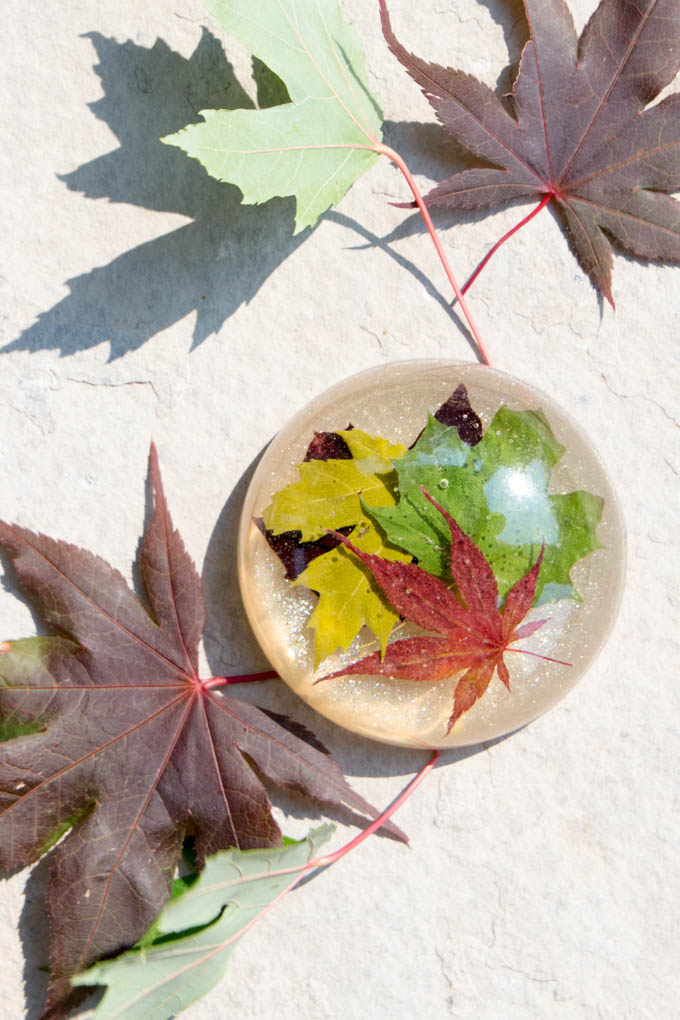
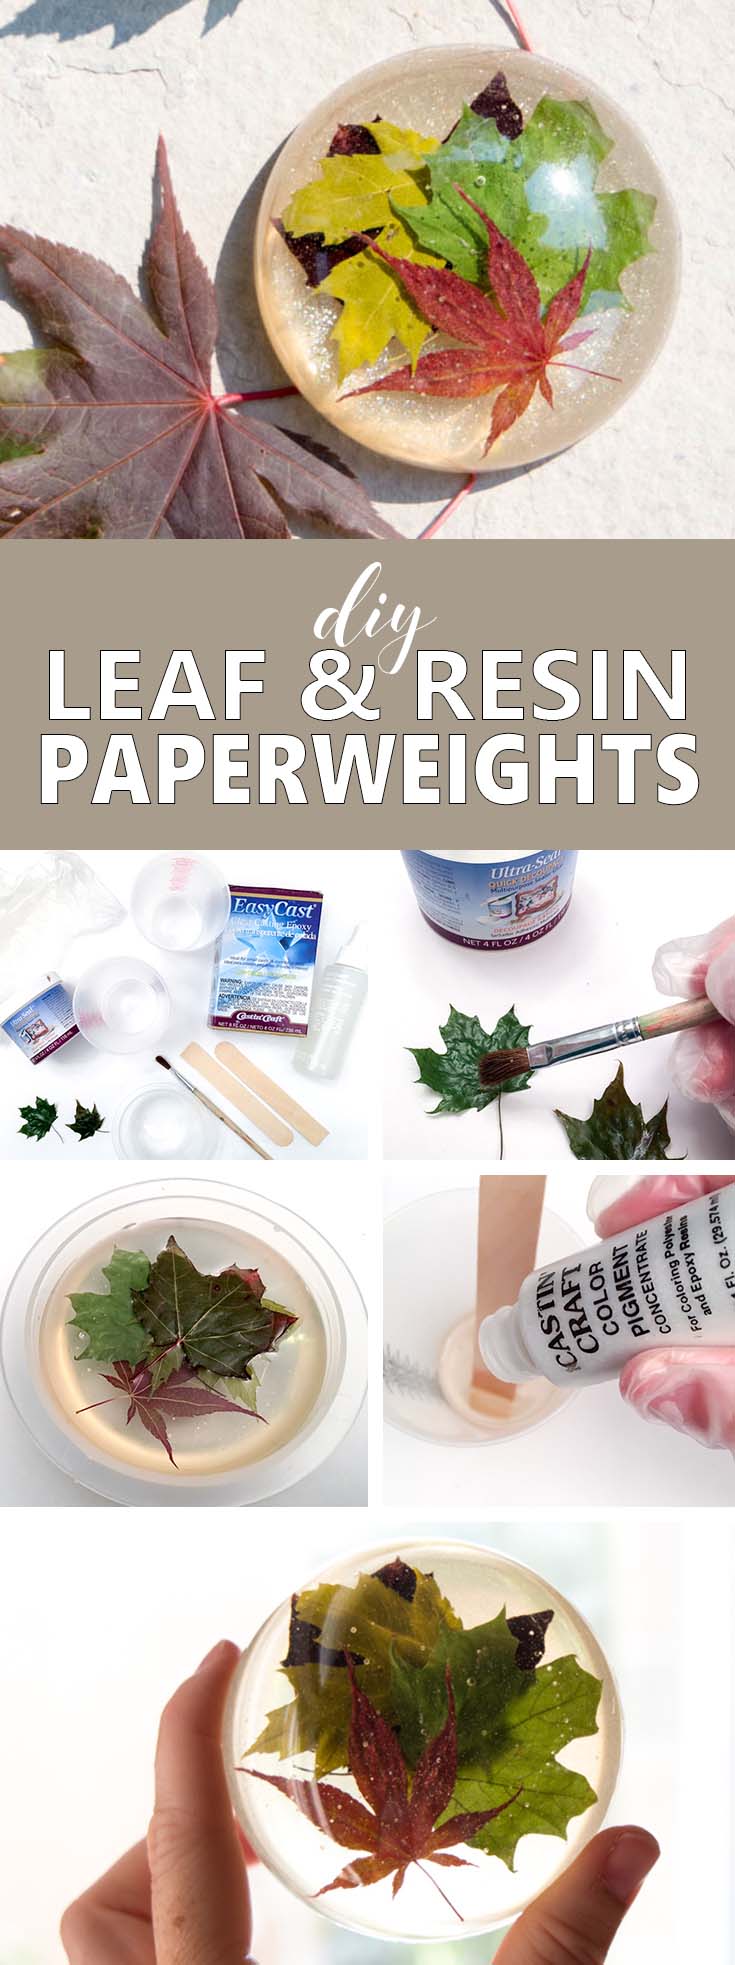
I’m fortunate to have a large variety of trees, especially maple and oak, in my neighbourhood in Southern Ontario, Canada. On a short walk the other night I quickly collected small leaves from four varieties of maple tree: the classic sugar maple, a silver maple, king maple and a Japanese maple. Putting them side-by-side they created a beautiful rainbow of colours already! I decided to capture them now and create a late-summer maple leaf paperweight with EasyCast Clear Casting Epoxy for my home office. It’s actually really fascinating to look at from all the different angles.
This project does need a bit of planning ahead. Ideally collect the leaves and press them to dry for at least one week. Then you’ll want to generously coat both sides with an all-purpose sealer and let it dry fully. Also, to get the nice floating effect of the leaves in the resin, you’ll make three separate resin pours, with enough time for each layer to cure in-between. This latter part is basically a two-day project.
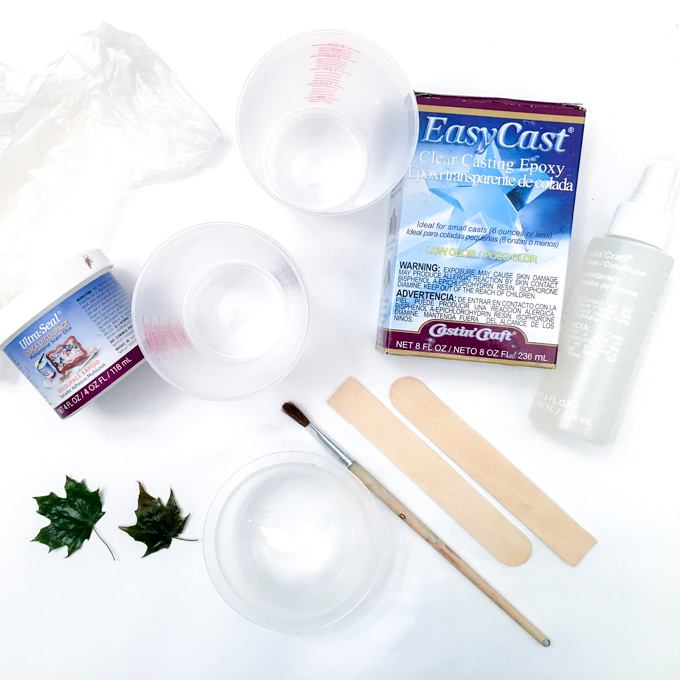
Supplies needed for DIY Paperweight with EasyCast Resin:
- Small maple leaves (I found green sugar maple leaves and red King maple leaves in our yard)
- Ultra-Seal Quick Decoupage (or other multipurpose sealer/white craft glue); small paintbrush
- Large domed poly mold (3″ Dia. x 1-3/8″ dome)
- Mold Release Conditioner
- EasyCast Clear Casting Epoxy
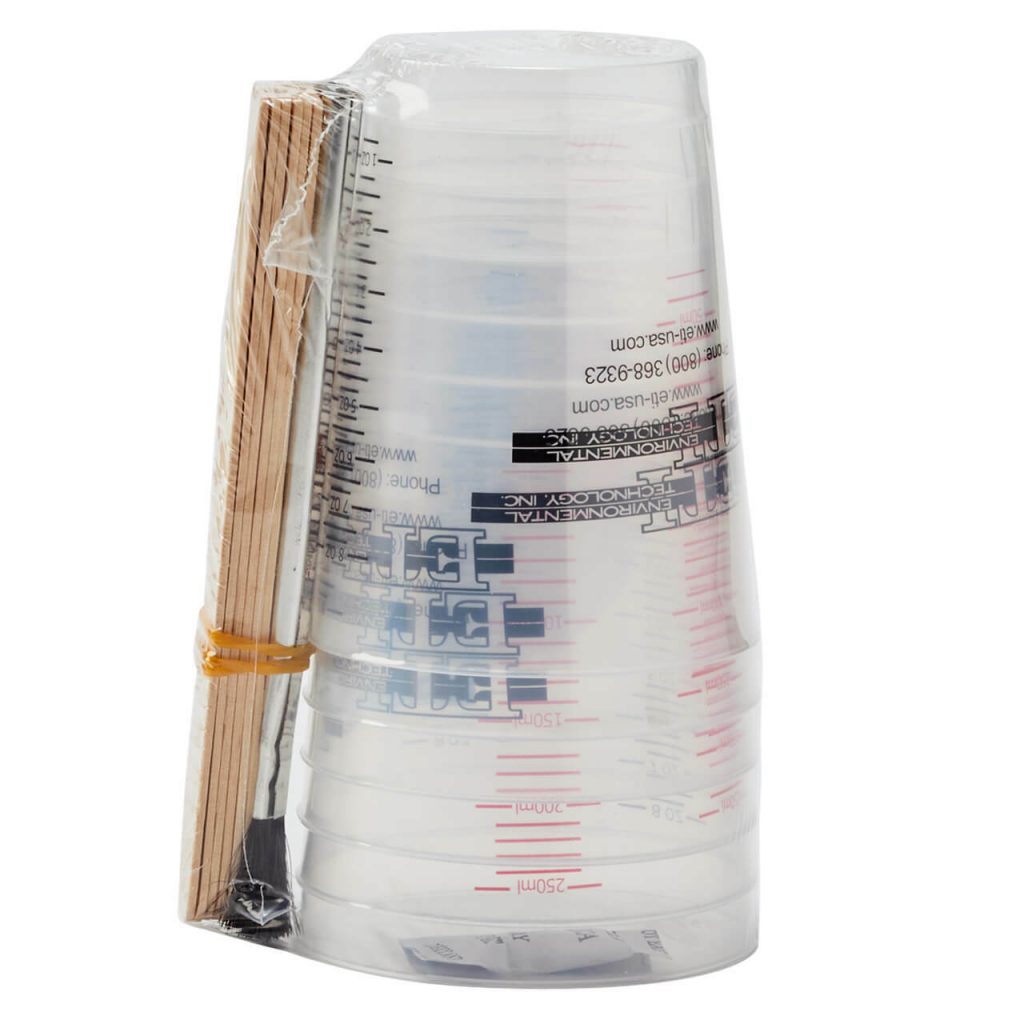
- Measuring Cups
- Stir Sticks
- Straw, paper towels, parchment paper (optional)
- Castin’ Craft Universal Opaque Pigments (Opalescent)
How to make a Leaf-Embedded Resin Paperweight:
Preparing the Leaves
As mentioned above, you’ll want to collect the leaves a couple of weeks before you plan to cast them as they should be as dry as possible. Collect them from the tree in the afternoon when they’re the dryest. Place them flat between two sheets of paper towels (which will help to draw out the moisture). Put them between the pages of a book and then stack a couple of heavier books on top.
A little cheat: If you need the leaves to dry faster, you can speed up the process using a microwave. Again, place the leaves flat between paper towel sheets. Press the paper towels with leaves between two microwave-safe plates. These plates should press flat against each other. Microwave on high for 40 seconds. Check them and if needed repeat until the leaves feel fully dry (almost brittle). Note that the microwaved version of the leaves look a bit different than the book-pressed version (more brittle and papery).
When fully dry, lay each sheet on a non-stick surface (such as parchment or wax paper). Coat one side of each leaf generously with a multi-purpose sealer. Let dry fully then turn over and coat the second side. Let dry completely.
Pouring the first Resin Layer
Before starting the project be sure to follow all the directions in the EasyCast package. Work in a well-ventilated area using gloves.
For best results the Resin and Hardener should feel warm to the touch before mixing. To warm it up, place it in warm (not hot) water just prior to using and swirl it around.
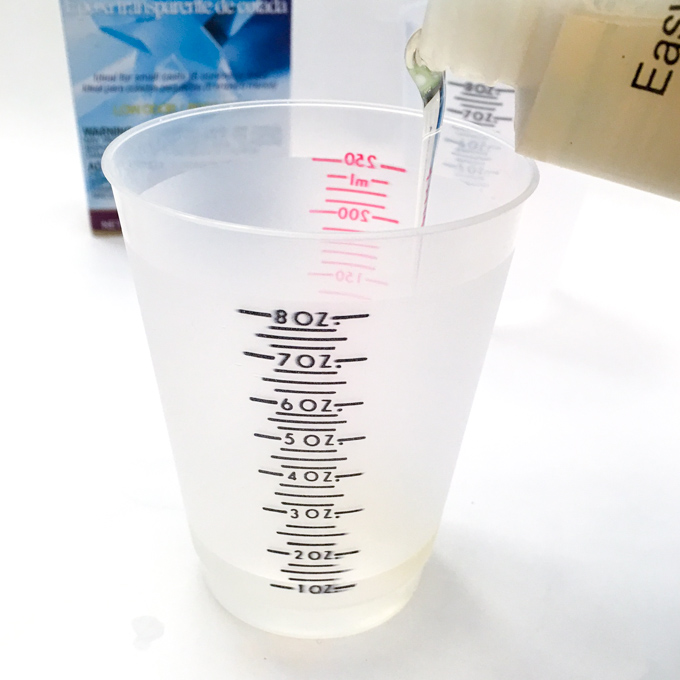
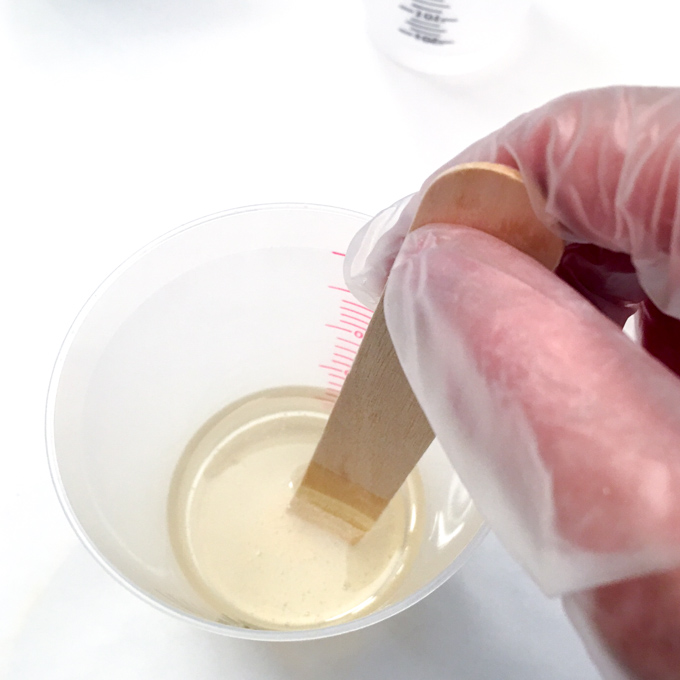
Pour ½ oz of the Resin solution into a plastic measuring cup. Add ½ oz of Hardener to the cup. Blend the two components with a wooden craft stick for a full two minutes, scraping the sides and bottom of the cup along the way.
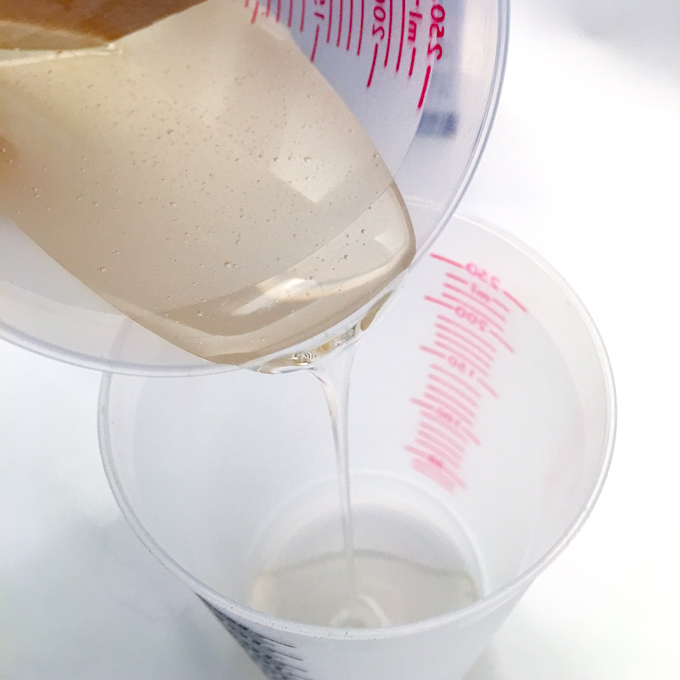
Pour the mixture into a second measuring cup. With a clean craft stick, continue mixing for an additional minute.
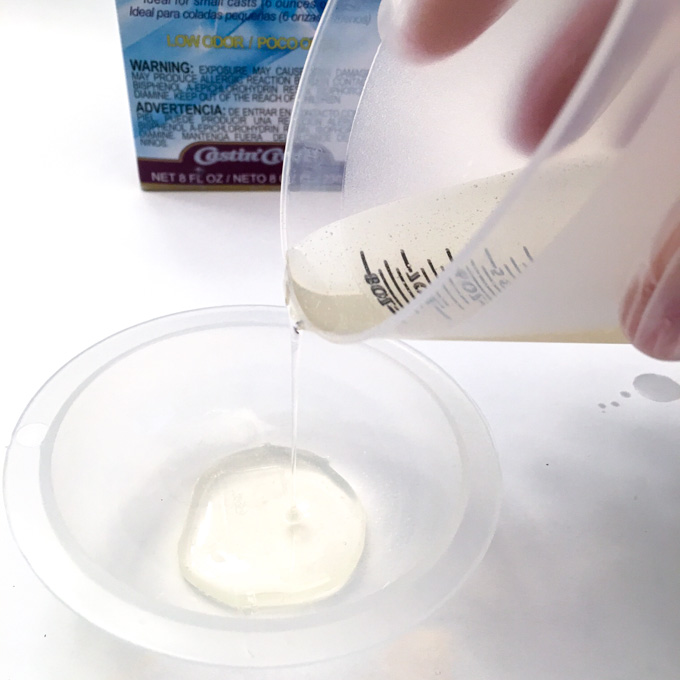
Spray the inside of the dome-shaped mold lightly with the Mold Release Conditioner. Pour the resin mixture into the bottom of the mold (should be about ¼ full).
Cover and let set for 15-20 minutes. Blow off any bubbles which rise to the surface with a kitchen torch or your breath, using a straw. Repeat this if needed over the next 45 minutes.
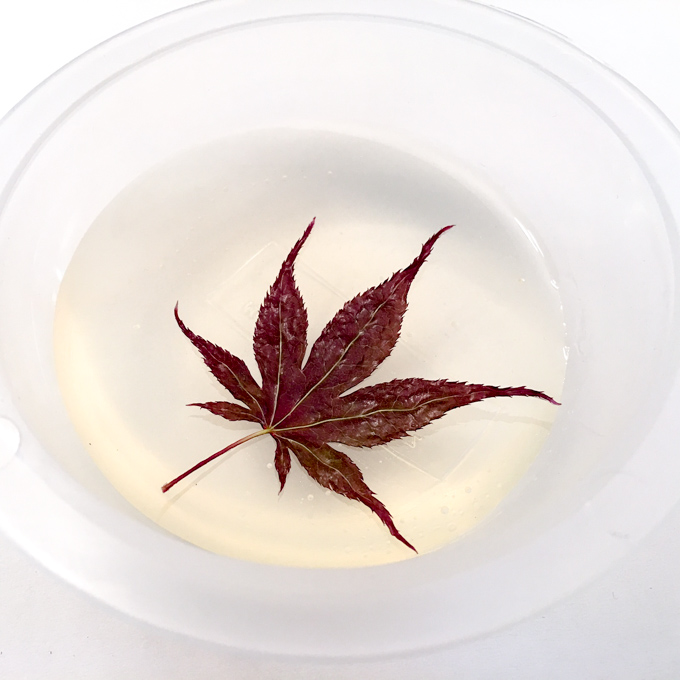
Let the resin cure for about 3 hours. At this point it will be firm yet tacky. Gently place the first leaf (choose the smallest or the one you’d like to showcase the most) onto the resin, with the nicest side of the leaf facing down. This will help to “stick” the first leaf in place so that it doesn’t float to the surface with the next resin layer pour.
Let cure for 6-8 hours.
Pouring the second Resin Layer
Repeat the steps above to mix together the Resin and Hardener, this time using 1 oz of each.
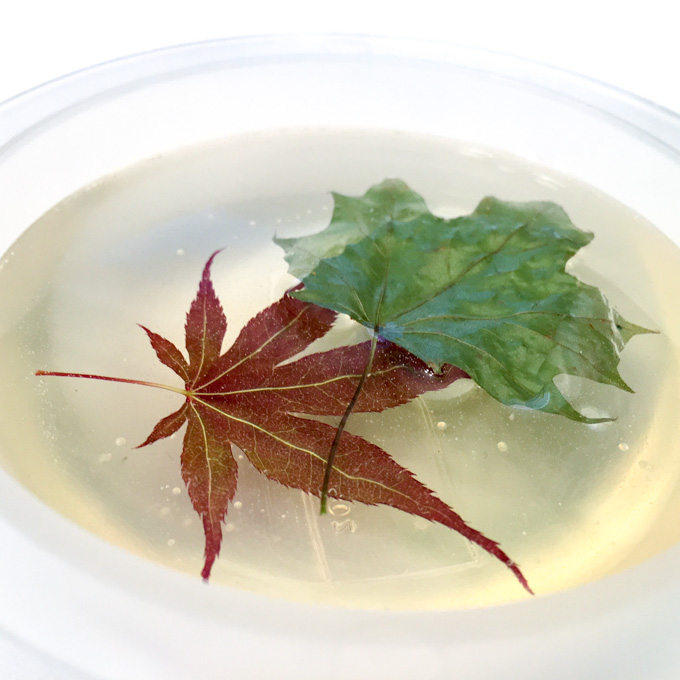
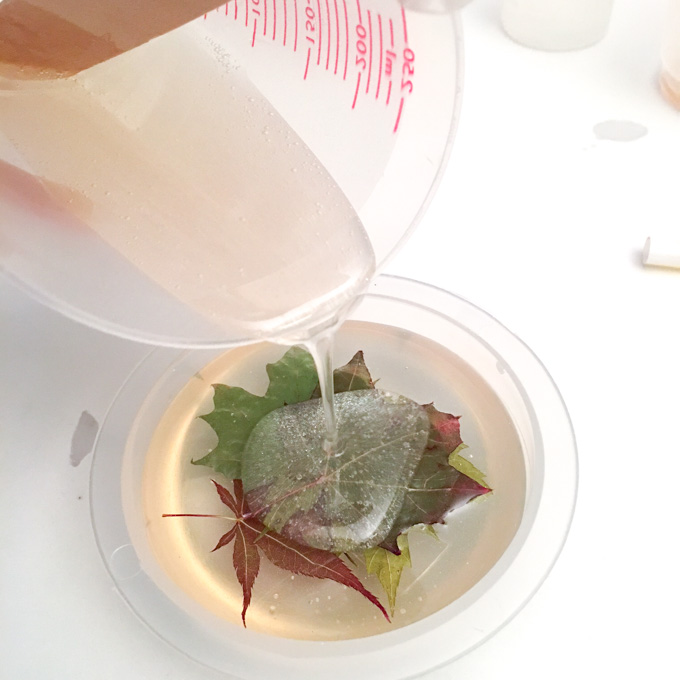
Slowly pour the mixed solution over the first resin layer and let the resin settle underneath the first leaf you placed. Use a toothpick to carefully release any bubbles trapped under the first leaf (or leave them there if you like the effect!).
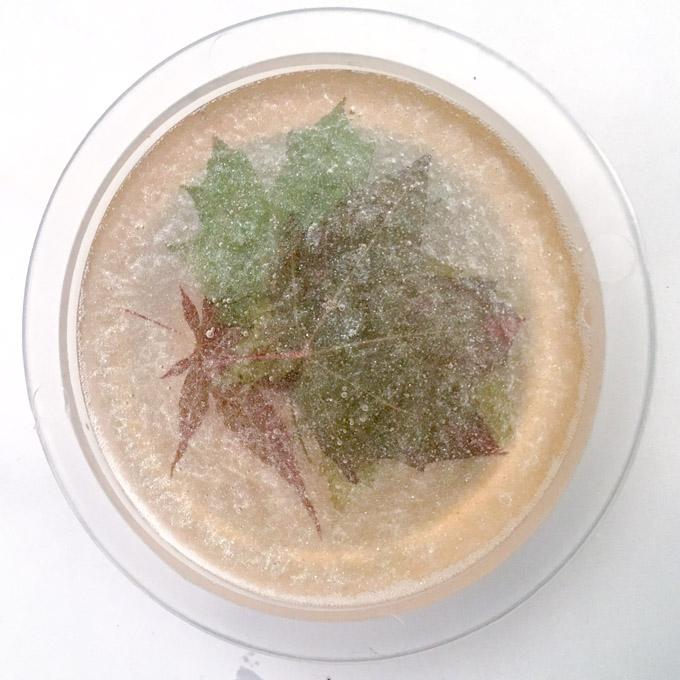
After 15 – 20 minutes, blow off any bubbles that rise to the surface as above. At this point, start layering the next two leaves face-down. Go slowly and try not to trap air bubbles under the leaves.
I found it worked best to insert the leaves into the resin at an angle rather than simply laying them on top of each other. This gave the air a chance to escape up the surface of the leaves.
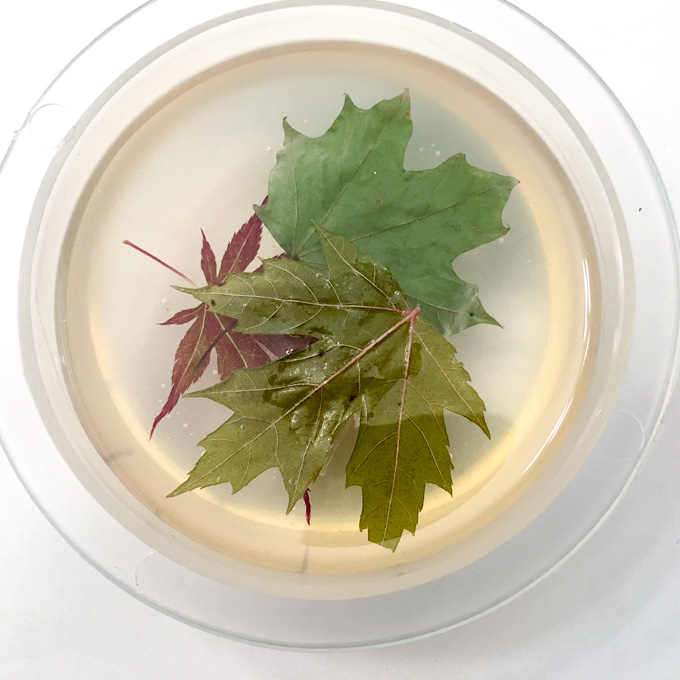
The resin will still be quite fluid at this point so you can arrange the leaves as you’d like. I tried to spread mine out. A couple of times I carefully lifted up the mold to see how everything looked from the “top” side and rearranged as needed.
After the resin cured for about 2 hours, I went back in with a toothpick and repositioned some of the leaves to separate them a bit. The resin was pretty thick by this point so I worked slowly and carefully not to damage the leaves (or introduce more air bubbles). I pushed the bottom leaf down as far as it would go as it had floated to the top of the resin.
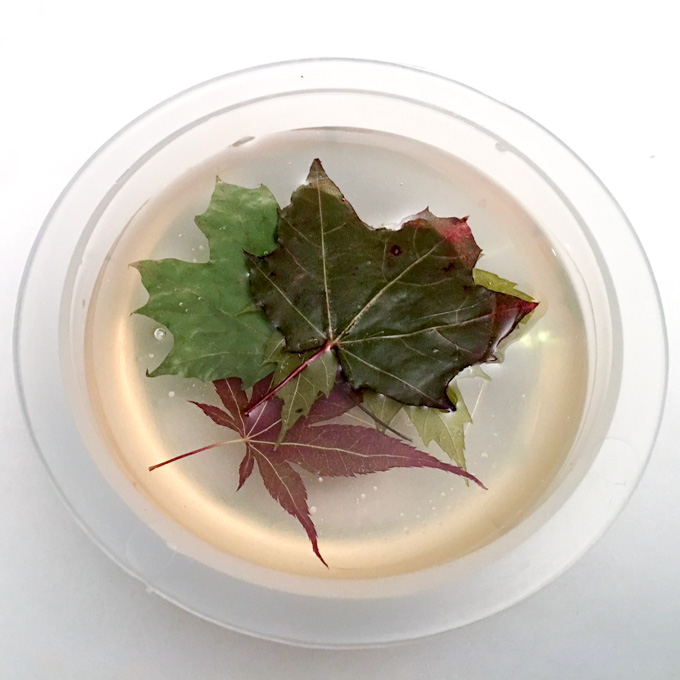
I then placed the fourth and final leaf on the semi-cured surface of resin, smoothing it out as much as possible.
In the end my final leaf (the dark red King maple) is not that visible, but provides a nice backdrop for the other leaves. I then left it to cure for 3 more hours before pouring the final resin layer.
Pouring the final Resin Layer
Repeat the steps above to mix together the Resin and Hardener, this time using ¾ oz of each.
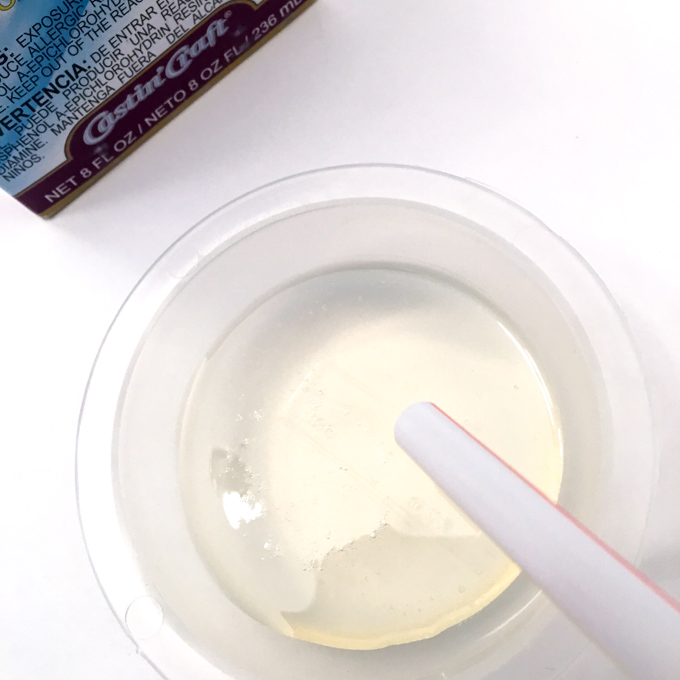
When the second mixing process is complete, add in 2-3 drops of Pearl Opaque Pigment and blend in completely.
Pour this final layer to fill the mold (do not overfill).
Let the leaf resin paperweight cure for at least 24 hours before attempting to remove from the mold. The piece should be fully cured after about 72 hours.
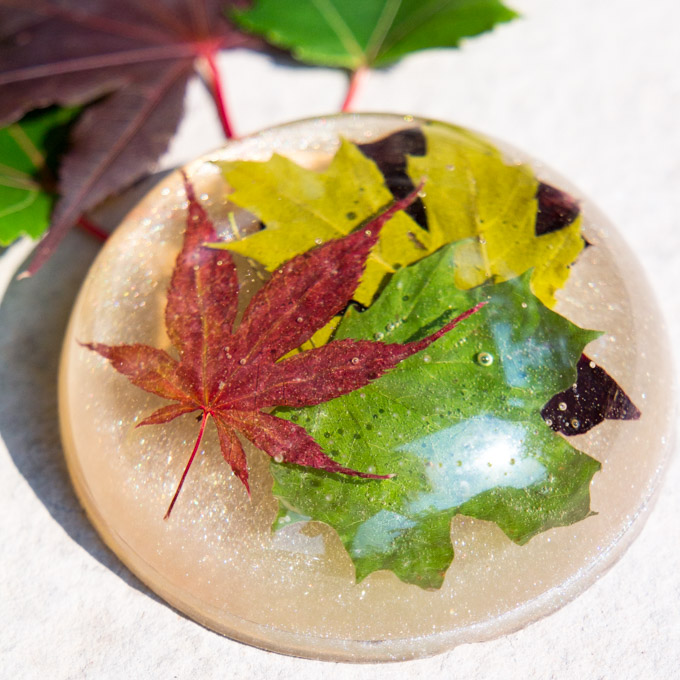
I must admit I was a little surprised at how nicely this resin paperweight turned out. It has a beautiful glossy surface which looks like glass, and the Opalescent final layer gives the piece a beautiful sparkle when the sun hits it. And most importantly: it works! These leaves were doing their darndest to fly away in the wind storm that was happening when I was taking the pictures. But they stayed put with the help of the new leaf cast resin paperweight.
I’m sure that in the middle of the gray winter it will be a welcome reminder of these last beautifully colourful days of summer. I may even make a second in a few months time when the leaves start to change into their autumn colours. These DIY paperweights would also make a thoughtful handmade gift idea for your boss, a co-worker, the kids’ teachers or any nature-loving friend.
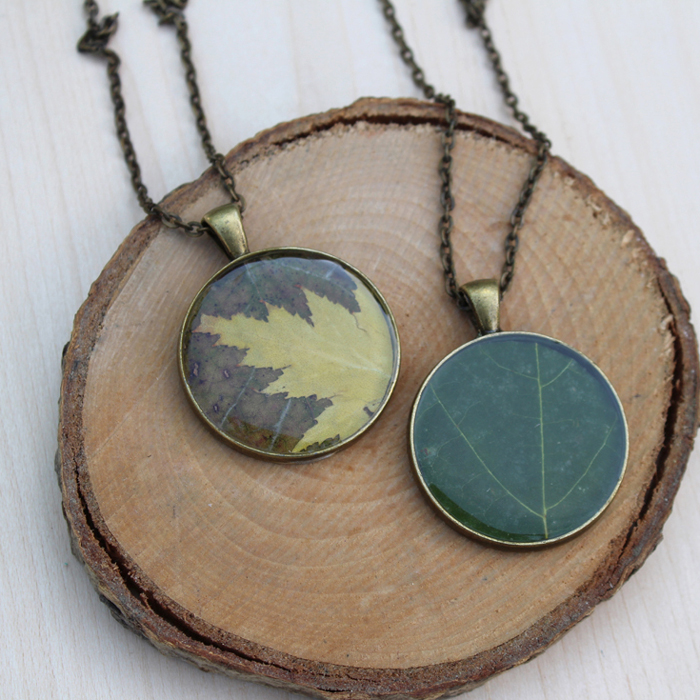
If you enjoyed this nature-inspired project with resin, you’ll love how our fellow Resin Crafts Blog Creative Team Member Natalie created beautiful pressed-leaf pendants.
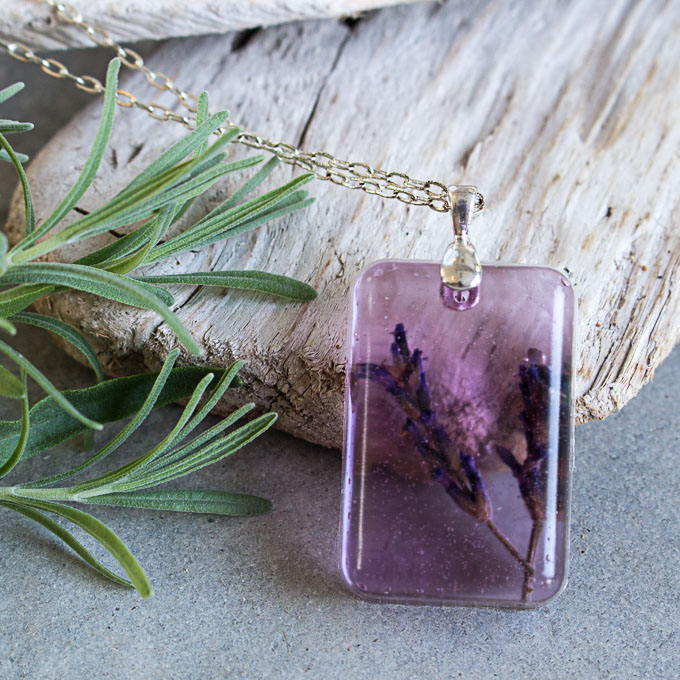
Similarly, pop on over and see how we made these lovely lavender resin pendants.
If you could, which summer flowers or leaves would you want to make a paperweight from?
Like it? Pin it for Later!
Jane and Sonja are sisters, moms and lifelong craft addicts both living near Toronto, Canada with their families. They share their love of creativity, nature and coastal DIY ideas on their blog Sustain My Craft Habit. They craft and decorate their homes using repurposed and upcycled items and materials found in nature.






I’ve decided to make this Christmas a homemade Christmas and I’m super excited about all the ideas running through my head. The maple leaf paper weight is one gift I’m Definately making as my daughter now lives in Tennessee and this will be a reminder of home every time she sits at her desk. Wish me luck.
Good luck Kathy! We’d love to see it when you’re done! 🙂
I plan to do this with shells I brought home from our annual beach vacation. I have enough shells to make paperweights for everyone as a Christmas gift.
Seashell paperweights – great idea! I’m always trying to think of ways to be reminded of the last great day at the beach!
julsofparadise
I made this paperweight with red maple leaves. It is beautiful. I would like to make an orb with a full size dried rose. Thank you for this very good tutorial.
Oh we’re so happy you found it helpful! I have mine in my office at work and love to look at it all the time. Especially now when everything is gray and leafless outside!
Have a wonderful night,
Jane