Display the beauty of the Northern Lights on your coffee table with this set of coasters using colorful resin!
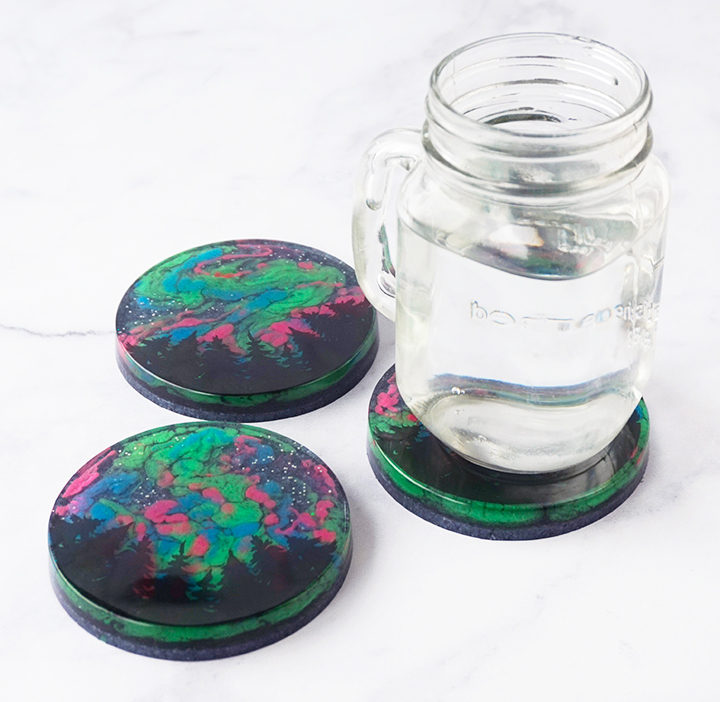
Hello, Resin Crafters! Lindsay from Artsy-Fartsy Mama here with a colorful resin project for you to try! After looking at some incredible photos of an aurora borealis, also known as the Northern Lights, I was inspired to try to recreate the look using resin on some coasters. This project is a lot of fun, and is actually really simple. I know there are quite a few steps to get to the final project, but I promise all of the work is worth it! These coasters would look great on any coffee table, and would be a special gift idea for the adventurer in your life.
TO MAKE YOUR OWN NORTHERN LIGHTS RESIN COASTERS, YOU WILL NEED THESE SUPPLIES:
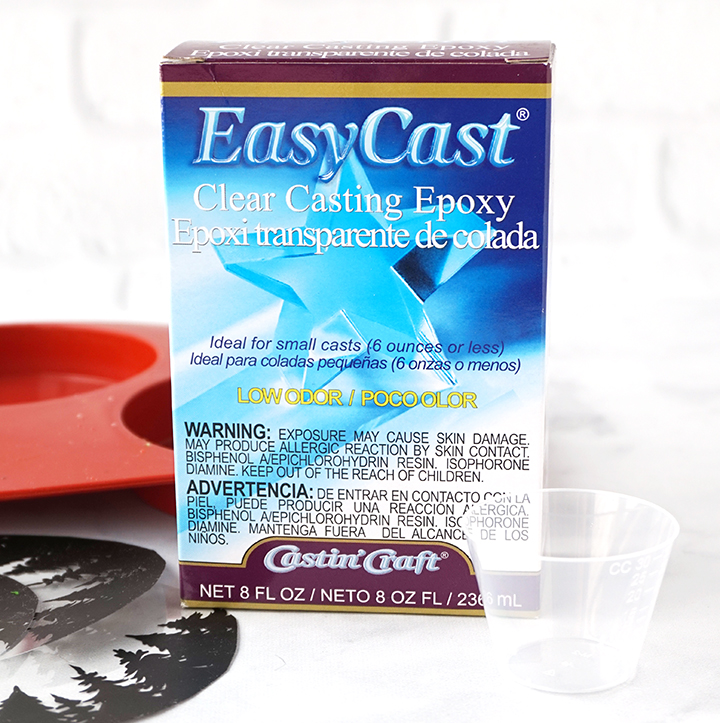
- EasyCast Clear Casting Epoxy
- Mold Conditioner and Release Spray
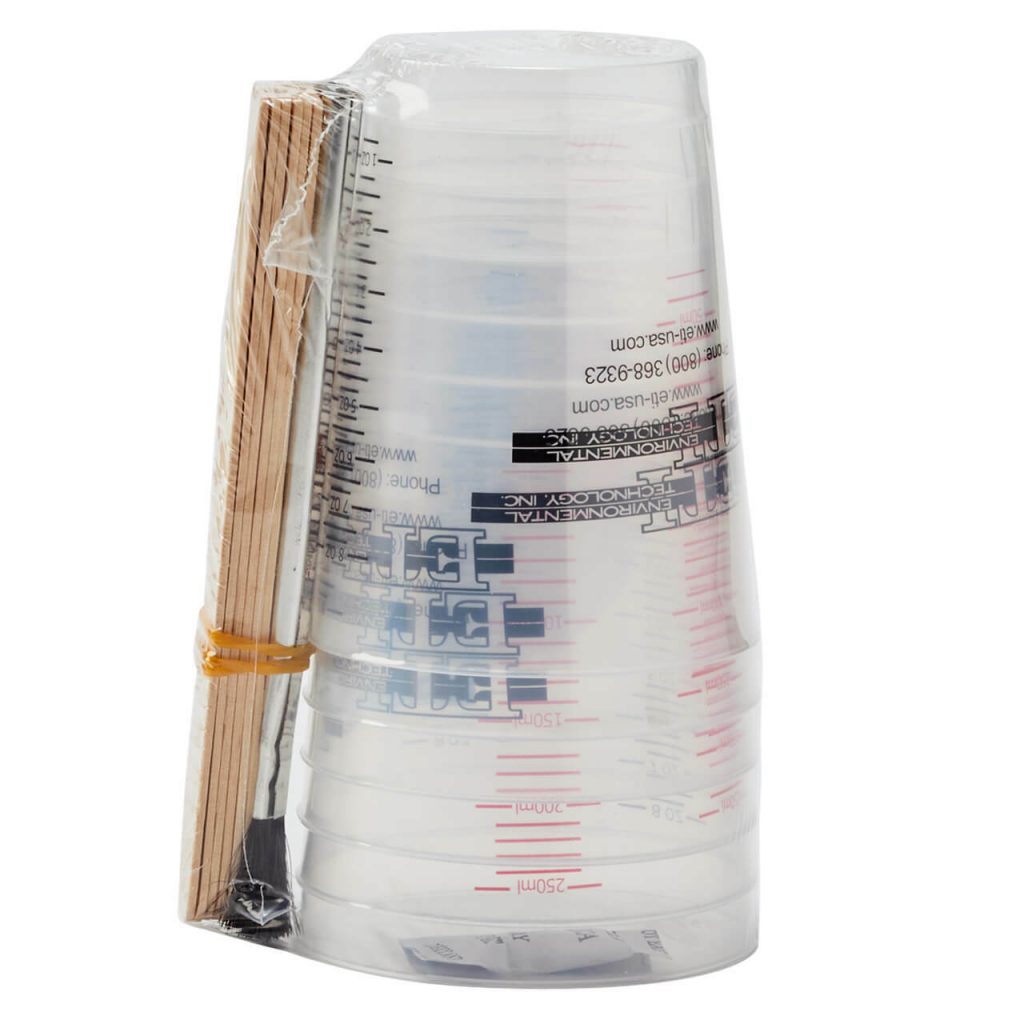
- Measuring Cups
- Stirring Sticks
- Disposable Gloves
- Printable Tree Silhouettes (personal use only)
- Fluorescent Mica Powders – green, blue, pink
- PolyColor Resin Powder – Ocean Blue Metallic and Silver
- 4″ Circle Silicone Mold
STEP 1:
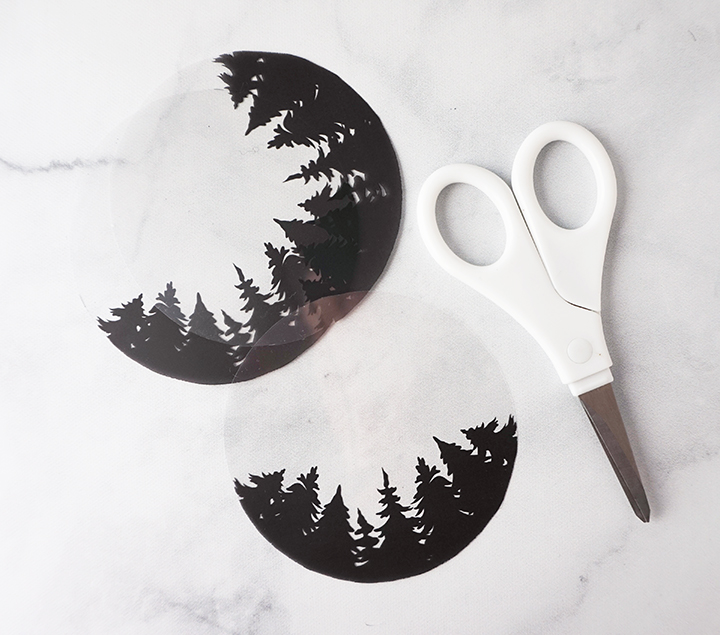
Download and print out the tree silhouette printable on transparency film. I used a laser printer for mine, but make sure to check your transparency packaging for printing instructions. Carefully cut the circles out with sharp scissors just inside the borderline.
If you print using an inkjet printer, you will need to spray a coat of Envirotex Spray Sealer over the printed images to prevent the ink from bleeding into the resin. Let the sealer dry completely before moving onto the next step.
STEP 2:
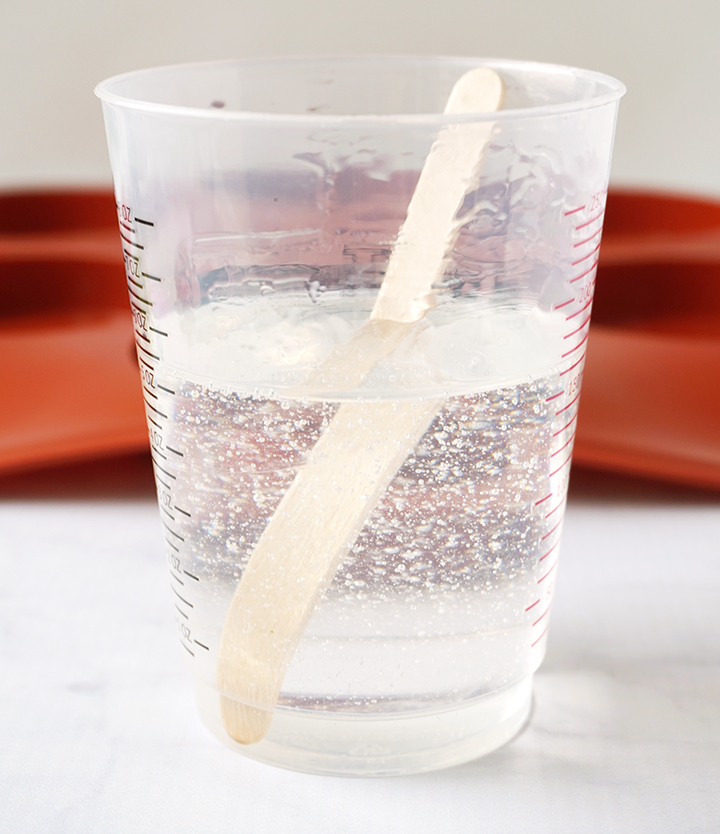
Prepare the resin according to package directions. Be sure to work in a well-ventilated area, wear disposable gloves, and protect your workspace.
Add equal parts resin and hardener to the mixing cup. Each mold cavity will need 1 ounce of resin for this step, so I mixed up 3 total ounces. Stir the resin mixture together with a stir stick for two minutes, making sure to scrape the bottom and sides of the mixing cup. After 2 minutes, pour the resin into a clean mixing cup and stir the resin again for another minute or two with a clean stir stick.
If the resin mixture is still cloudy, you will need to keep stirring until it becomes clear. To keep the bubbles down to a minimum, don’t stir too fast, and then give the resin a minute or two to “rest” after mixing to let any bubbles rise to the top.
STEP 3:
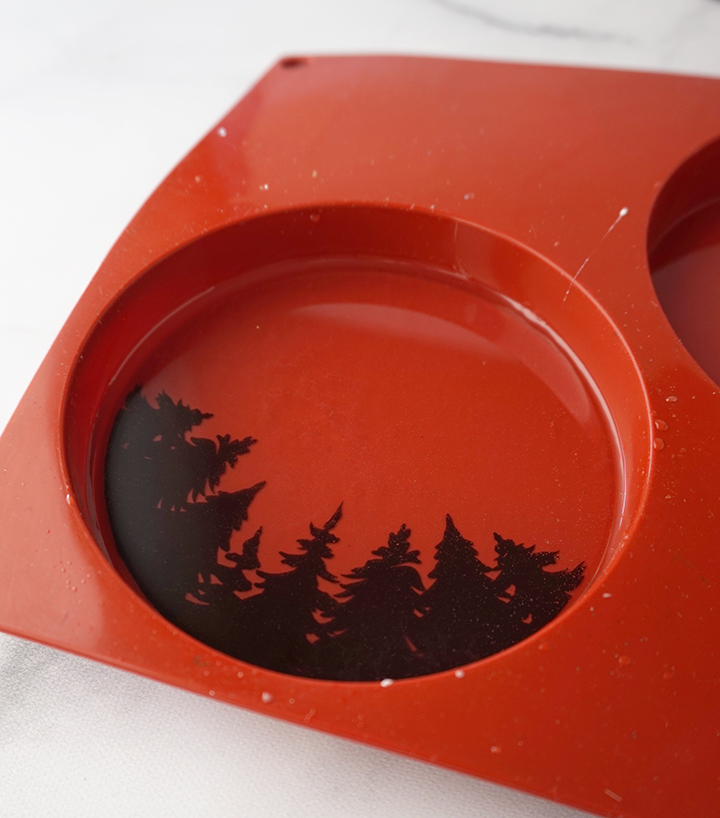
Pour 1 ounce of resin into each of the coaster molds. Let the resin sit for a few minutes, then use a straw or heat gun to remove any air bubbles that rise to the top.
Place the print into the resin. Use a clean stir stick or a resin brush to carefully press it down into the mold until it is completely submerged. Lightly drag the stir stick from the center to the outer edge to bring any bubbles stuck underneath the transparency film to the surface.
Pop any bubbles that rise to the top using a heat gun or by blowing through a straw. Leave the resin to cure in an undisturbed area for at least 6 hours. DO NOT REMOVE THE COASTERS FROM THE MOLD.
STEP 4:
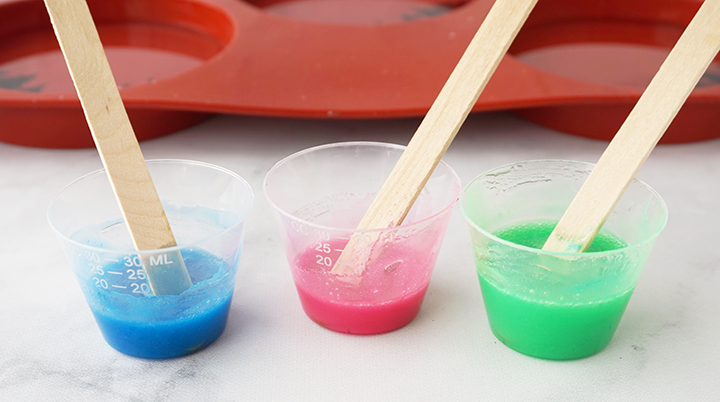
Mix up another 3 ounces of resin. Keep the majority of the resin in the cup, but pour 10 ml into three different mixing cups. Add a tiny amount of fluorescent pigment or dye into each of the cups: blue, pink, and green. Mix each of the resin cups well. I know it doesn’t look like much, but these colored resin mixtures are for all 3 coasters!
STEP 5:
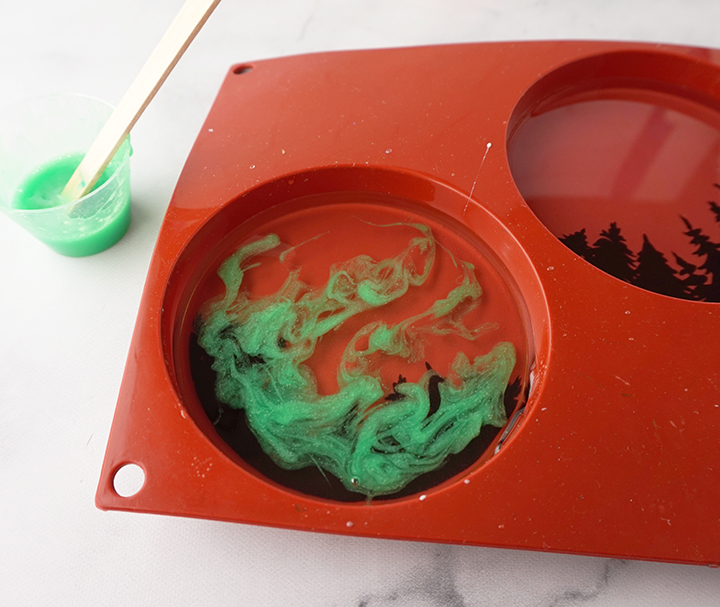
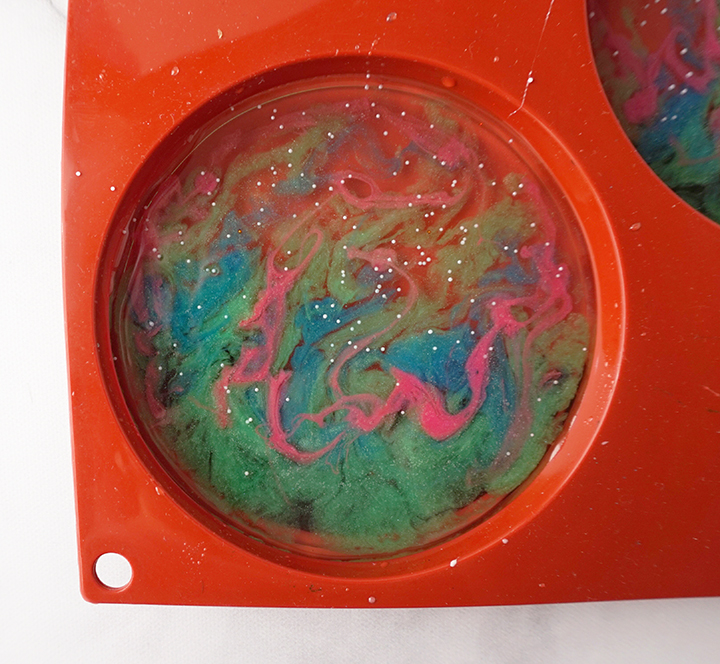
Pour about 1 ounce of the clear resin into each of the molds. Use the stir stick to make a messy scribble of green resin across the trees in the coaster, and then drag a couple of lines up toward the top. Use a hair dryer on low (cool setting, if possible) or blow through a straw to move the resin scribbles around to get a more ethereal effect. You can also use a stir stick to manually move the resin around.
STEP 6:
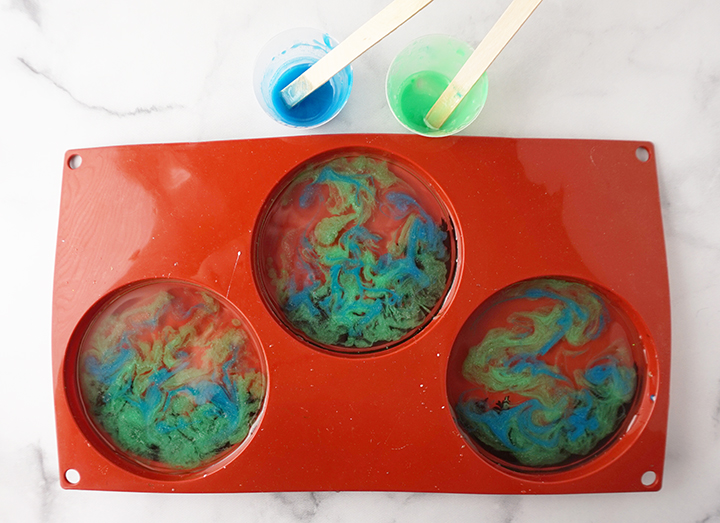
Add a few blue streaks of resin over the green, and move the resin around again with a hair dryer or stir stick. Be careful not to stir it up too much, or it will completely mix the colors together.
STEP 7:
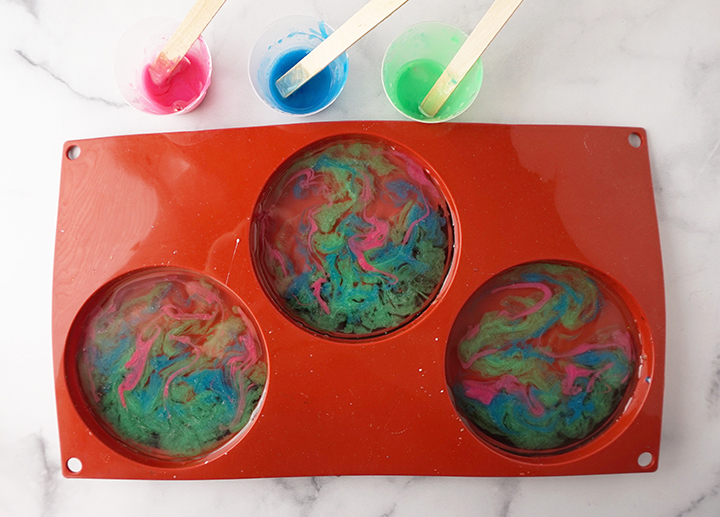
Lastly, add a couple of streaks of pink resin to the mixture. Gently blow with a straw or hair dryer to help the streaks to spread out.
STEP 8:
After at least 4 hours (when the resin is tacky), sprinkle a few white microbeads over the coasters. When finished, these will look like stars peeking through the aurora borealis.
Pop any bubbles that rise to the top using a heat gun, spritzing with alcohol, or by blowing through a straw. Leave the resin to cure in an undisturbed area for at least 6 hours. DO NOT REMOVE THE COASTERS FROM THE MOLD.
STEP 9:
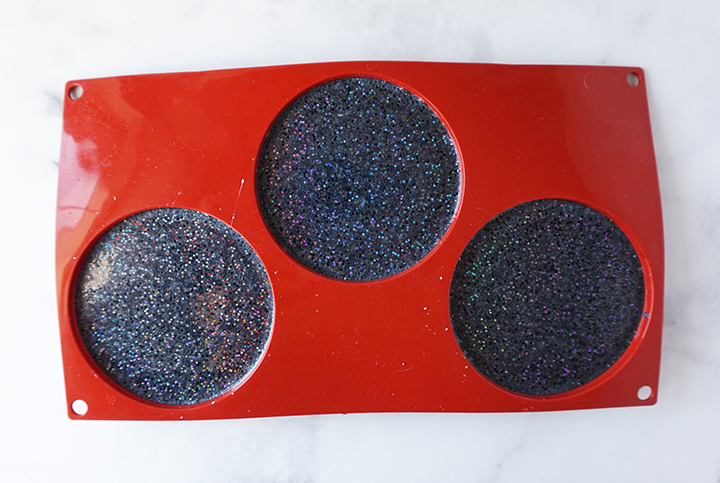
For the last layer, you will need another 3 ounces of resin. Mix it up the same way as the other two layers. Add in a some Silver resin powder and little bit of Ocean Blue Metallic PolyColor resin powder. The color we’re going for is a dark dark blue, almost black color. For some extra shimmer, I also added some chunky black iridescent glitter. Stir to combine well, and let it “rest” for a couple of minutes to let the bubbles rise to the top.
Add 1 ounce of resin to each of the mold cavities. Pop any bubbles that rise to the top using a heat gun, spritzing with alcohol, or by blowing through a straw. Leave the resin to cure in an undisturbed area for 24 hours. You will know that the resin is completely cured when it is no longer tacky.
STEP 6:
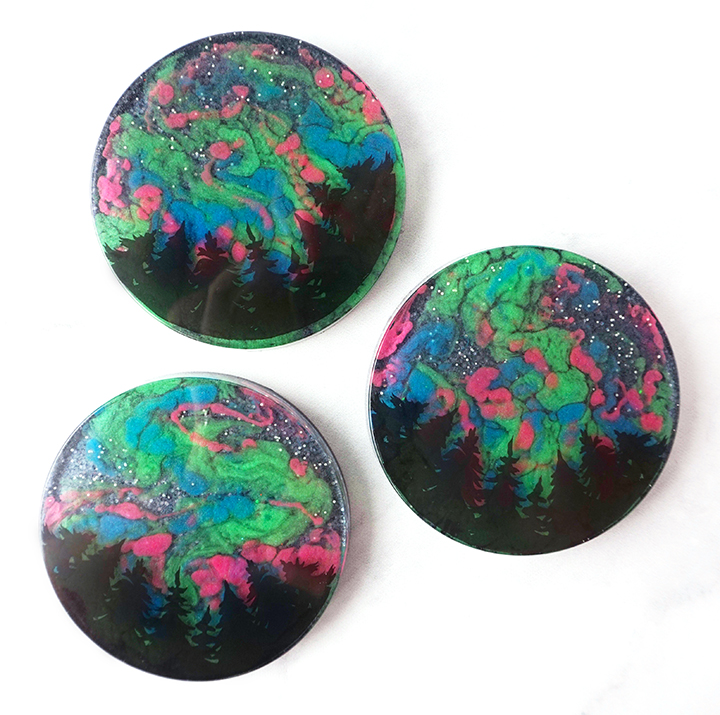
Carefully remove the coasters from the mold and admire your work. I love the bright pops of color! I also think it’s fun how each one of these coasters is unique, but make such an eye-catching collection when they are all together. If you have any rough edges, you can trim it away with scissors or sand then down if necessary.
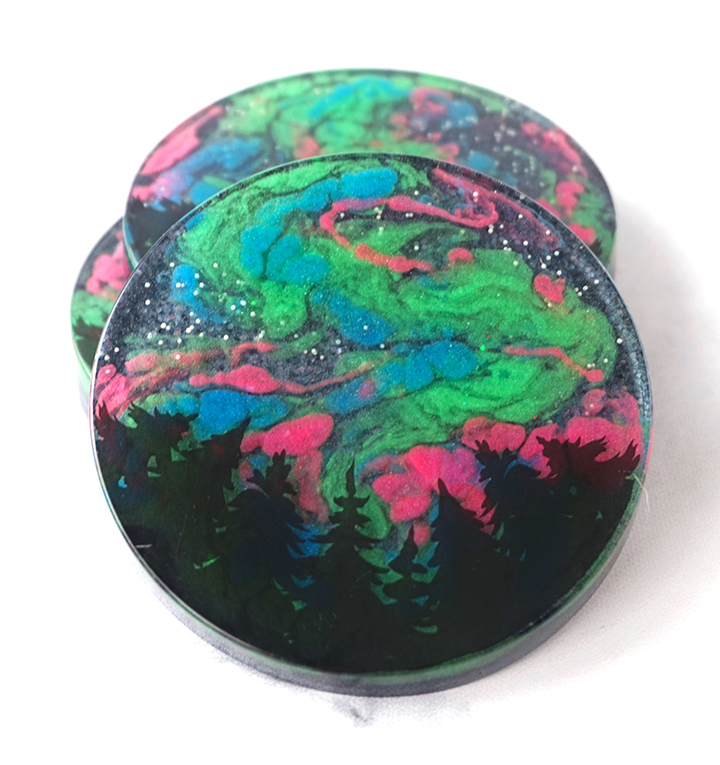 Just like in nature, no two auroras are alike! This project was a pretty fun experiment for me, and I am loving how this set of colorful coasters turned out. These would make gorgeous gift, and will certainly be a unique conversation piece on your coffee table at home. I would love to hear what you think, and would be thrilled to see your own resin coaster projects in the Facebook Group!
Lindsay is a crafter, graphic designer, and glitter enthusiast from Utah. She’s passionate about homeschooling her creative daughter, traveling, and spending time in the craft room. Lindsay shares DIY project tutorials, printables, recipes, kids crafts, and more on her blog, ArtsyFartsyMama.com, where she inspires readers to live a creative life.


Leave a Reply