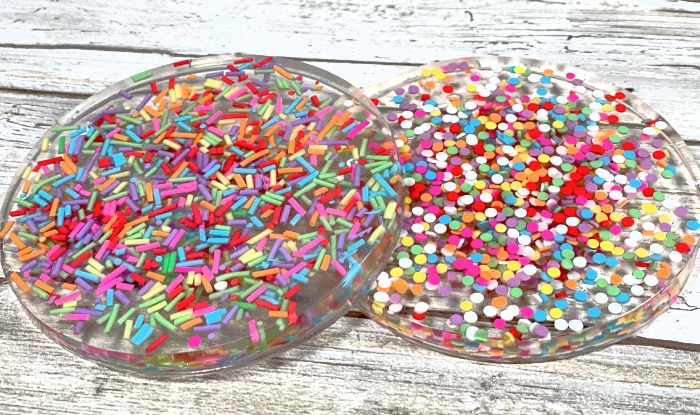
Hello Resin Crafting Friends. It is Laura Kelly here with my first post on this amazing blog. I am super excited to show you how to make darling coasters using sprinkles to add the color and personality. Sprinkles are so fun because they come in bazillions of colors, shapes, sizes and styles. They can be assorted to feature team colors, school spirit or whatever combinations brings you joy. I find joy in the assortment of mixed matched brightly colored things. Let’s do a resin coasters DIY with sprinkles!
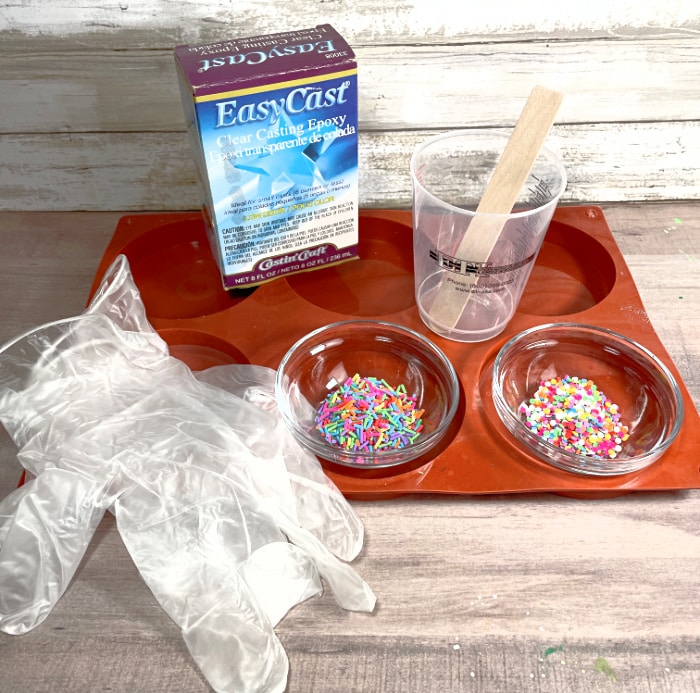
TO MAKE RESIN COASTERS with SPRINKLES, YOU WILL NEED THESE SUPPLIES:
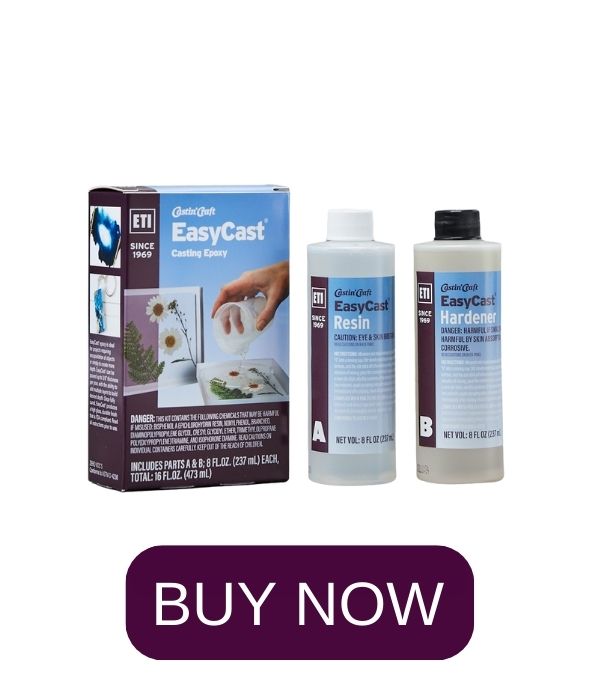
- 8 oz EasyCast Clear Casting Epoxy
- Mixing Cups
- Stirring Sticks
- Disposable Gloves
- Silicone 4″ Coaster Mold
- Polymer Clay Sprinkles
Safety first! Before you work with resin, make sure that you’re wearing disposable gloves & protective eyewear, and that your work surface is covered and are working in a well-ventilated area.
Step One
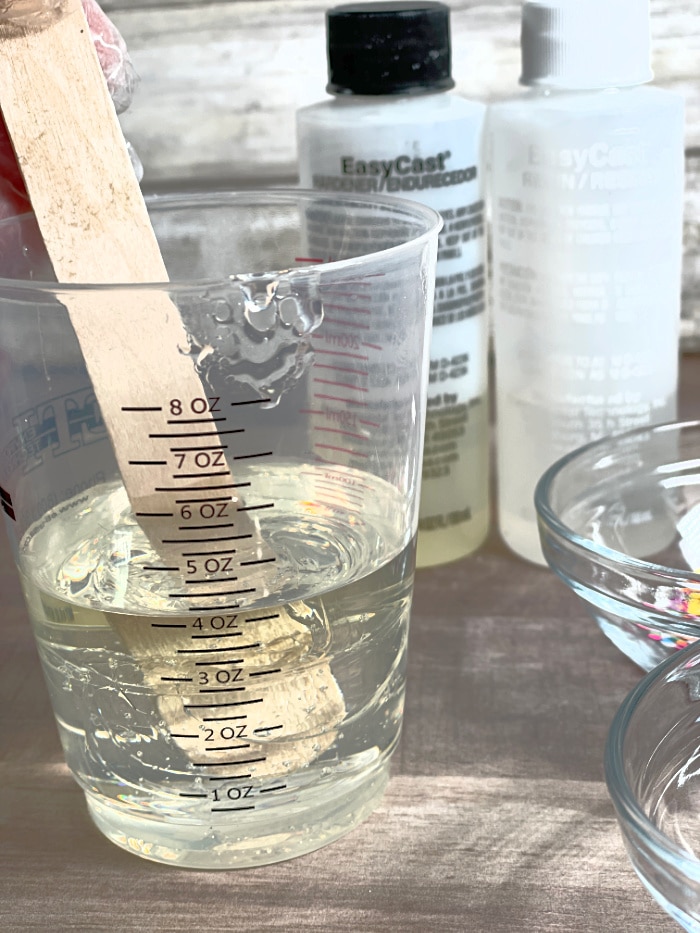
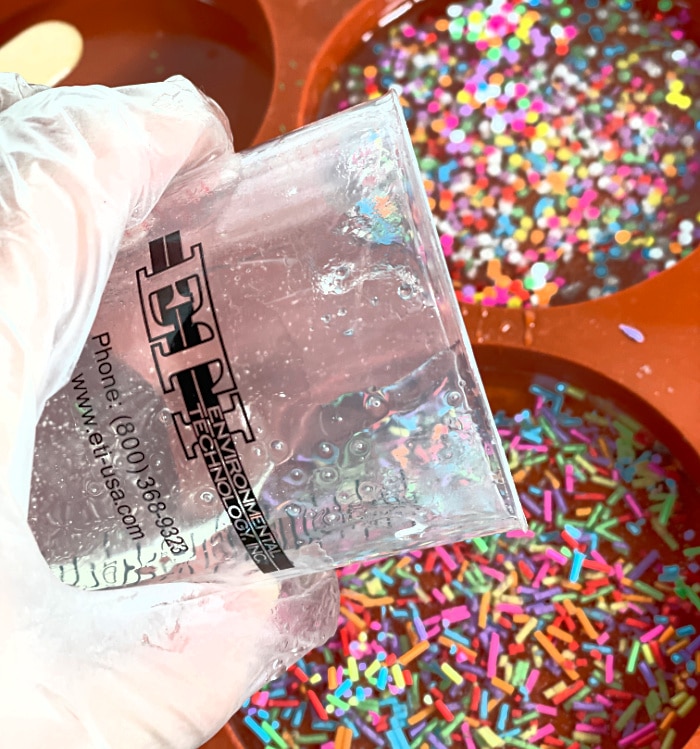
Firstly, make sure all molds are clean. Secondly, mix the EasyCast Clear Casting Epoxy. Pour EQUAL parts from each bottle supplied in the box into the mixing cup. The more coasters you plan to make – the more you will need. Stir the mixture with the stirring stick for two minutes, scraping the sides as you go. For best results, pour the resin into a new mixing cup and stir for an additional minute with a new, clean stirring stick. Be sure to work in a well-ventilated area and wear disposable gloves.
Note to beginners – start by making a single coaster to get the feel for resin casting.
Step Two
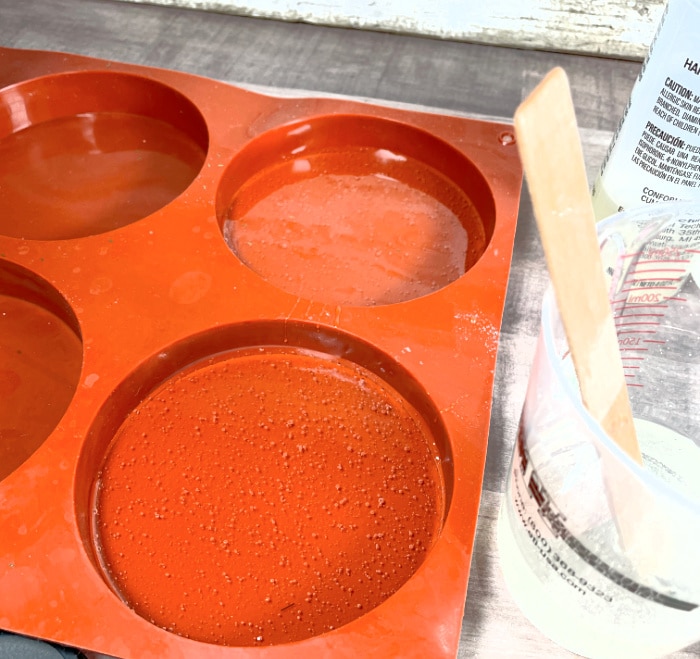
Pour a thin layer of the resin into the mold. Do not worry about the air bubbles yet.
Step Three
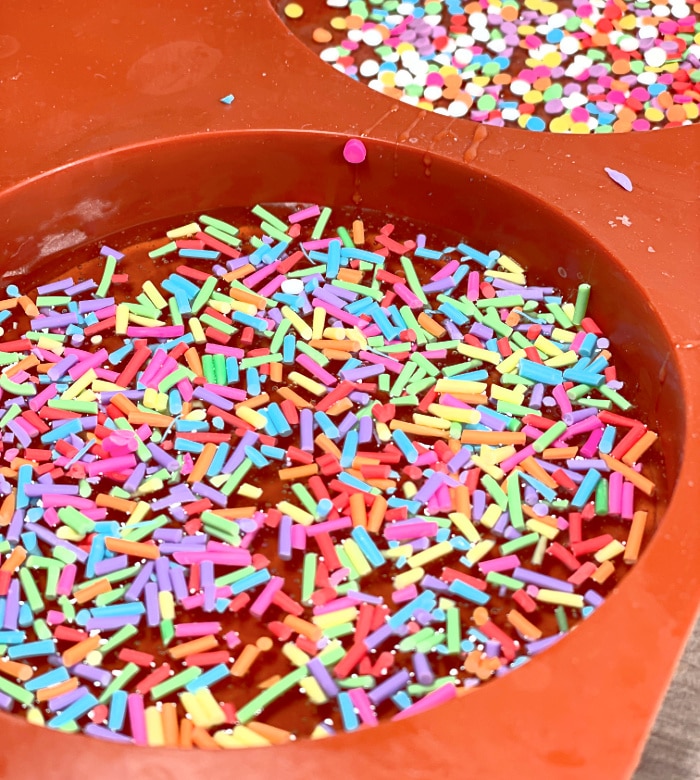
Add polymer clay sprinkles to the layer of poured resin in the molds. Don’t worry about getting them evenly spread yet. You will have a chance to do this in a few minutes.
Step Four
Add poured resin over the sprinkles to the depth you would like your final coaster to be. Once it has poured, use a mixing stick or a toothpick to move sprinkles around if desired. Let the resin sit for several minutes. Use a lighter or heat gun to remove any air bubbles that found their way to the top.
Step Five
Let resin set for 24 – 48 hours (depending on climate). You’ll know your epoxy coasters are cured when the surface is not tacky. Next, carefully remove coasters from the mold to admire your masterpieces.
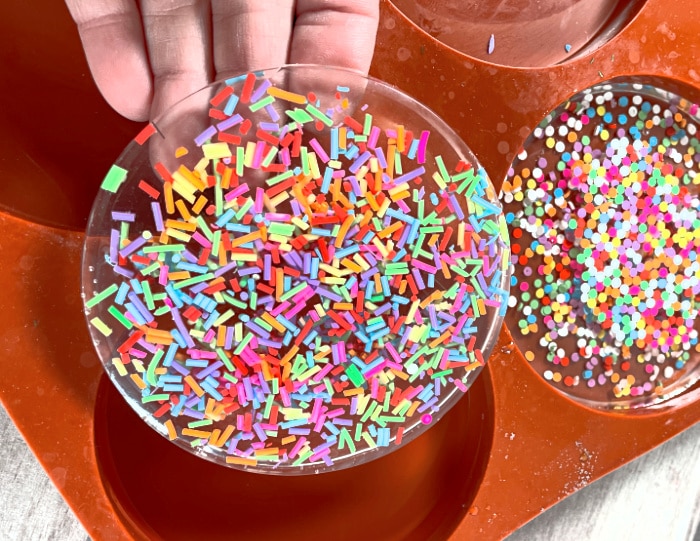
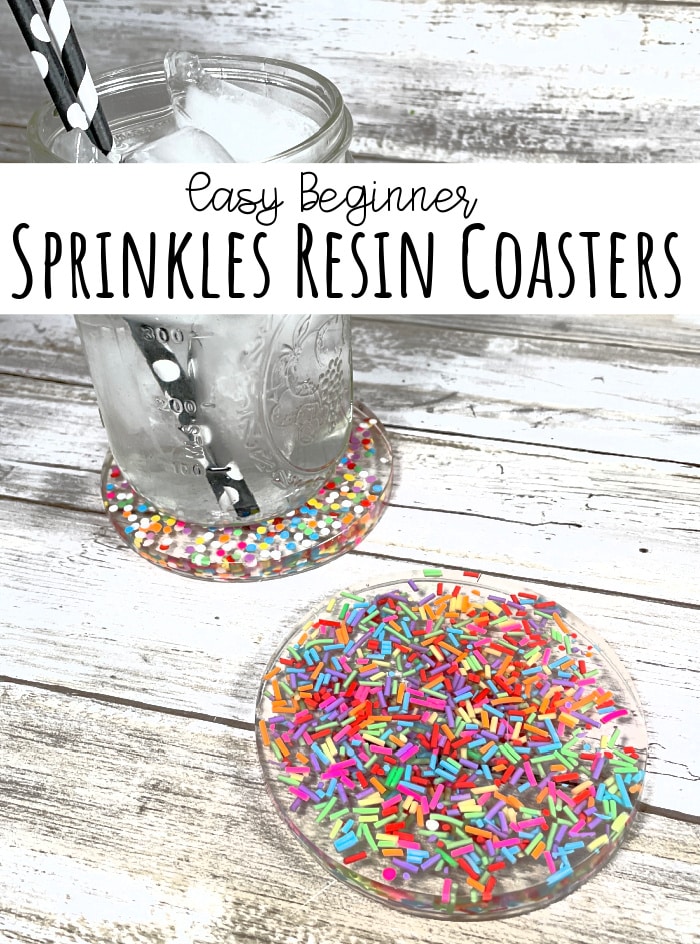
These coasters are so festive and fun. They are sure to add a spark of celebration to every drink ever set on top. I think they would be super fun for an adult birthday celebration or party cocktail.
Laura is the DIY and Crafty guru behind her self published site Me And My INKlings. She specializes in simple, cost effective DIY home decor and stunning crafts that are great for all skill levels. Laura is well known for her whimsical designs and projects that promote and spread kindness, empowerment and happy!


Leave a Reply