Today let’s talk about using vinyl in resin molds. It’s graduation season – and I actually have a graduate this year! It’s such an exciting time, and of course, I wanted to find a way to incorporate resin into a gift.
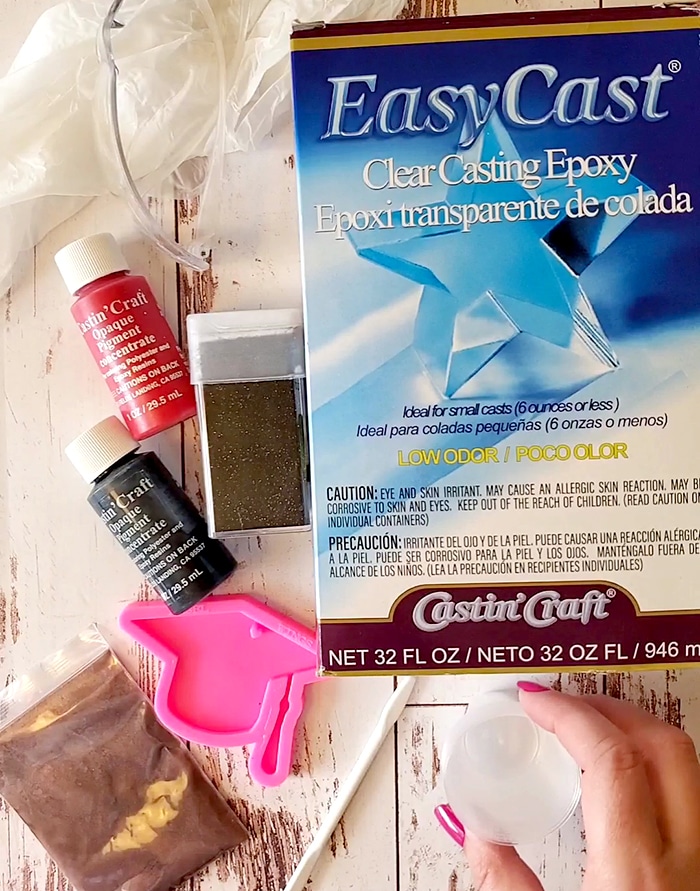
Supplies for Resin Keychain
- EasyCast Clear Casting Epoxy
- Cap mold
- Black glitter
- PolyColor resin powder in school color (I’m going with red) for the tassel
- Mixing cups and stir sticks
- Gloves and eyewear
- Permanent vinyl and cutting machine
- Keychain hardware
Ways to combine resin with vinyl
Method 1 – Pour and cure the resin and add the vinyl to the finished piece.
Why you might want to do this: Apply vinyl after it’s been removed from the mold.
Why you might not want to do this: Even permanent vinyl may get scratched off in a purse or pockets.
Method 2 – Layer the vinyl on cured resin, then pour a second layer.
Why you might want to do this: Secure small pieces of vinyl, and create a super shiny top over the whole design.
Why you might not want to do this: Sometimes resin may yellow over time, so it could discolor white or very light vinyl colors.
Pour a resin mold
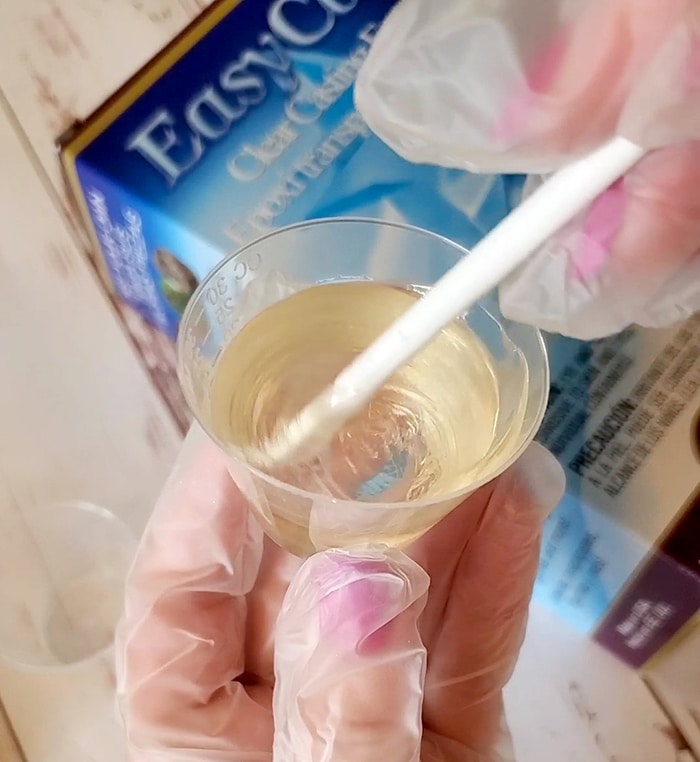
While wearing protective glasses and gloves, mix 7.5 mL of resin and 7.5 mL of hardener following product instructions.
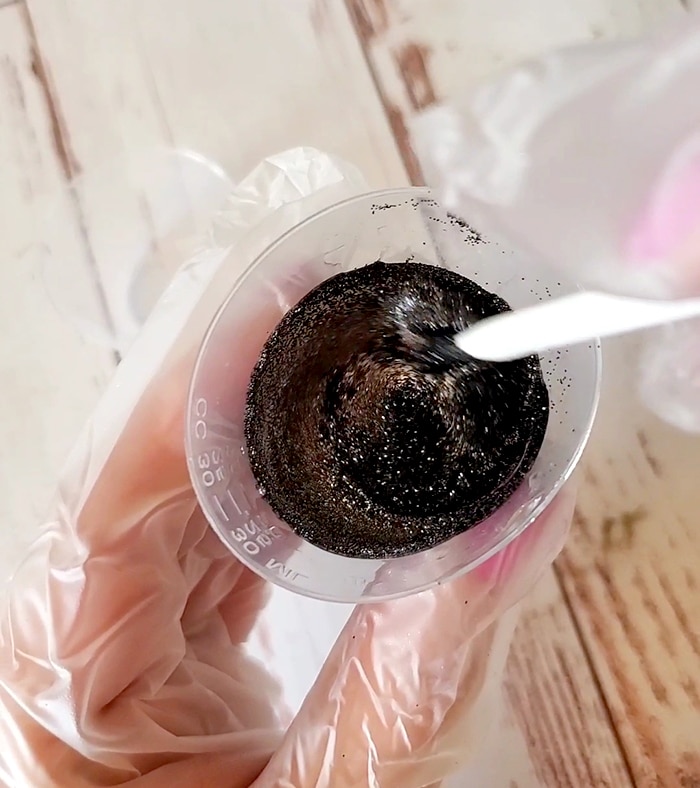
Mix in mica powder and glitter into separate portions. I wished I had larger glitter pieces. This was fine glitter, and while it made the resin dark, it didn’t keep too much sparkle.
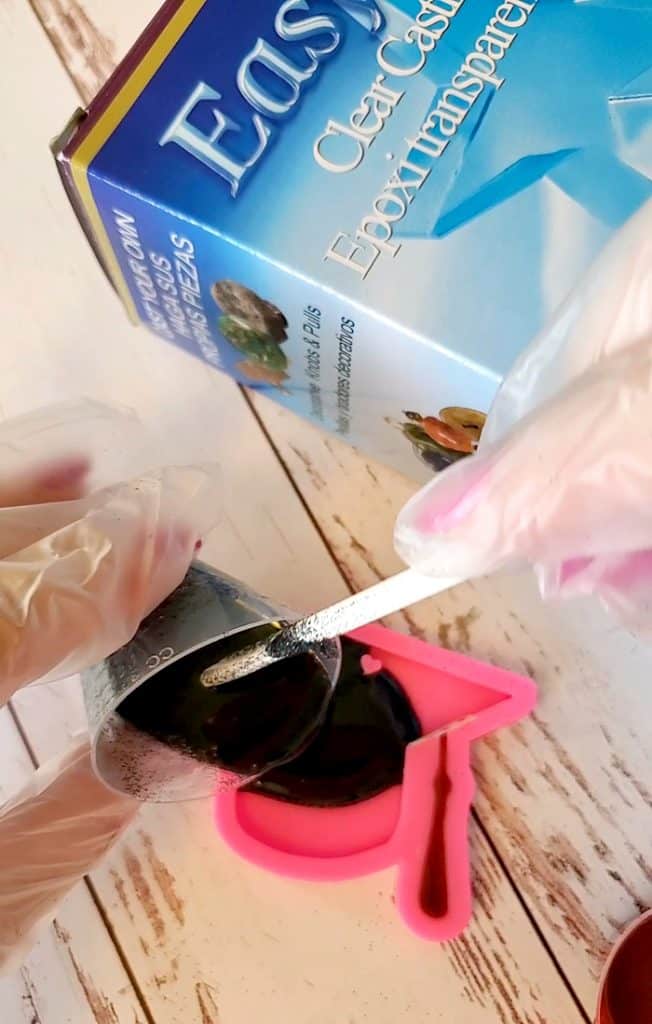
The trick is pouring the black in one section and pouring the tassel color.
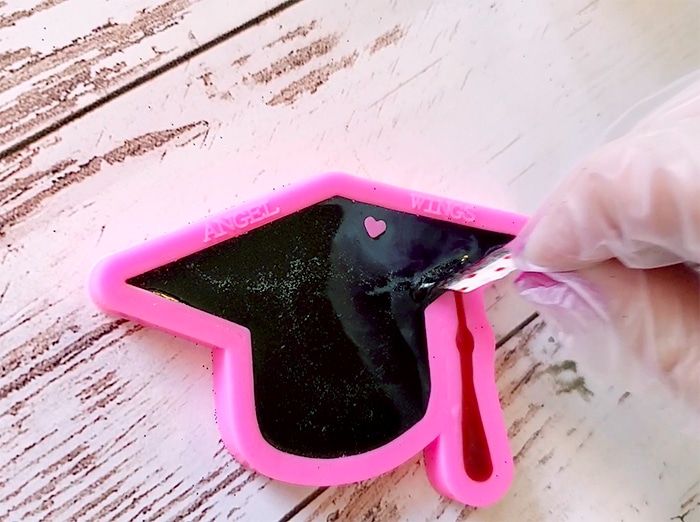
I did this by folding a small piece of washi tape block up the small connecting piece.
Wait about an hour after adding black and red, and then lift up the tape.
The resin colors won’t bleed so much because it’s started to set up.
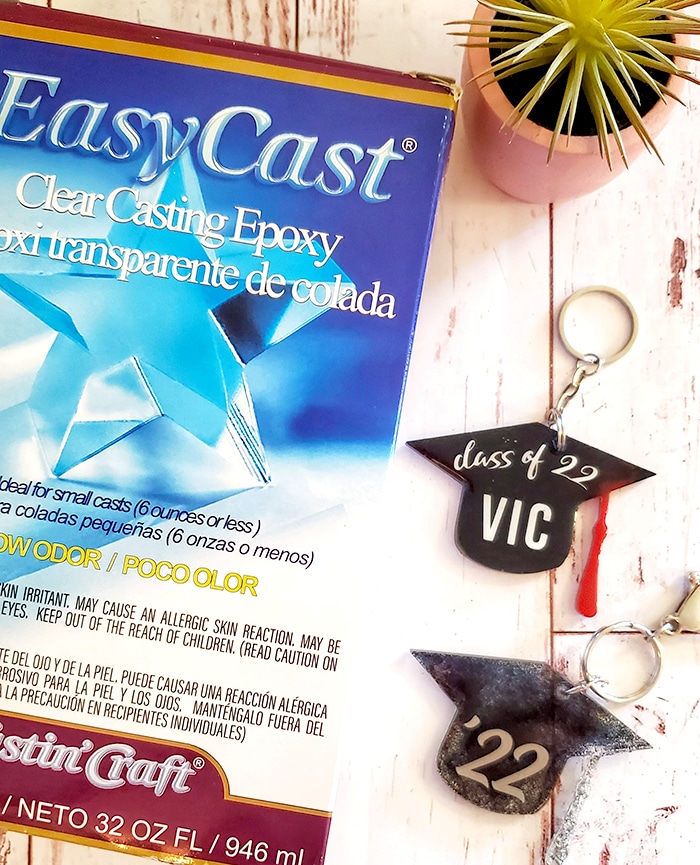
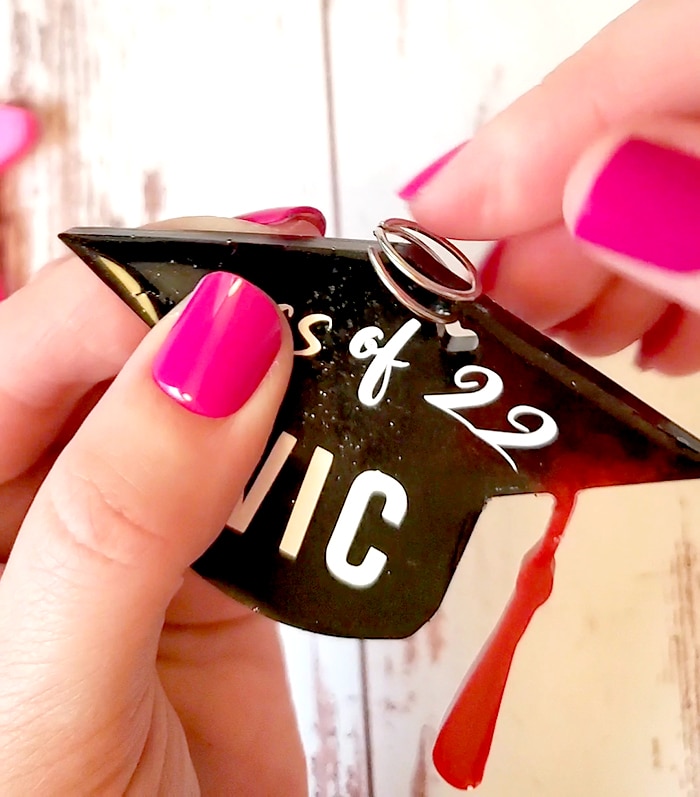
Remove cured cap and apply the vinyl cut out. You could do anything like a name, an initial, the grad year, etc.
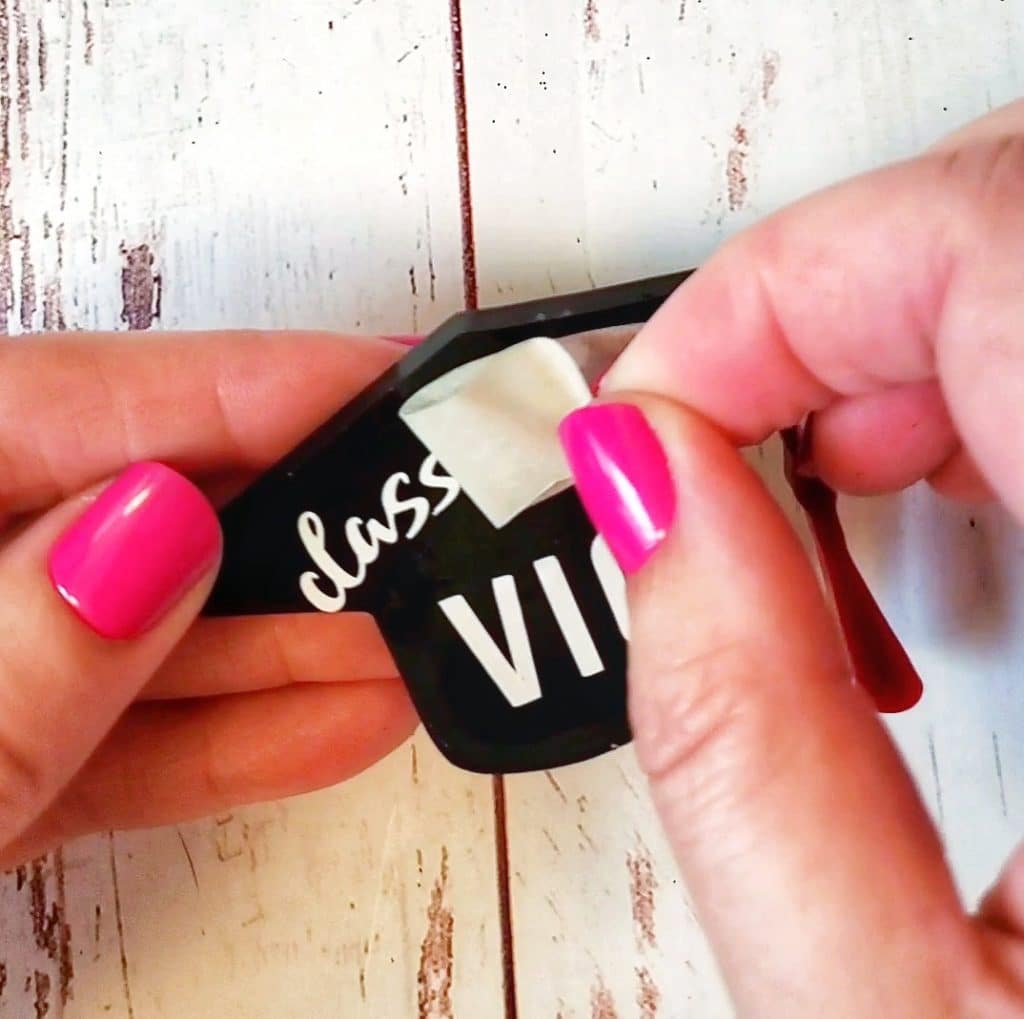
To layer the vinyl inside the poured resin, start by pouring the black and colored resin, but don’t fill the mold completely.
Add the vinyl when the first layer of vinyl has cured but don’t remove it from the mold yet. Then mix some clear resin to pour over the top, filling the mold.
Add keychain to resin mold
Use pliers to open the small split ring and then thread it through the hole created from the resin mold. If your keychain mold has no hole, drill one with a hand drill, or a power drill with a small drill bit.
Then attach the chain of the keyring.
These keychains make great gifts for kids and their friends, and I hope you’ve learned something new about using vinyl in resin molds. Have any questions? Leave them below!
Stephanie is a crafty wife and mom living in the Pacific Northwest. She shares her creative ideas -along with a bit of “making it up as she goes” – on her blog, Crafting in the Rain.


Leave a Reply