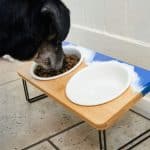
How to Make DIY Dog Bowl Stands With Resin
If you love your puppy, every day is International Dog Day and today we’re here to guide you through making your own DIY Dog Bowl Stand with resin.
Materials
- Promise Table Top Epoxy Resin
- Wooden dog bowl stand
- Alumilite dye Transparent blue and white
- Mixing containers
- Paint sticks
- Nitrile gloves
- Safety glasses
- Heat gun
Instructions
- Before you start working with epoxy, make sure that you're wearing protective eyewear and gloves, cover your workspace (or use a silicone mat), and work in a well-ventilated space. Assemble all of your tools in your workspace!
- Mix up equal parts of your resin and hardener and stir slowly for several minutes (until there are no visible swirls).
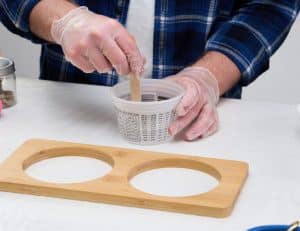
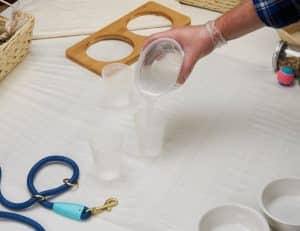
- Split the mixed resin into three separate cups. The resin cup that will be dyed blue will have the most.
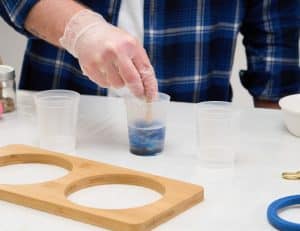
- Put a few drops of each dye in its respective cup.
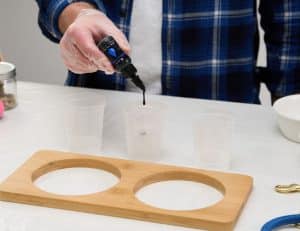
- Stir in the colorant until it is thoroughly combined. Do the same for the cup with the white dye and resin mixture, as well.
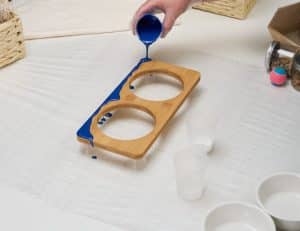
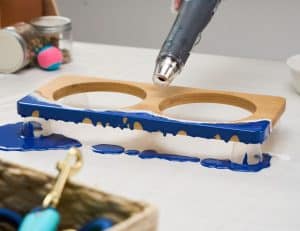
- Make sure your surface is level. One way that we do this—and allow the resin the opportunity to drip and coat the sides—is by using four equal-sized small cups and setting the stand on top of them. Pour the blue wave along the top of the wooden bowl stand.
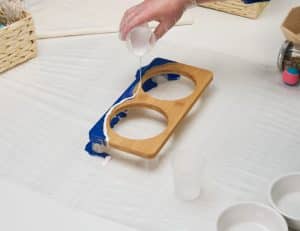
- The next step for creating resin waves is to pour a thin line of clear resin along the bottom, where the blue section stops.
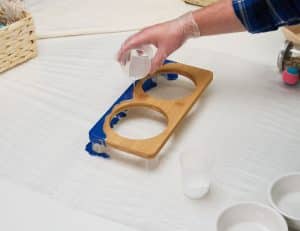
- Once that’s done, pour another thin line over top of the clear line using the white resin. This combination of the clear and white resin is essential to getting the cells that are commonly found in ocean art.
- Take a moment to find a good angle that will allow consistent results across your entire piece when you use you heat gun. Then, activate it. Be sure the gun isn’t going to blow hard enough to splash resin everywhere. Guide the heat gun along the poured resin and watch as the white spreads out.
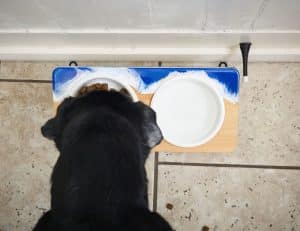
- Allow the project to sit and cure in a dust and debris-free environment for the length of a full cure before use. This takes about a week. Once it’s cured, your project is ready to be displayed!
Notes
Before creating this project, don't forget to read up on resin safety for animals and evaluate what you're comfortable doing. We have some (but not all!) information in our Resin and Animals section in the related article.