DIY Resin Guitar Picks
Materials
- Alumilite Amazing Clear Cast
- Amazing Mold Putty Kit
- Guitar picks for creating the mold
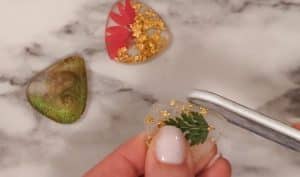
- Add ins - dried flowers glitter
- Color Creator Premier Gift Pack Mica Powder and Alcohol Ink
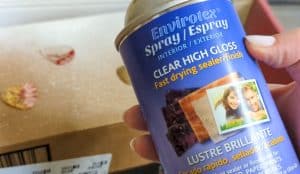
- Resin Spray & Sealer
- Protective wear glasses, gloves
- Mixing cups and stirring sticks
Instructions
Create Resin Mold for Guitar Picks
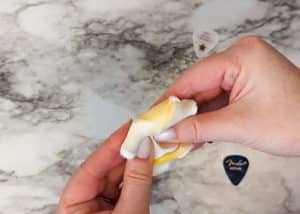
- Measure out two equal parts of yellow and white putty. You can use a kitchen scale for true precision, but I just roll two balls until they are the same.
- Squeeze, pinch, and roll between palms until the putty is a uniform color with no streaks. You get 2-3 minutes of work time until it starts to set.
- Press the putty onto a smooth table, creating a thin even area. A small roller might be useful here as well. I wanted a super smooth finish, so I flipped over the piece and it was very flat on the "table" side.
- Press the guitar picks into the putty to create the mold space. Take care to not push so hard that a hole develops in the bottom. I also nudged the putty up over the edges of the picks just slightly to try to create a curved edge. It worked on some of them :)

- Let the mold set for 30 minutes, then you can remove the picks. Check the bottom for holes and if there are any, don't fill that part of the mold with resin.
- Mix and color resin
Create Resin Guitar Picks
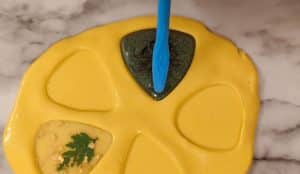
- Mix Amazing Clear Cast Epoxy. Measure out equal parts of part A and part B. Stir for 2-3 minutes. The mixture will be cloudy at first, and then turn clear. Then stir an additional 2 minutes. I only mixed up 20 mL total to make these 5 guitar picks. They don't need much resin.
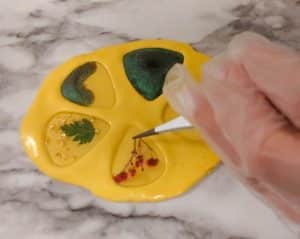
- Pour small amounts of resin into other cups to add mica powder and alcohol ink and mix until incorporated.
- The fun part is to mix and match everything! You can see I did a couple with clear resin and dried flowers, and a couple got gold flakes added. The others were colored with Color Creator mica powders and alcohol inks.
- Try to not overfill the molds, but if it happens we'll fix it later. A heat gun can help remove bubbles, but don't get it too close to the resin because the force of air can push the resin out of the shallow molds.
- Let cure about 10 hours, then check on them. Remove from the molds when they are no longer sticky or tacky, but still have a bit of flexibility.
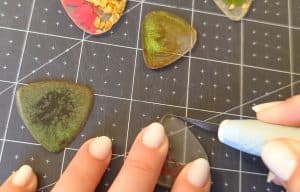
- Use a blade to carefully remove any edges of overfill if necessary. This is easier to do when the resin is not yet fully cured. Let resin fully harden for another 24 hours before proceeding to the next step.
- The edges of the guitar picks may still be a bit rough or uneven, but a nail file smoothes them right out.
- Add shine back to resin
How to achieve max shine
- You'll notice that the top side of each pick is very smooth, and the back side that touched the mold is a bit rough or cloudy.
- There are two ways you can fix this: 1 - Spray several light coats of ETI Resin Spray & Sealer, waiting a couple minutes between each coat. Then dry 12 hours. If it still seems bumpy, lightly sand with your highest grit sandpaper you have, then repeat the process.
- 2 - Return to the molds with smooth side down and cover with a super thin layer of resin. Try to not let any resin seep over the sides. This thin coat will need 48 hours to completely cure.
- The shiniest result comes from the extra layer of resin, but the sealer process is easier. So you can choose what will work best for you.
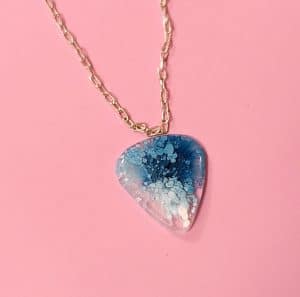
- These resin guitar picks can also be turned into a necklace! You can either drill a small hole and add jewelry hardware, or glue a bail to the back. Add a chain and it's done!