Choose your mica powder colors and have small mixing cups ready for each color you'll use in your project.
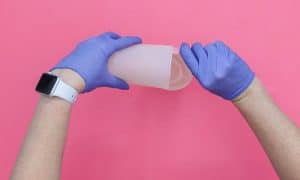
Prepare the Promise Table Top Epoxy. This is a multi-step process so don’t start mixing until you are ready to do the whole process from beginning to end! Most importantly, if it's cold, add the bottles to a warm water bath before mixing. Mix EQUAL parts of the Hardener and the Resin. Stir for two minutes (be sure to scrape the bottoms and sides) then pour from the first cup into a second and mix with a new stir stick for another minute (or until there are no swirls visible).
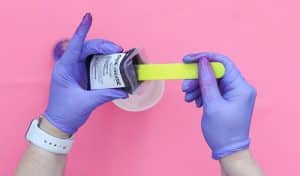
Gently pour into your smaller mixing cups and stir in a TINY amount of mica power. Add more if needed to achieve the colors you want!
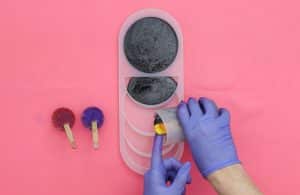
Fill the molds with the black resin mixture.
Swirl in the other colors to get a celestial, galaxy look.
Use a heat gun to pop any bubbles that rise to the surface of your project. You may have to repeat this a few times to get them all (check back for more bubbles after about 15 - 30 minutes. Allow the resin to cure for 24 – 72 hours (climate dependent).
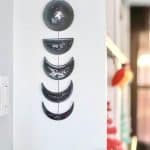
Demold the moon phases pieces and drill holes to add the hanging hardware.