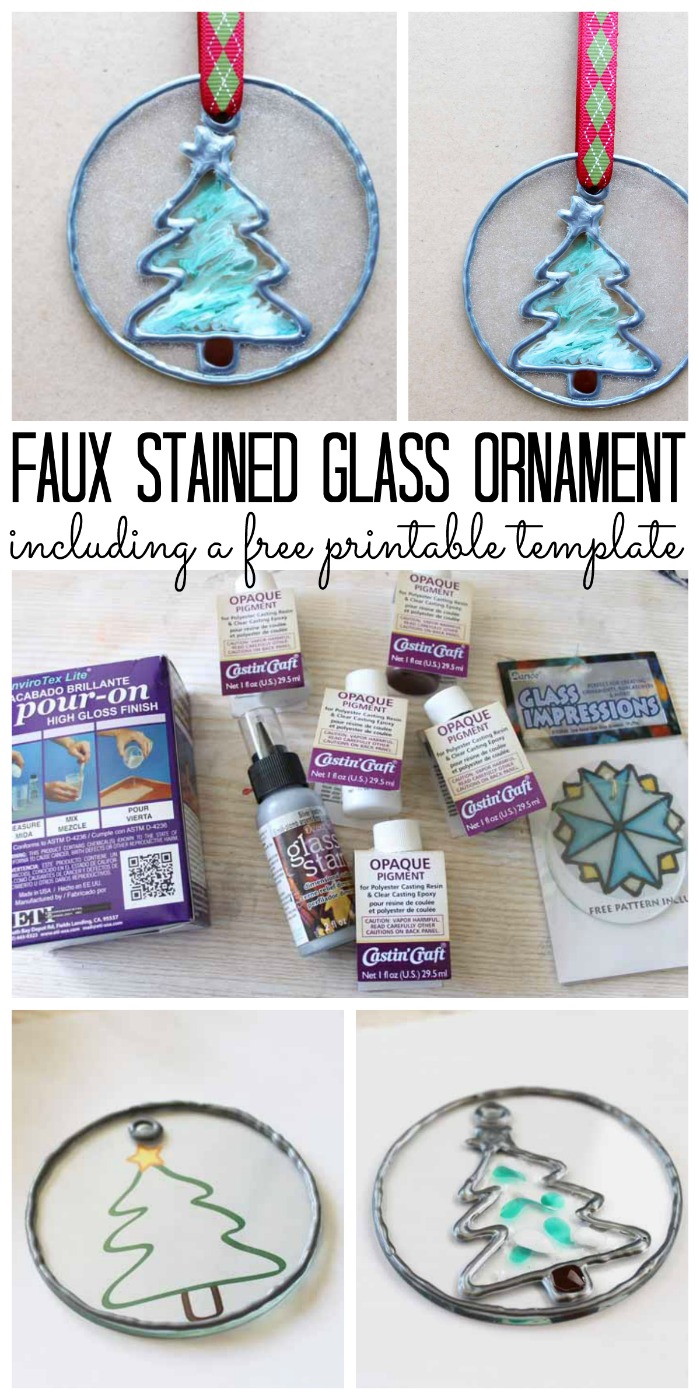
You can make this faux stained glass Christmas ornament in just minutes with this tutorial. Use our template to make a Christmas tree as shown or create your own design using the same technique. The light showing through this ornament on your tree will be simply dazzling!
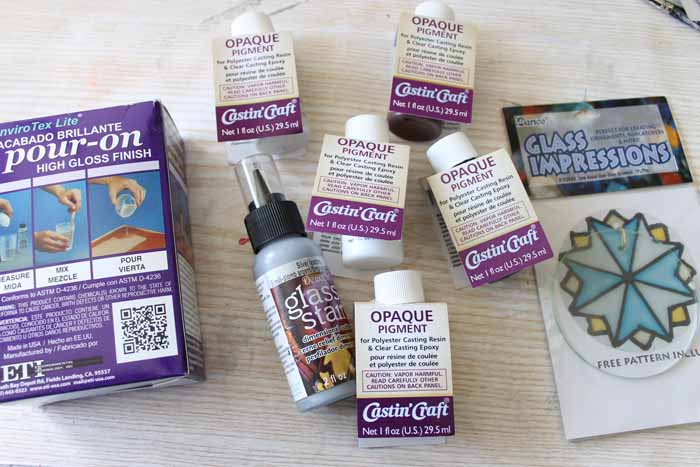
Supplies needed to make a faux stained glass Christmas ornament:
- Glass ornament base
- EnviroTex Lite® Pour On High Gloss Finish
- Stained Glass Leading Dimensional Paint
- Castin’Craft Opaque Pigments in Brown, Green, White, and Opalescent
- Mixing Cups
- Measuring Cups
- Stir Sticks
- Toothpicks
- Free Tree Template
- Ribbon
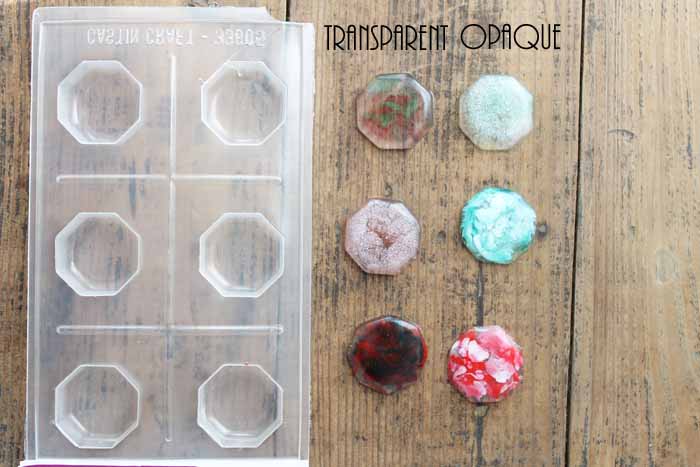
To begin, I needed to decide which of the pigments to use when creating my ornament. I always say “when in doubt, try it out”. So I used a knob mold to make a few samples. I tested a few different transparent and opaque pigments to decide which would work best for my project. As you can see below, the transparent pigments are see through while the opaque gives a more colorful appearance. I really loved the look of the Opalescent pigment which I thought I could make look like snow.
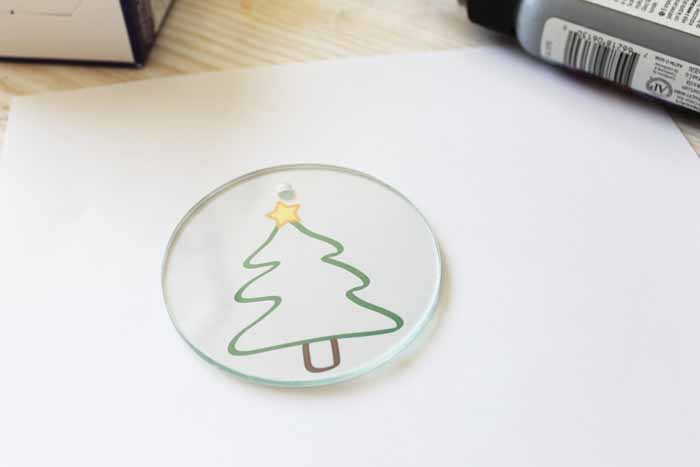
After my experiments, I was ready to create a faux stained glass ornament. Start by laying your glass blank on top of the printed template.
Then trace around all edges with your stained glass leading. Remember we will be adding resin to these areas and the leading will make an edge. Be sure your lines are complete with no gaps.
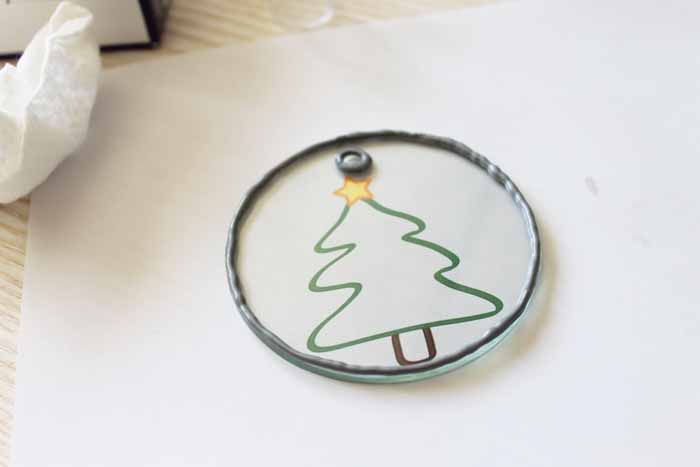
Use the leading to also trace around your tree. I filled the star in with the leading as the area was very small.
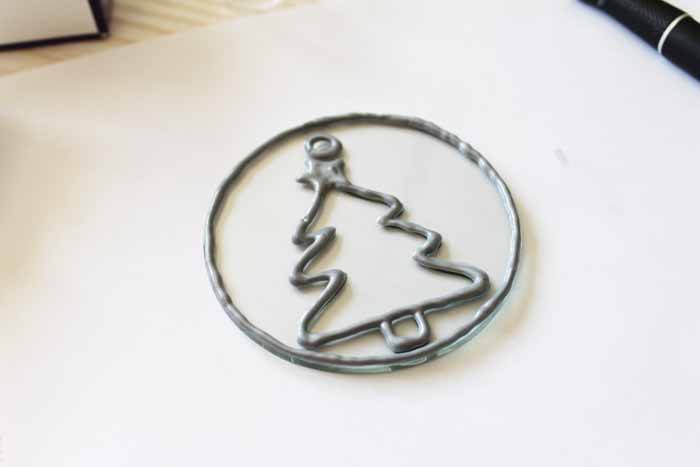
Set your ornament aside and allow to dry overnight. Once dry, you can start mixing your EnviroTex Lite® Pour-On High Gloss Finish according to the package directions. I mixed a batch then poured small amounts into a bunch of measuring cups. I added my pigment to each cup. NOTE: Be sure to keep some resin with no pigment as we will need it as well.
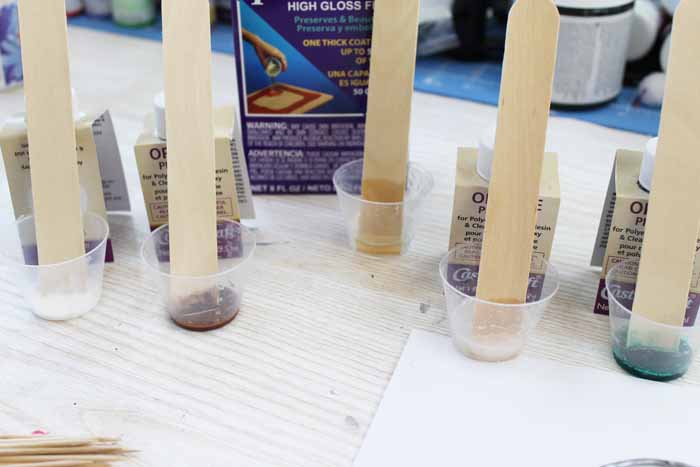
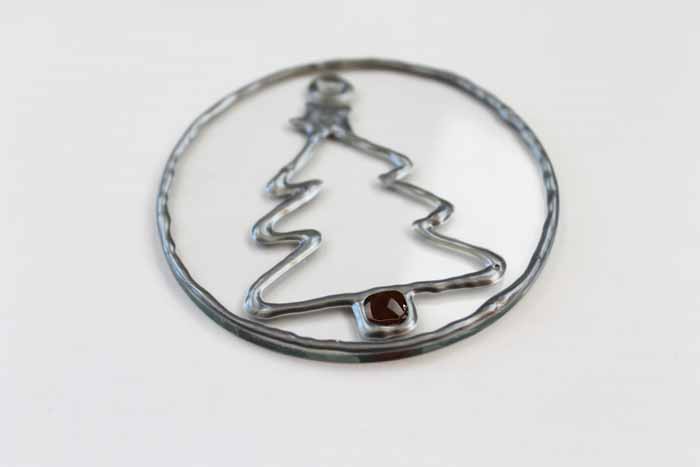
Pour a small amount of brown into the trunk. TIP: Toothpicks are your friend when making sure your resin gets all the way to the corners.
Add some clear resin to the tree area then add a few drips of green and white to it.
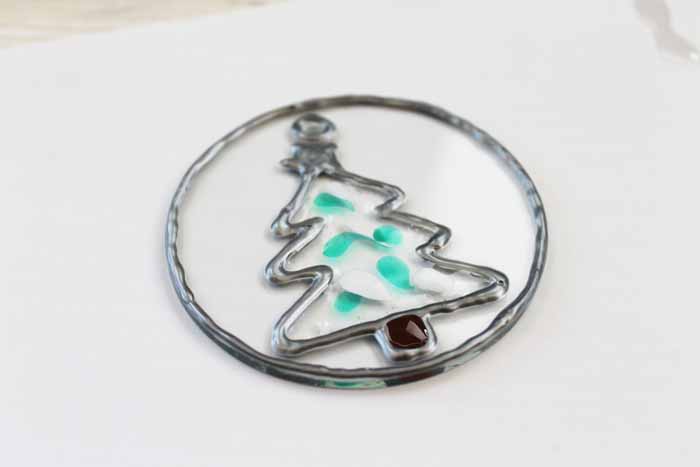
Use a clean toothpick to swirl the two together.
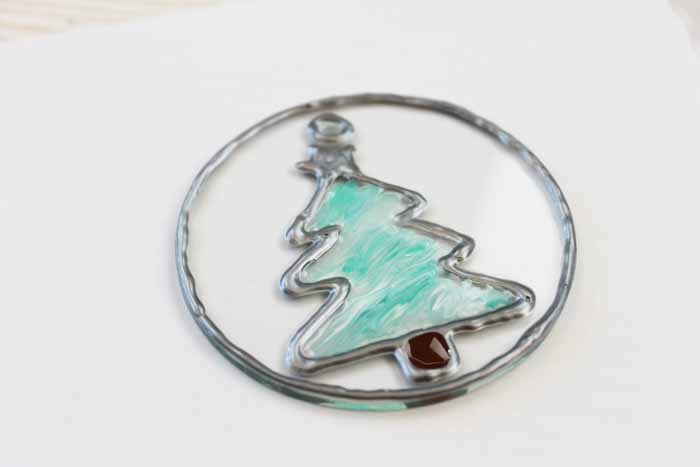
Then add resin that has been tinted with the Opalescent pigment to the rest of the ornament. This dries looking a bit like snow with a glittering that I love. Remove any bubbles that come to the surface.
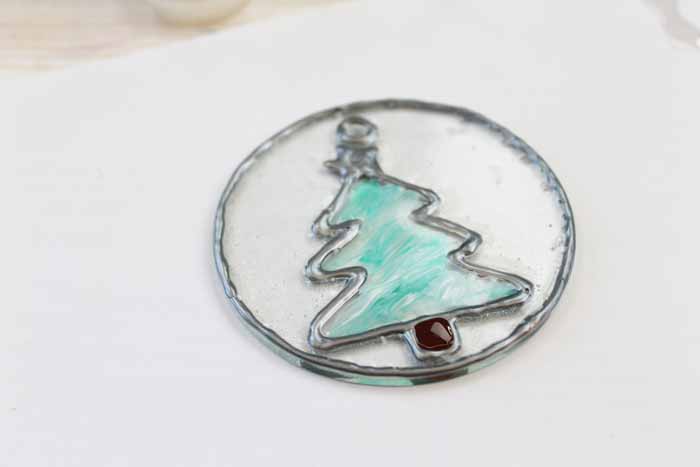
Set the entire ornament on a level surface to cure. Allow to cure overnight before touching.
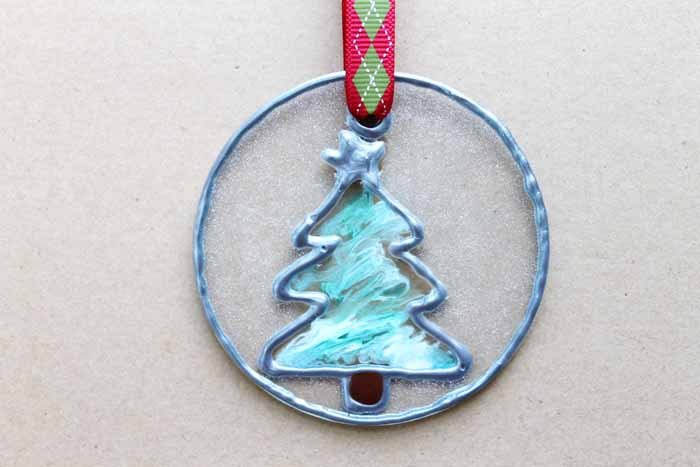
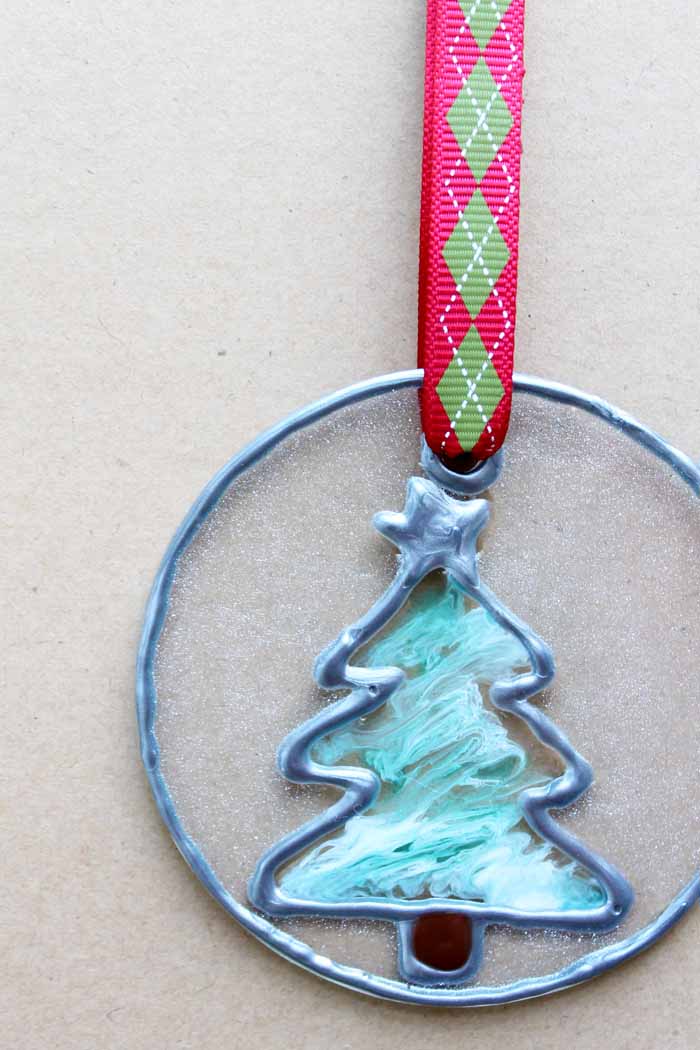
Finally add a ribbon for hanging on your tree. You now have an adorable faux stained glass ornament for your tree. See that shimmering Opalescent pigment around the outside? Just adorable!
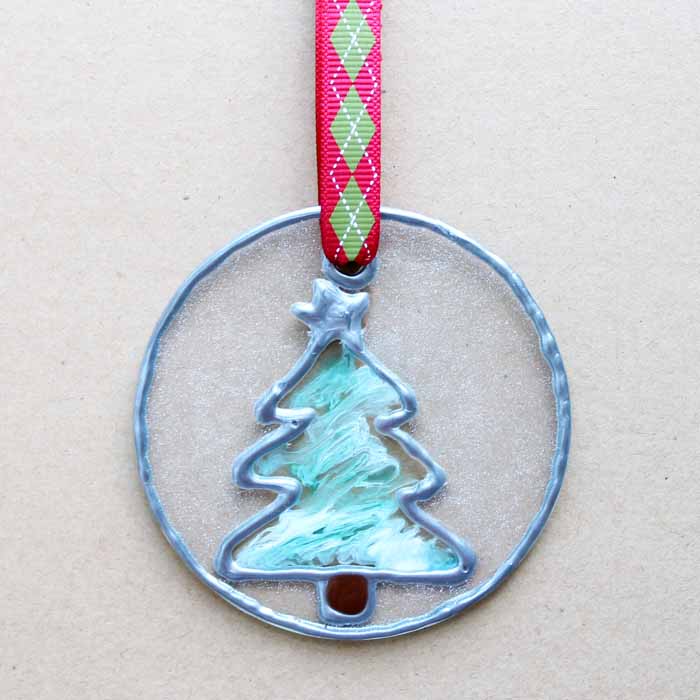
You can also use this same technique to make stained glass ornaments in any design. Your tree will look great with these hanging all over it!
Angie has been blogging for over seven years at The Country Chic Cottage where she does a variety of crafts and home decor projects. You can even find a weekly recipe! She lives on a farm in rural Tennessee with her husband and three children. Painting is a favorite of Angie’s because it is a quick and easy way to make a big impact for very little money.


[…] Faux Stained Glass Christmas Ornament […]