For the month of November, ETI and Resin Crafts Blog are sponsoring the Fab Furniture Flippin Contest, where bloggers from all over will be sharing their “Showstopping Tops” made with Envirotex Lite. I made this coffee table refinished with resin and can’t wait to tell you the process! Several other bloggers will be sharing their table tops as well and we will round them up here for you to see! We can’t wait to see what the contest hosts (shown below) will create as well!
I was asked to make a Showstopping Tabletop project as guest host of the contest! Here’s what I came up with:
Supplies used:
- White Chalk Paint
- Paint brush
- Plastic drop cloth
- 40 oz of Envirotex Lite
- Mixing Cups
- Stir Sticks
- White pigment for resin
- Black pigment for resin
- Creme Wax (furniture finishing wax)
- Dust free area (I used a spray shelter)
Prepping the table:
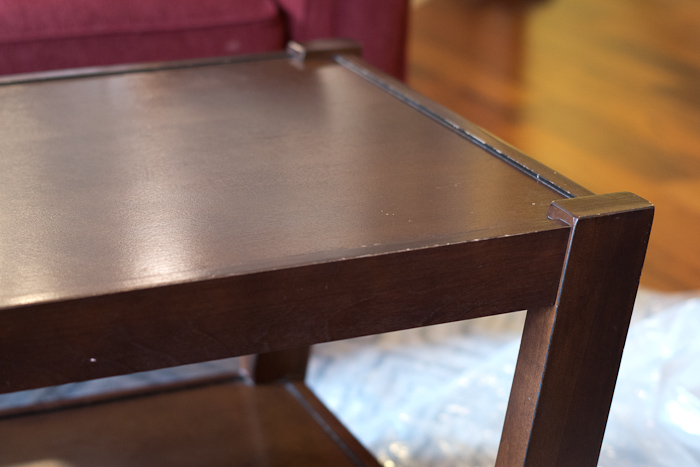
Here is a BEFORE shot of the table, showing the reason that it needs to be refinished. Not only did it need to be a different color to match my decor, but it was all scuffed up and in need of a new life!
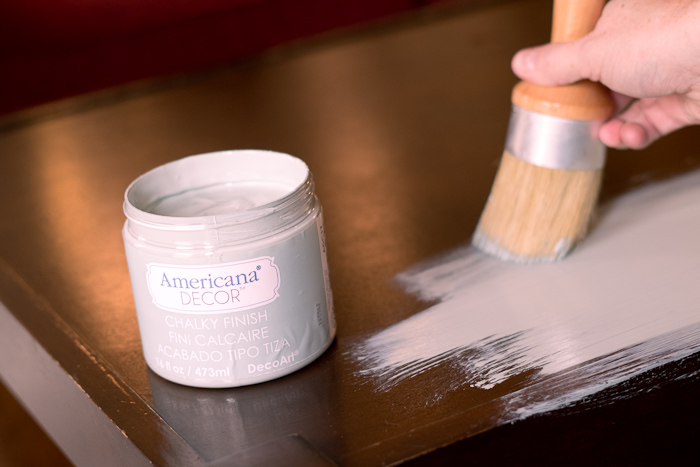
The first thing to do is paint the table. Chalk paint is awesome because you don’t have to sand anything down first.
Prepping Resin:
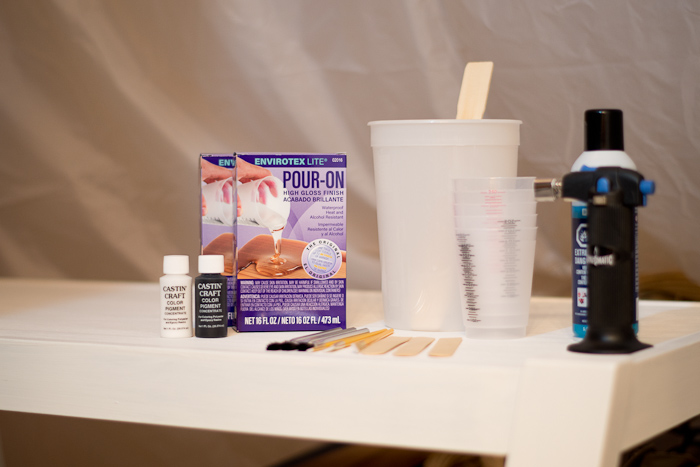
After the entire table is painted and dried (possibly with a few coats) you’re ready for the resin part of the project. Below is a photo of the supplies you’ll need for this part. I made sure to have extra stir sticks, paint brushes and cups nearby just in case I needed them. You have to work pretty quickly with resin, so you want to make sure everything is within reach and ready to go! Here are the supplies I used:
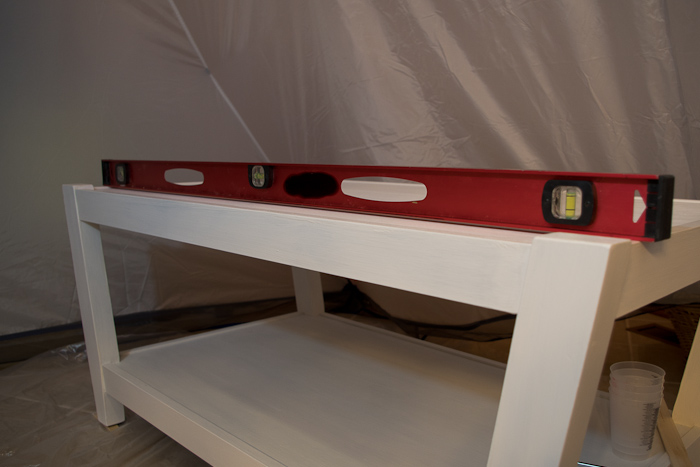
Make sure that your table is completely level both front to back and side to side. As you can see below, my table had to be shimmed with some stir sticks under the front corners in order to get it completely level. I think this was more because of the floor in the room I was working in rather than the table being uneven. As you can see I am working inside of a spray shelter tent because as soon as the resin is poured I wanted it to be in a dust free area. This shelter worked great!
Mixing Resin:
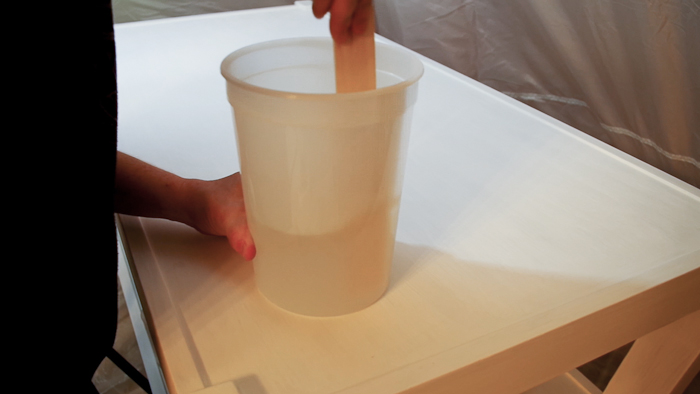
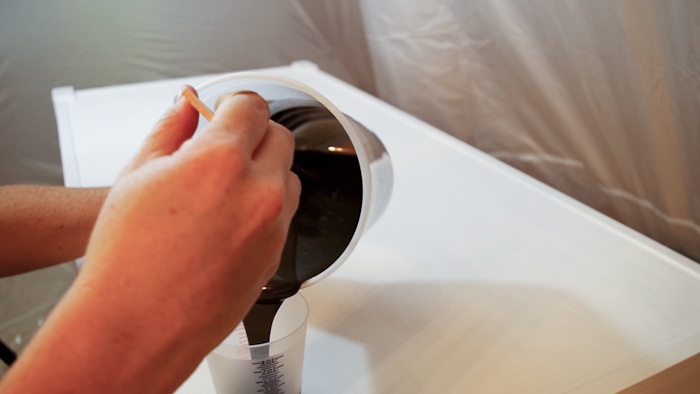
Next, you will need to mix your resin. I used two 16oz. box of Envirotex Lite and an 8 oz. box as well. So 40 oz. total. This table was about 8 sq. ft. and this was the perfect amount of resin. The box will give you a chart for how much you need for your project. Whatever you do, just make sure you have an equal amount of the Part A Resin and the Part B Hardener. Pour them into a large mixing container and stir them thoroughly, which is usually about two or three minutes for me.
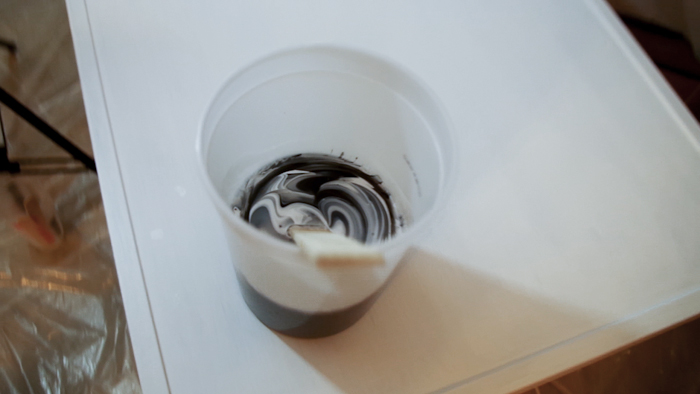
The next step is to pour pigment of your chosen colors into the resin. You want to work quickly, but to do it right. I wanted a dark gray, so I used mostly black, but added a little white to make the gray and to make the color thicker. Too little color pigment will make the resin semi-transparent, which is okay if that’s the look you’re going for, but I wanted the top to look similar to a marble-type stone and didn’t want the white table to show through underneath at all.
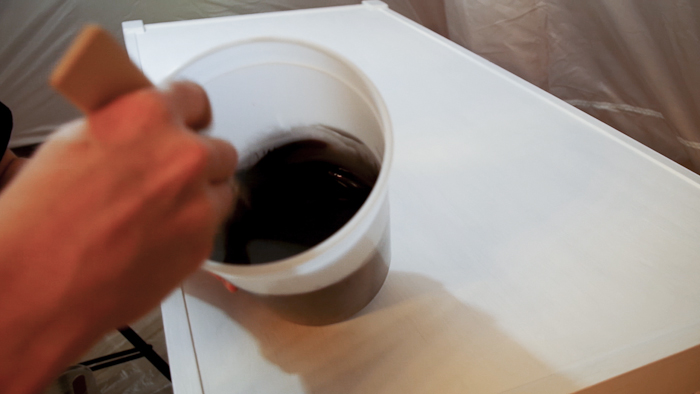
Mix the resin completely until you have one solid color throughout.
At this point, I poured a little into a smaller cup and added some white pigment to that in order to create a lighter gray for the streaks I was going to add in later.
Pouring Resin:
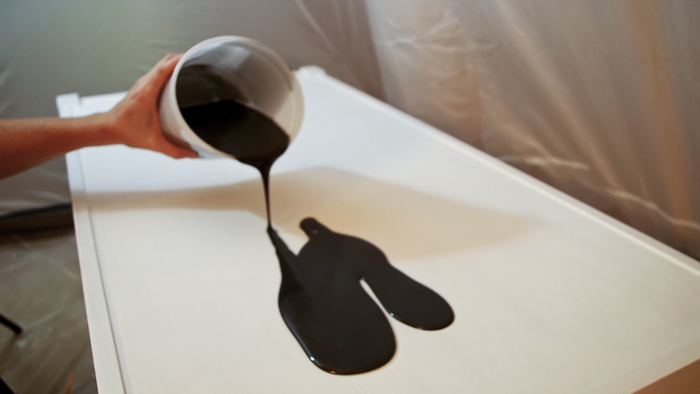
Now pour your dark gray resin onto the table top. As you can see, my table had some edging that was higher than the table, so my plan was just to fill in the main area and to leave the border. If your table is flat you’ll likely just let the resin run off the sides, but that didn’t work for this project.
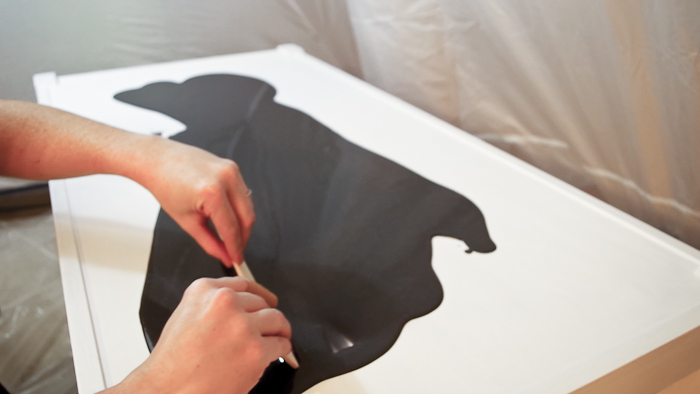
Since I didn’t want the resin to go over my edges, I had to be sure to spread out the resin and not get too much onto the table.
Finish spreading out the resin so it covers the entire table. Be careful and precise, but work quickly! The resin is self-leveling, but it sometimes needs to be pushed to all the areas you want it to go.
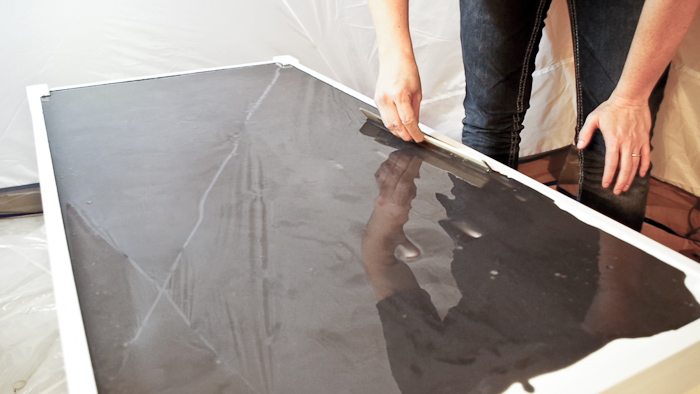
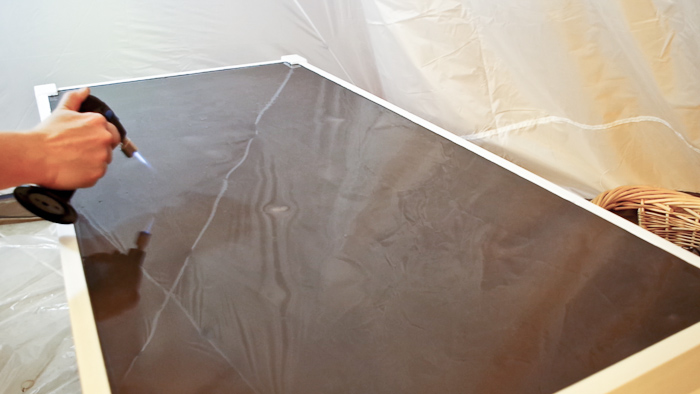
Next, take your micro butane torch and run it across the table, popping all the air bubbles you can see. Sometimes it’s hard to see the bubbles because of the reflection on the shiny resin, but if you take a light or move to where the light hits the table, you’ll be able to see them. You will want to do this a few minutes after pouring the resin, again after adding the light gray (see next step) then come back about 15 minutes later and do it again. This is very important as it takes a little time sometimes for the bubbles to all rise to the surface.
Adding details:
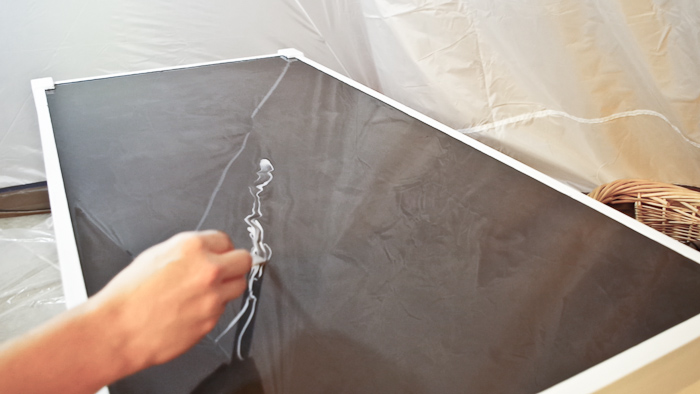
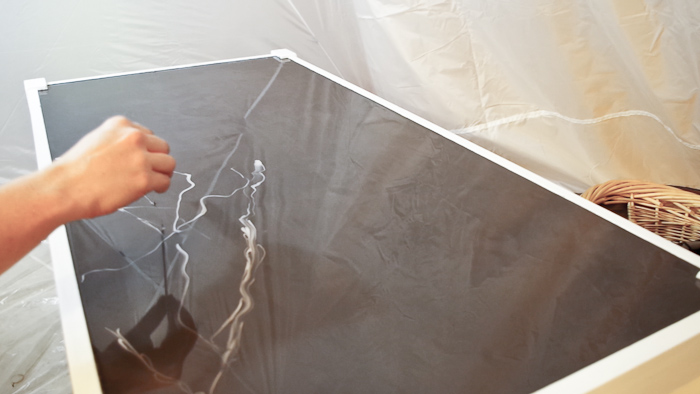
Alright, now time for the contrasting light gray to add some detail. My goal was to make this a marble-like effect, it’s not perfect, but it looks great! Basically, just use a wooden stir stick, put it into the cup of resin that is light gray (that you made in an earlier step), and run it through the dark gray wherever you want there to be some detail.
Keep going in different directions. Sometimes I would use the stir stick on its side to make a thin line and other times I’d run it through flat to make a thicker line.
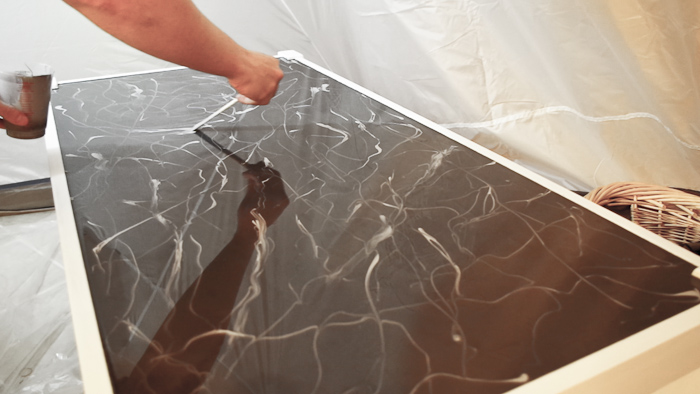
Keep going over the entire table. You’ll see as you go that the resin will continue to settle.
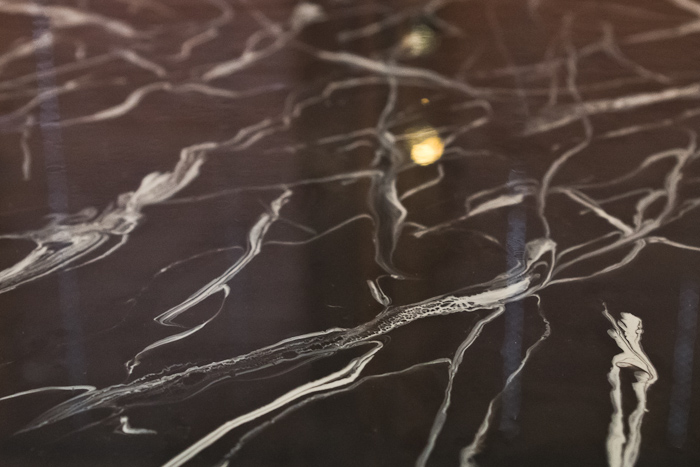
The settling makes some really cool effects, like these natural looking areas with a cool lace-like pattern.
Finished!
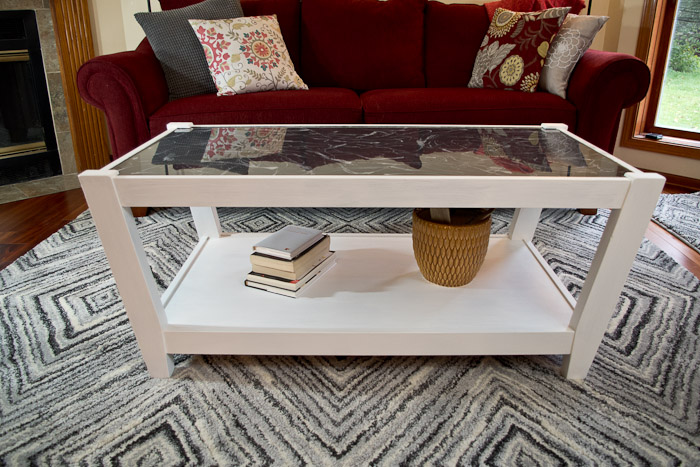
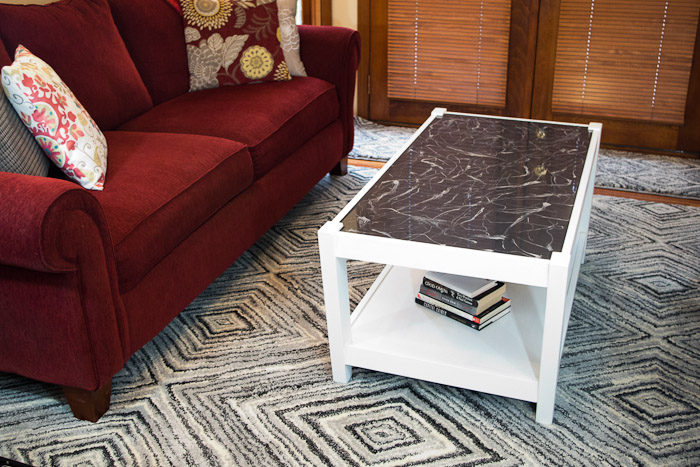
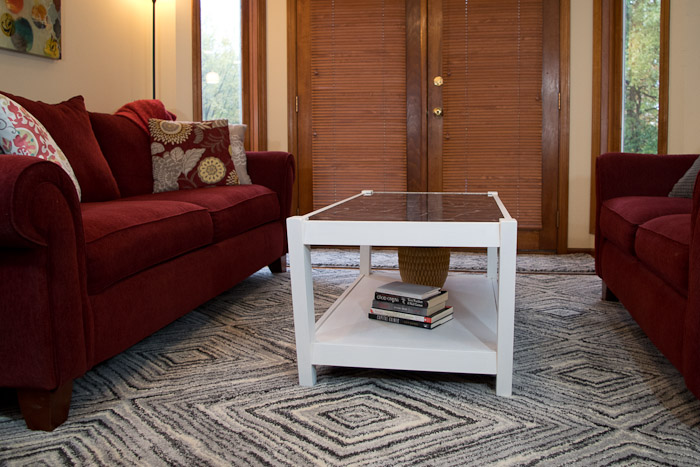
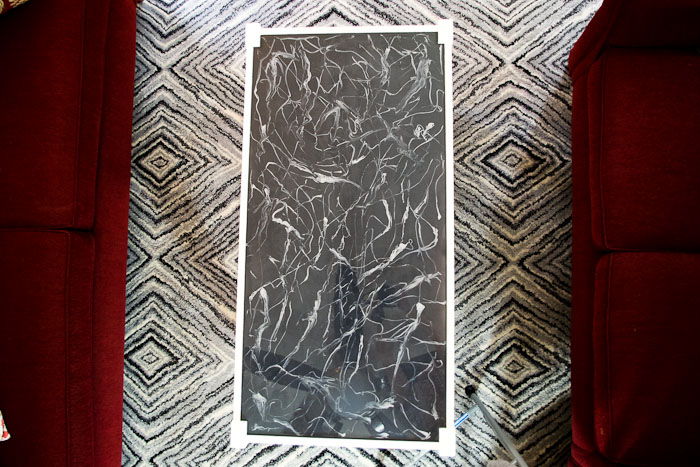
Alright, there you have it! A gorgeous white coffee table with a dark, patterned, shiny table top! I think it’s showstopping!
As you can see, it’s very shiny and reflects everything!
Maybe not a perfect replication of marble, but still a fun design. (Side note: It’s really difficult to take a picture of such a shiny piece! It’s like taking a picture of a mirror without getting yourself in the shot, haha!)
What do you think? I hope this is a piece that would inspire you to try out some Envirotex Lite and make an amazing furniture piece yourself!
Best of luck to all the contest participants! Can’t wait to see those Showstopping Tops… you can see them as they come in below!
–Sheri @ Hazel + Gold Designs
Sheri is a Maker and DIY blogger at Hazel + Gold Designs. She is usually in the middle of multiple projects at once and finds great satisfaction and joy in creating something new. She is constantly learning new skills, putting them to the test, and sharing her experience and knowledge with others. Her favorite hobbies are crafting, painting, crocheting and basic woodworking. Her goal is to inspire others to step out of their comfort zone, learn a new skill and have the confidence to make their life a little more beautiful!


Wow! Such a great project. That really looks like marble Sheri. Love it!
Sheri I absolutely love your faux marble top! Can’t get enough of these tips!
Thank you so much Sue!
Wow! Your table turned out so cool! I’ve never worked with colored resin and now it’s definitely on my to do list!
Thank you so much! Do try it! It’s so much fun and looks great!
Can you add glossy resin to a newly bought semi matte table top, in short do I need to paint it over if I like the done on it? And I don’t need to sand because it’s already smooth
You don’t have to paint, you can add the resin to the table top.
This is fab! If my table is flat and I let it run over the edge. Will I end up with resin just all down the sides?
Thanks!
Hi Kate! Yes, it will drip off the edges.To prevent that, you can tape underneath or also just check on it periodically and scrape off the epoxy as it drips. You can also cut and sand off any uncaught drip spots.