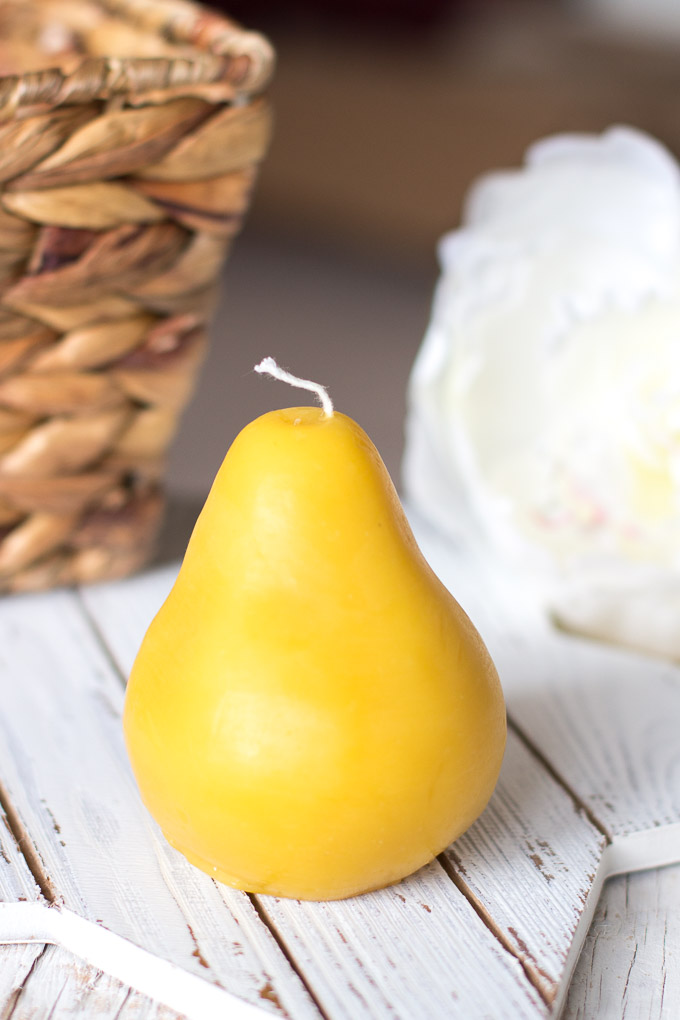
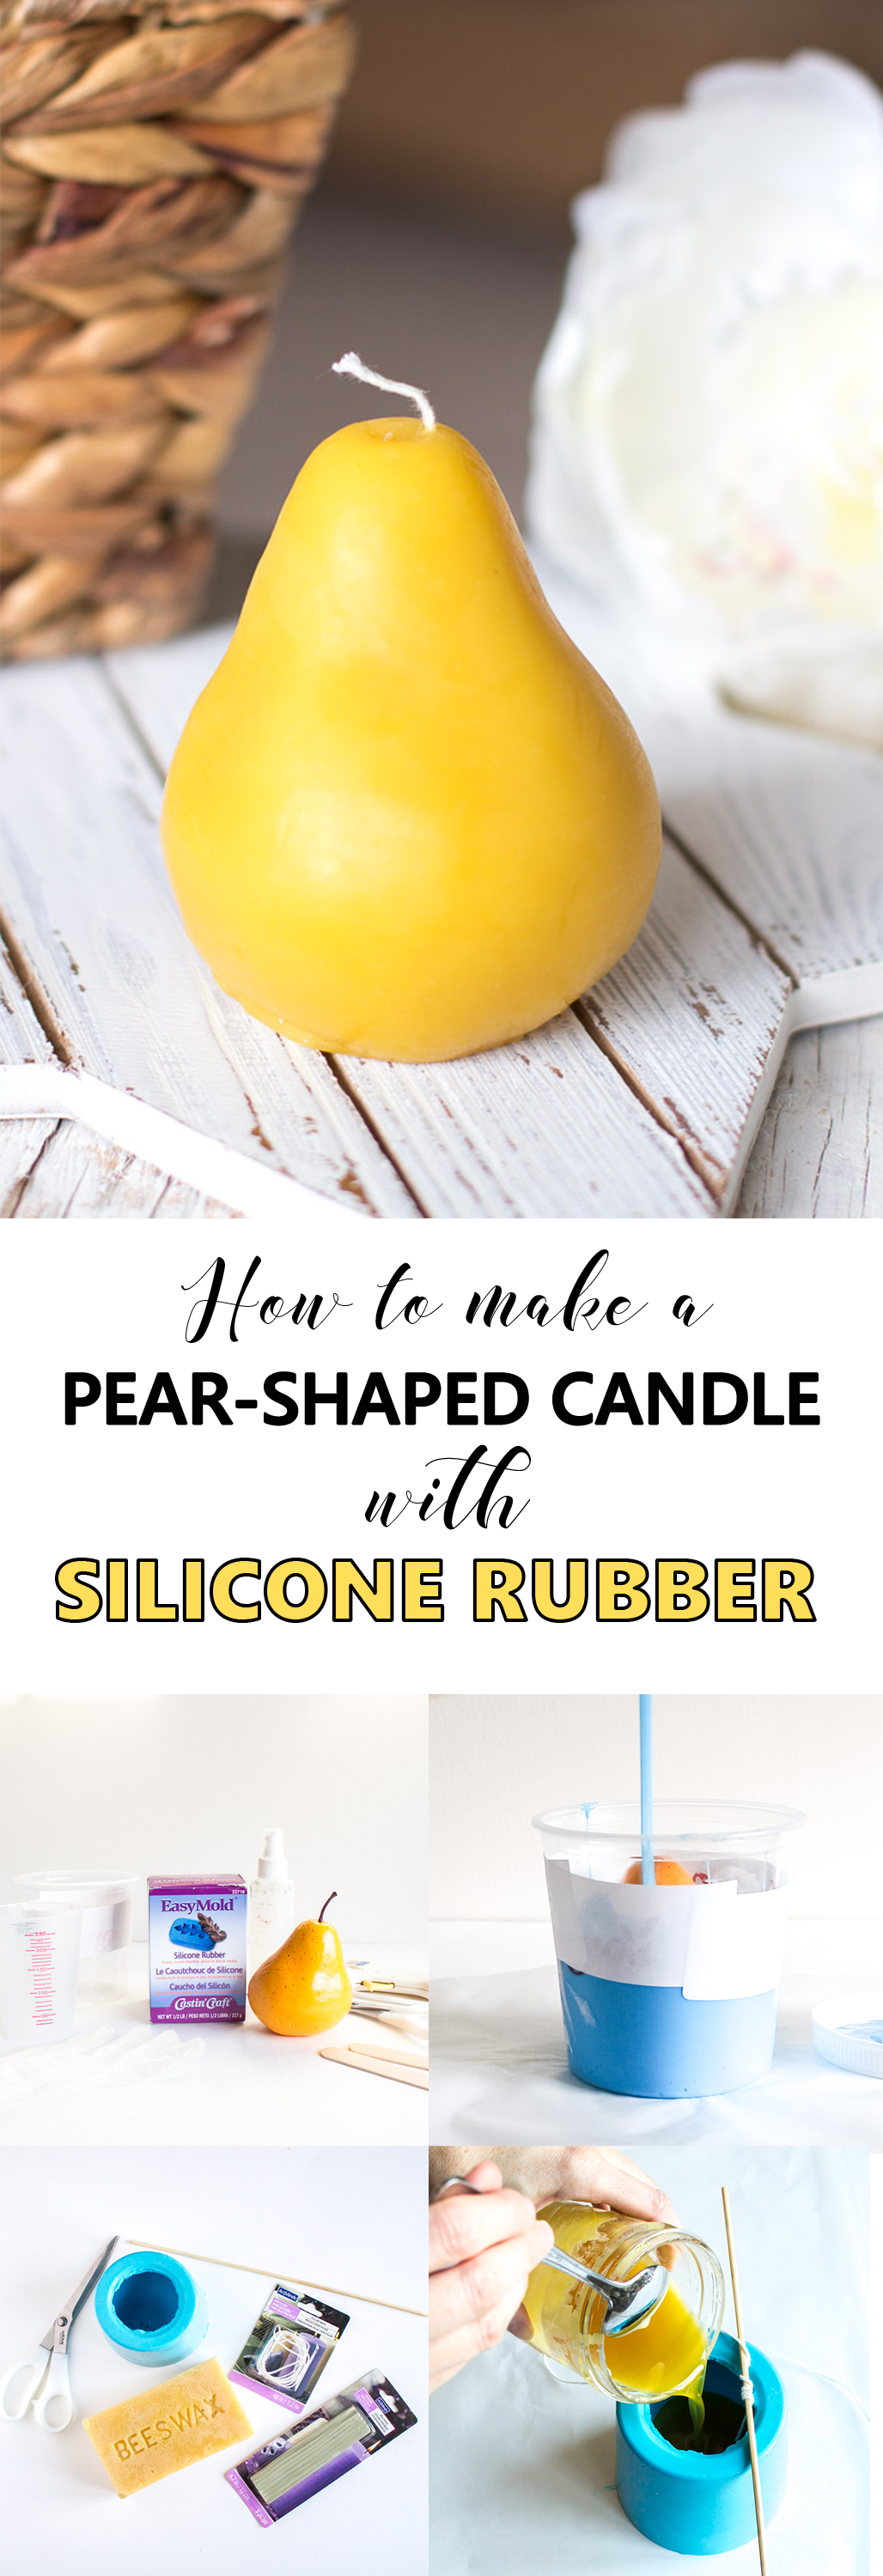
Hi creative friends! It’s Sonja here from Sustain My Craft Habit and I’m really excited to share this candle making project with you. We’ll start by making the pear shaped mold and then finish with pouring the beeswax to form the candle.
I’ve been really eager to make another silicone mold ever since I made a cone shaped silicone mold for faux-marble ring cones. And as we head into Fall and gear up for the USA Thanksgiving, I thought this pear shaped candle idea would be the perfect DIY.
Supplies Needed for Making a Pear-Shaped Mold:
- Castin’ Craft EasyMold Silicone Rubber
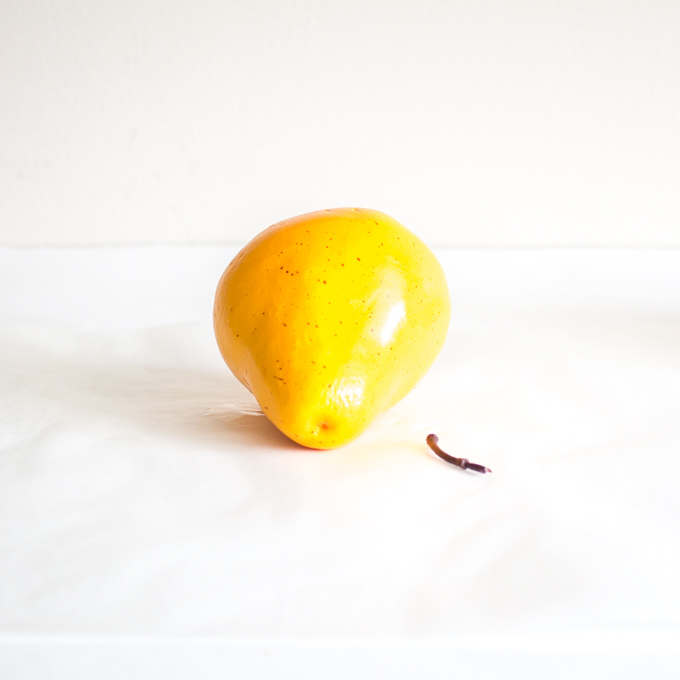
- Decorative Styrofoam or Plastic Pear
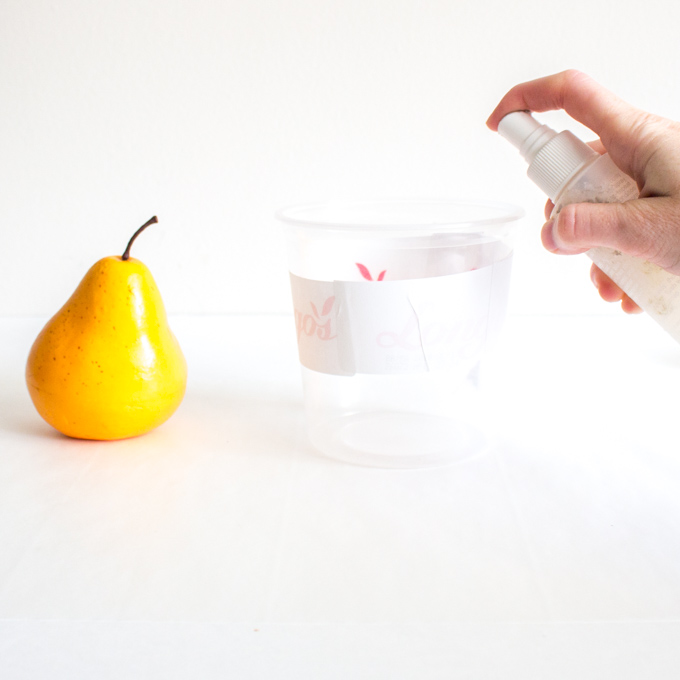
- Disposable plastic container; large enough for the pear to fit inside (I used a leftover pineapple container)
- Castin’ Craft Mold Release and Conditioner
- Mixing/Measuring cups, Stir sticks
- Hot glue sticks and glue gun
- Scissors

How to Make a Pear-Shaped Mold
Preparing the supplies to make a mold:
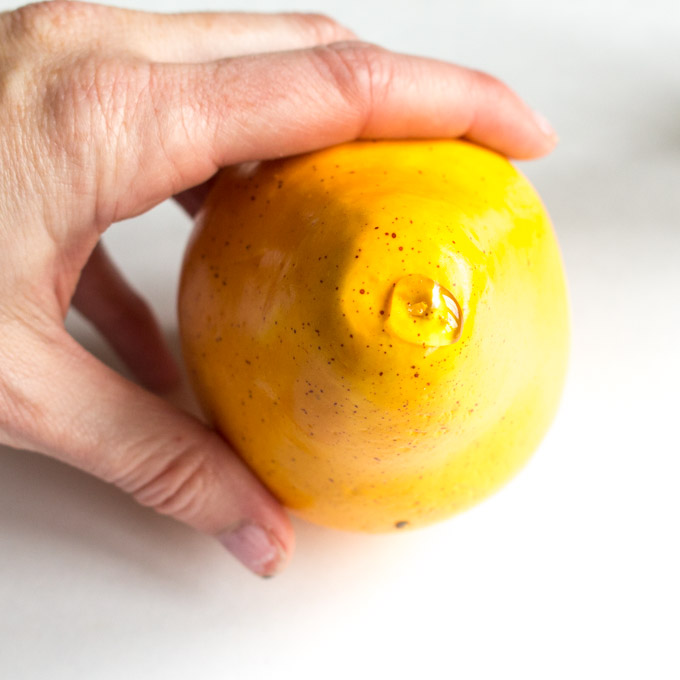
Remove the pear stem and discard. Spray the inside of the container and the surface of the decorative pear with a mold release agent. Leave it to dry.
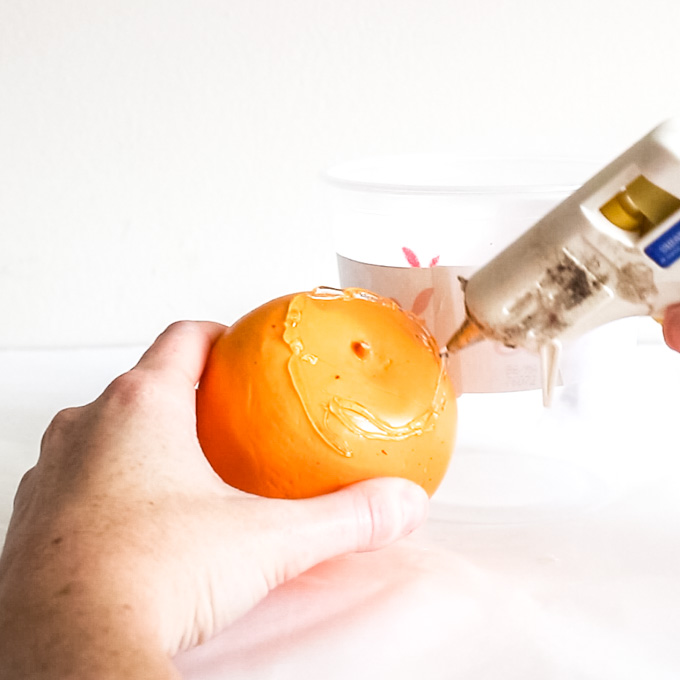
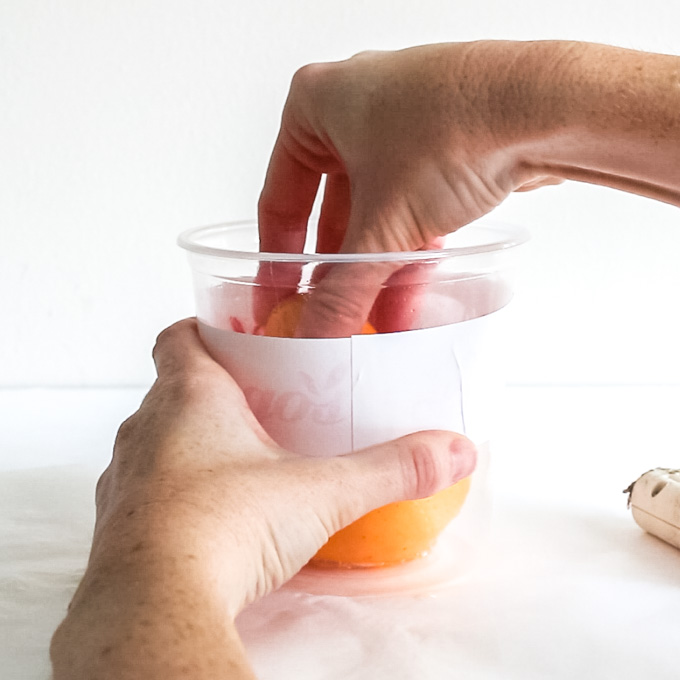
Once they are dry, apply a good amount of hot glue to the base of the pear and stick the pear firmly inside the plastic container ensuring you have a tight seal that will not leak mold at the bottom.
Pouring the Silicone to make a Mold:
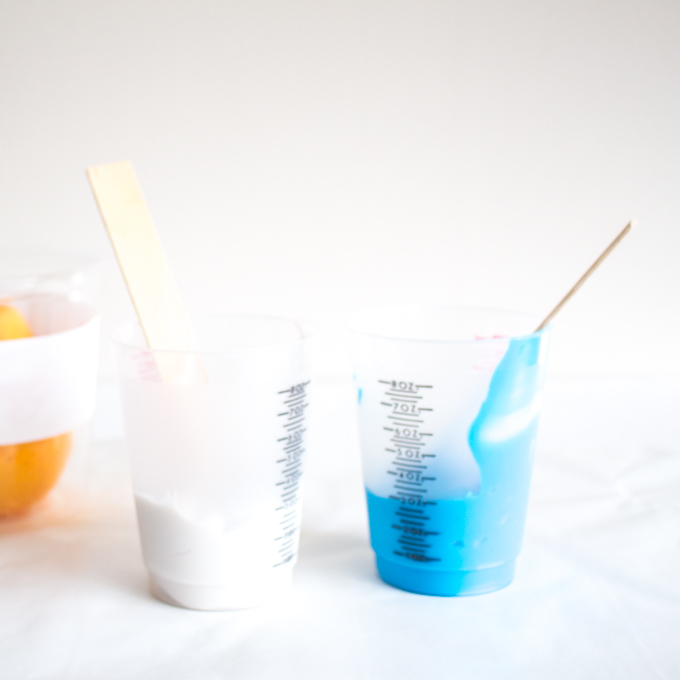
Begin to mix your EasyMold Silicone Rubber. To determine how much product is needed, you can pour rice inside the container surrounding the decorative pear and then measure the amount of rice used. Refer to the product information sheet for full instructions. Measure equal parts of the product and using a stir stick, mix the components together very well. Be sure to scrape the sides and bottom as well.

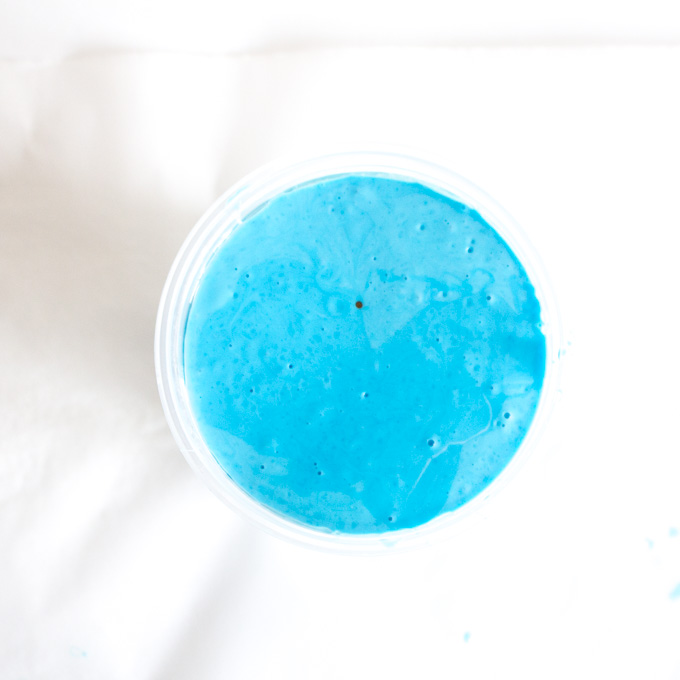
Slowly start pouring the mixture around your pear. To reduce the amount of bubbles, pour the mixture slowly and high above the container. Bubbles will rise to the top as the product cures but I lightly tapped the entire thing throughout the pouring process.
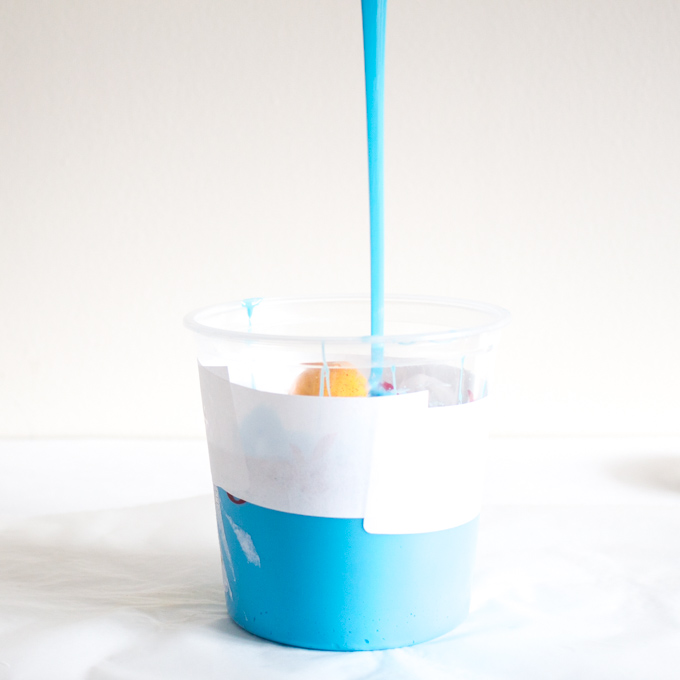
Continue to pour until you get close to the top of the pear. You’ll need to leave a small hole at the top for the wick to pull through. My advice would be to add a small bead of hot glue to the top of the pear where the stem was removed and then pour the mixture until you reach the base of the hardened glue. Since I missed this step my wick hole ended up being in the wrong spot.
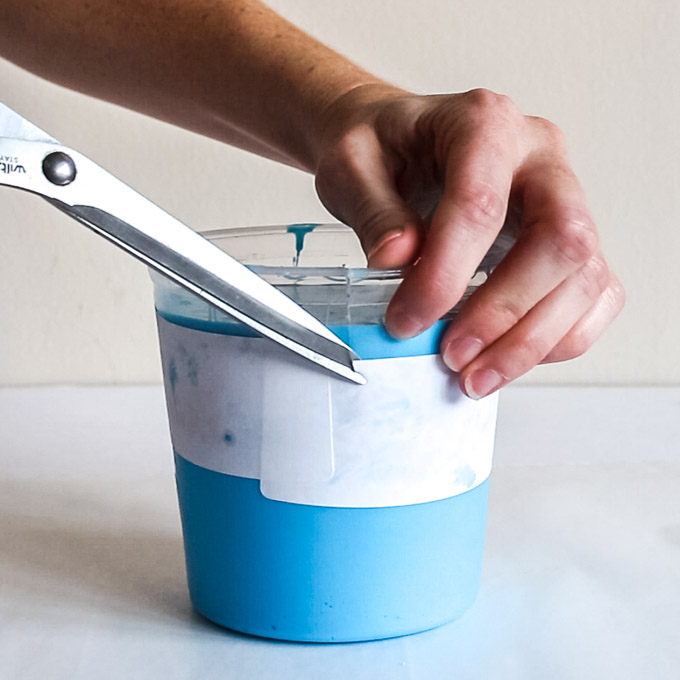
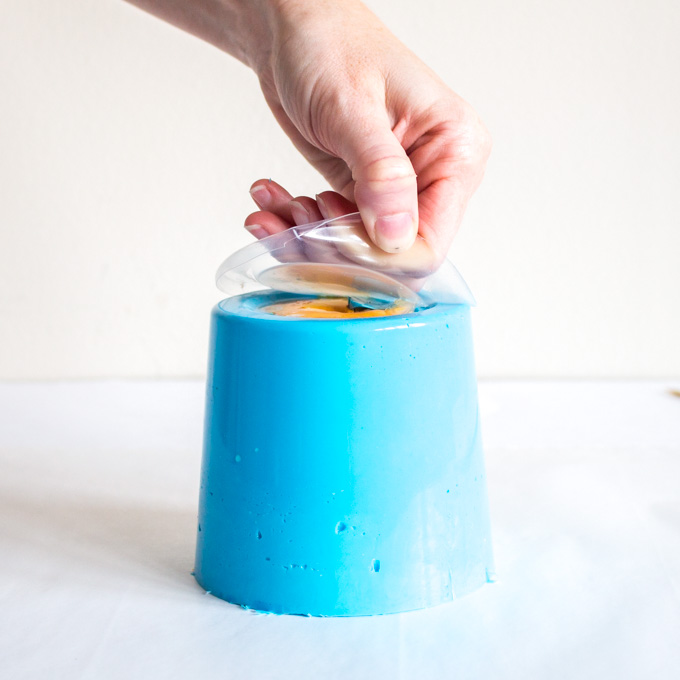
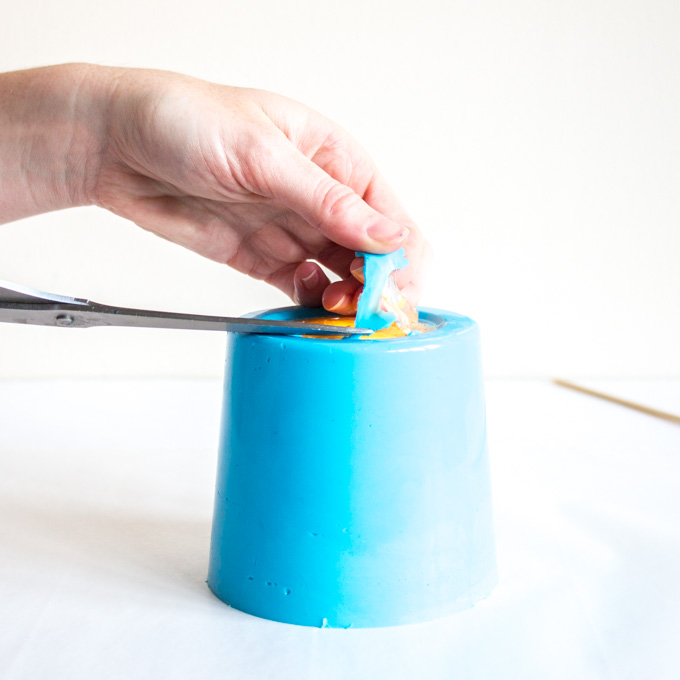
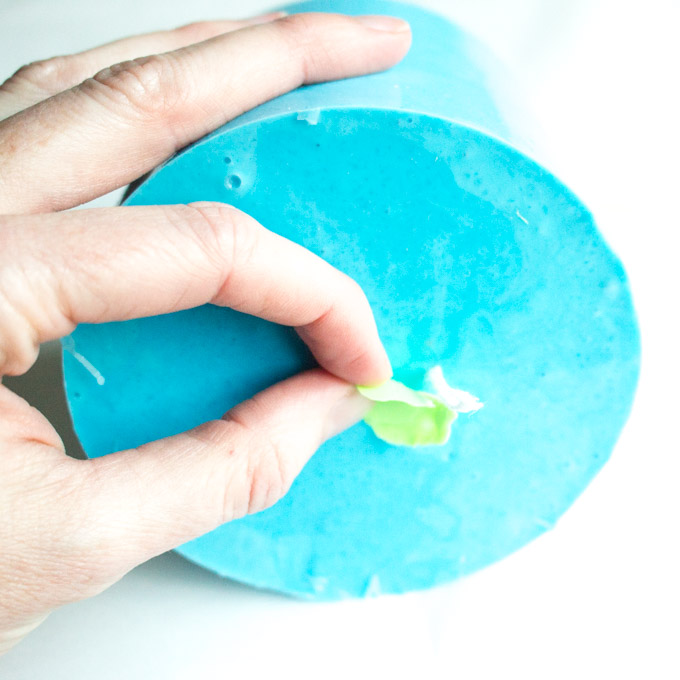
Set aside and allow to cure at least 24 hours. Once cured, carefully cut the container to remove the mold. Once the container is cut away, pull away the mold from the hot glue you used in the bottom. Trim away any excess mold that might have leaked past the hot glue barrier.
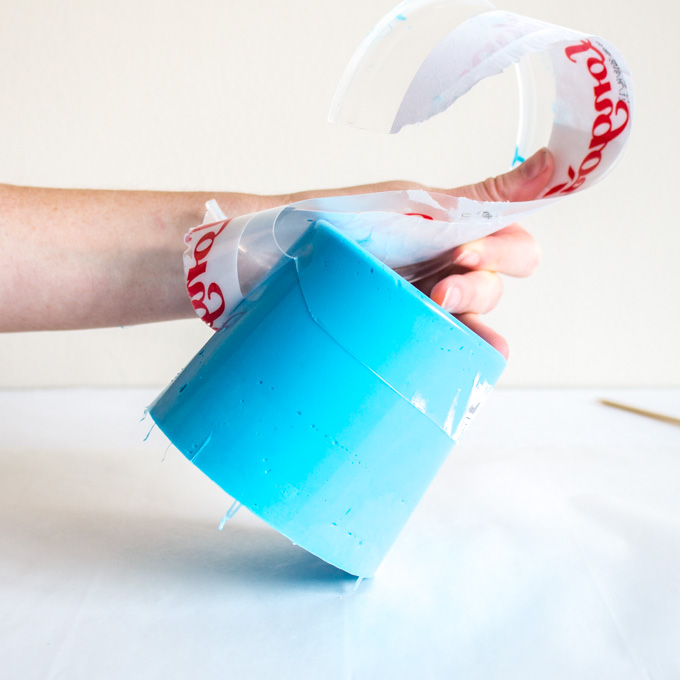
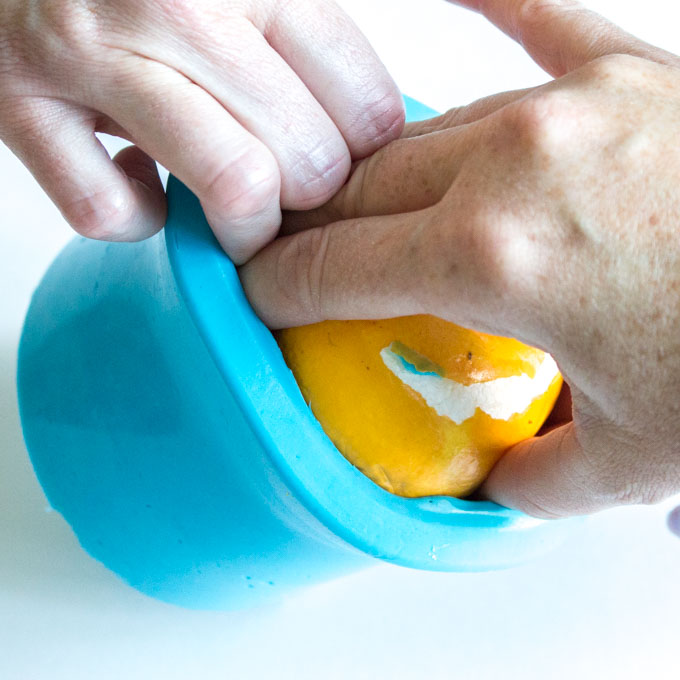
Remove the pear from inside the mold. An extra set of hands is helpful here: one person to hold the mold and the other person to carefully pull out the pear.
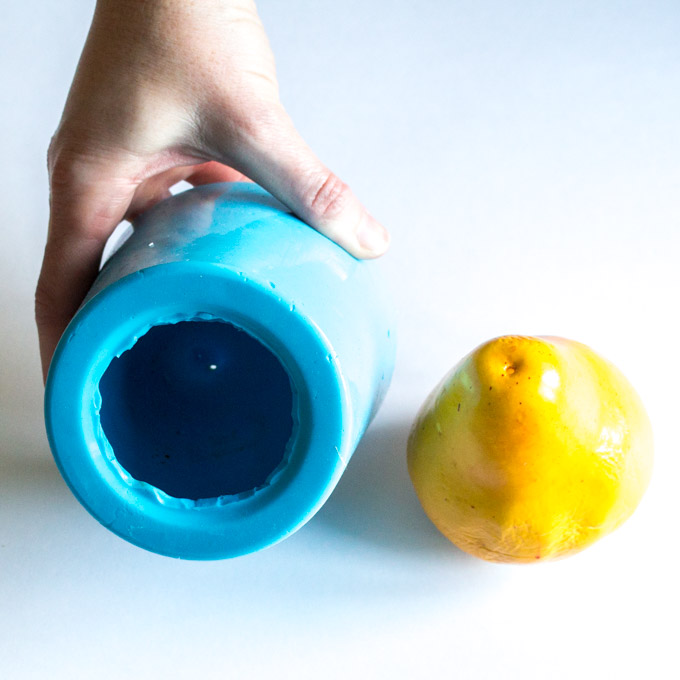
You now have a pear mold that can be used for a variety of craft projects, such as a dessert mold, FastCast, concrete, and more! Continue reading for instructions on using it to make pear shaped candles.
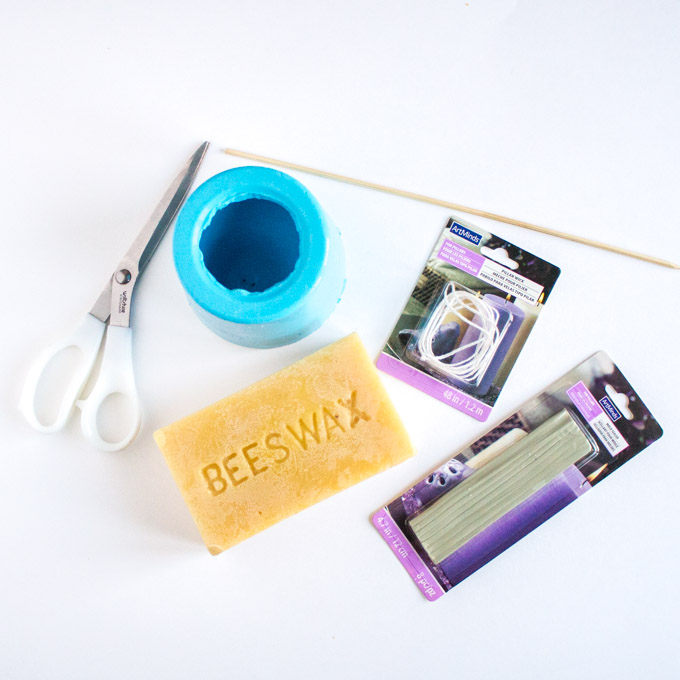
Supplies Needed for Candle Making:
- Small cooking pot; double boiler
- 100% Beeswax block
- Candle wick
- Mold sealer
- Scissors
- Wooden skewer
How to Make a Pear-Shape Candle
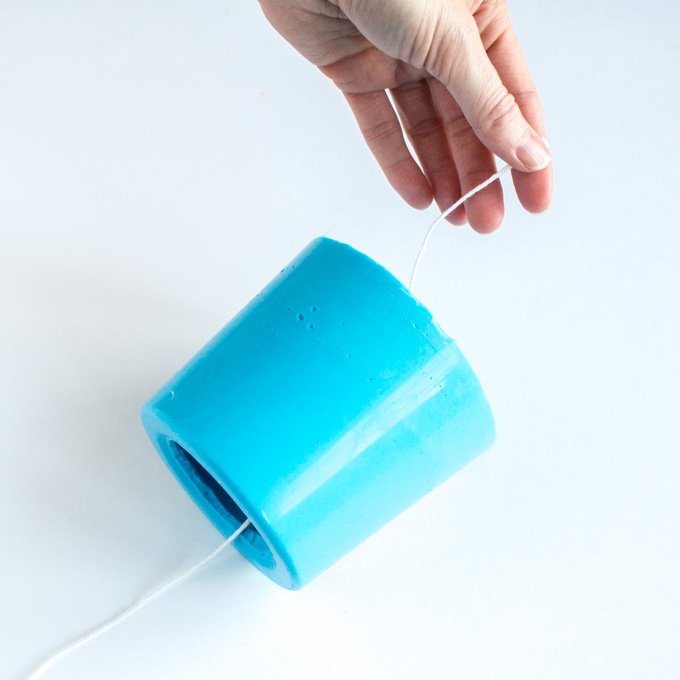
Preparing the mold for candle making:
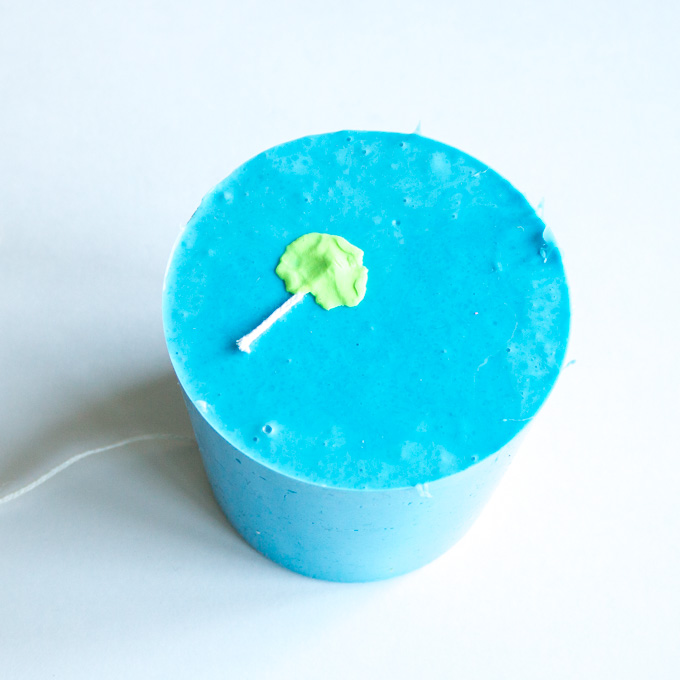
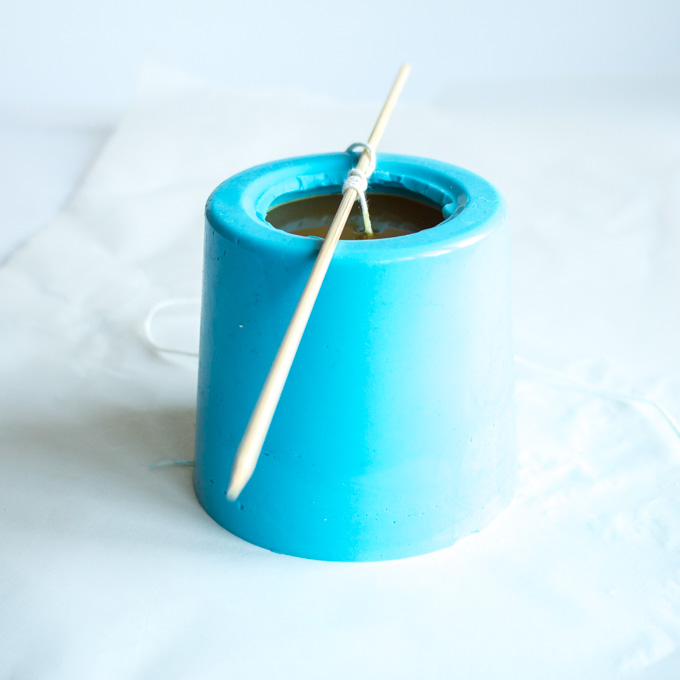
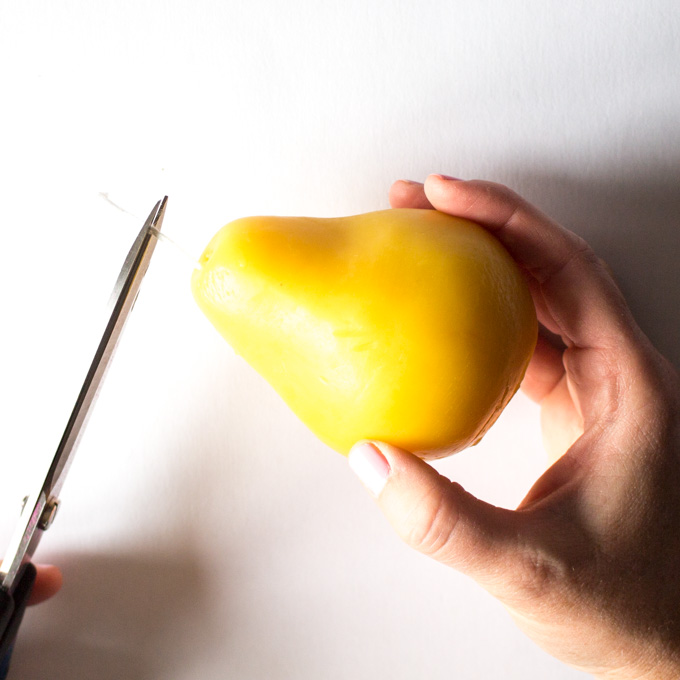
Feed the candle wick through the hole at the top of the pear mold. Leave about 2” sticking out at the top. Cover the top of the hole with a mold sealer (or your kid’s modeling clay as I did in my case). Press firmly in place to ensure beeswax does not leak out of the hole.
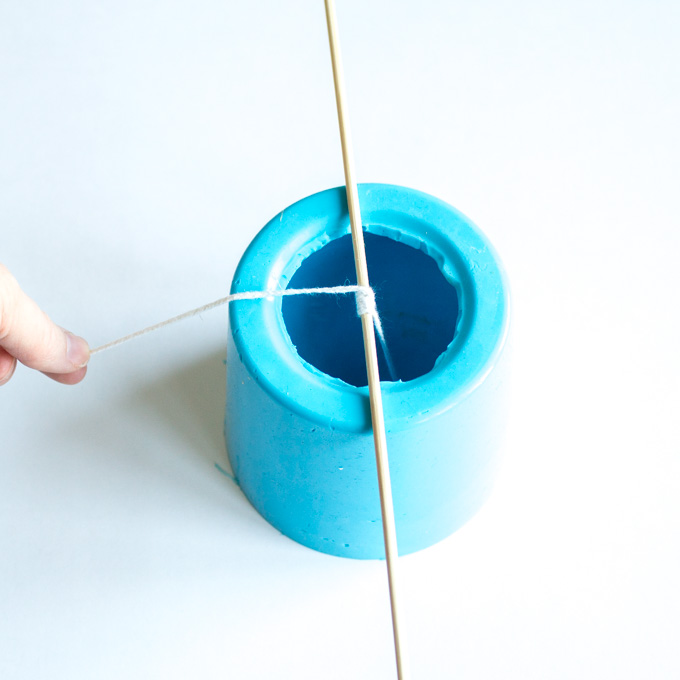
Flip the mold so the larger opening (or bottom of the pear mold) is facing up. Wrap the wick around a wooden skewer as shown.

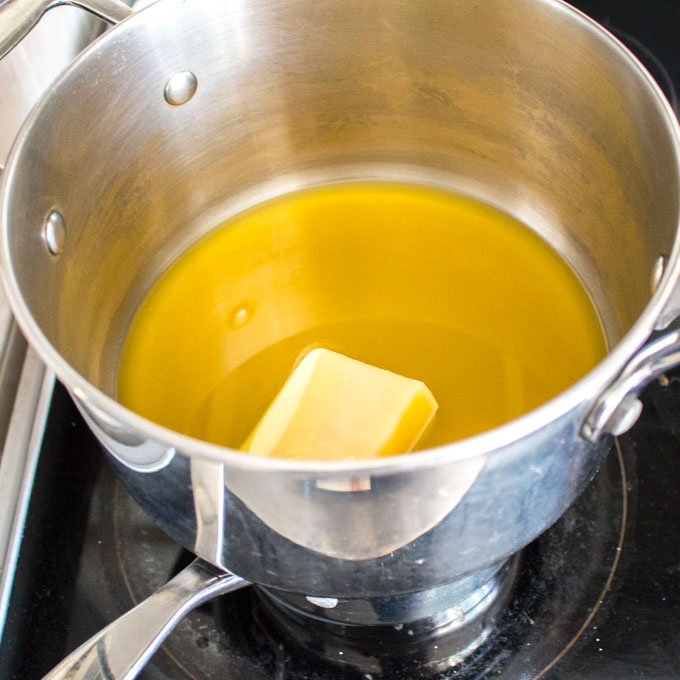
Pouring the beeswax for candle making:
Using a double boiler, melt the beeswax on the stove top. Refer to Angie’s tutorial for making a mason jar candle for great tips on melting beeswax. Remember that melting wax is very hot so be careful! I used about half of the block when making this pear candle. Once completely melted, slowly pour the beeswax into the pear mold. Move the wick off to side to make more room for pouring. Fill just below the top of the pear mold and re-position wick to center of the candle.

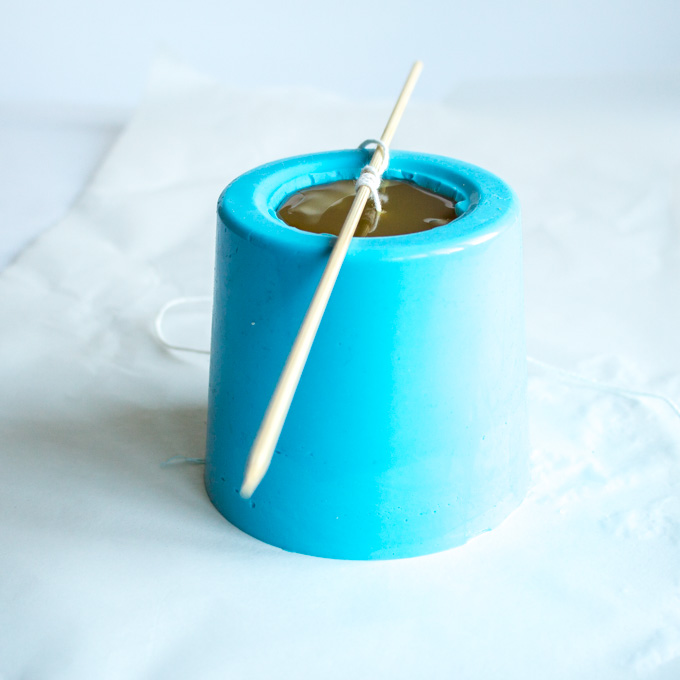
The wax will take some time to cool completely. I waited 24 hours before attempting to remove the candle. Once it’s firmly set, remove the mold sealer (aka modeling clay) from the top of the mold.
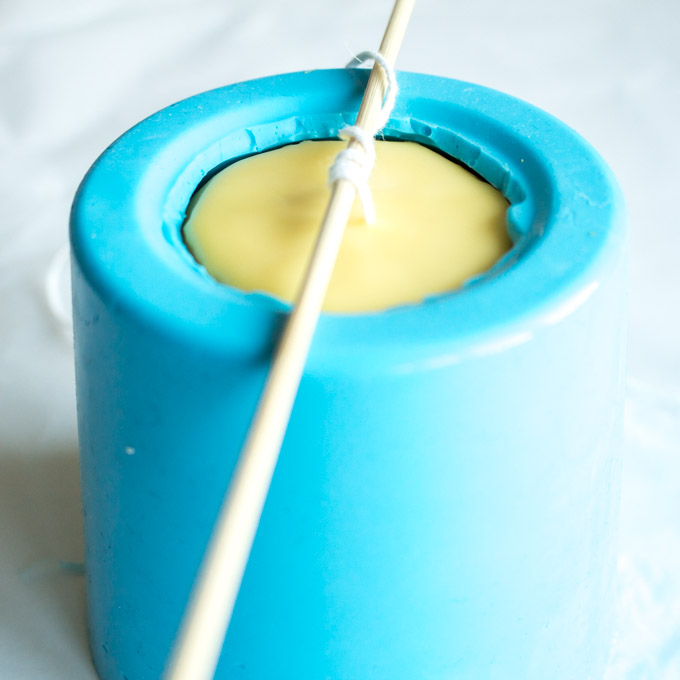
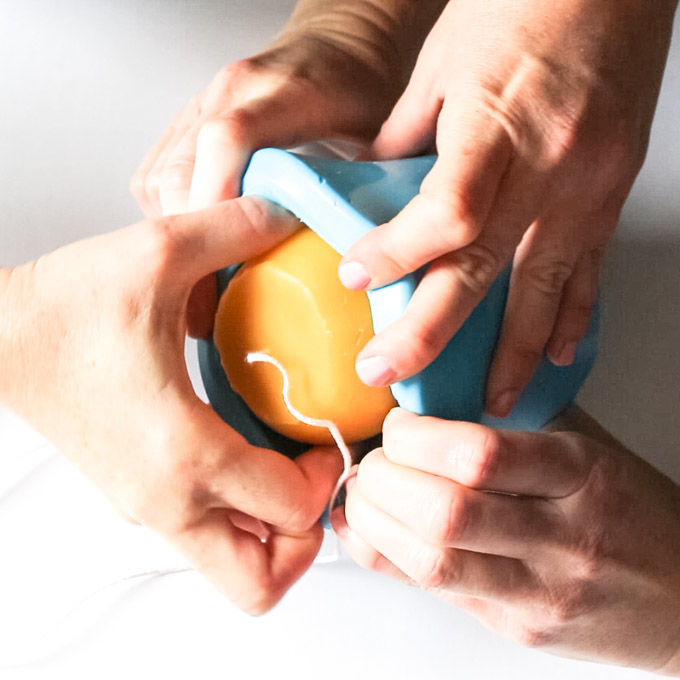
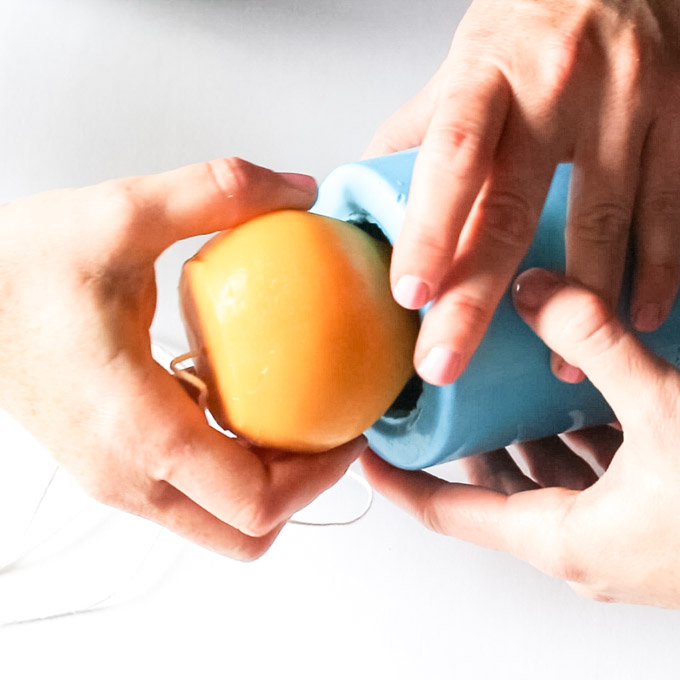
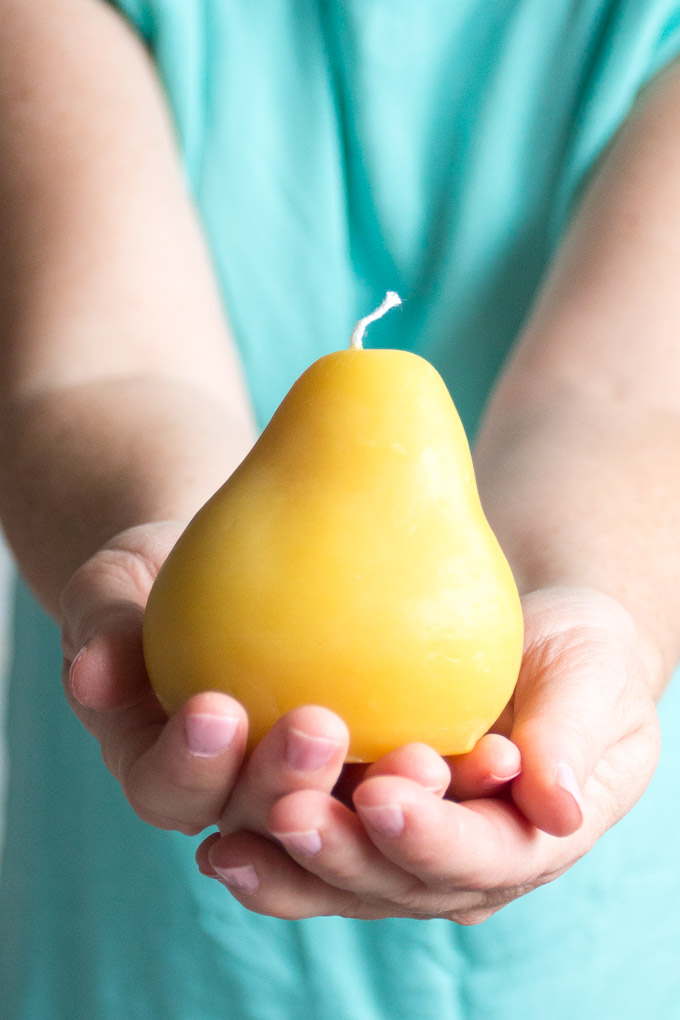
Carefully remove the candle. Two sets of hands will be helpful here as well: one to hold the mold and the other to pull the candle out.
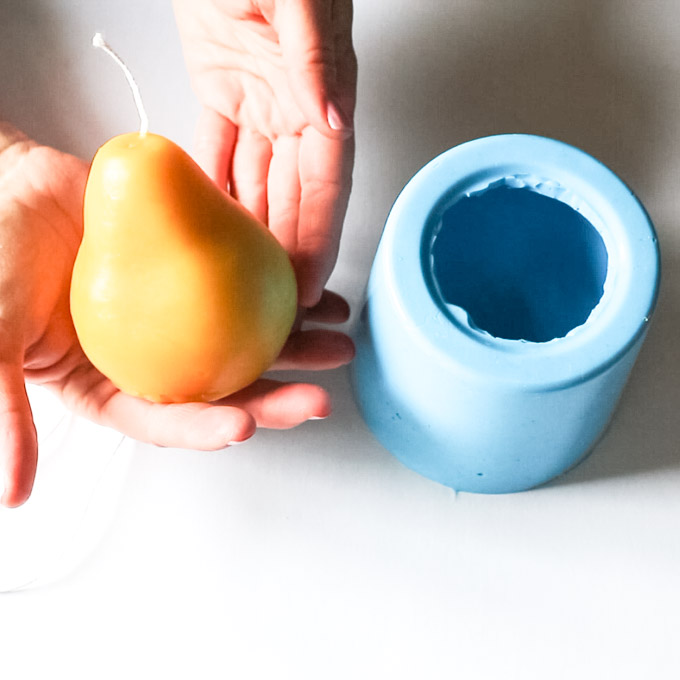
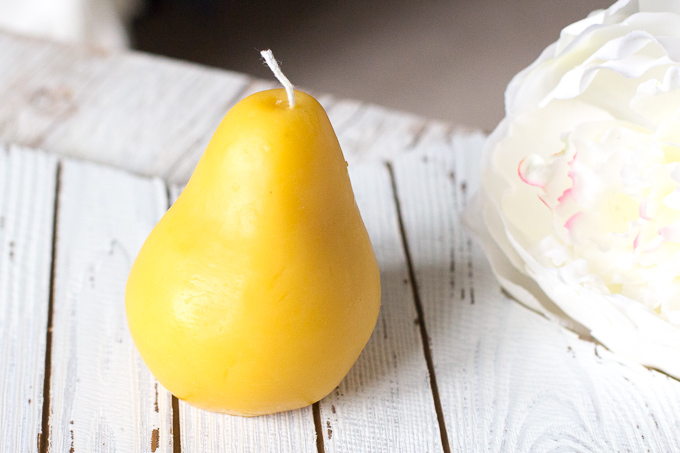
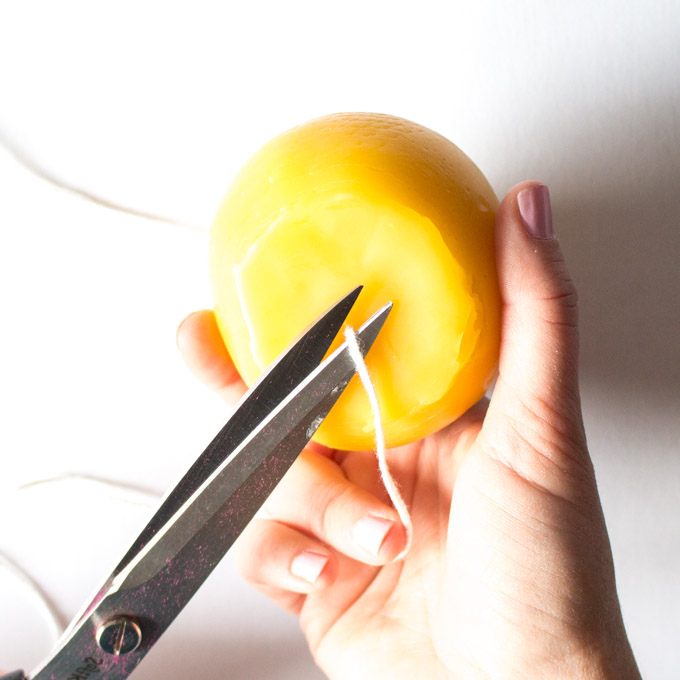
Trim your wick to size with scissors: leave 1/2″ at top and clip the excess at the bottom.
These pear candles are perfect on their own or in groupings of two or more. Make them for yourself or as a gift giving idea. Re-use your mold over and over.
Have you made your own candles before?
Like it? Pin it for Later!
Jane and Sonja are sisters, moms and lifelong craft addicts both living near Toronto, Canada with their families. They share their love of creativity, nature and coastal DIY ideas on their blog Sustain My Craft Habit. They craft and decorate their homes using repurposed and upcycled items and materials found in nature.


So cute! Is this product safe for food moulds like chocolate? Also wondering where can purchase beeswax blocks like this.
Thank you Charlotte! Yes, the EasyMold Silicone Rubber is odorless, non-toxic, FDA compliant and food grade. For the beeswax blocks you can search for an apiary close to you, or can but them on Etsy or Amazon.
Hello,
have you (or anyone) tried making the mold with an actual organic pear?
Thank you! x
Hi Lydia. That’s a great question. We haven’t tried it but I don’t see why it wouldn’t work. I’d just make sure it’s a really firm pear to start with. Also, it took some effort to pull the pear out of our mold – an organic pear will likely get smooshed in the process. Or it may be easier as you could carefully cut the pear inside the mold to get it out. Let us know if you give it a try! -Jane