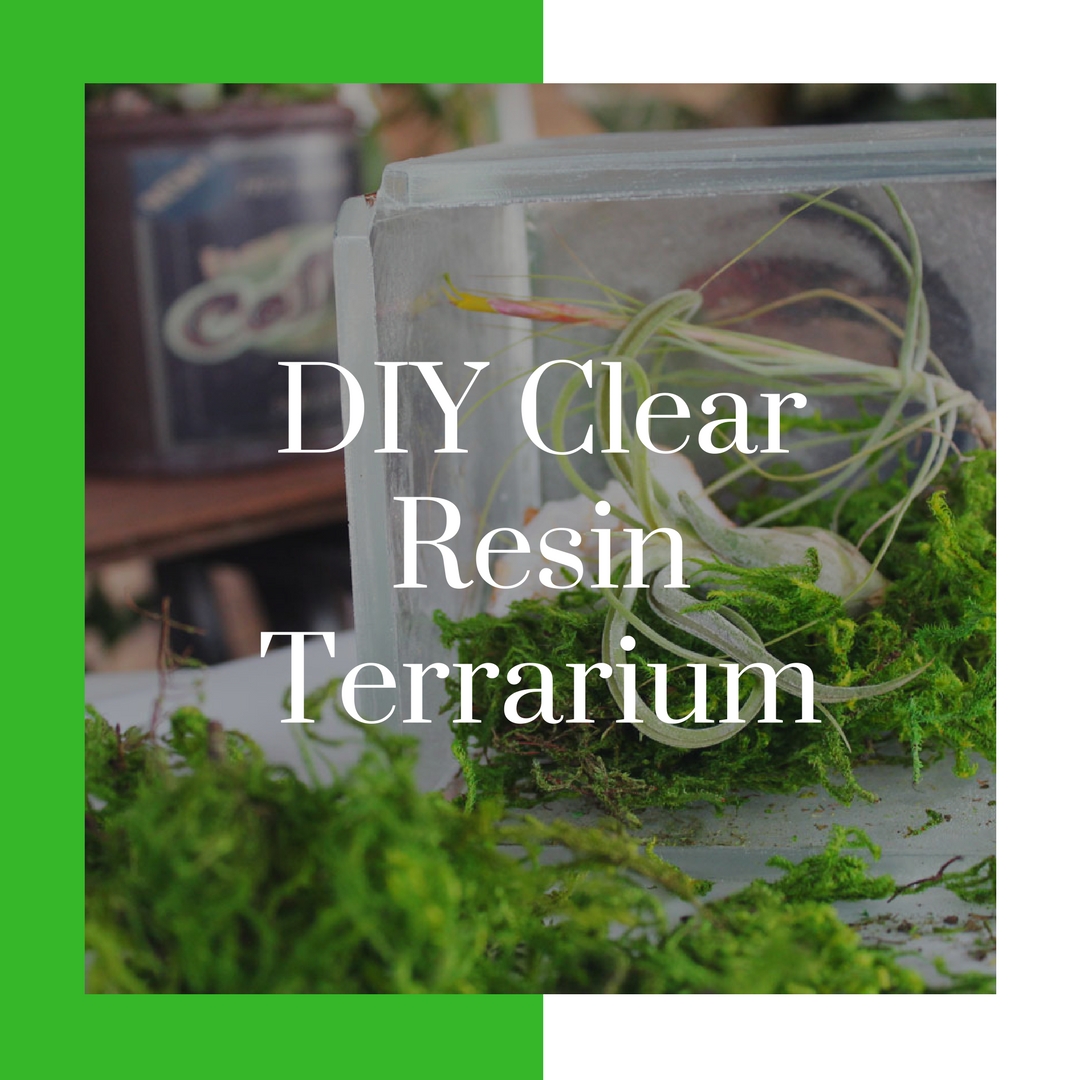
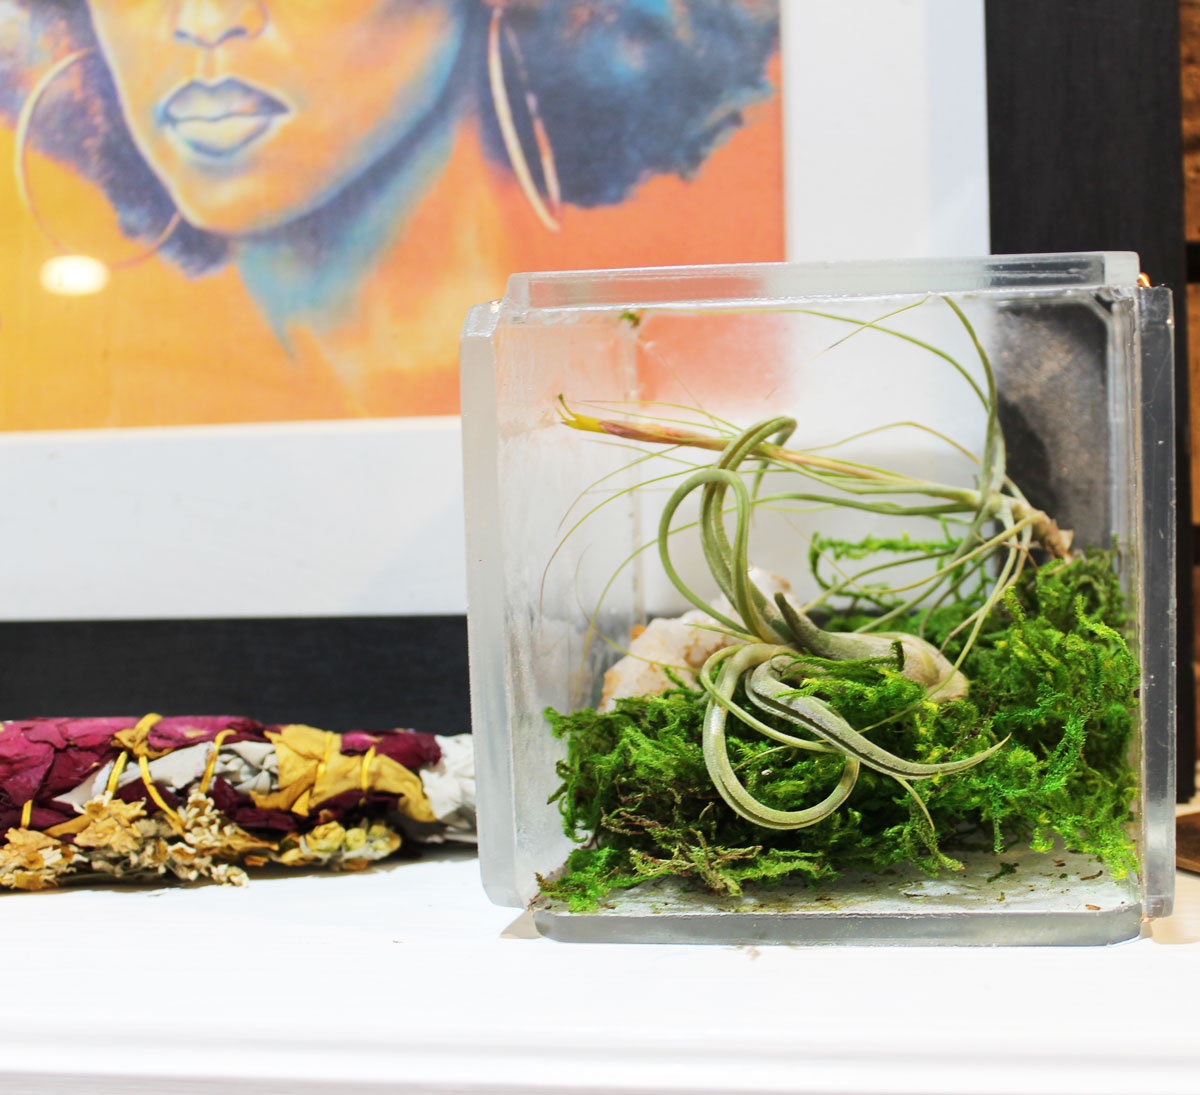
Hey guys, it’s Whitney from Whitney J Décor here with another fun (and easy) tutorial. Since working with ETI’s products, I’ve become obsessed with Castin’ Craft Clear Polyester Casting Resin. And, since I have loads of air plants around my home, I’m always looking for fun ways to display them. So, I created a super fun and functional DIY clear resin terrarium.
Let me show you how to make your own!
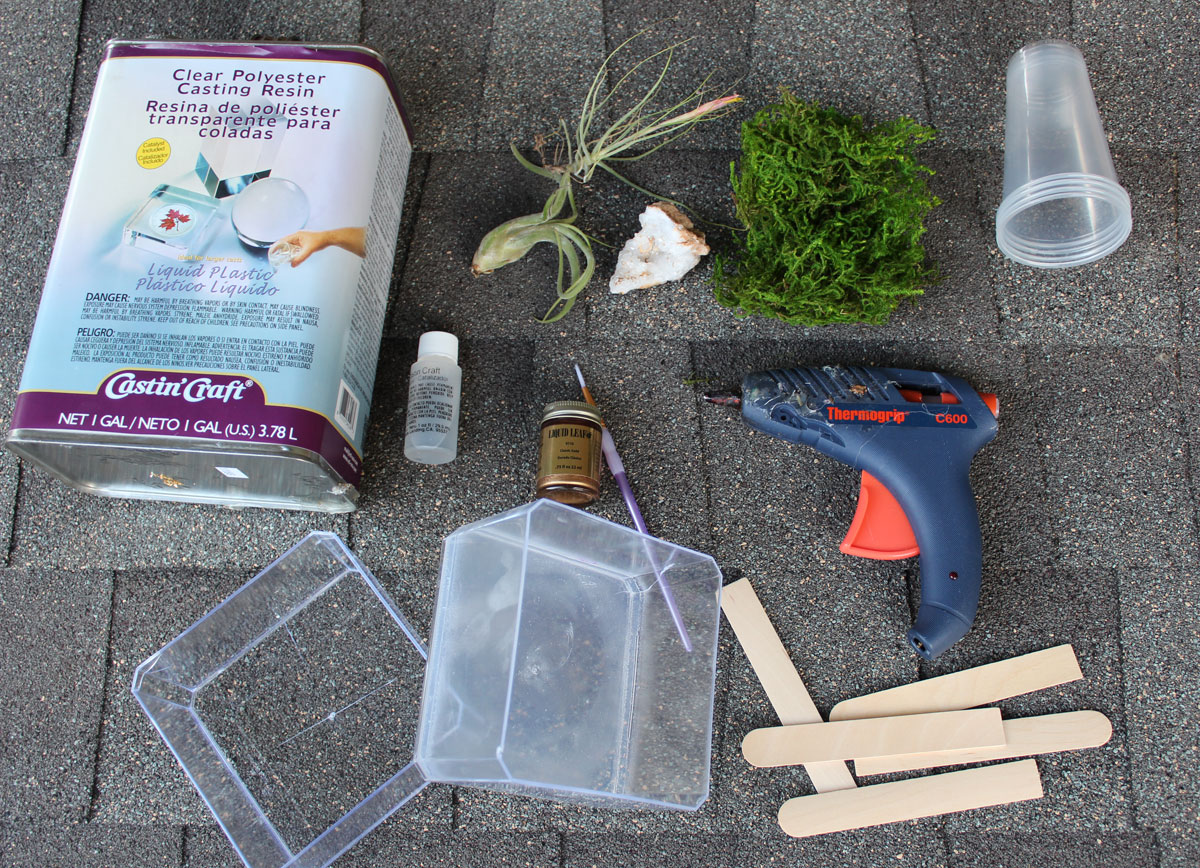
Here’s what you need:
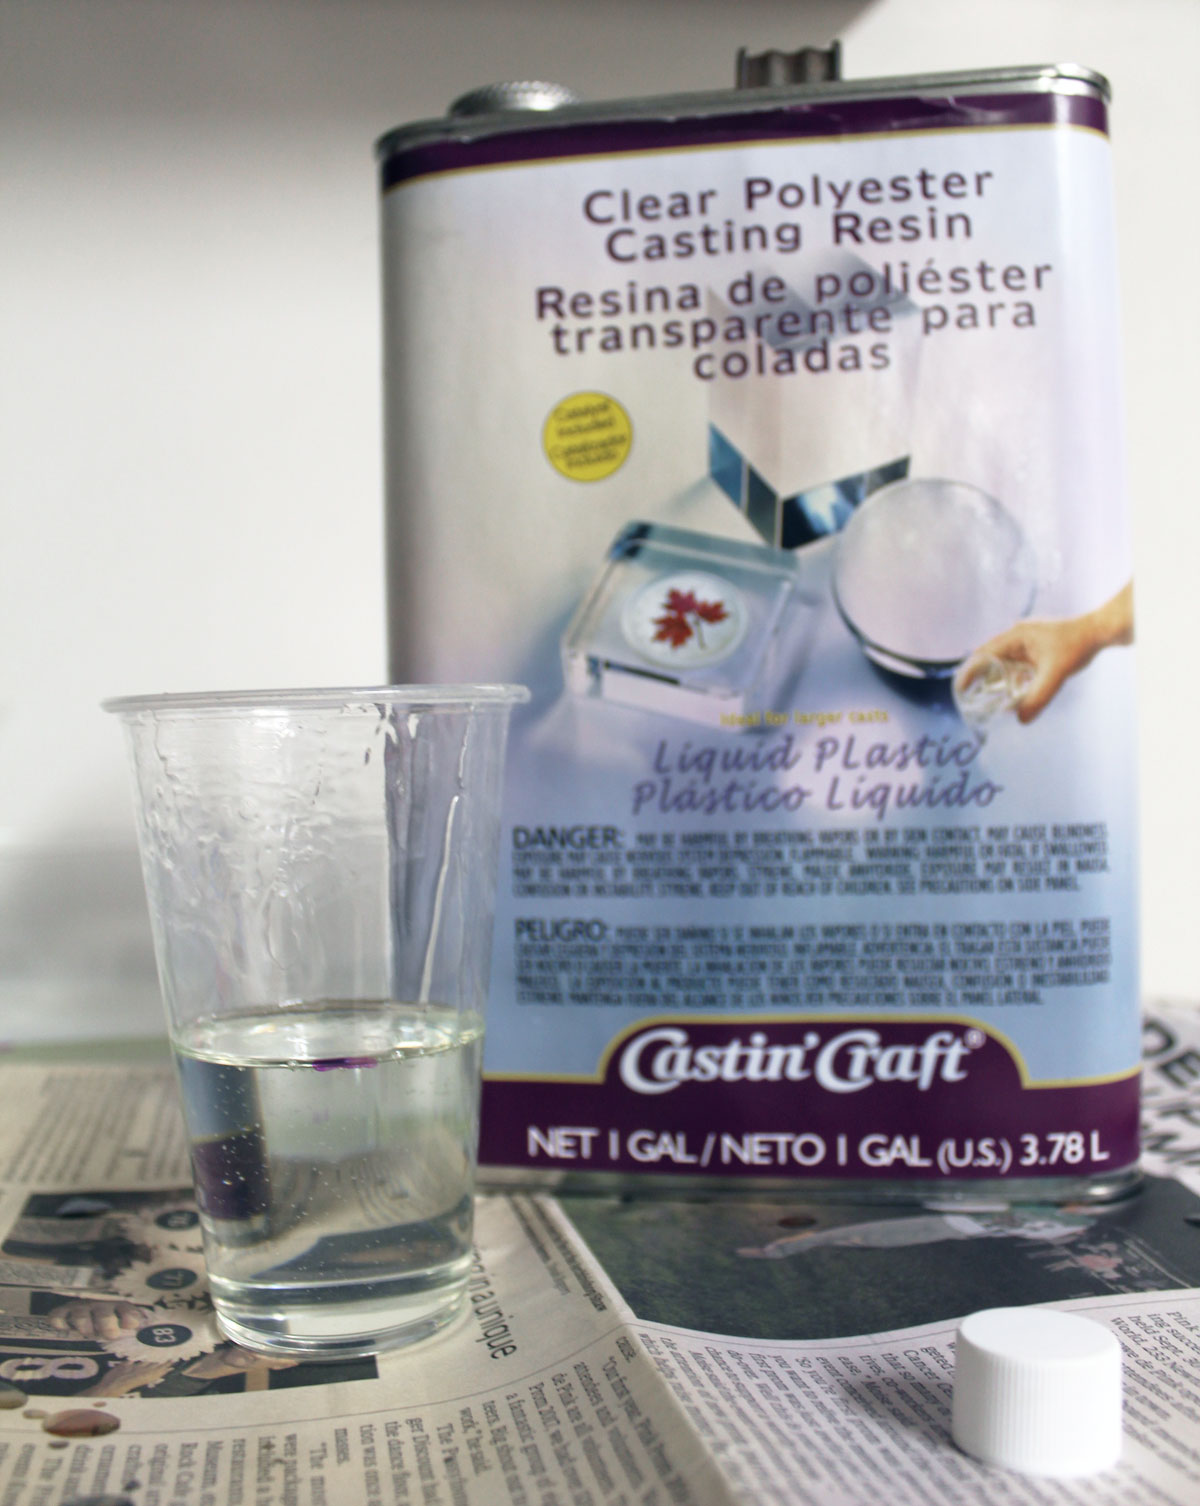
- Castin’ Craft Clear Polyester Casting Resin
- Castin’ Craft Mold Release/Conditioner (not shown)
- Gloves (not shown)
- Plastic square shape containers
- Hot glue gun
- Mixing cups
- Stir sticks
- Air plants/moss/rocks for your terrarium
- Liquid gold paint
Here’s what you do:
I found these really cheap plastic organizers at the Dollar Tree. They were the perfect size for the sides and bottom of the terrarium. I bought five, one each for the bottom and sides of the terrarium.
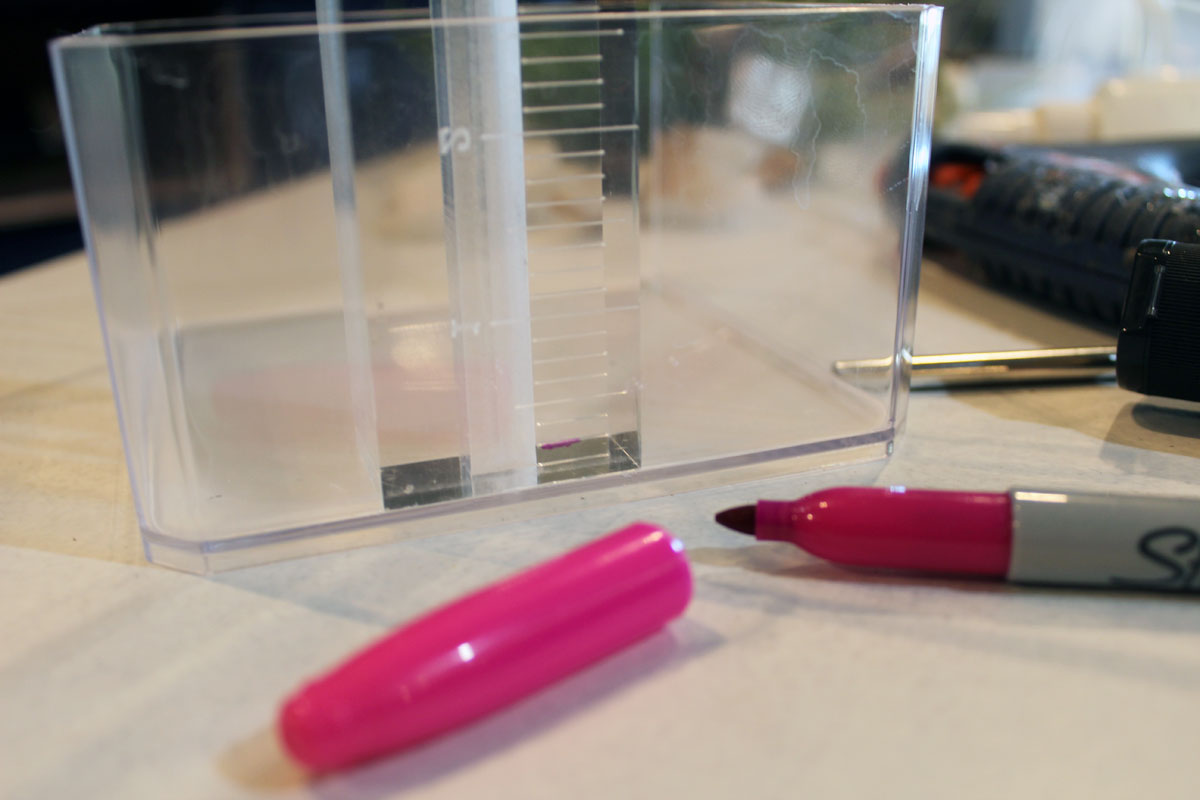
I first figured out how thick I wanted my terrarium’s walls to be. I decided I wanted them to ¼” deep and marked the measurement on all my organizers. Now, I wish I had made them 1/8” deep, but they still look really great. (I also used water to measure how much resin I needed to fill the organizers to ¼” deep. I ended up needing 4oz for each organizer.)
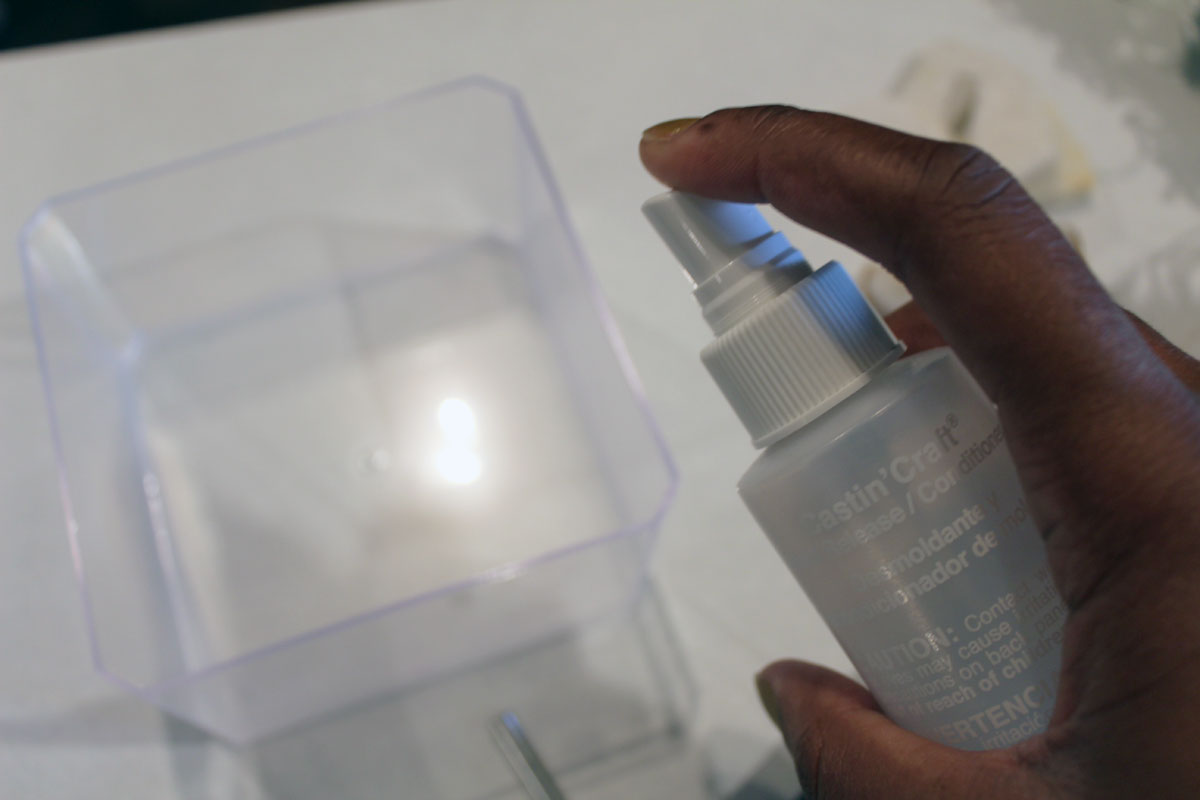
Next, spray the insides of the organizers with Castin’ Craft Mold Release/Conditioner and let dry.
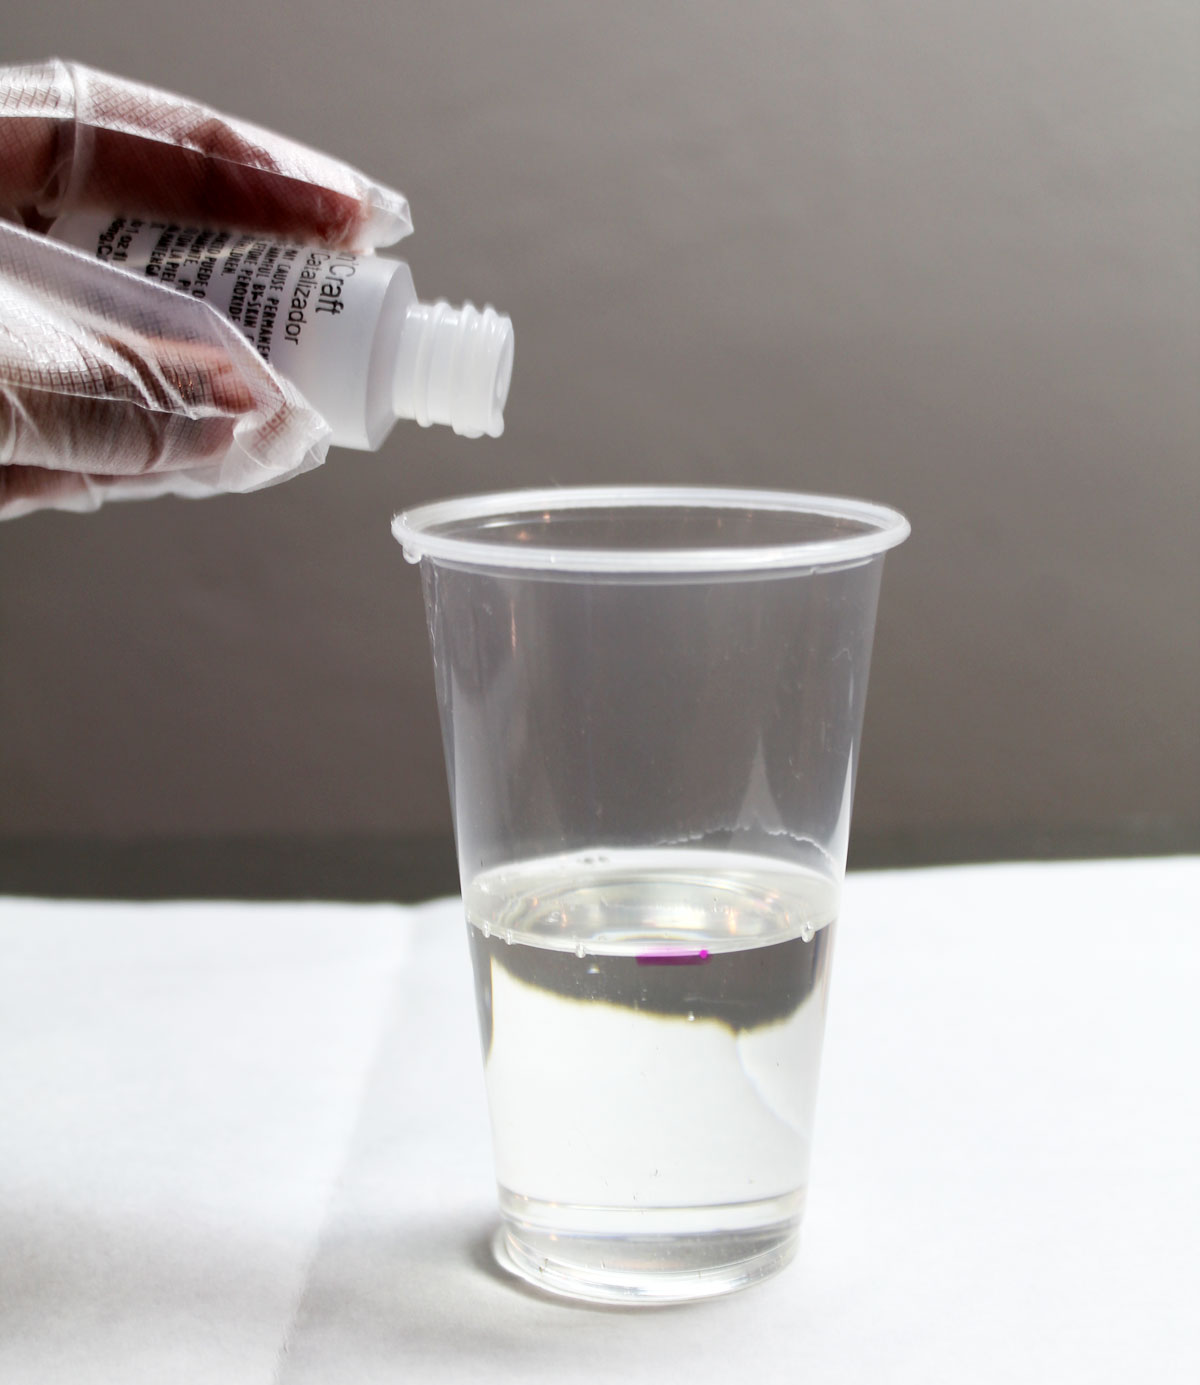
Now, let’s mix the resin! MAKE SURE YOU PUT YOUR GLOVES ON NOW! I measured 4oz of the Castin’ Craft Clear Polyester Casting Resin and added 8 drops of the catalyst (that comes with the resin) per ounce of resin. You need to mix the mixture thoroughly for about 1 minute, occasionally scraping the sides and bottom.
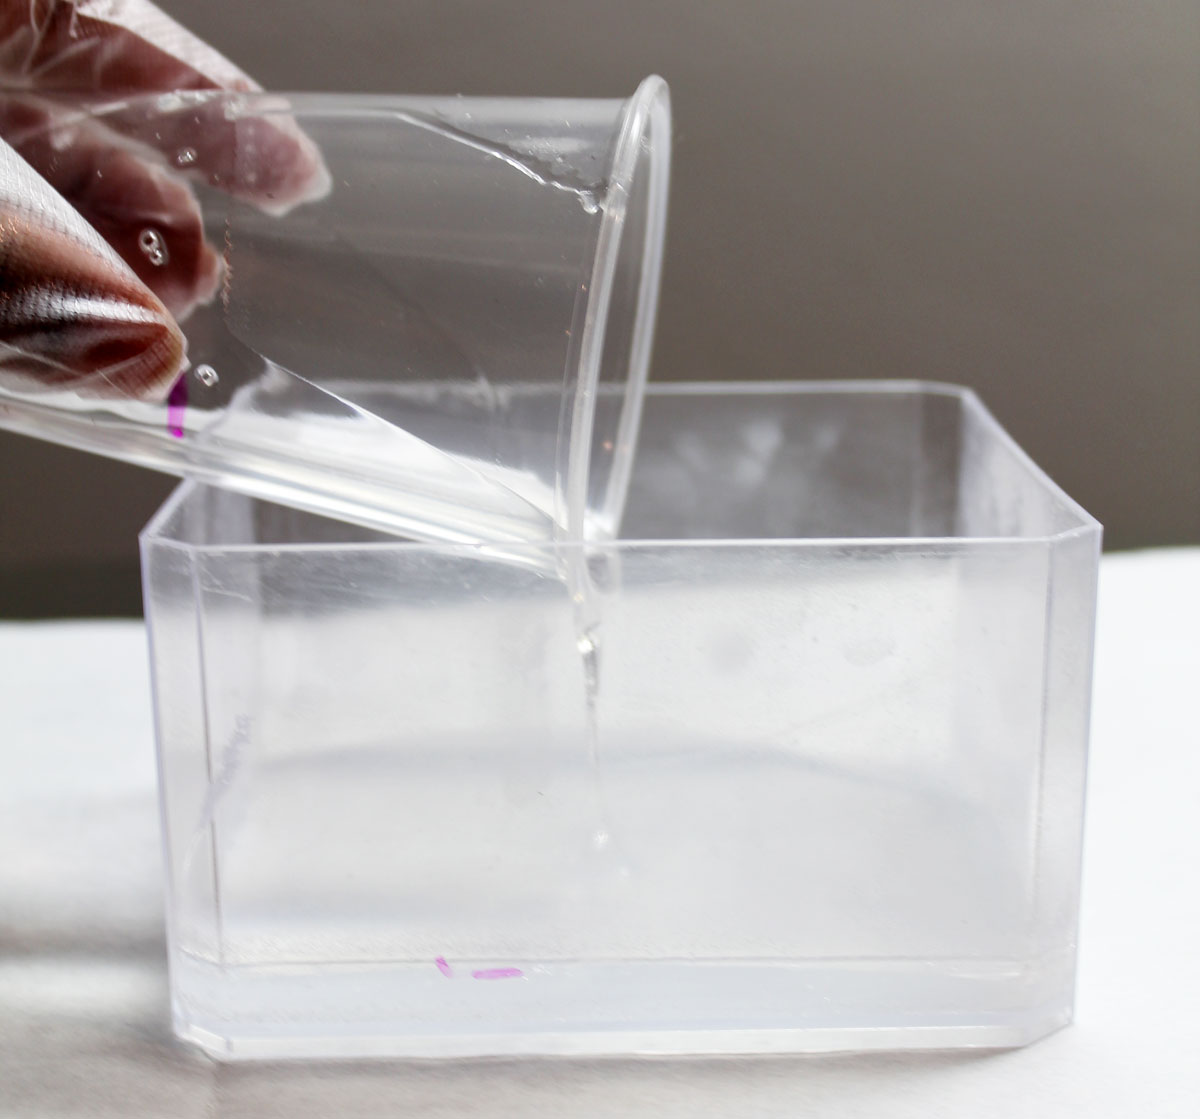
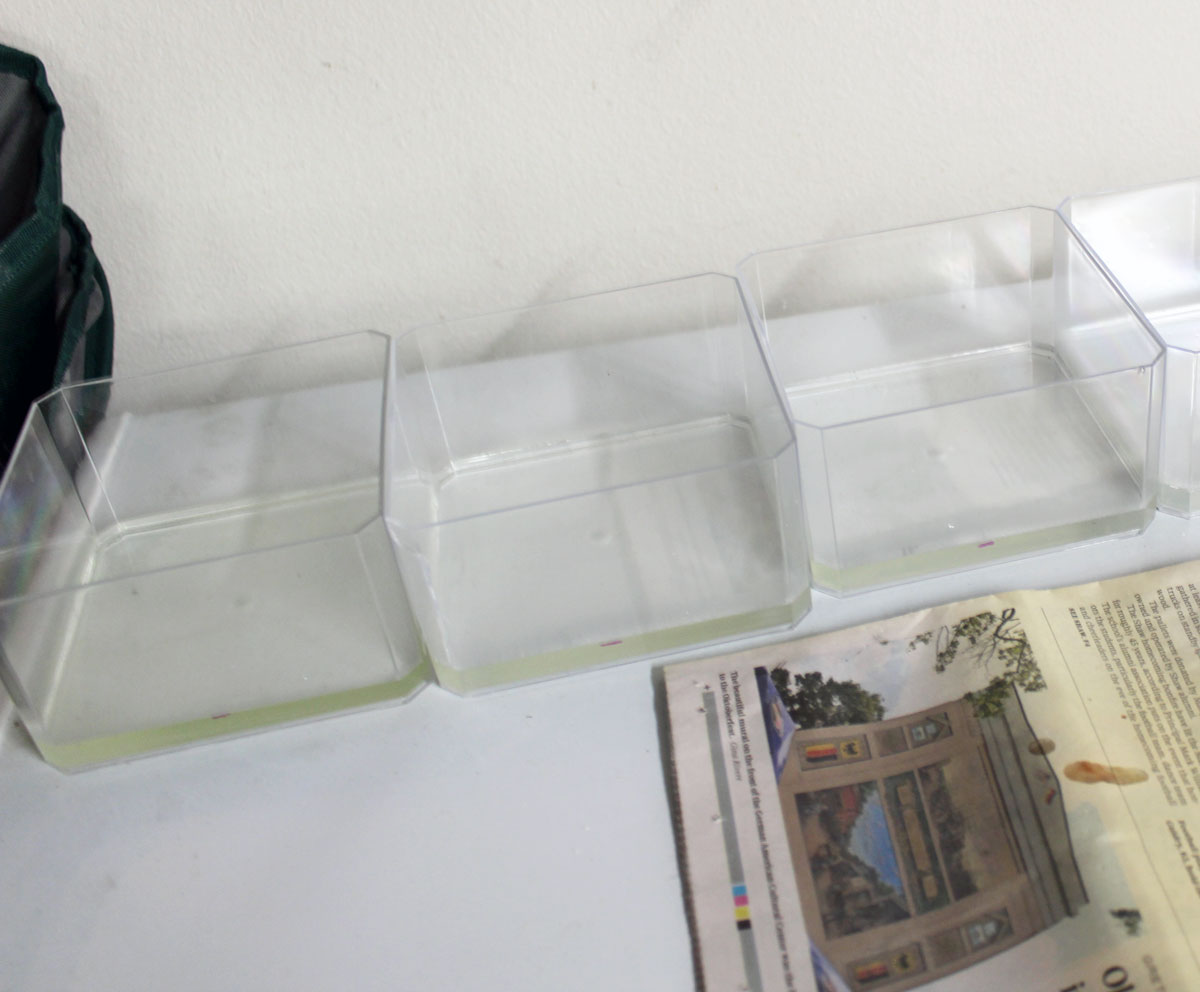
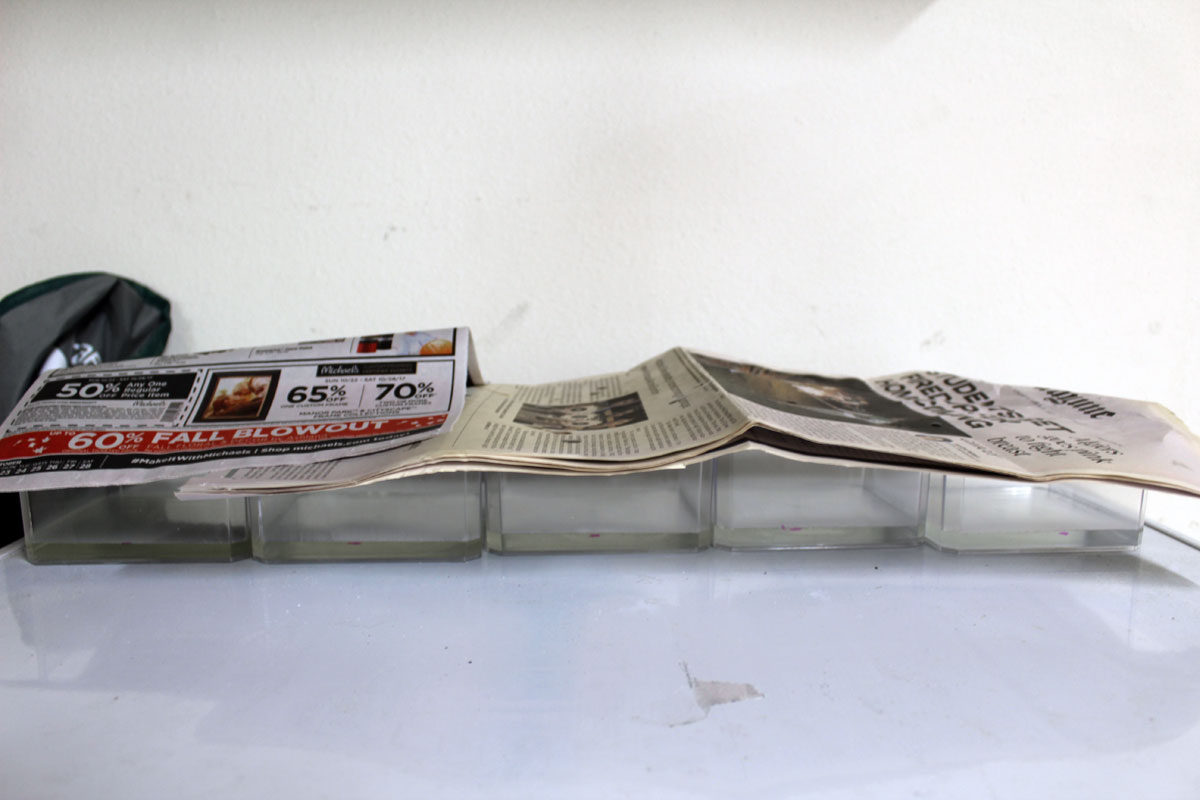
Once you’re done mixing the resin, pour the mixture into the container immediately. Repeat for the other 4 containers. Then, cover with newspaper to protect your mixture from dust.
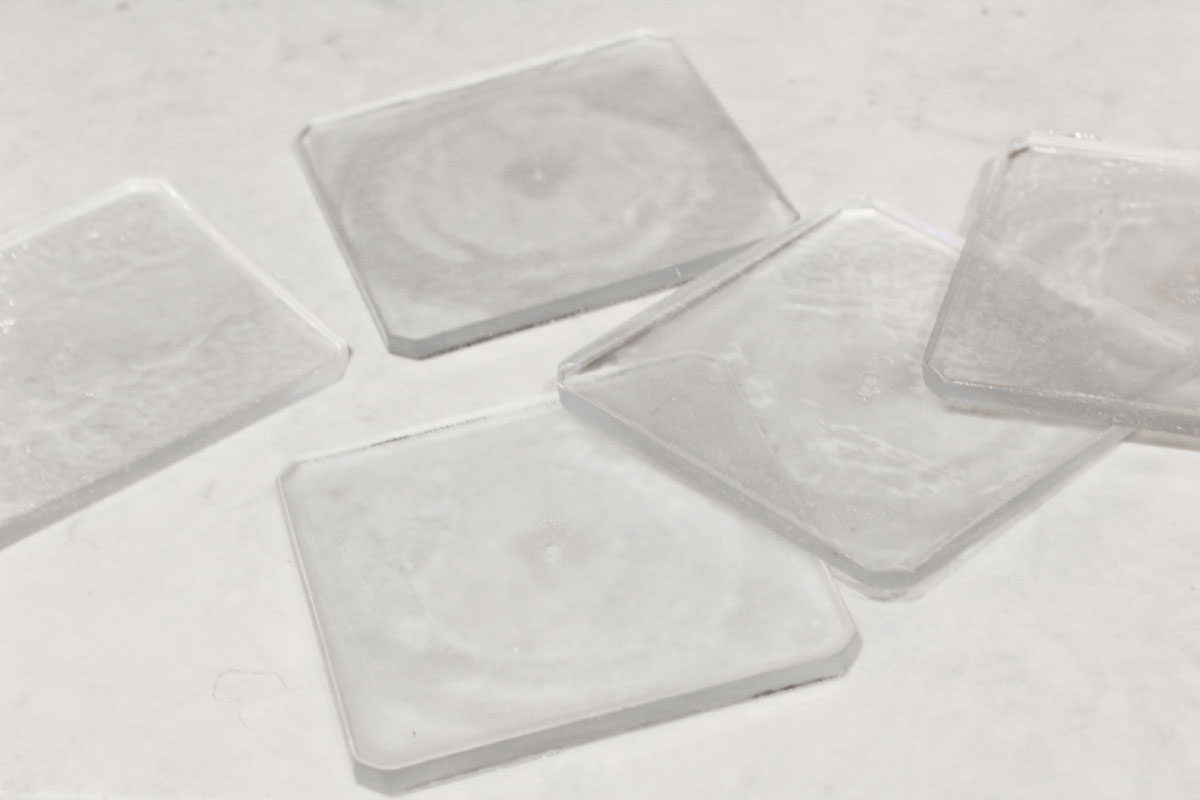
After your resin is completely cured (I let mine cure for 24 hours), remove them from the containers by turning the containers upside down and hitting it against a firm surface. The resin should pop right out.
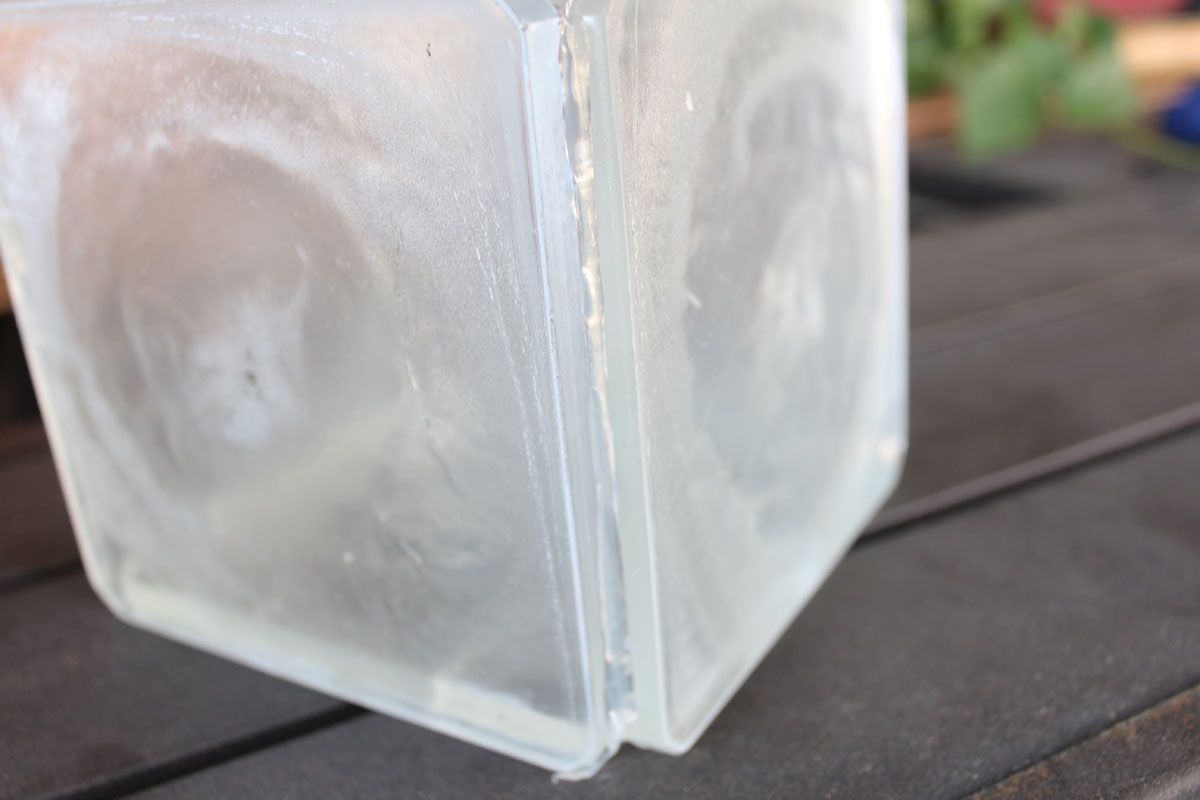
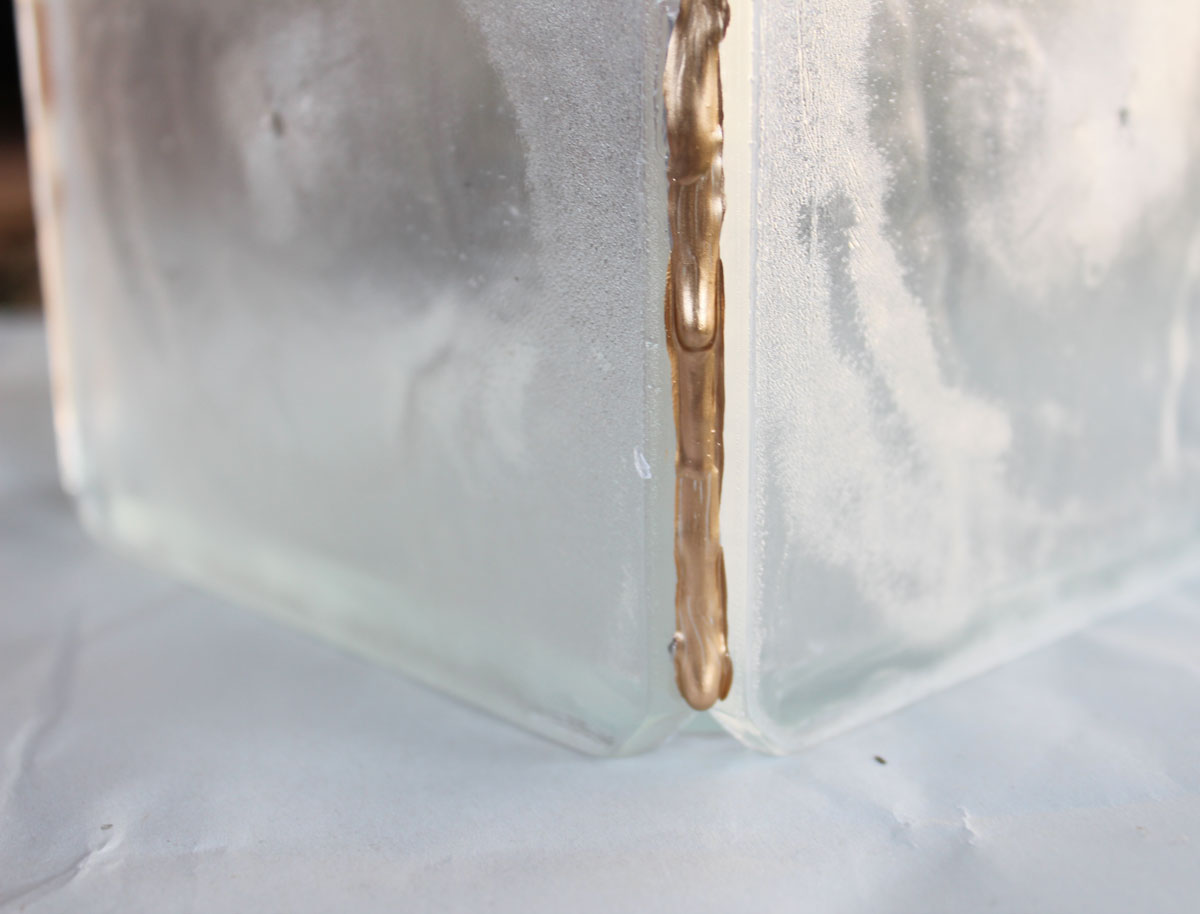
Now, just use hot glue to put the terrarium together.
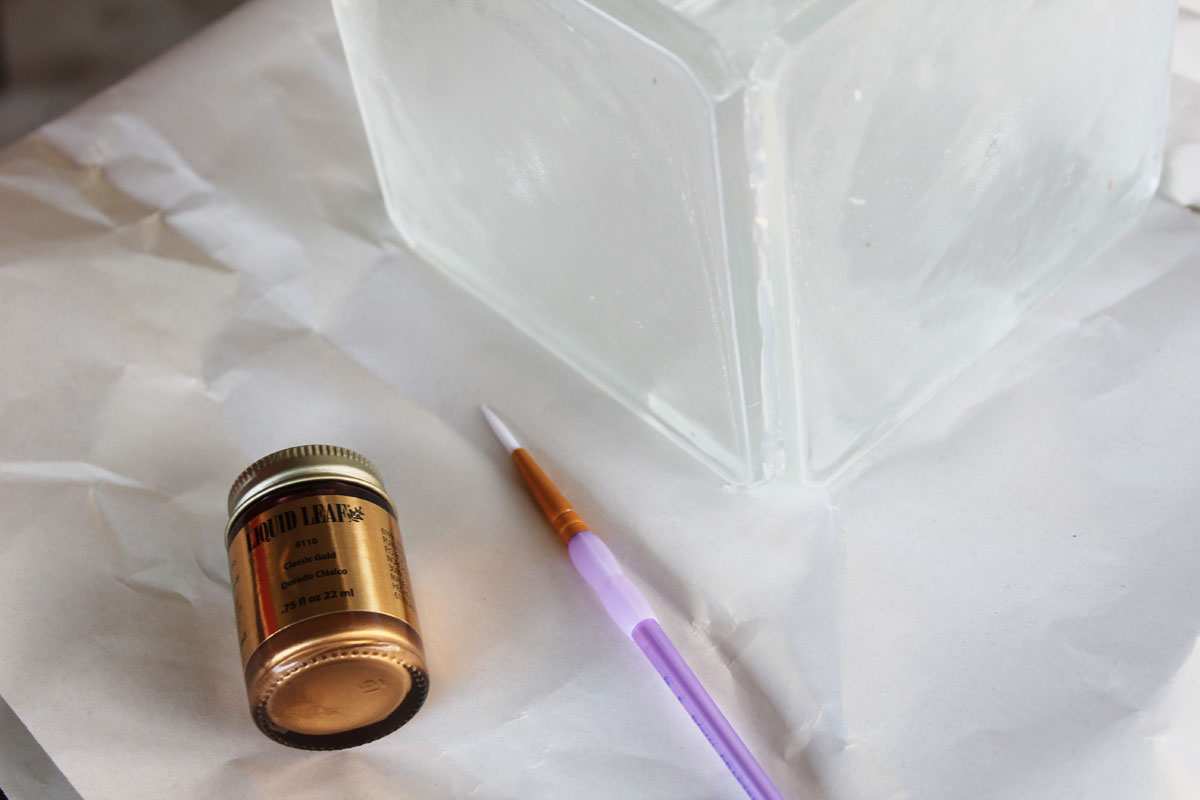
I used some liquid gold paint to paint the glue around the sides of the terrarium, but this was totally not necessary. I had the idea that it would look like the leaded sides of the real terrariums, but it really didn’t. LOL. I still like the look, but it’s so unnoticeable that it’s unnecessary.
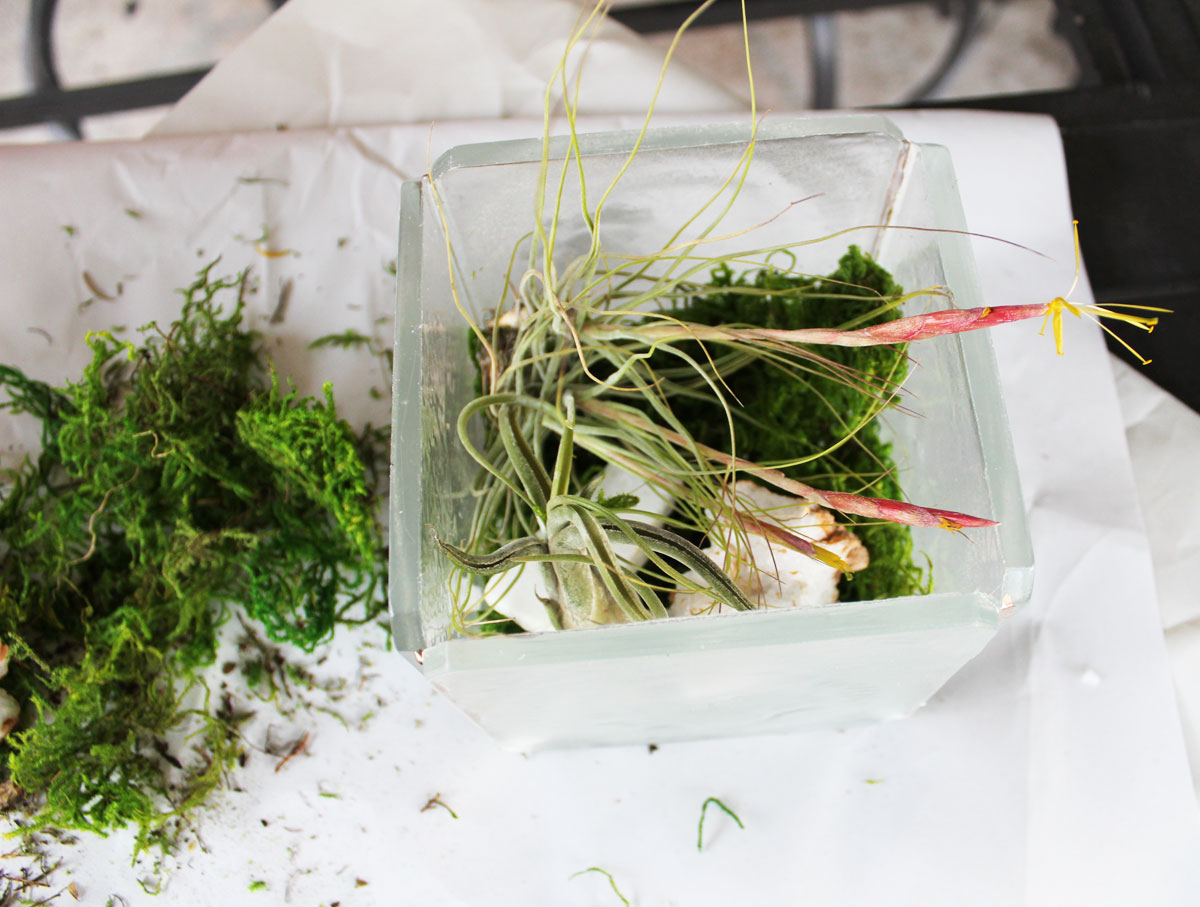
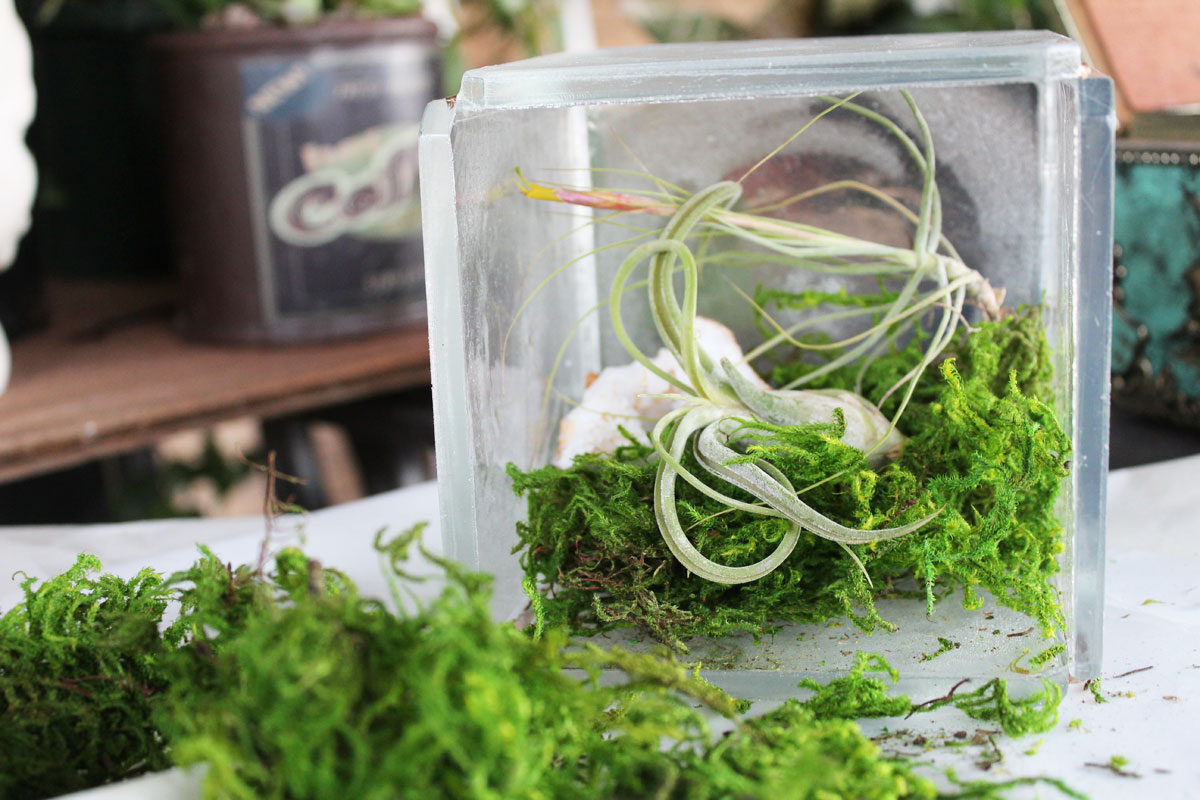
Once your glue and paint is dry, you can style your terrarium with your air plants, moss, and rocks.
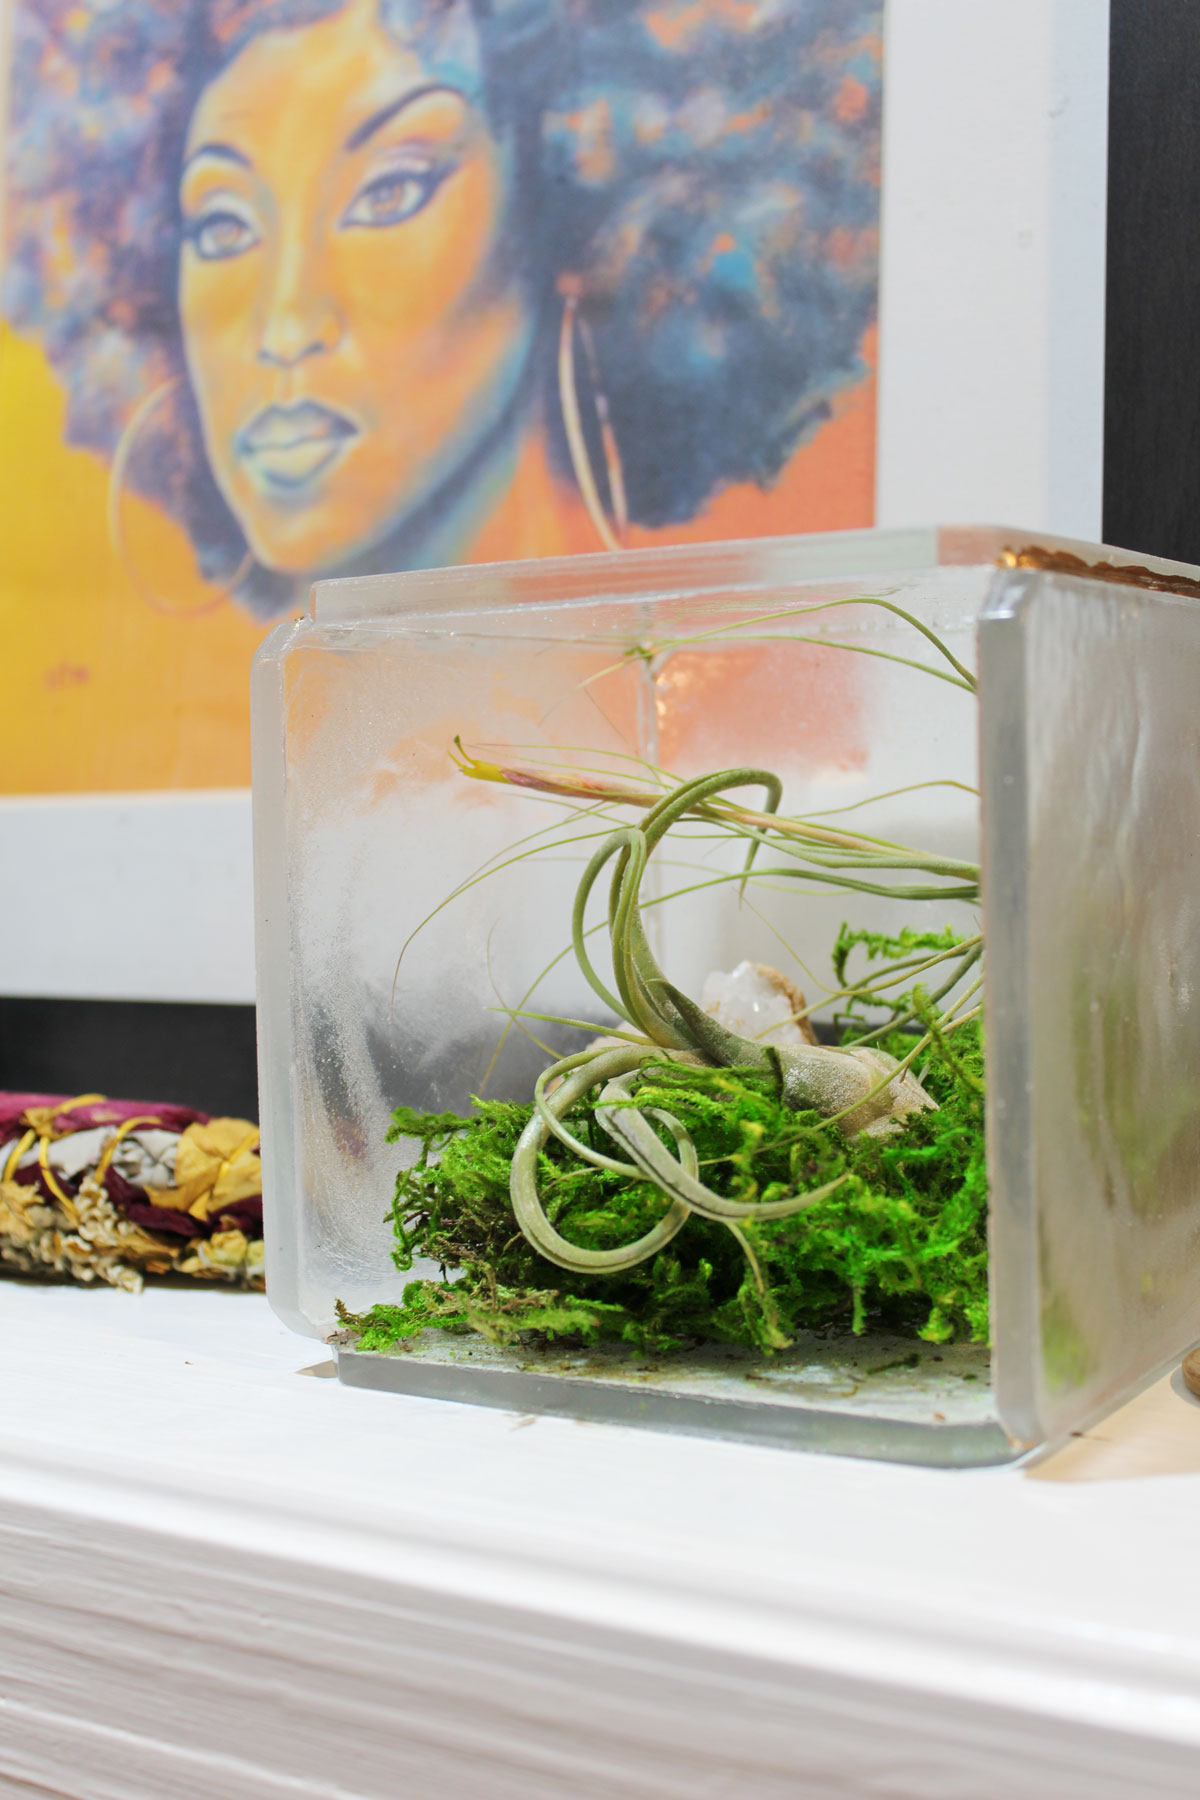
I had intentions of displaying the terrarium with the open end up, but ended up putting it on its side, because I liked the look better.
Either way, this is a fun way to display air plants and small tchotchkes. I love that this project is so easy to replicate and customize. You can use larger containers to make larger terrariums and you can decorate the sides with paint and stencils.
So, what ideas do you have for customizing your OWN terrarium?
SaveSave
Whitney is a New Orleans based decorator blogging about all things home. She loves to sew and create fabulous pillows and other furnishings. When Whitney’s not working on design projects, she’s reading sci-fi novels, working in her garden, or making updates in her new home.


I love this Idea! Thank you for your inspiration! xx
Such a neat idea, they almost look like ice cubes!