Make the perfect gift for grandma and grandma, and use up your child’s class photos at the same time with these glittering photo Christmas ornaments.
Hello! It’s Jane from Sustain My Craft Habit, a DIY, craft and home decor blog where my sister Sonja and I share new nature-inspired ideas each week.
Even though we don’t need them, every year I end up ordering the full package of class photos for my kids. The photo studio knows how to get me: the basic package has pretty much all we need, yet for just a few dollars more we can order the deluxe one! I fall for it each year and then end up with dozens of the same photo of the kids that I don’t know what to do with.
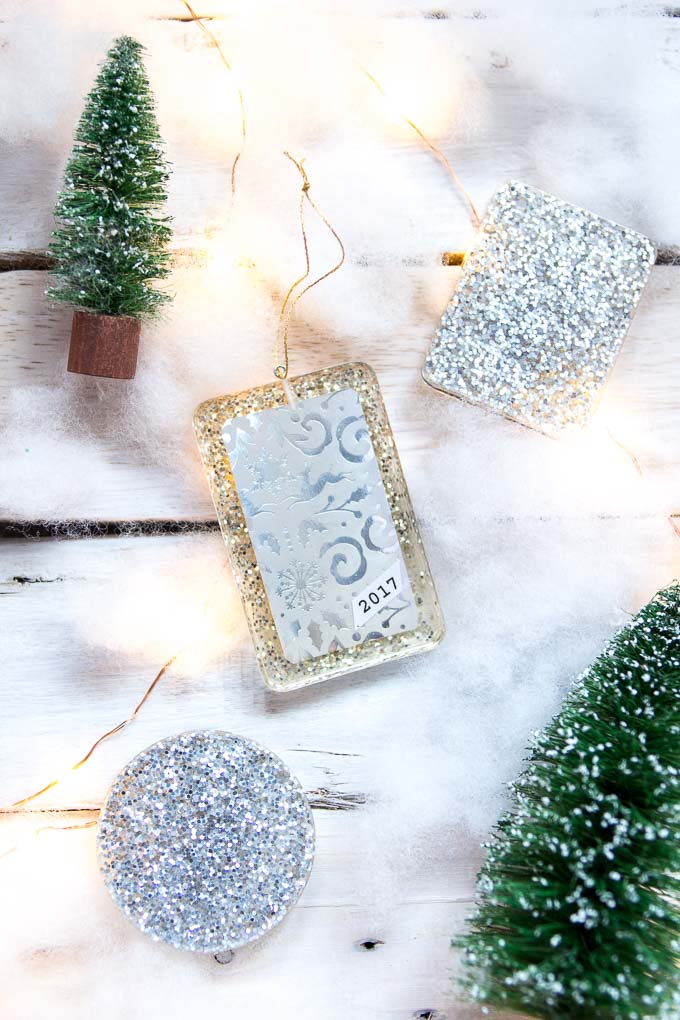
Sure I pass on to their grandparents and aunts, but there’s only so much wall and fridge space to hang them all. It was actually our mom who, after seeing our wood slice garland project, said “I want these as Christmas ornaments with the kids’ pictures”! Although we didn’t end up using wood slices for this resin craft, I think they turned out beautifully. I made the ornaments with two resin pourings, the first to create a glittered background and the second for the lovely glossy coating.
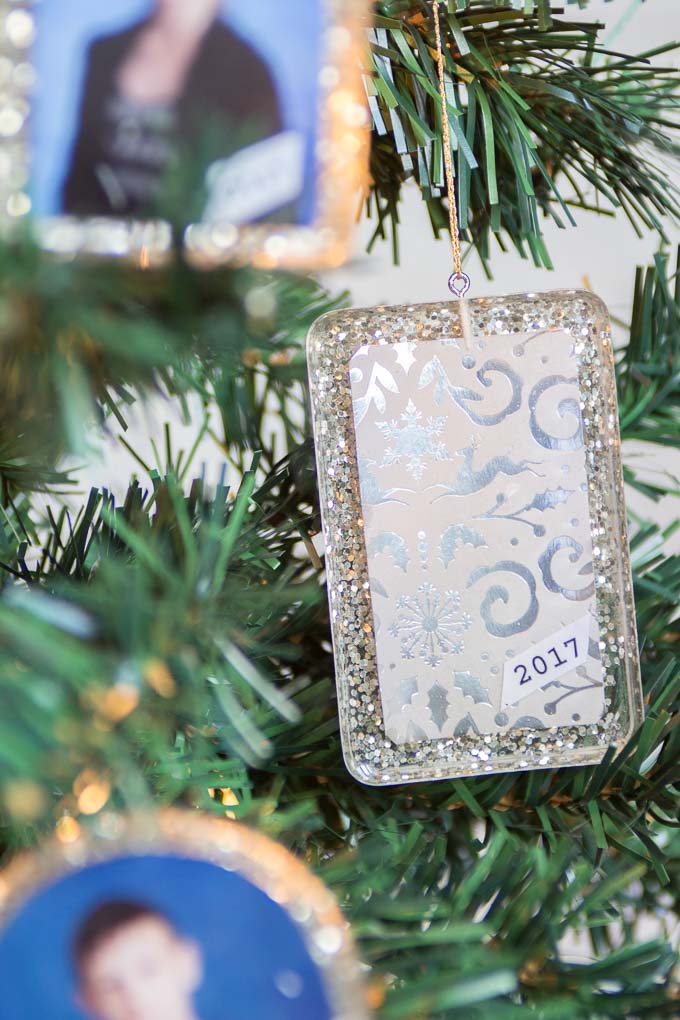
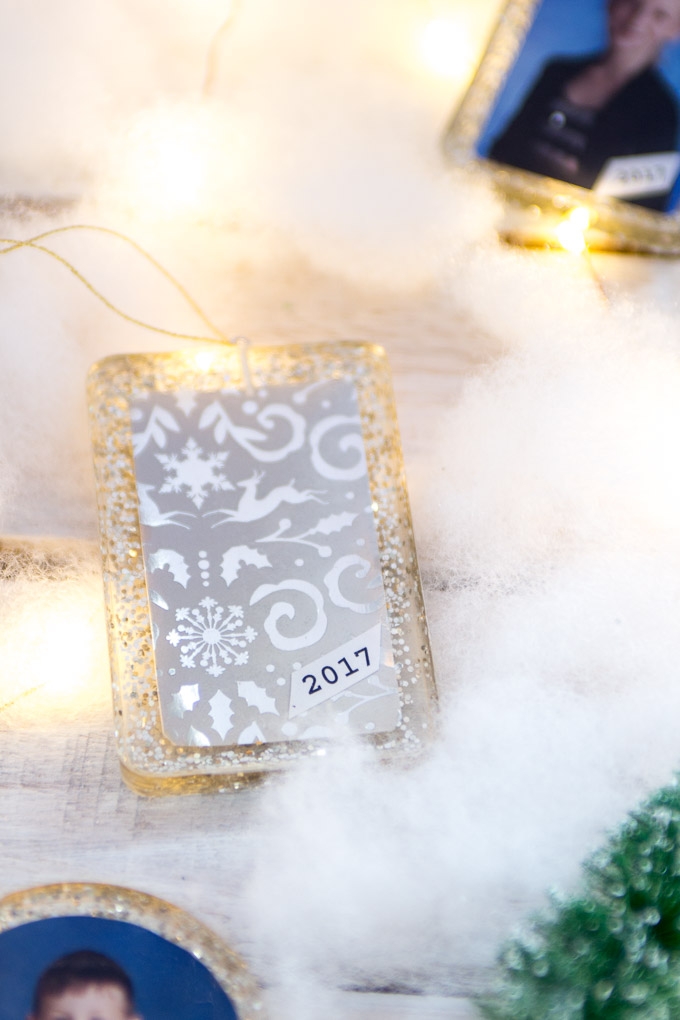
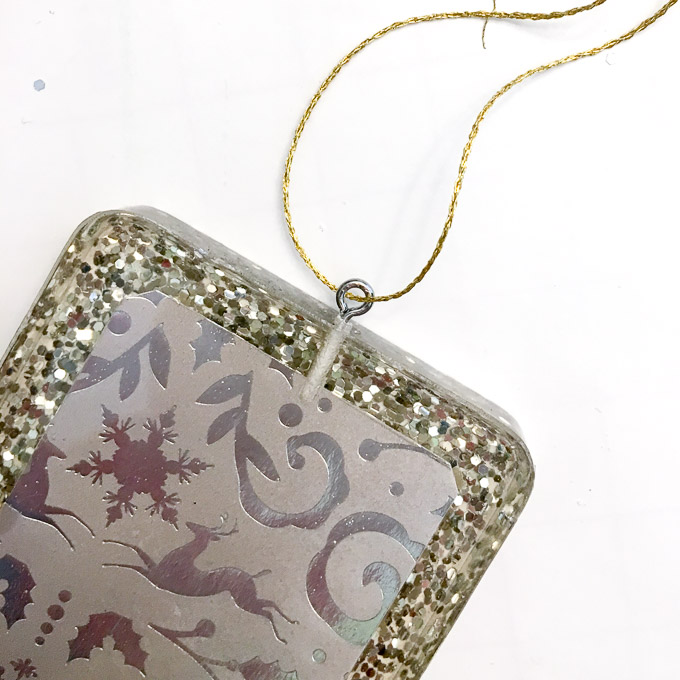
I ended up making one with a beautiful decorative Christmas paper I picked up at our local craft store last year. It’s just to show you that that truly the sky’s the limit with this technique. So grab your molds, EasyCast clear casting resin and some fun photos for this lovely personalized Christmas ornament gift idea!
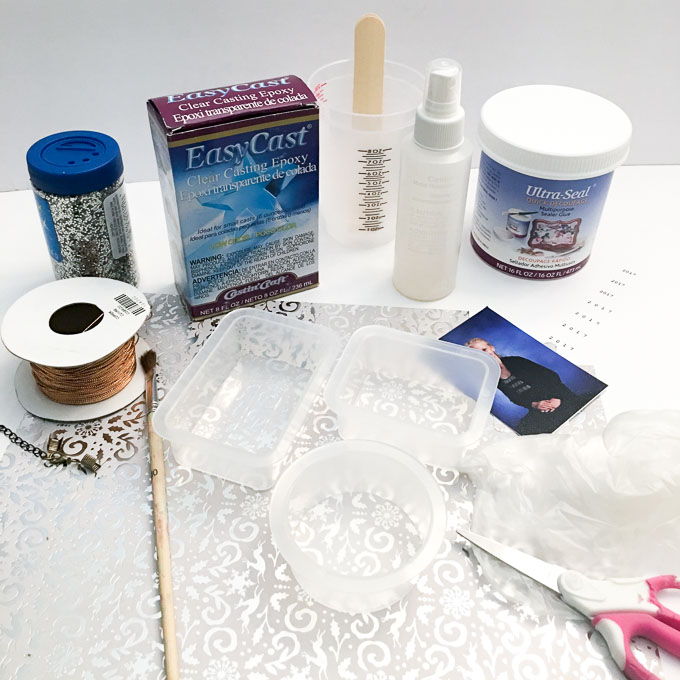
Materials Needed for this Photo Christmas Ornaments Project with EasyCast Resin:
- Photos, decorative paper and/or other items you’d like to display;
- Scissors, ruler, pencil;
- Ultra-Seal Quick Decoupage (or other multipurpose sealer/white craft glue); small paintbrush
- Castin’ Craft reusable casting molds: I used the MC-2 (2-1/4″x 2-5/8″ x 1-1/8″ deep), MC-3 (2-3/8″x Dia. x 1-1/8″ deep), and MC-4 (2-1/8″x 3-1/4″ x 1-1/8″ deep)
- Mold Release Conditioner
- EasyCast Clear Casting Epoxy
- Silver craft glitter
- Measuring cups, wooden craft sticks, straw, paper towels, parchment paper (optional)
- Small screw-in eyelets and ribbon/string
Instructions for Making DIY Resin Photo Ornaments:
Read all the instructions in the EasyCast resin packaging completely. Use gloves and work in a well-ventilated area.
Sealing the Images
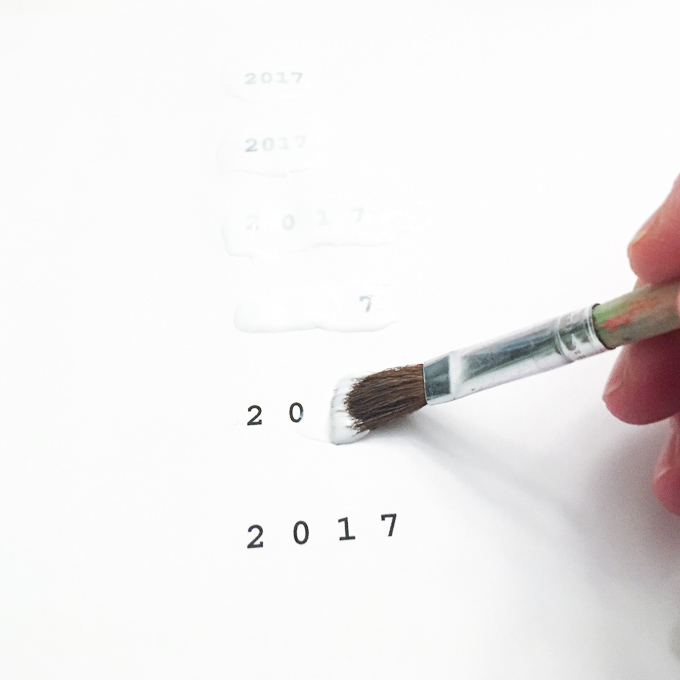
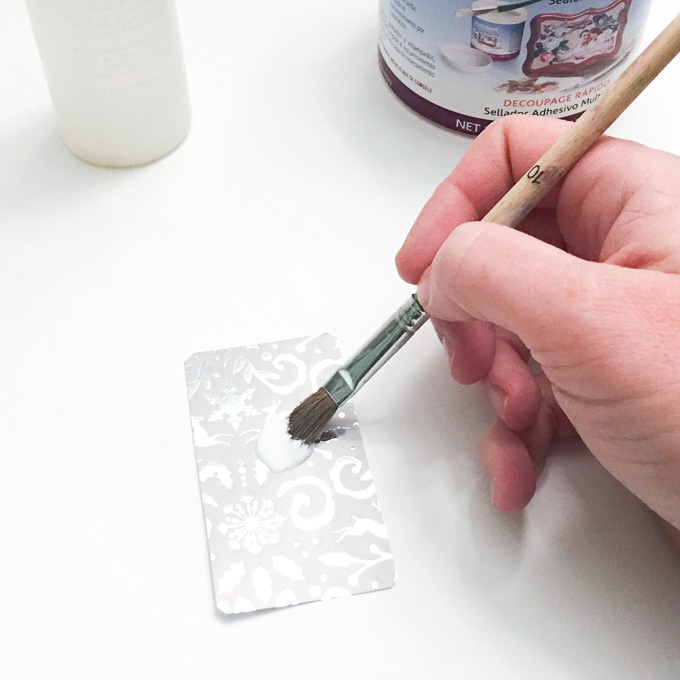
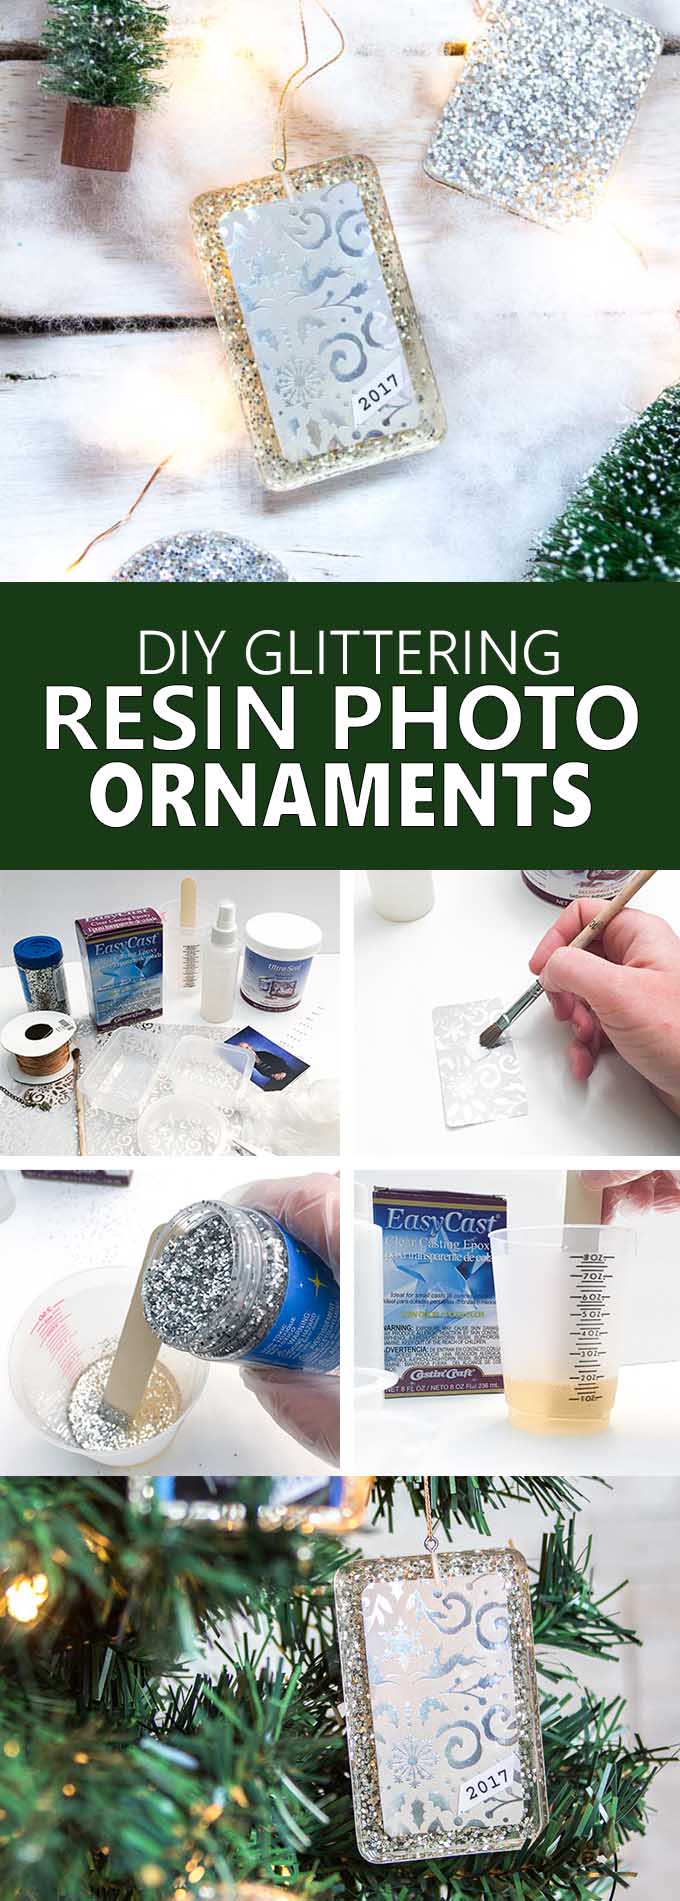
- Start by sealing all of the images you will use with a multi-purpose sealer or glue. I wanted to add a date to my ornaments. So I printed out a bunch of “2017”s on regular paper on my home printer. I used Courier font of several sizes so I’d have a selection to choose from depending on the size of the ornaments. Be sure to coat both sides and let them dry completely.
Similarly, I sealed both sides of the decorative paper and kids’ school photos. Prior to this I had measured and cut them down to fit nicely inside the molds, leaving a 1/4″ border all around the images.
Also, at this time, condition your casting molds with the release agent and let them dry prior to using.
Pouring the first resin layer
Follow the packaging instructions and mix up the first layer of resin. Mix exactly equal amounts of Resin and Hardener into one measuring cup. The volume will depend on how many ornaments you plan to make at one time. I mixed up 1oz each of the Resin and Hardener to make 3 ornaments. Stir continuously for 2 minutes, scraping the sides of the container. Pour the mixture into a second cup and stir for an additional minute (use a new stir stick). Scrape the sides of the container as you mix.
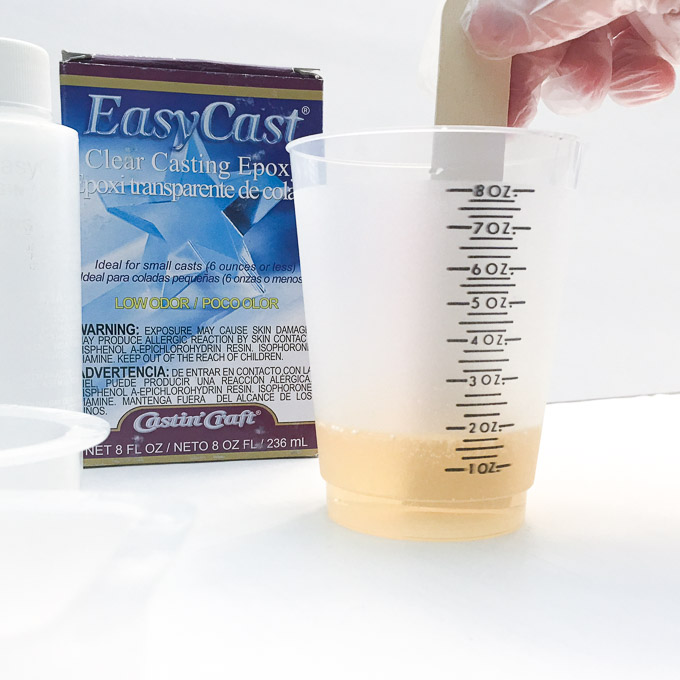
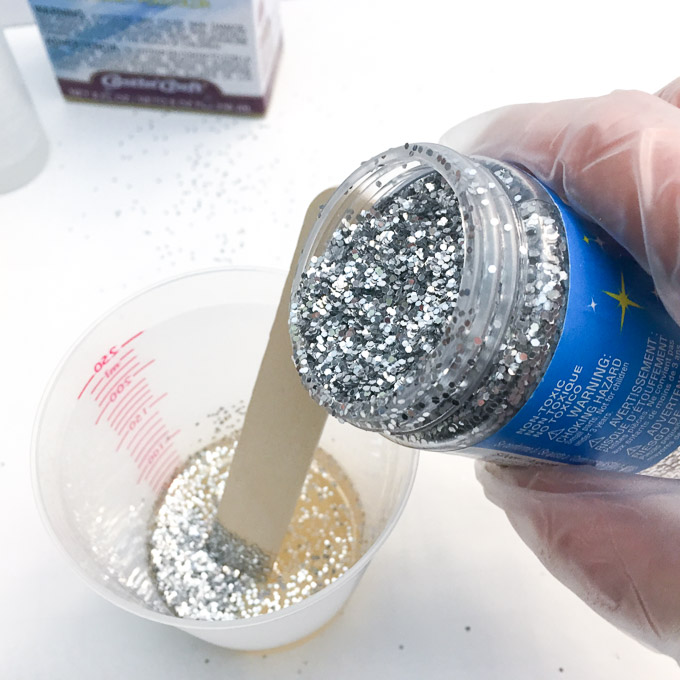
Pour some silver craft glitter into the resin mixture and combine thoroughly.
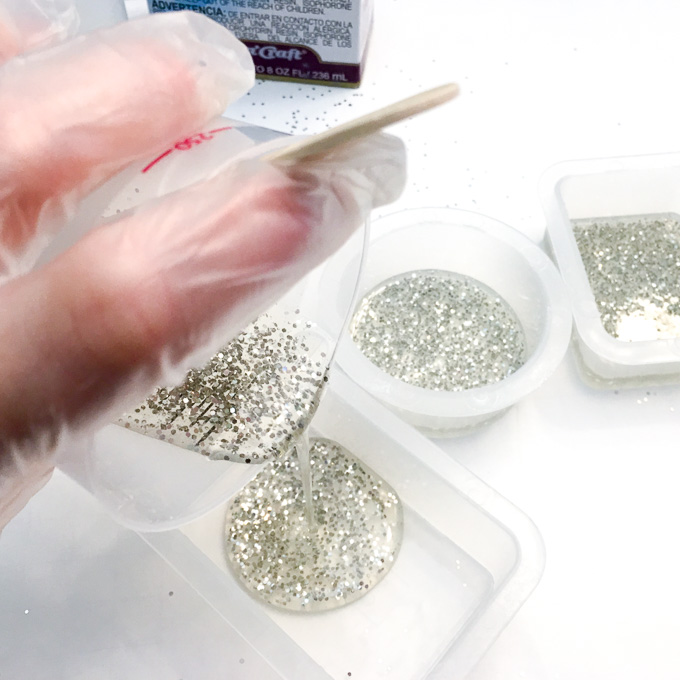
Distribute the glittering resin mixture evenly between the molds, to about 1/8″ thick.
Set the pieces on a level surface and cover to prevent dust from falling in. After about 15 minutes, remove any bubbles that have risen to the surface by gently blowing over the ornaments through a straw or using a small kitchen torch. Repeat if necessary after another 15 minutes and up to about an hour all the bubbles are popped. Use a clean straw each time to avoid moisture from your breath collecting inside the straw and transferring onto the piece.
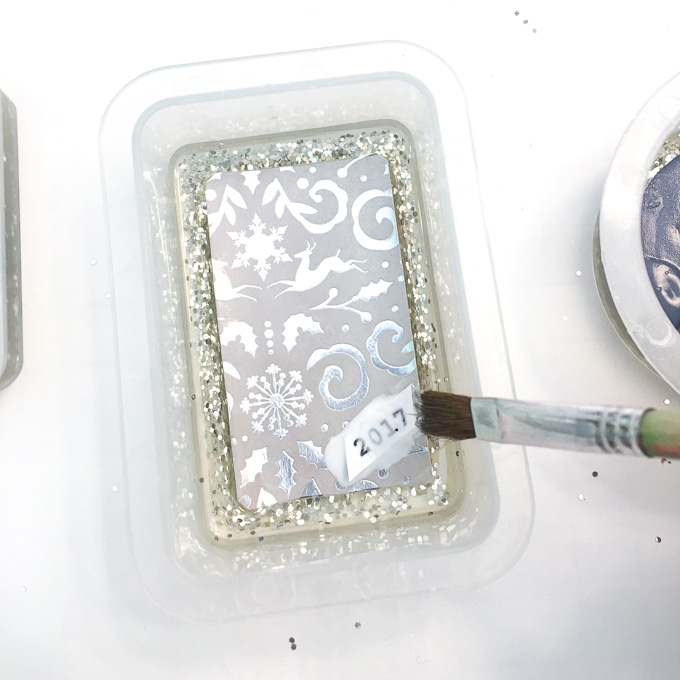
After about 3 hours test the firmness of the resin by gently touching the center. You want the resin to be firm, yet still tacky so that you can layer on your sealer images. If the resin is too soft, the photos may sink to the bottom. Yet you want it a bit tacky in order for the image to adhere in place. Center the image in the mold and let cure for a couple more hours.
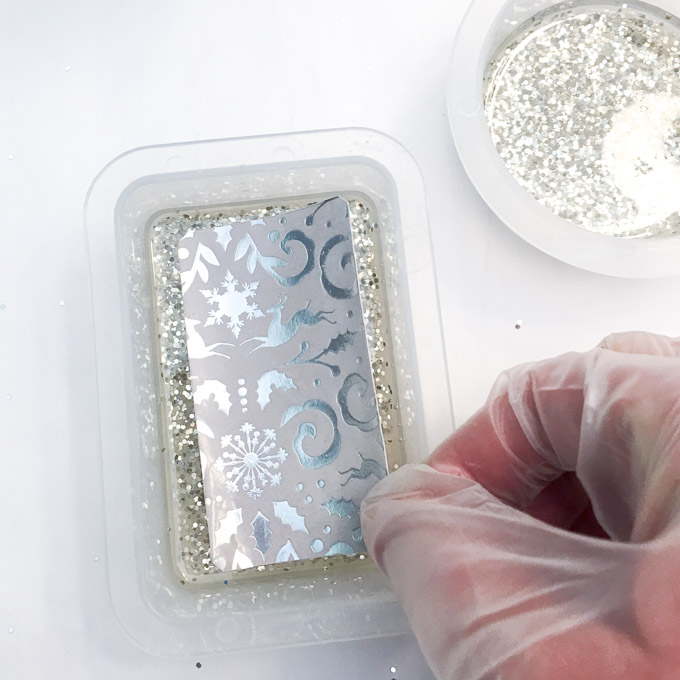
At this point you can lay on any other embellishments, such as the date. Use a multipurpose sealer to seal it in place.
Pouring the Second Resin Layer
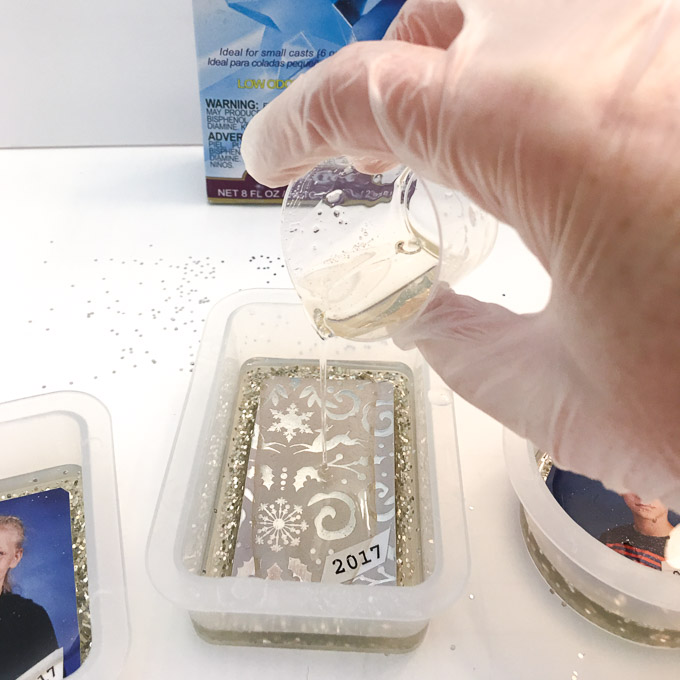
Once the glue has dried from the previous step, repeat the process above for mixing up another batch of resin. Leave out the glitter this time though! You’ll also need about half the volume of resin for this second layer, just enough to coat the images.
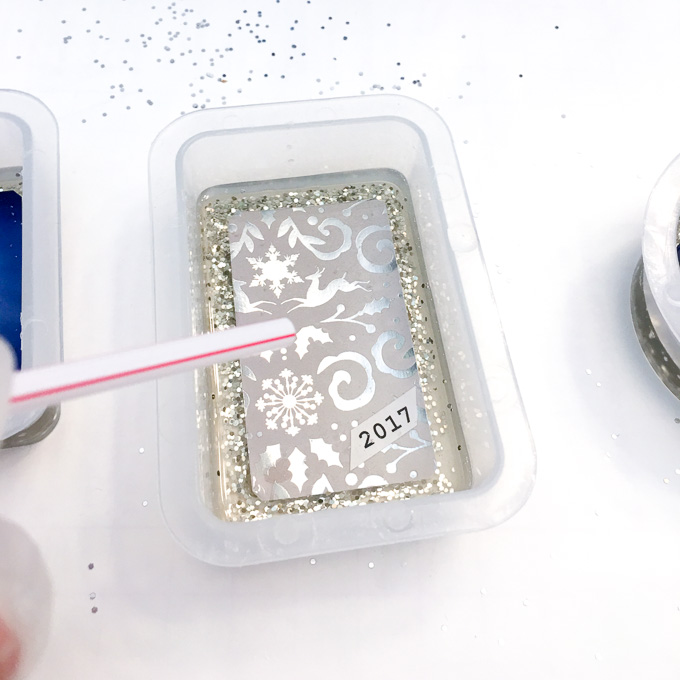
As above, set on a level surface and cover to keep the dust off. Blow off any air bubbles using a straw or small flame occasionally.
Let your ornaments cure for about 24 hours before attempting to remove them from the molds. At this point you can drill a small pilot hole into the top of the Christmas ornaments and then screw in the small eyelets for hanging. The pieces should be fully cured after about 72 hours.
And there you go! Your own gorgeous resin photo Christmas ornaments that grandma and grandpa are sure to go crazy over! And stop by our blog to pick up some free printable Christmas gift tags and floral holiday greeting cards which you can give alongside the ornaments.
Note: I’d love to show you how beautifully the kids photos turned out but we have an agreement not to show their faces in blog posts. But trust me, they look amazing! Moreover, the backsides of the ornaments are all glittery and gorgeous as well.
I love how these turned out so much that I’m planning to make ornaments of all four kids each year to have for our family! I think it’ll be so fun to take them out each year and see how they grow and change.
Do you have any similar traditions at Christmas?
Like it? Pin it for later!
Jane and Sonja are sisters, moms and lifelong craft addicts both living near Toronto, Canada with their families. They share their love of creativity, nature and coastal DIY ideas on their blog Sustain My Craft Habit. They craft and decorate their homes using repurposed and upcycled items and materials found in nature.


Leave a Reply