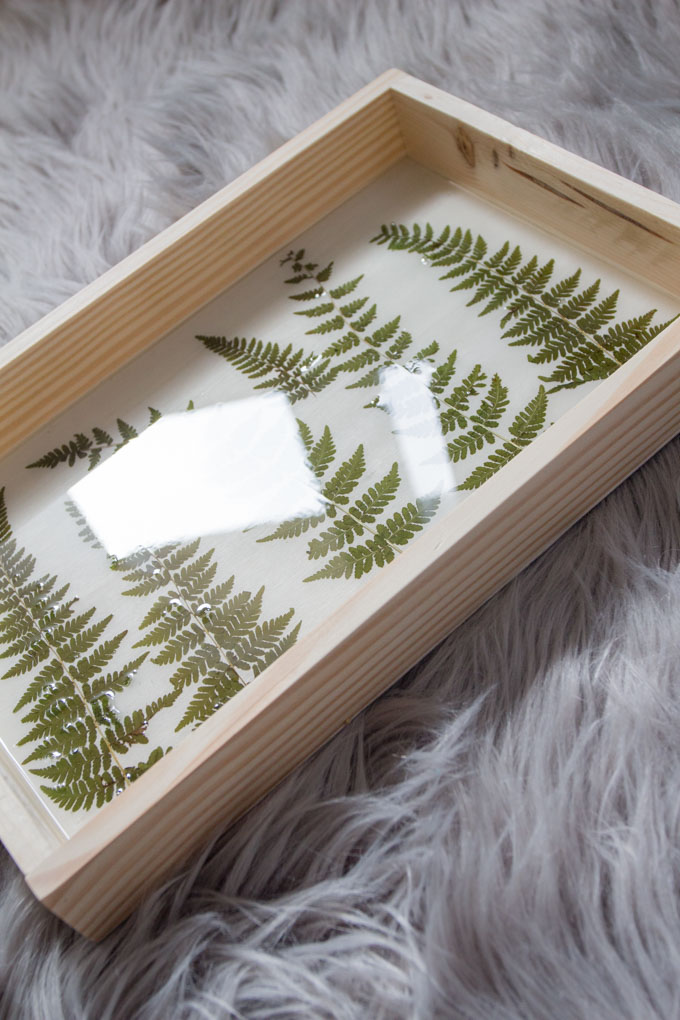
This simple nature-inspired pressed fern and resin plaque art idea is a beautiful keepsake of a special family memory.
DIY Pressed Fern and Resin Plaque
Last summer my mom and I took the kids on a hike through the forest near our family cottage. It was damp and hot and for some reason I was concerned about a brown bear jumping out at us from the bushes.
It was completely irrational since we don’t have brown bears in the area. But you know when you get something in your head and it won’t leave? Yup, that was me.
I had been a little nervous about taking 5 kids on this hike on a hot day. But they did great and we had a beautiful time. Although it was hot and dry everywhere else, the forest path was damp and lush, lined in one area with beautiful natural ferns. I collected a few small fronds and pressed them into a book.
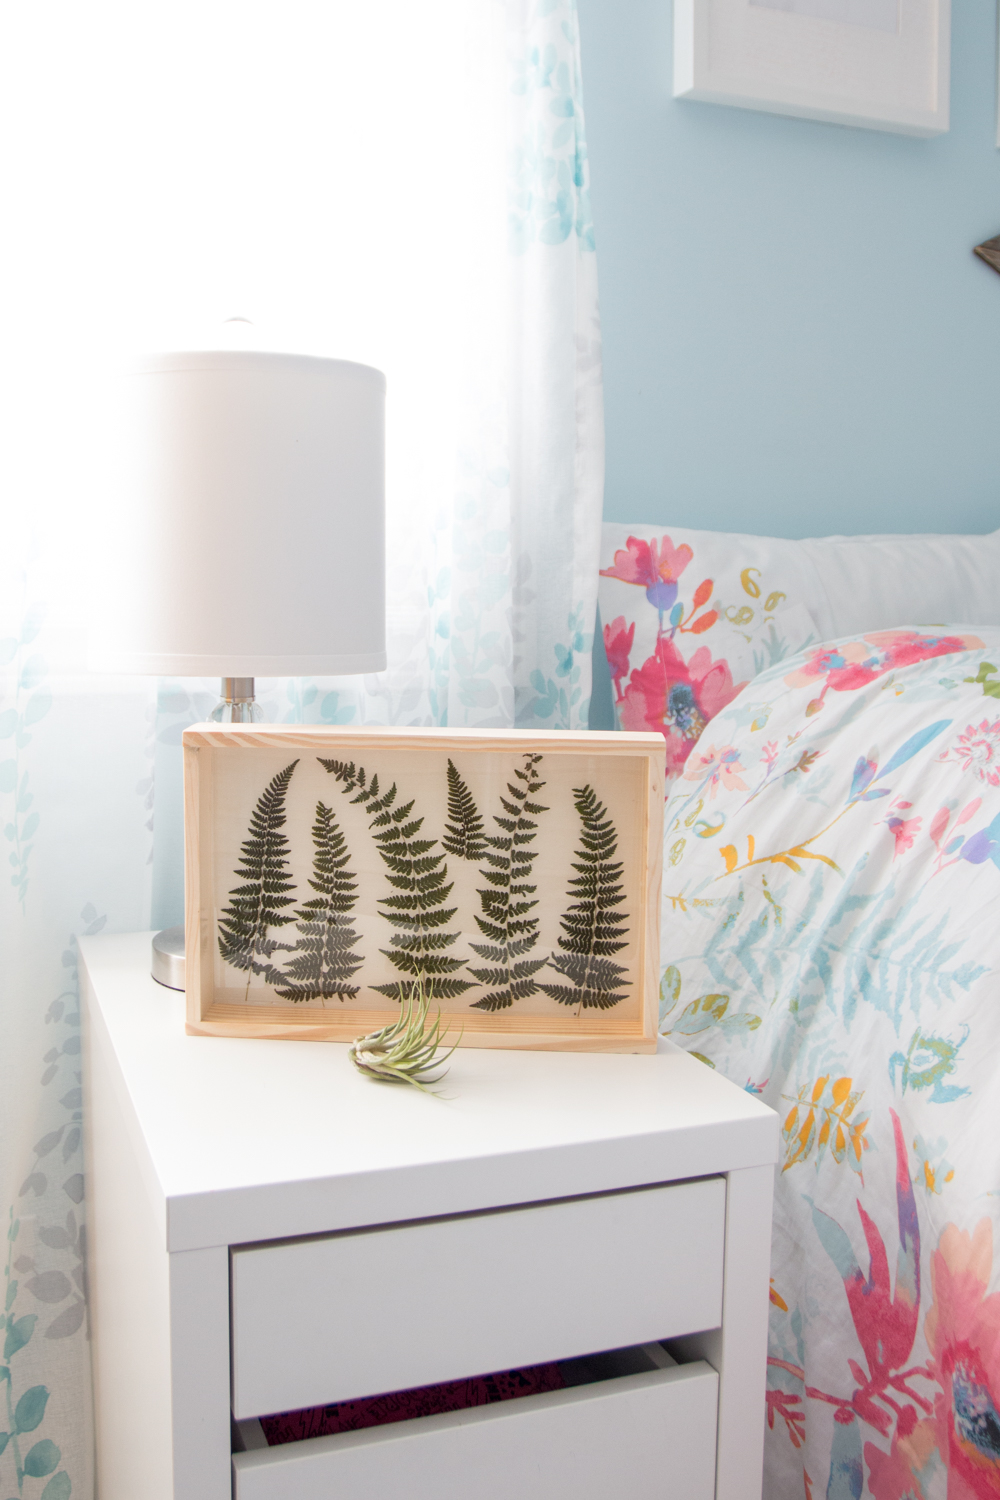
Recently I rediscovered this book of fern fronds and memories of that lovely hike through the woods came rushing back. I decided to display them with the help of EnviroTex Lite in my tween daughter’s new bedroom. This method could be used to display any pressed flowers – I’ve collected quite a few of our lovely spring pansies for a future project!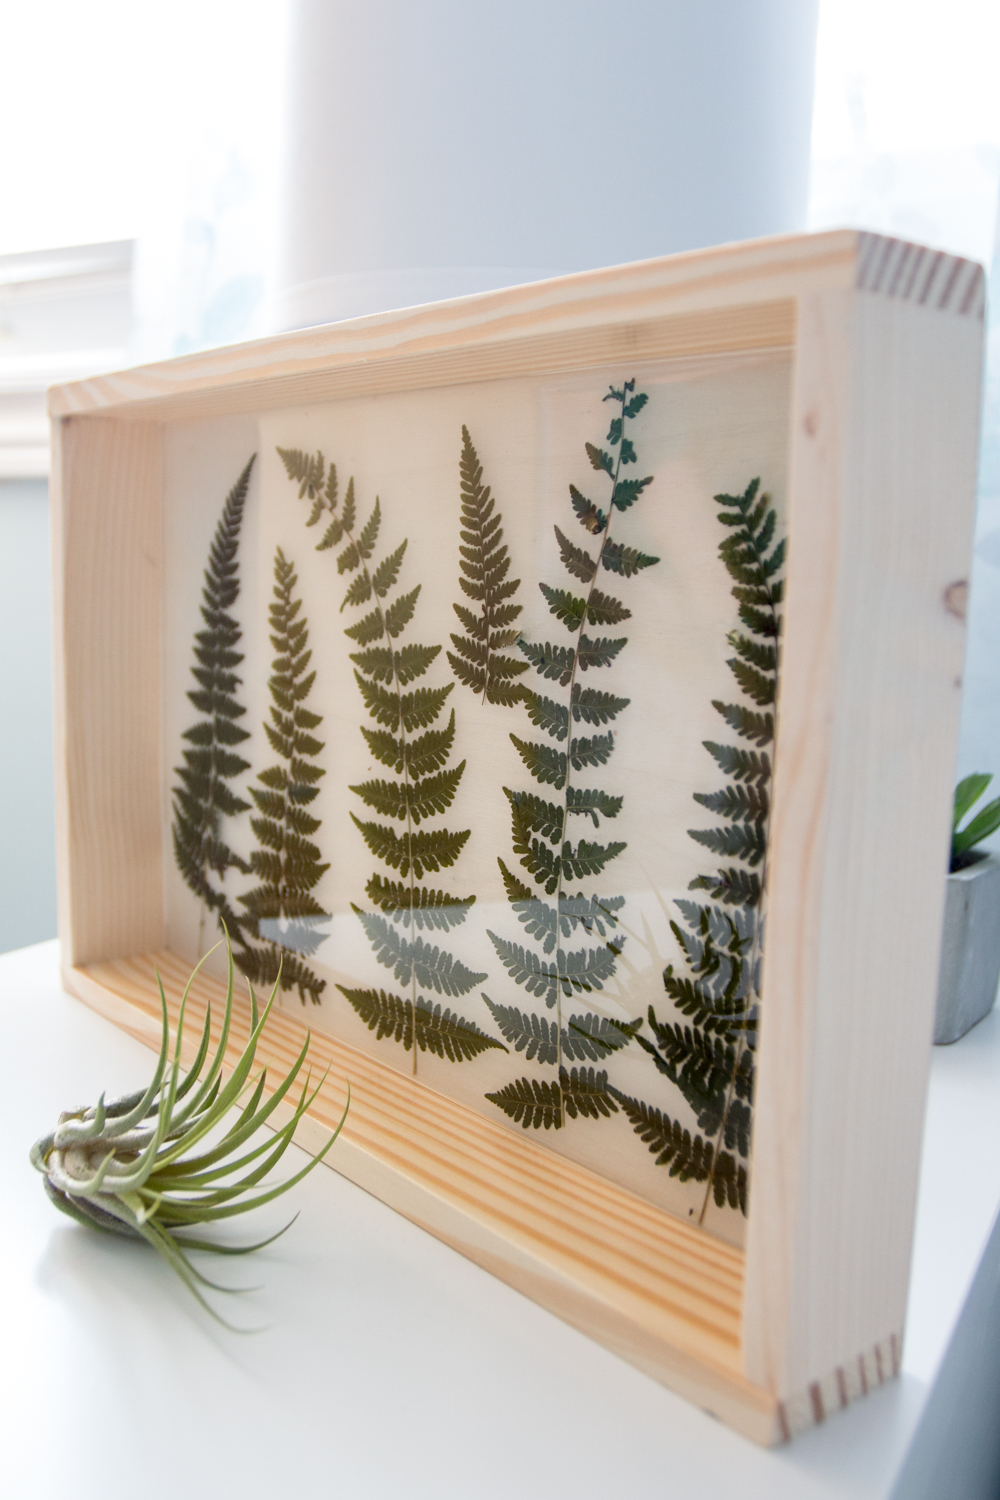
Materials Needed for a Pressed Fern and Resin Plaque
- pressed fern fronds
- Unfinished Wood Plaque by ArtMinds
- Ultra Seal Multi-Purpose Sealer / Glue (or any clear drying craft glue)
- Paint brush by Craft Smart
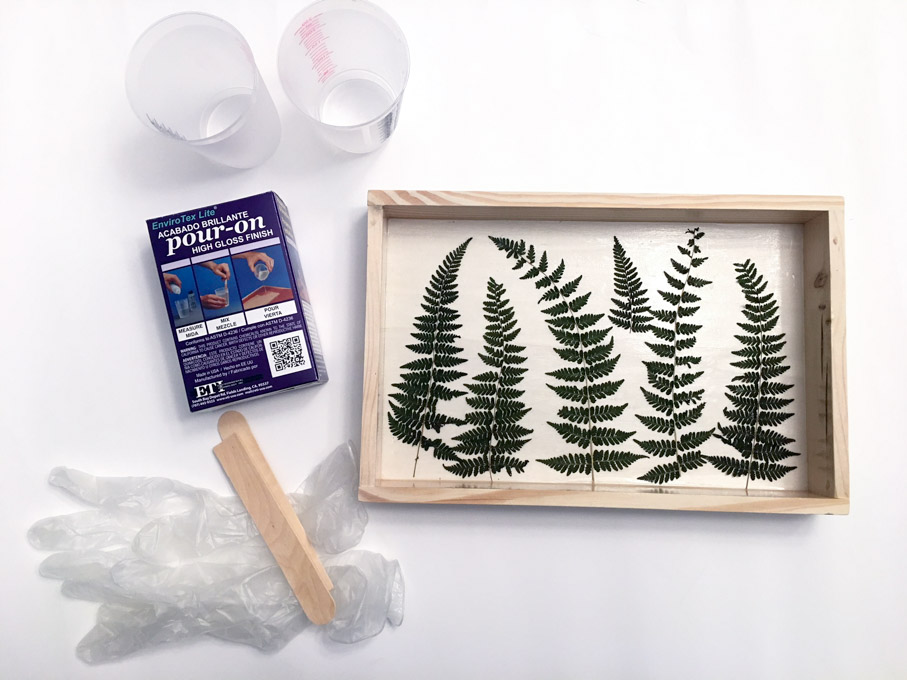
- EnviroTex Lite Pour On
- plastic mixing cups, wooden craft sticks, gloves, straw
How to Make this Fern and Resin Wall Art Idea
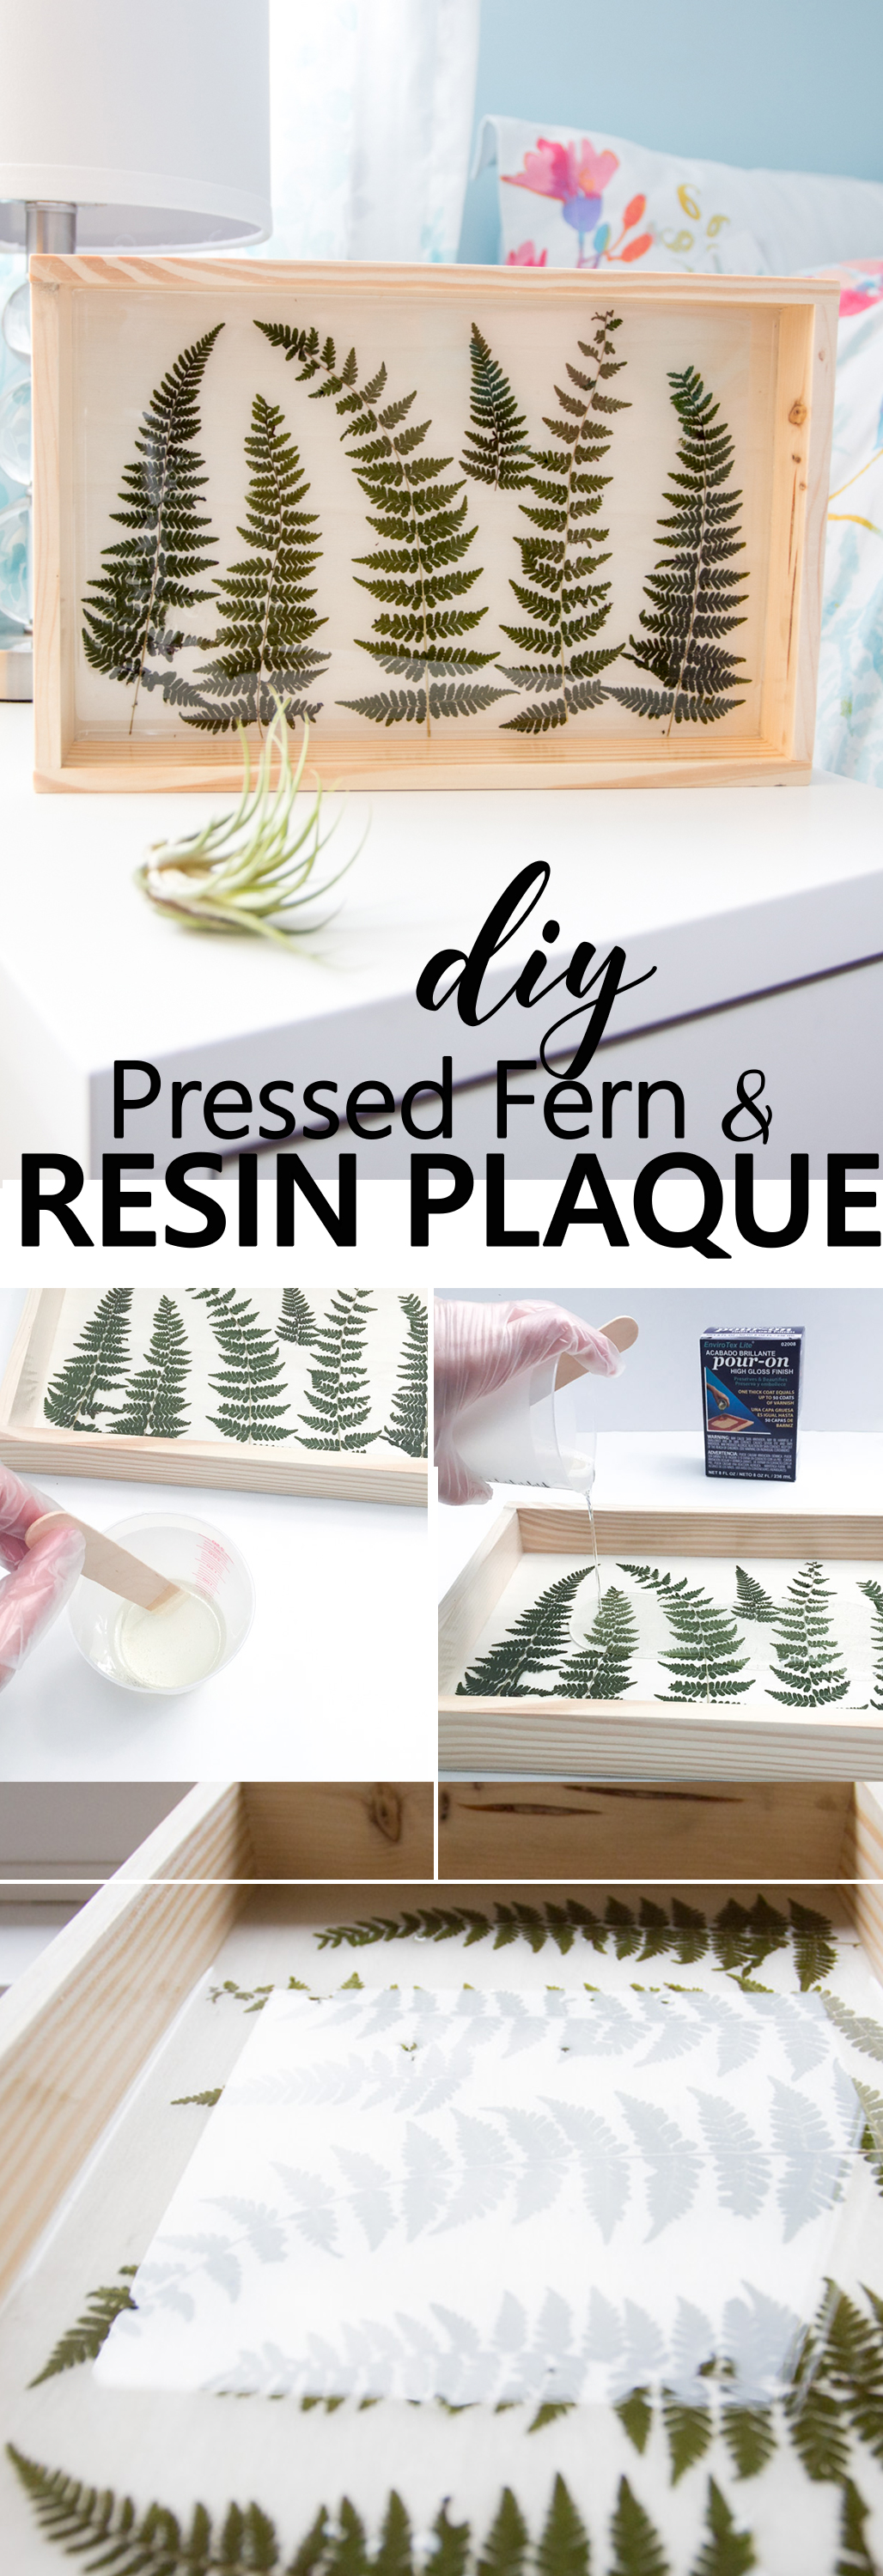
For best results be sure to read the instructions provided in the EnviroTex Lite Pour On packaging. Ensure your resin and hardener are at room temperature or warmer before mixing.
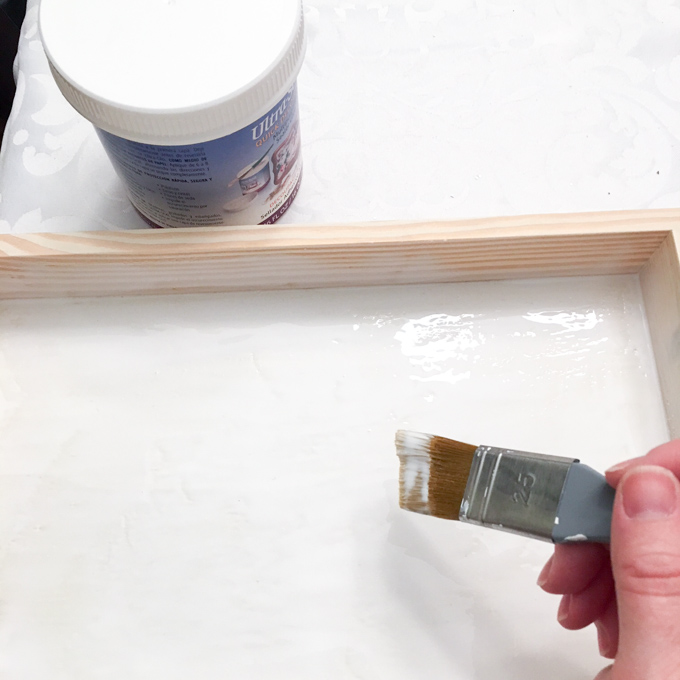
Brush a generous coat of clear drying sealer to the inside surfaces of the wood plaque. Make sure to thoroughly cover the join lines to keep the resin from leaking out.
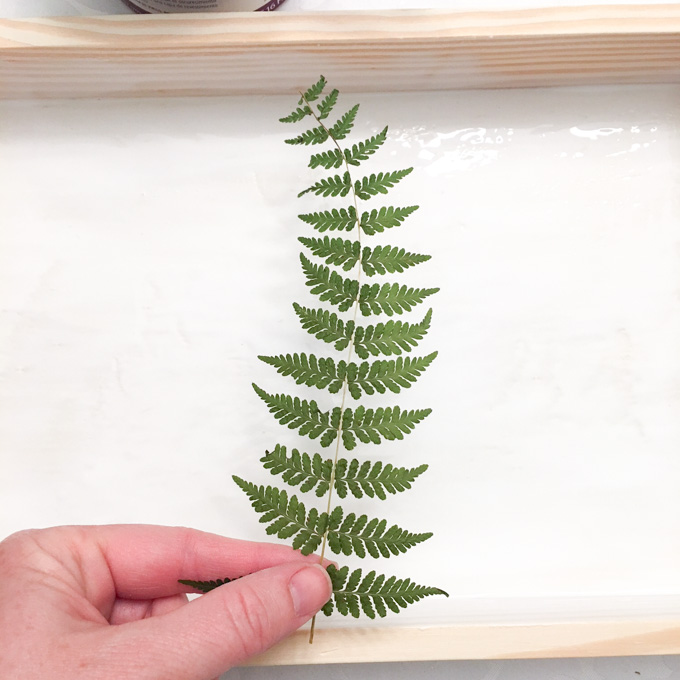
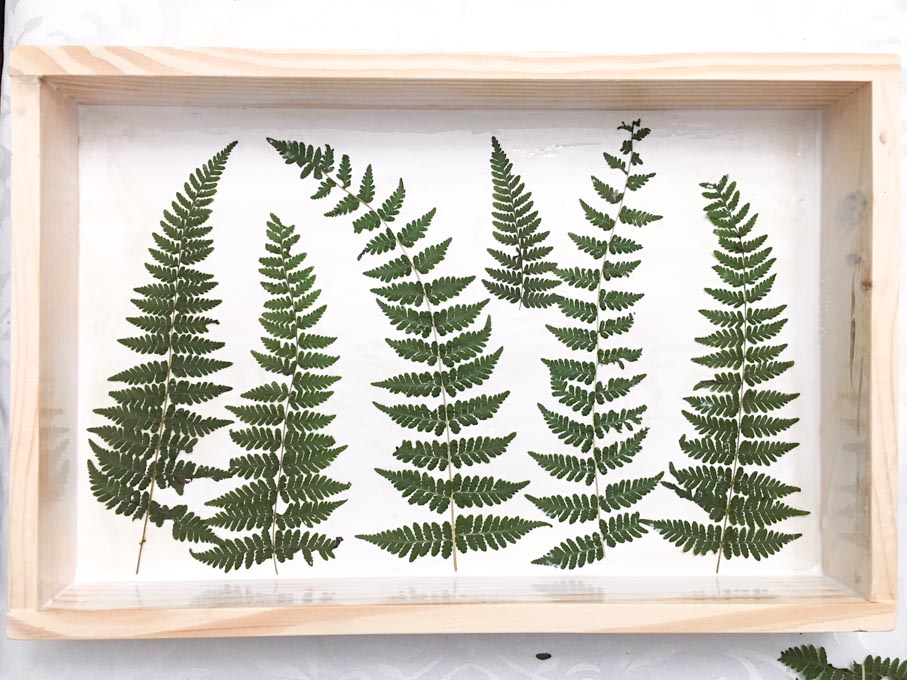
While the glue/sealer is still wet, gently place the pressed fern fronds onto the surface, arranging them as you’d like.
Press down the fern fronds onto the glue.
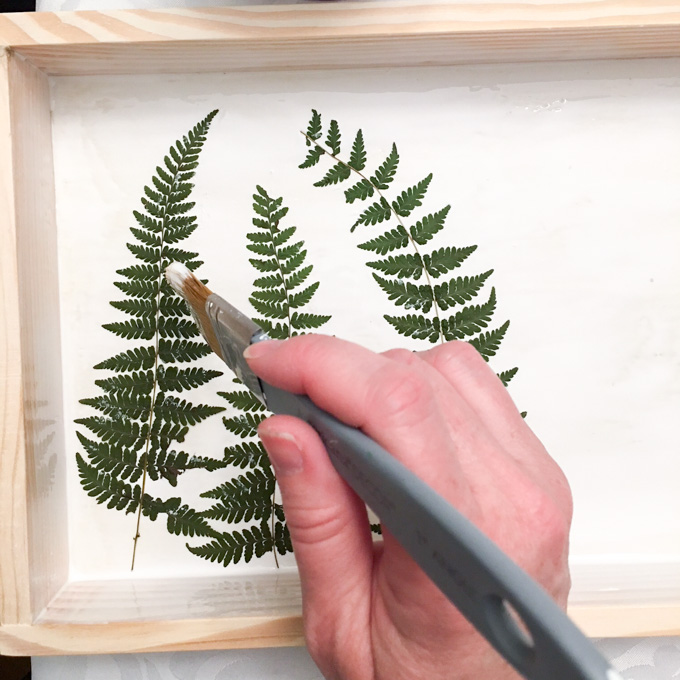
Paint another coat of sealer over top of the pressed ferns. Let dry completely (ideally overnight).
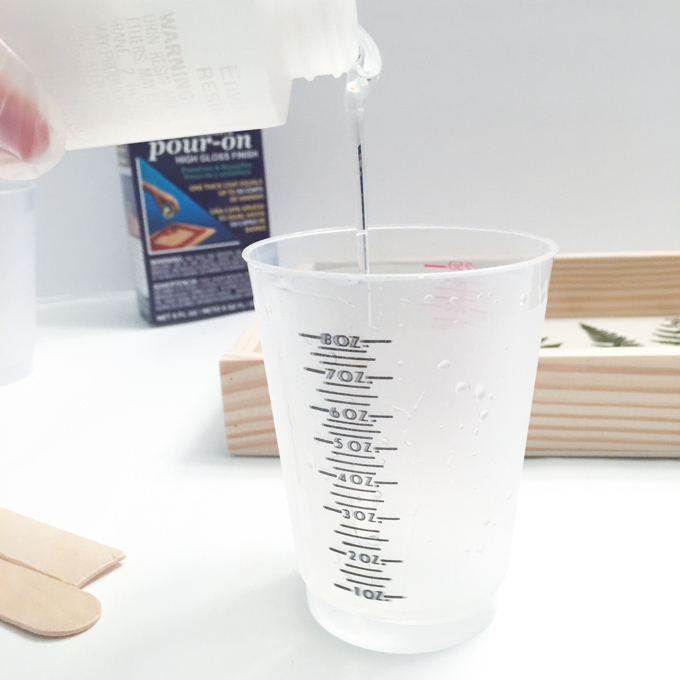
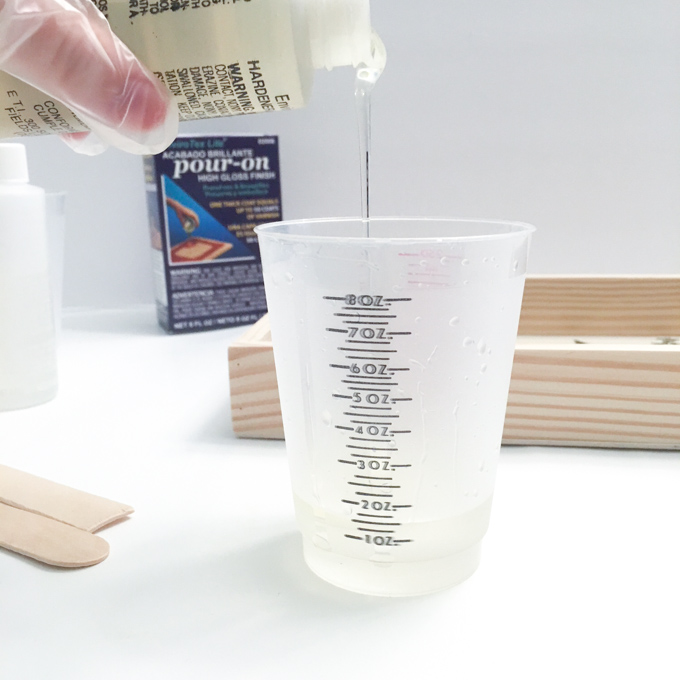
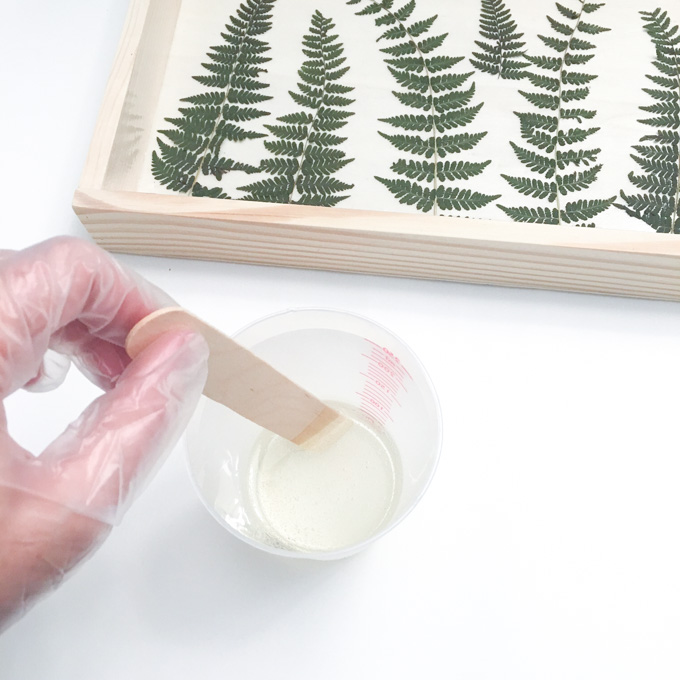
Mix exactly equal amounts of Resin and Hardener into one measuring cup. The size of your piece will determine how much resin you need. In my case, I poured 1.5 oz of the resin and 1.5 oz of the hardener.
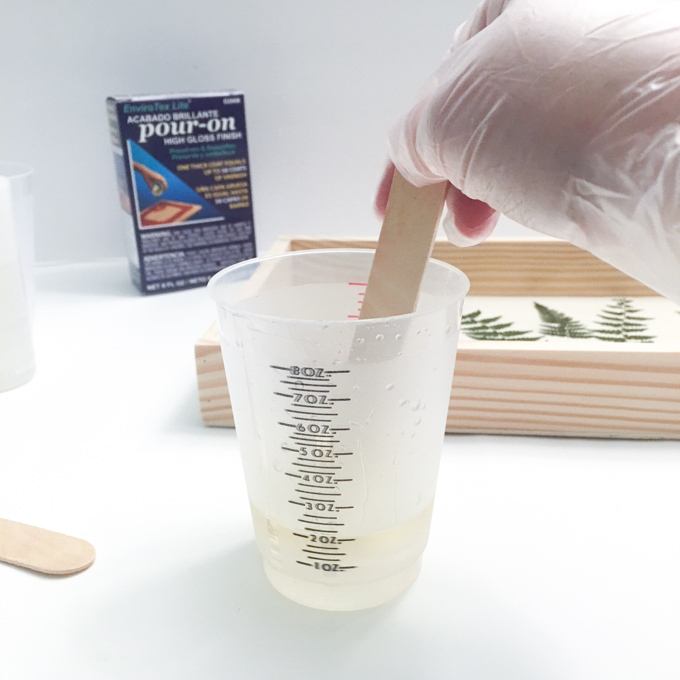
Stir continuously for 2 minutes, scraping the sides of the container.
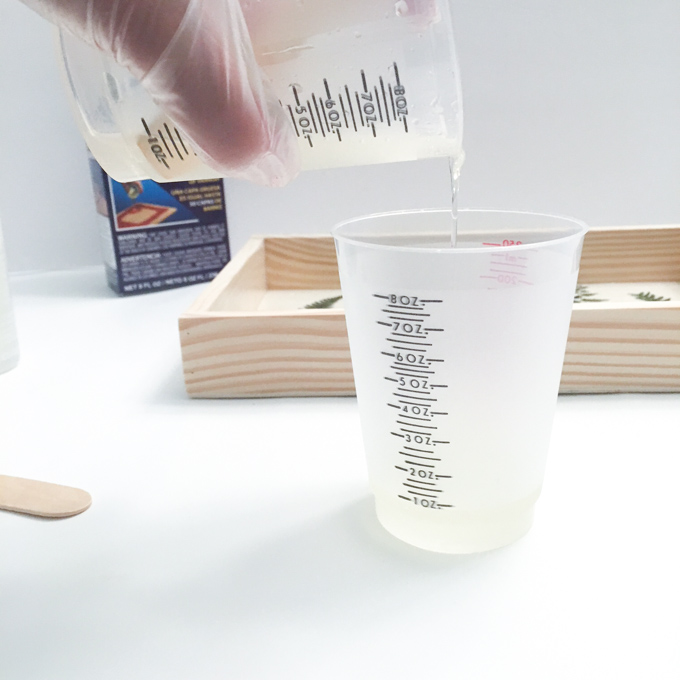
Pour the mixture into a second cup and stir for an additional minute, scraping the sides of the container and stir stick.
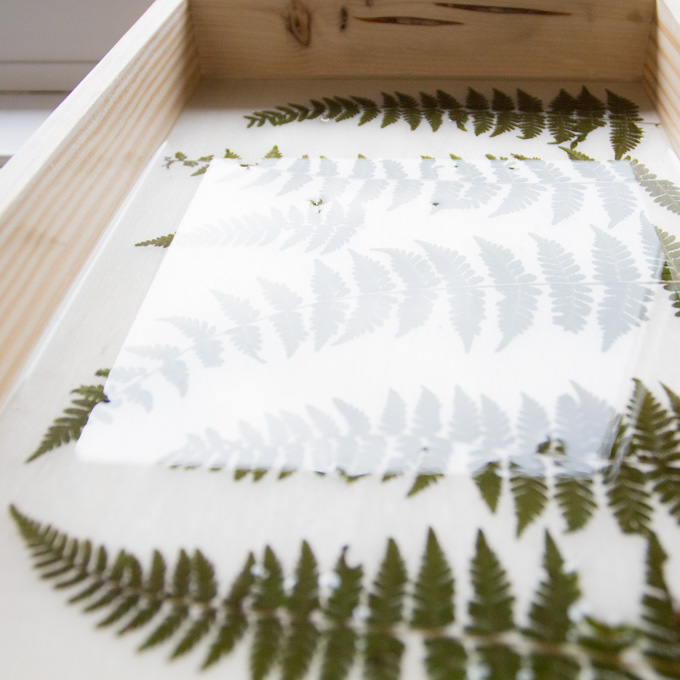
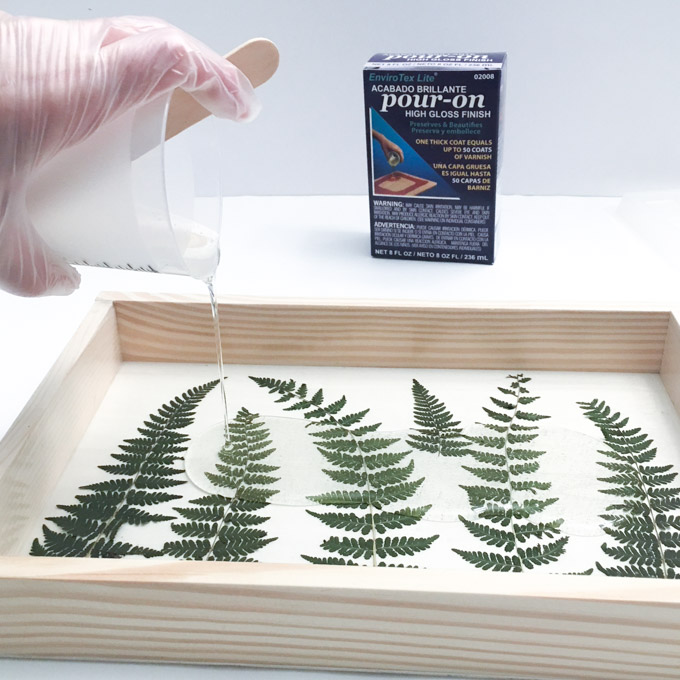
Slowly pour the resin mixture over the ferns.
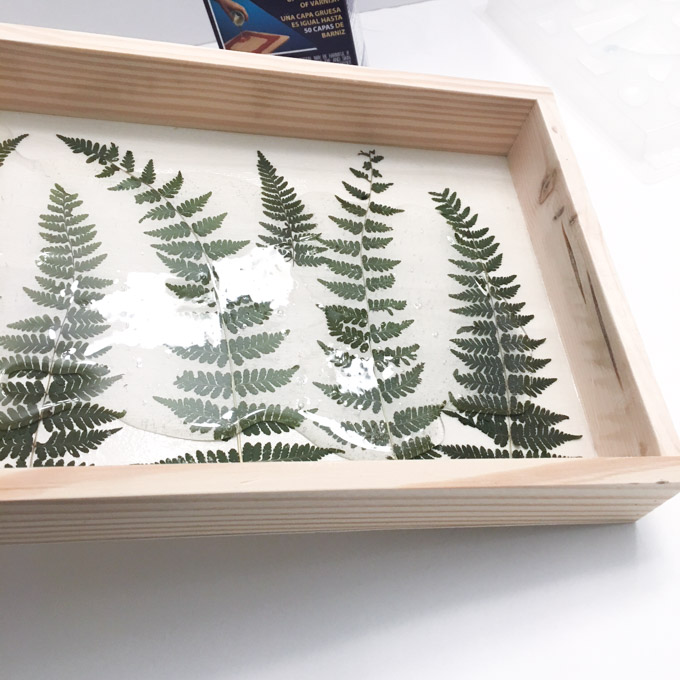
Tilt the plaque to get the resin over the entire surface. The resin will settle and level itself out over time.
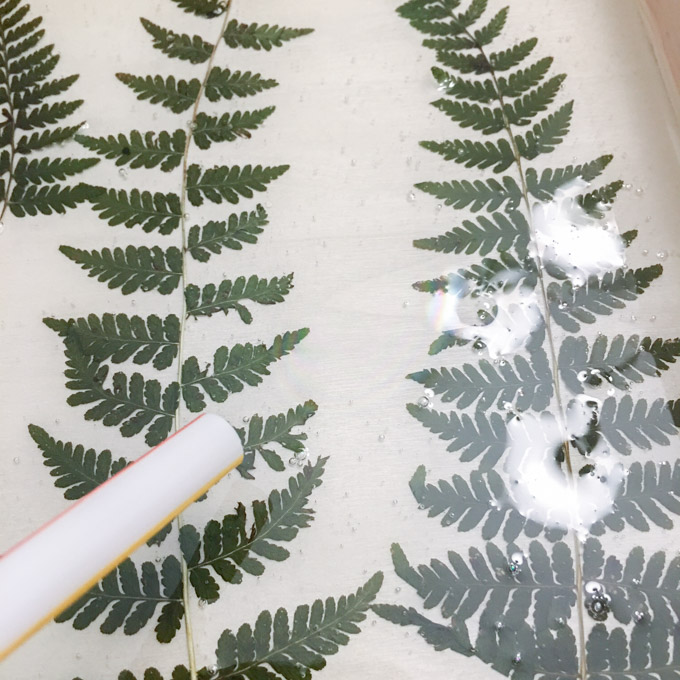
Cover to keep dust from settling in. Ensure your tray is placed on a level surface. After about 15 minutes, remove any bubbles that have risen to the surface by gently blowing over the piece through a straw. Repeat if necessary after another 15 minutes and up to about an hour to ensure no bubbles have formed. Use a clean straw each time to avoid moisture from your breath collecting inside the straw and transferring onto the piece. Use a clean toothpick to release any larger bubbles.
Cover and allow to cure overnight (will fully cure over 72 hours).
The EnviroTex Lite pour-on gave this earthy piece of art a luscious glossy finish. While it looks so nice in my daughter’s bedroom I think I’ll need to make two more and hang them all together in my living room.
For more resin and nature crafting ideas, be sure to check out:
DIY pressed flower resin paperweight
Driftwood slices tray
Lavender pendants
Autumn leaf resin pendants
Like it? Pin it for Later!
Jane and Sonja are sisters, moms and lifelong craft addicts both living near Toronto, Canada with their families. They share their love of creativity, nature and coastal DIY ideas on their blog Sustain My Craft Habit. They craft and decorate their homes using repurposed and upcycled items and materials found in nature.

Leave a Reply