Beach Inspired Poured Resin Wall Art DIY
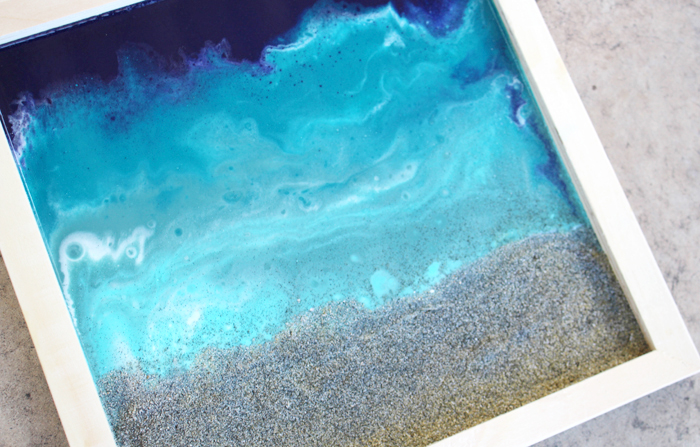
Hi Resin Crafters, it’s Natalie from Doodlecraft sharing a Beach Inspired Poured Resin Wall Art DIY. Summertime is the time for vacation, travels and sitting on the sand. Beach inspired art is the perfect way to savor those sunny, Summer days year round. Save a handful of shimmering sand from the beach you visit to add to the beach inspired wall art.
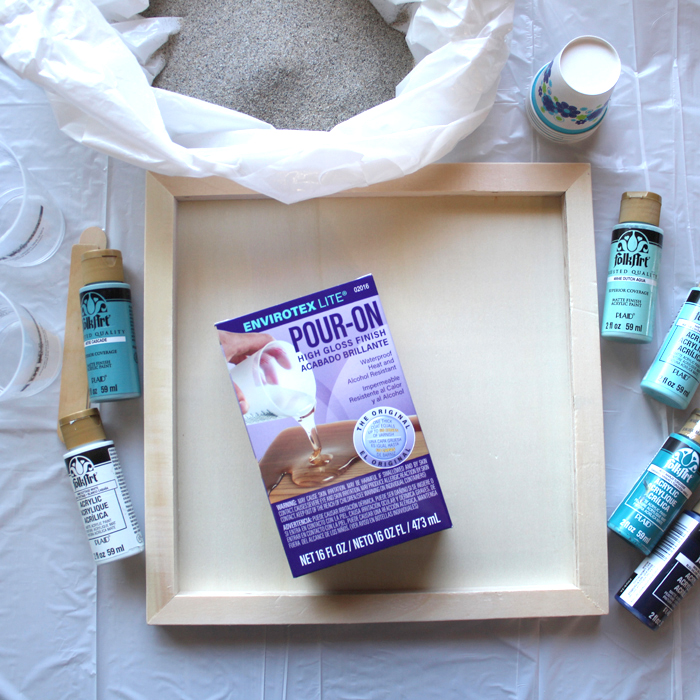
Supplies Needed:
- Wood Canvas
- Envirotex Lite Pour-On High Gloss Finish
- Mixing cups, Stirring Sticks, Disposable work surface, Gloves
- Acrylic Craft Paint in Navy, Turquoise, Aqua, Mint and White
- Five 5 oz. Paper Cups
- Beach Sand
- Hair Dryer
- Straw
Resin Mixing
Start by reading the directions for the resin, it’s crucial to mix it properly. Mix 8 ounces of resin for a 12 inch square canvas. Begin with 4 ounces of resin and 4 ounces of hardener, mixed for 2 minutes. Then transfer the mixed resin into another cup and mix with a different stirring stick for 1 minute.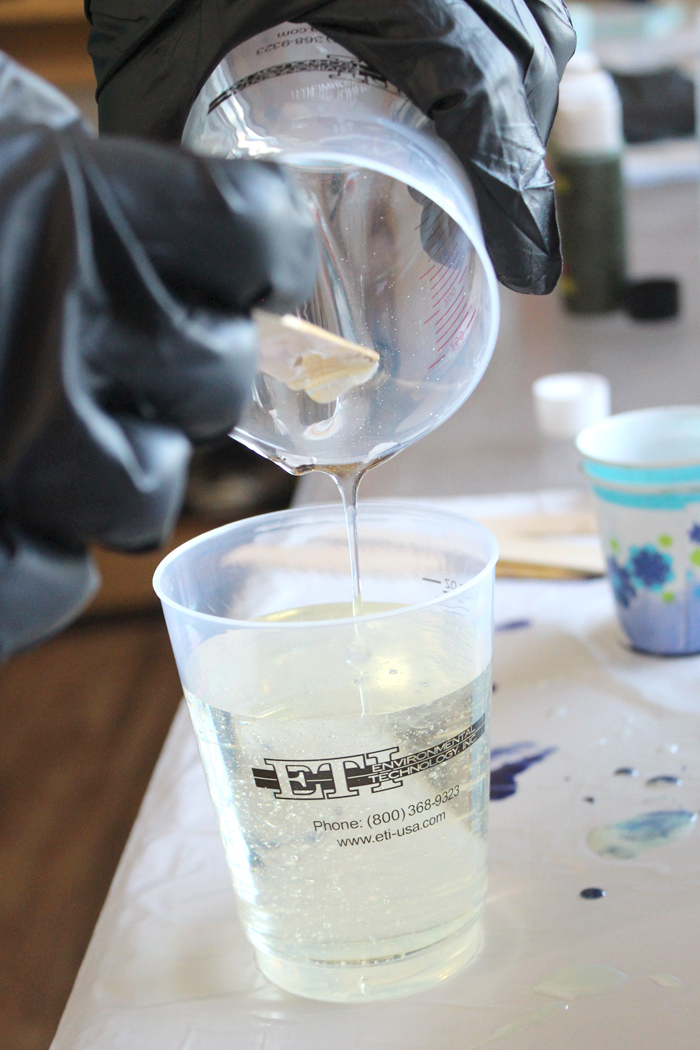
Resin Coloring
Next, pour some of the resin into 5 ounce cups, keeping some resin in the mixing cup as well. Add a marble size squeeze of paint in each cup.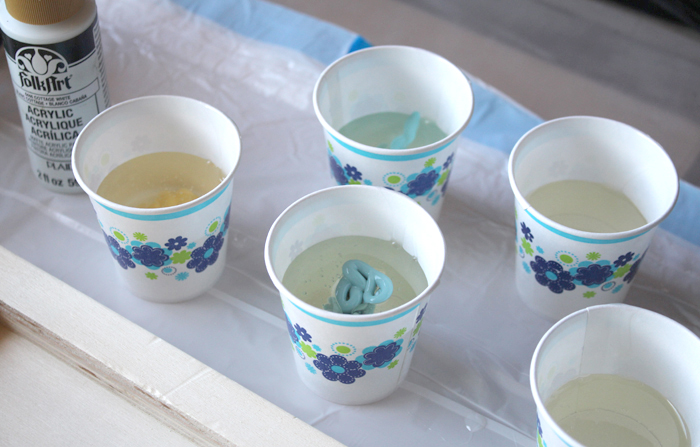
Then, stir the paint in gently and thoroughly.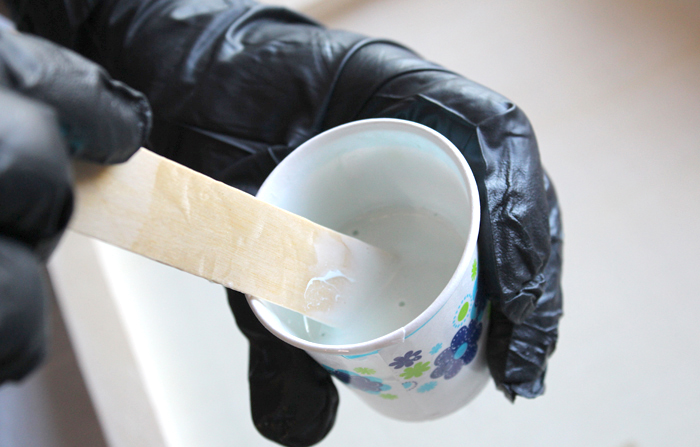
Now the paint/resin is ready to pour.
Resin Pouring
I used yellow for the section of sand, but in hindsight, I’d keep it clear. Start by pouring out the contents of the cup all across the bottom of the canvas. The canvas is turned over to be used more like a tray.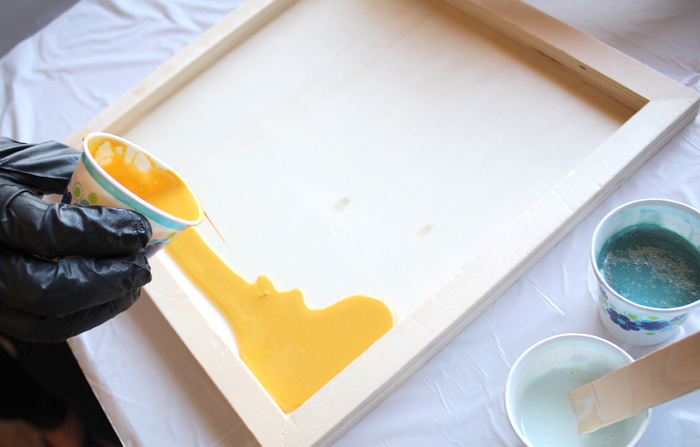
Then pour the navy blue across the top completely, followed by the next darkest shade of blue, working it’s way down to the yellow.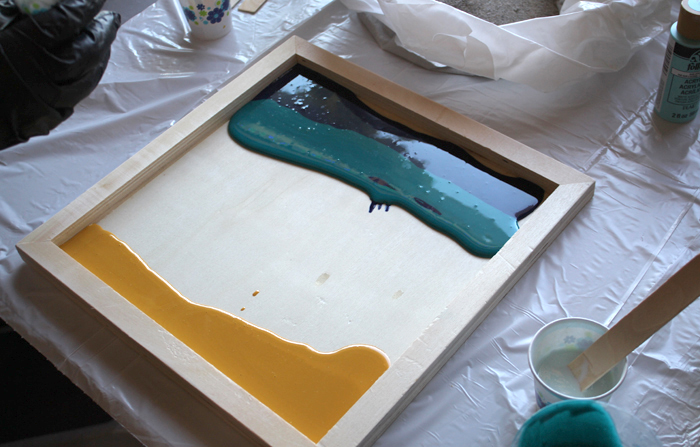
Next tip and tilt the canvas so the colors flow down the canvas. 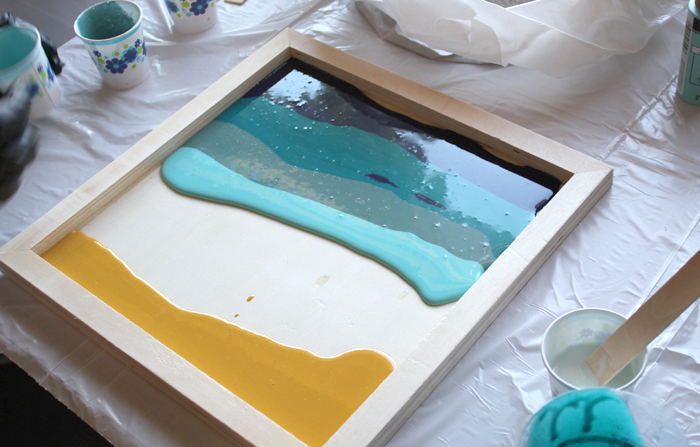
Now use a stirring stick to drop some lines of white resin across the colors, this will form the sea foam waves.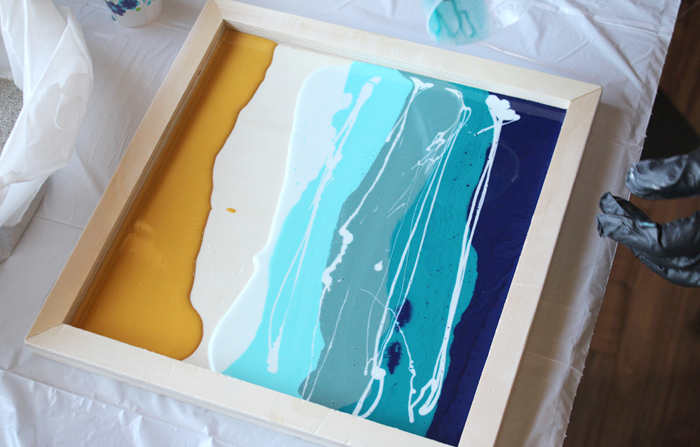
Then use the hair dryer to blow a straight line across the resin. This blends the colors together and makes the white look like beach foam. Do not over heat the resin, work quickly in straight lines.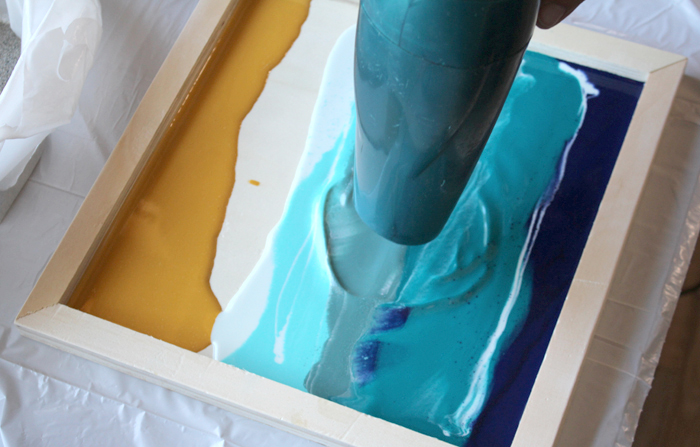
The look of waves is so mesmerizing and beach inspired!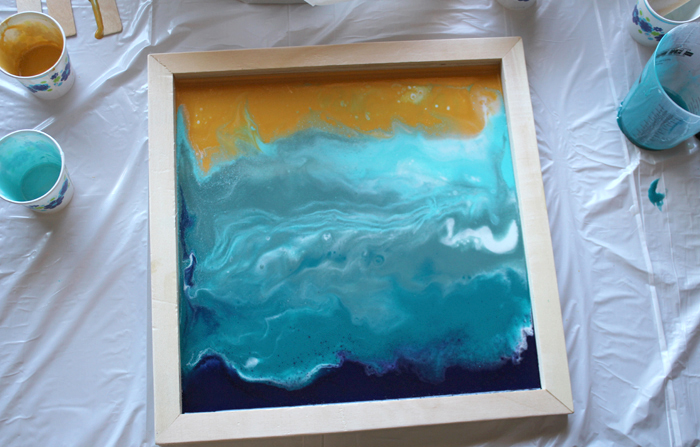
Finally take a handful of beach sand and pour it out over the top of the clear (or yellow) resin. Fill the bottom section with a large beach front. Add seashells, sea glass, or other beach inspired trinkets. 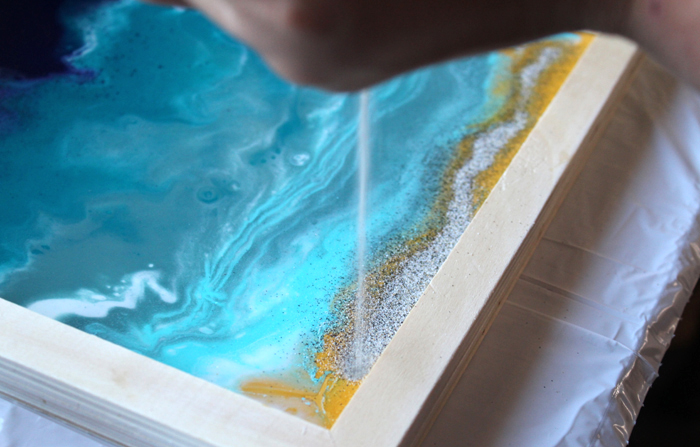
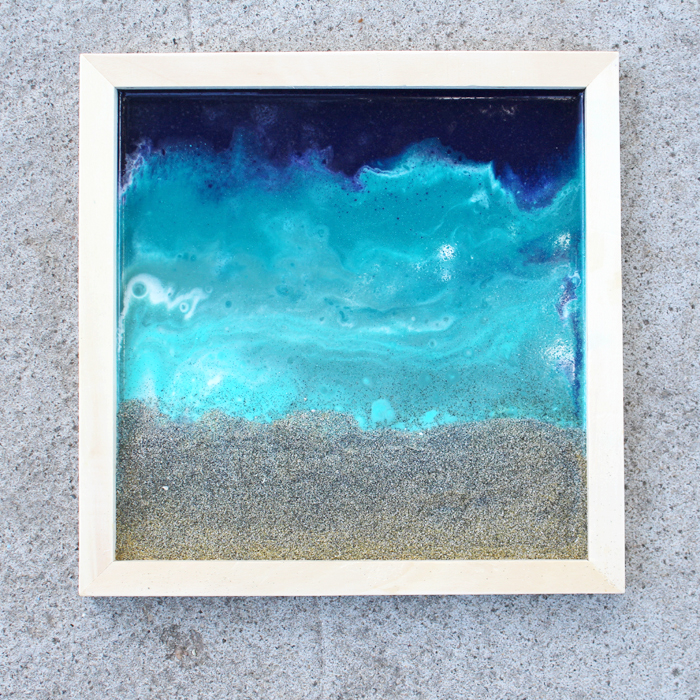
Let the resin dry and cure overnight, cover with a cardboard box to prevent bugs, dust or debris landing on your wet resin project. That’s it! Hang on the wall to remember the fun at the beach.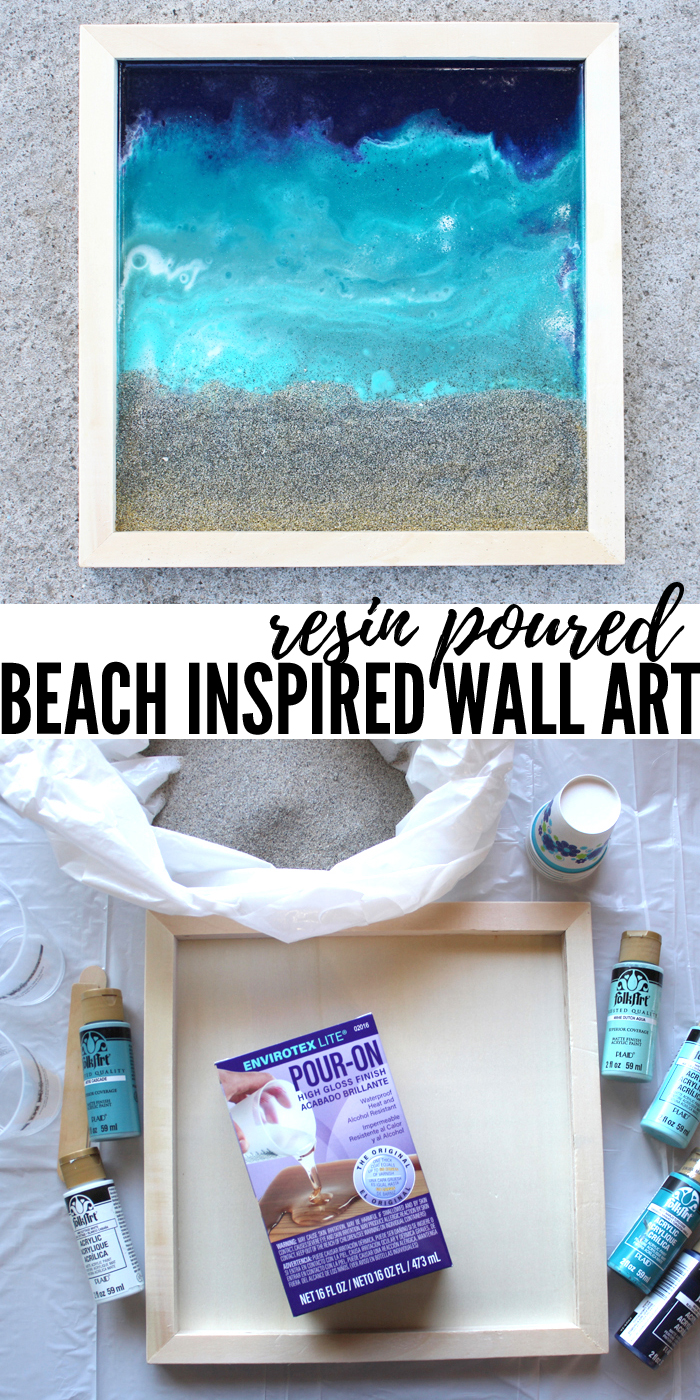
Natalie Shaw is a Craft/DIY blogger at Doodlecraftblog.com. She loves sci-fi, fantasy and video game geekery and that comes out in many of her projects. She posts budget conscious DIY’s, crafts, jewelry, kid friendly projects, upcycled treasures and other fun on her blog 5 days a week.


Beautiful