Wood Slice Resin Pour Ornaments
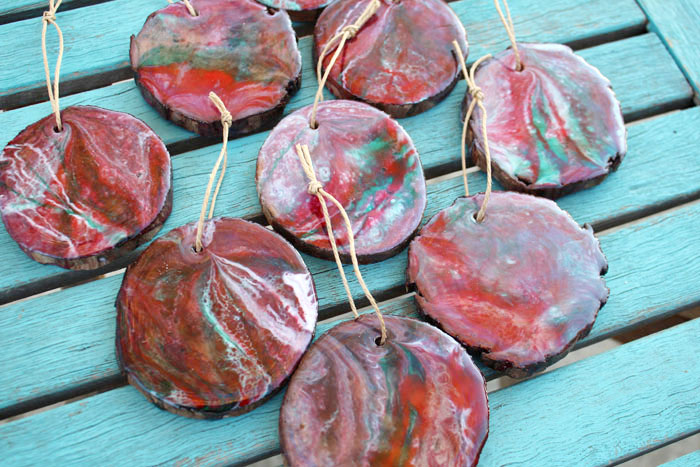
Hi Resin Crafters, it’s Natalie from Doodlecraft sharing an awesome resin poured wood slice tutorial. Wood slice ornaments are perfect to give as neighbor gifts or to deck the tree with matching handmade ornaments. Make stunning wood slice ornaments using high gloss resin and the dirty pour technique. Resin pouring is a highly addictive craft, let’s get started!
Supplies Needed:
- Envirotex Lite Pour-On High Gloss Finish
- Castin Craft Color Pigments
- Alcohol ink Metallic
- Wood Slices (I get mine here)
- Embossing Heat Gun
- Disposable Gloves, Worksurface, Mixing Cups, Stirring Sticks
Step One: Set up
Begin by setting up the disposable work surface. Then place small cups on the table with the wood slices on top of the cups. Put on the disposable gloves and wear during the full process.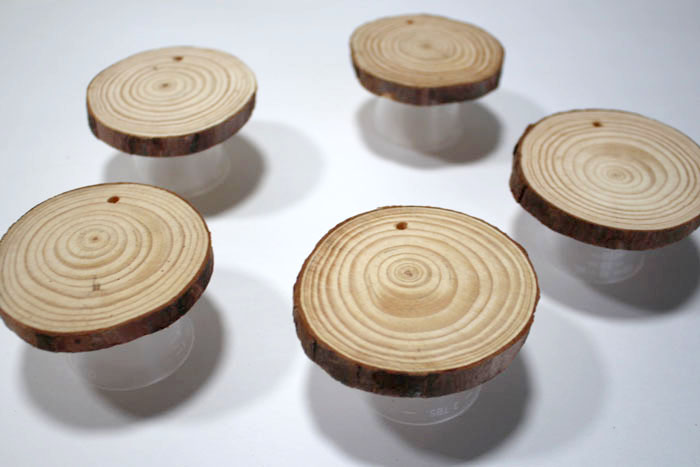
Step 2: Mix up the Resin
Mixing the resin properly is the most crucial part of this process. Be sure to read the directions thoroughly before starting. 
Mix one part resin with one part hardener. I used about 1/2 ounce for each wood slice, but it was a little too much. Then stir the resin together for a full 2 minutes with the stirring stick.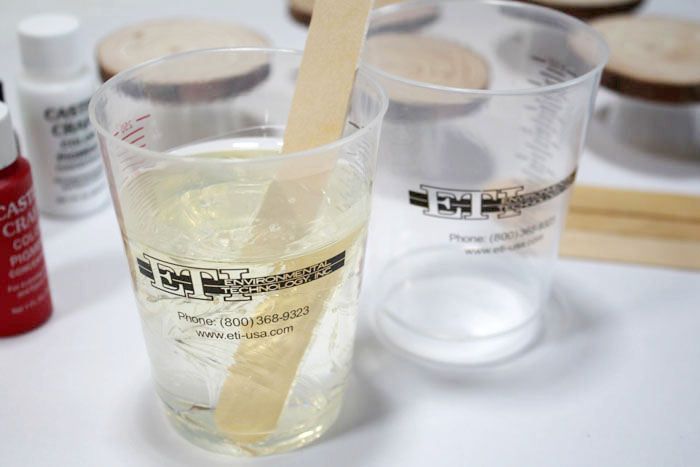
Next pour the resin in a second cup and use a second stirring stick to mix the resin for 1 full minute.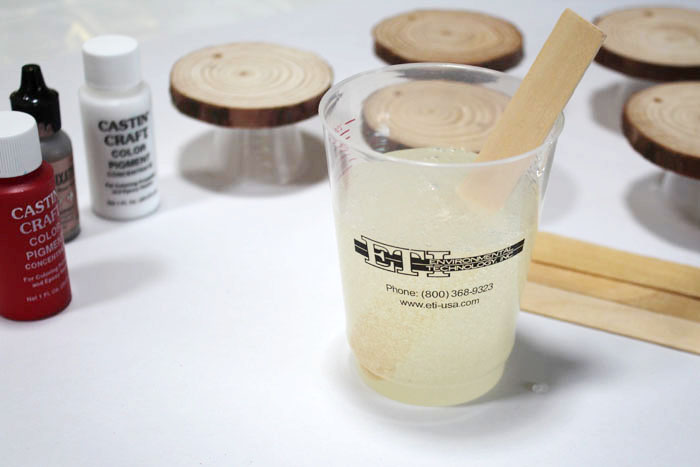
Now pour the resin into small paper cups.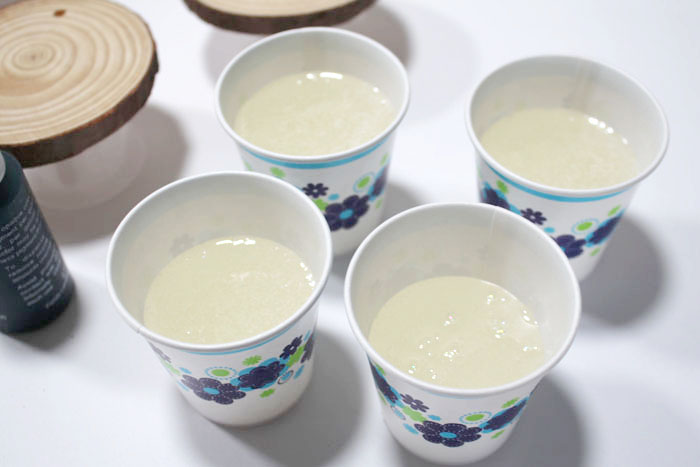
Step 3: Add Color
Then add a squeeze of the pigment and stir it in completely. I used about the size of a pea in each.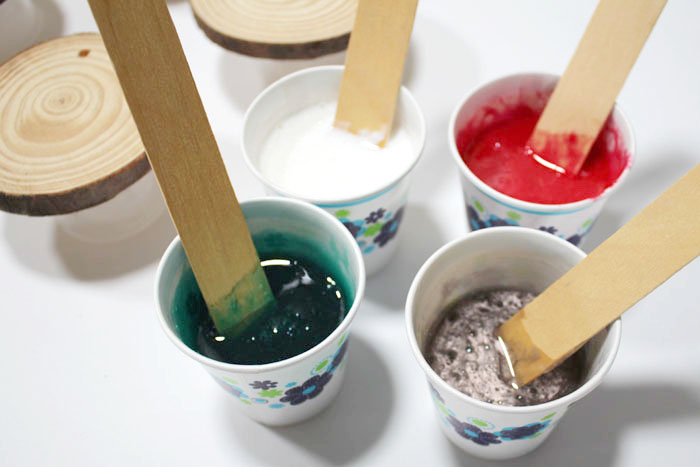
Step 4: Dirty Pour
Now pour the colored resin into one large cup, alternating colors until essentially all the resin is in the cup.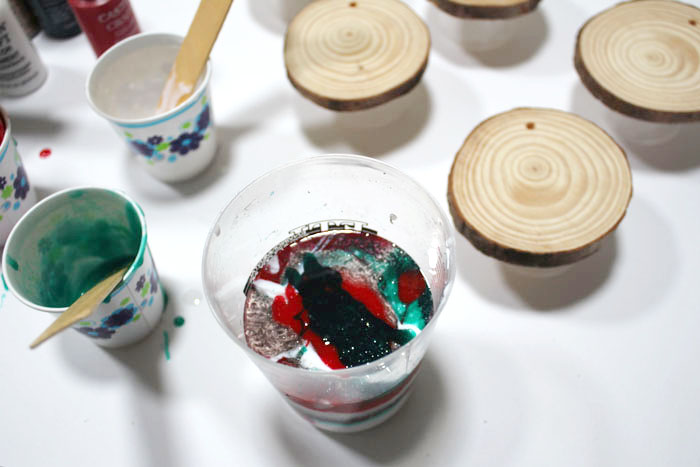
Step 5: Pour!
Now pour the resin onto the wood slice pieces while resting above the table for run off. Then pick up a wood slice and move the resin around all over the top of it by tilting and tipping. Some resin will run off the edges. 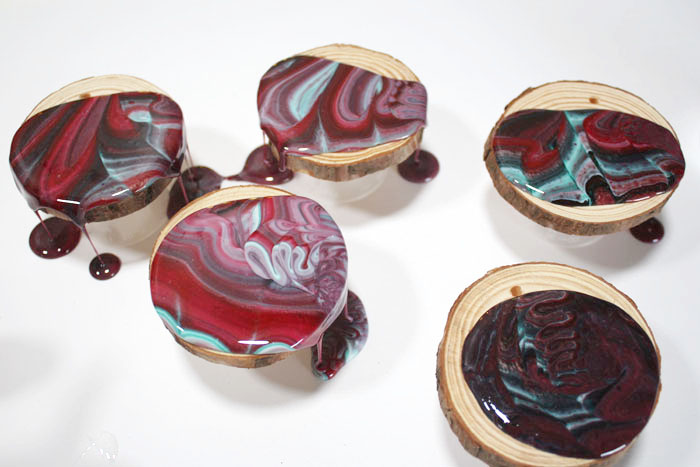
Then use the stirring sticks from the small cups and add any more resin in stripes across the wood slices.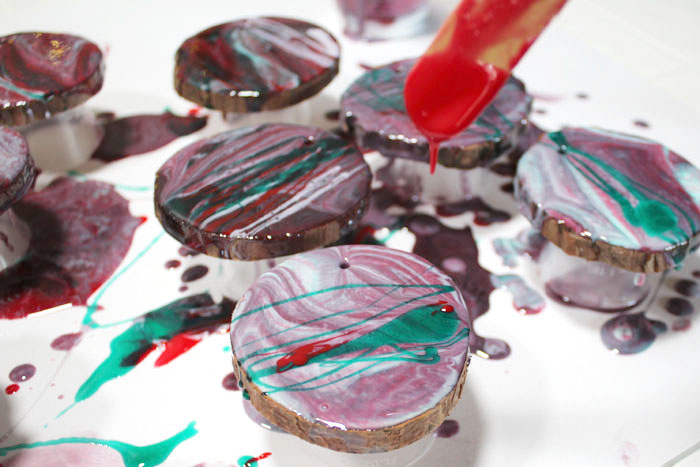
Step 6: Blowing Heat
Now use the embossing heat gun to blow a little heat across the resin. This will spread the resin color out and add cells to the finish. This also pops any of the bubbles that have formed. Do not keep heat in one place too long or the resin will react badly. Just give each wood slice a quick pass or two of heat.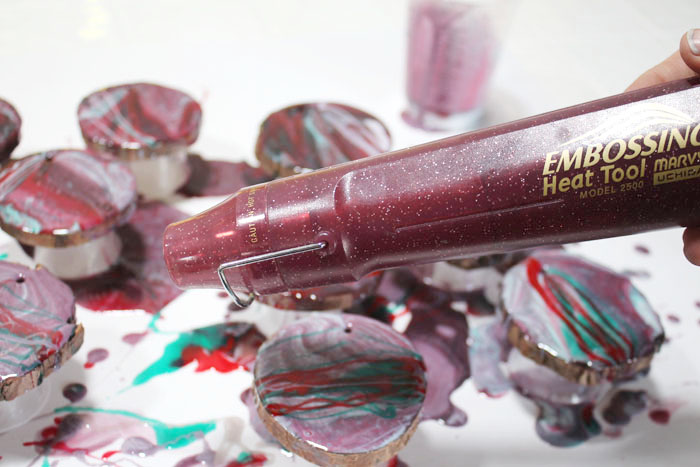
Beautiful disaster!
The amount of run off is a little much. But even the piles of run off are pretty and can be used in other crafts–like this one.
Carefully move the wood slice ornaments on their stands to a clean work surface. Then clean up and discard the mess.
Step 7: Dry Overnight
Let the resin dry and cure for at least 24 hours. Then re-drill the holes that have likely filled with resin. Add some twine and hang them on the tree!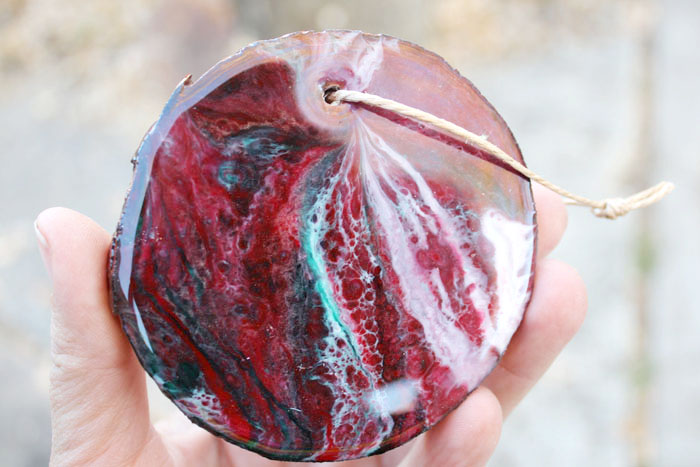
Amazing, right!? Look at the intricate cells and swirls. Dirty pours are my favorite craft and there is no skill level requirement, they are awesome!
Hope you loved this tutorial–like, pin and share!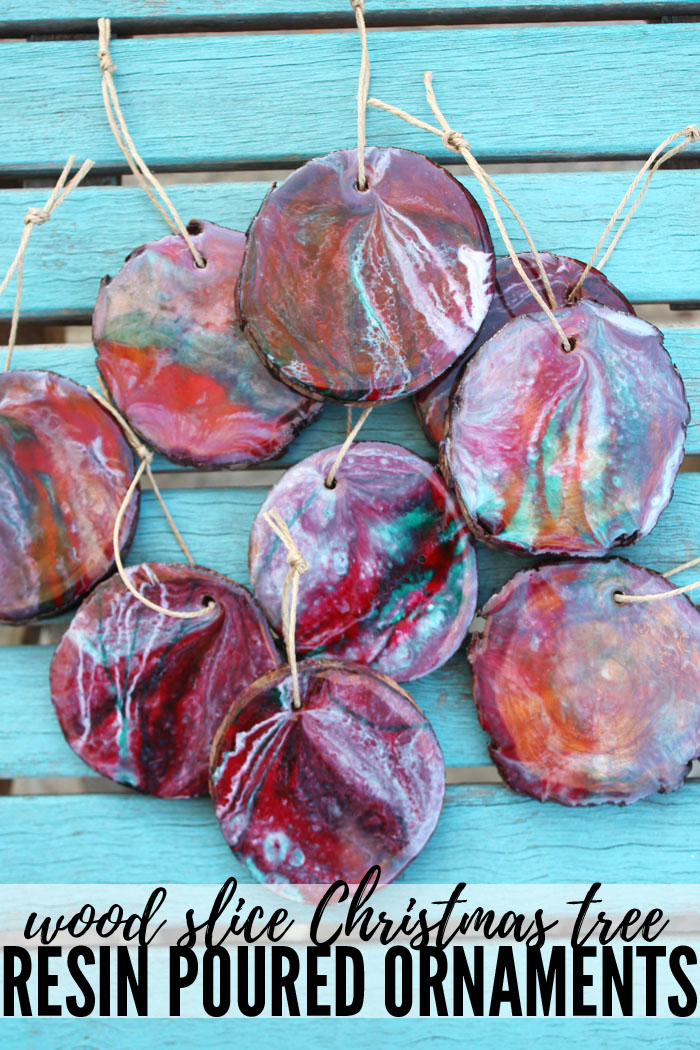
Natalie Shaw is a Craft/DIY blogger at Doodlecraftblog.com. She loves sci-fi, fantasy and video game geekery and that comes out in many of her projects. She posts budget conscious DIY’s, crafts, jewelry, kid friendly projects, upcycled treasures and other fun on her blog 5 days a week.
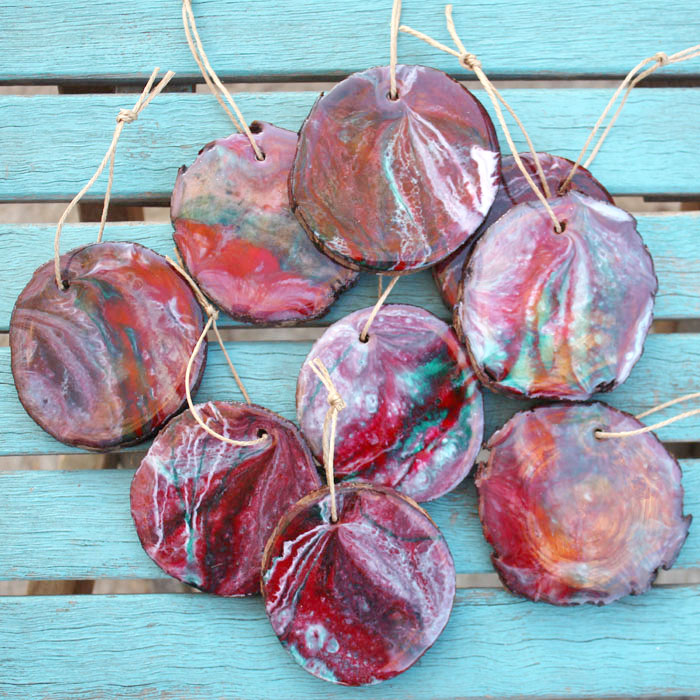


Hi Natalie. Love the ornaments! I do have a question about the wood slices. Do you have to seal them first or do some other type of preparation before pouring the resin. They really look great.
I haven’t done this before and really looking forward to it. Thanks for any help you can give me
Karen
Hi Karen, I didn’t seal the wood slices with anything before pouring the resin on them. I like projects with little or no preparation! 🙂