Make a Resin Pendant from Dirty Pour Paint Skins
Hi Resin Crafters, it’s Natalie from Doodlecraft with an awesome resin pendant craft. Dirty Pour, Acrylic Pouring, Flo Painting, Paint Pouring, Marbling, or just Pour painting are all names for the same painting craze. It involves thinning paint, adding a couple drops of silicone lubricant, layering it in a cup and pouring all over a canvas, tray or other object. It drips all down the sides and has amazing patterns of layered paint.
The canvas is amazing…but the plastic the paint drips on is miraculous as well. Let’s upcycle some of those paint skins into another work of art…the resin pendant.
Supplies needed:
Paint Pour Skin (dried paint)
Pendant Bezel/Chain
E6000 Glue
Disposable paintbrush
Disposable worksurface, gloves, mixing cups and stirring sticks.
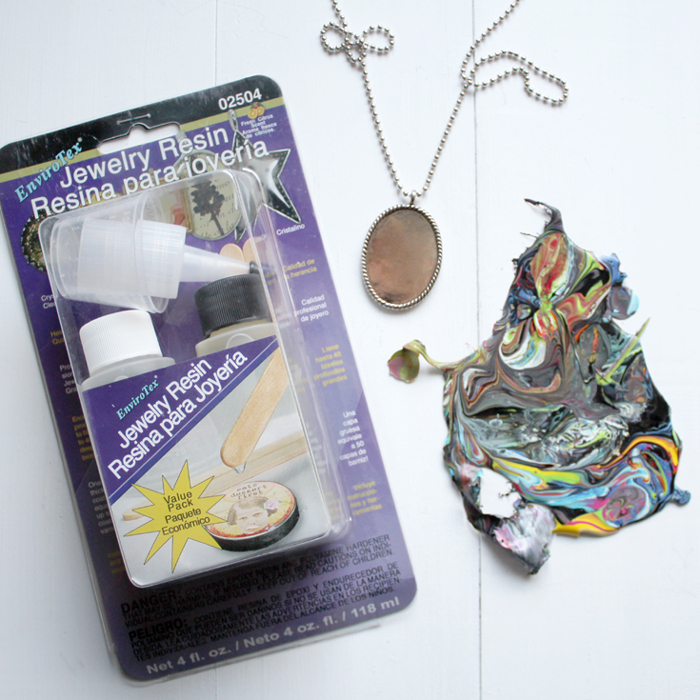
Begin by looking at the paint skin. There are uniquely amazing parts of the dried paint. Pick the part you would like to transform into a resin pendant.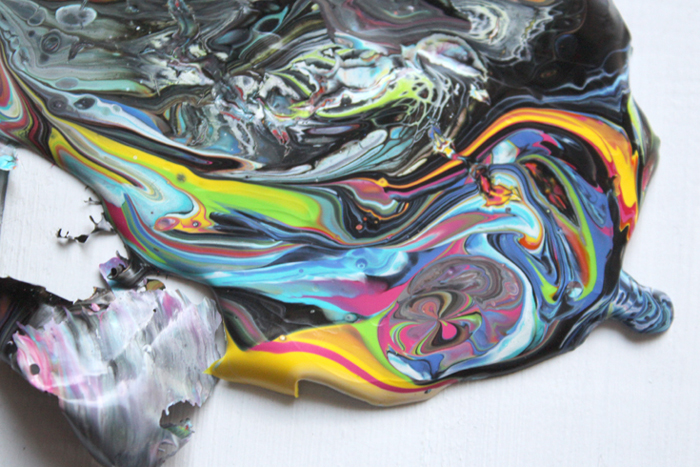
Use scissors and some scrap paper to cut the shape of the inside of the bezel, use this scrap for a pattern.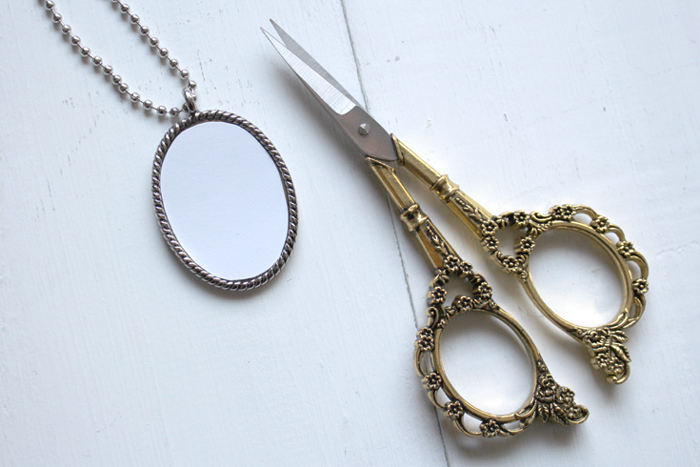
Now place the cut paper on the paint skin and cut around it carefully. This paint skin should now fit inside the pendant bezel.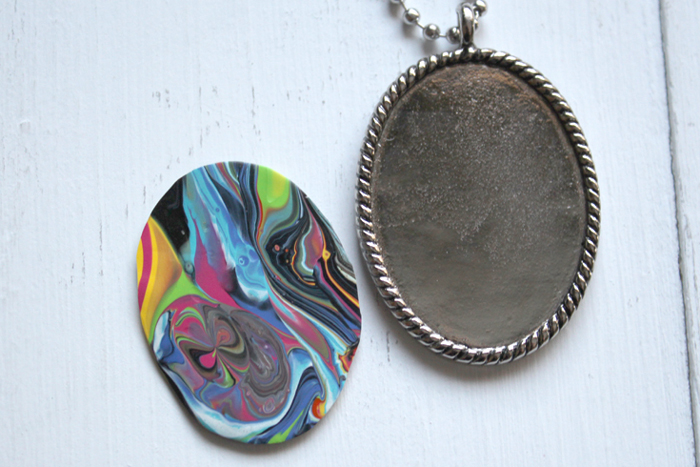
Next spread some E6000 glue inside the bezel and place the paint skin on top. 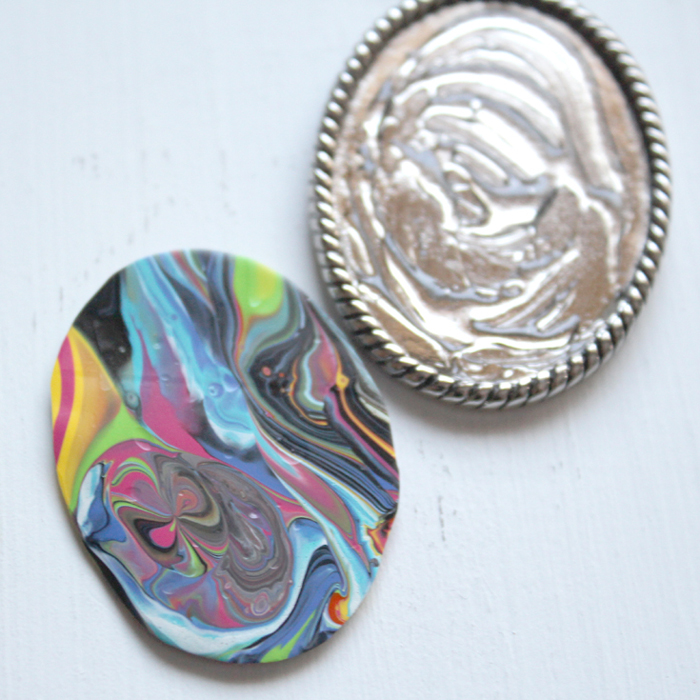
Now allow the glue to dry for about 4 hours before continuing on to the next step.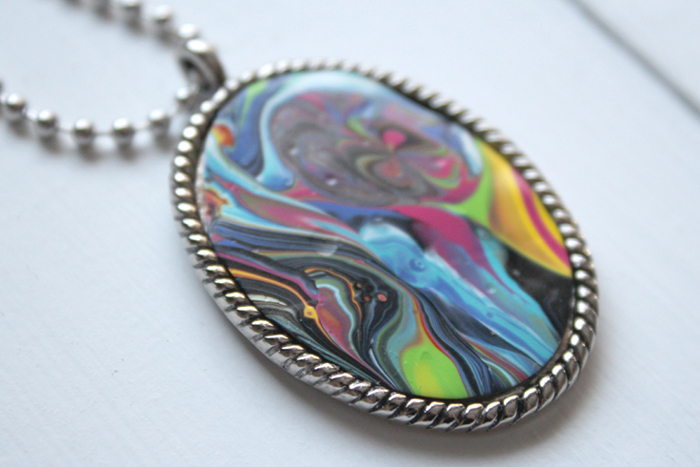
Now that the glue is set, it is time to add some shiny jewelry resin on the top. Read the directions for the resin especially thoroughly. Now set out the 2 small mixing cups, and 2 stirring sticks.
Begin by mixing one part resin and one part hardener together for 2 minutes. Then pour resin into the second cup and use the second stick to stir it for 1 more minute. You will only need a small amount of mixed resin.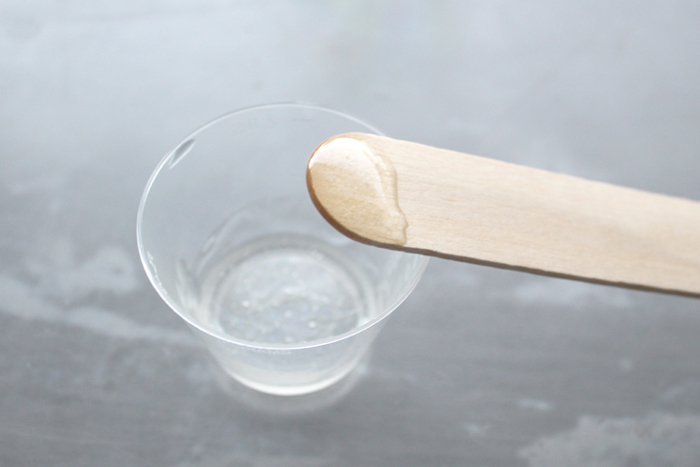
Now carefully pour the resin in the center of the pendant.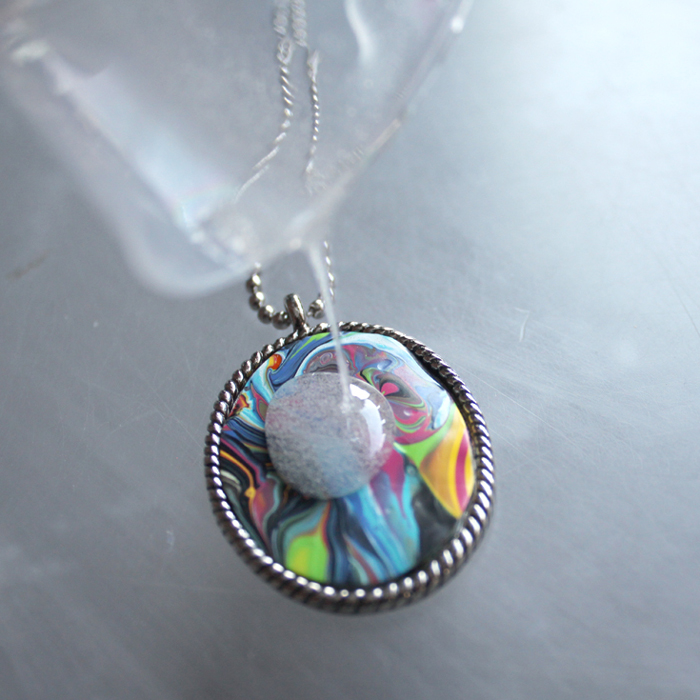
First, set it on some stirring sticks or cardboard to keep the pendant base level. Then use the paintbrush to gently push the resin to all the edges of the bezel. Finally let the resin dry and cure overnight.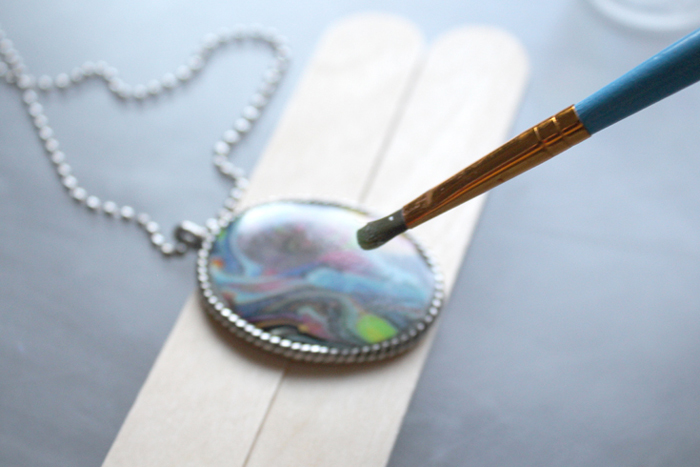
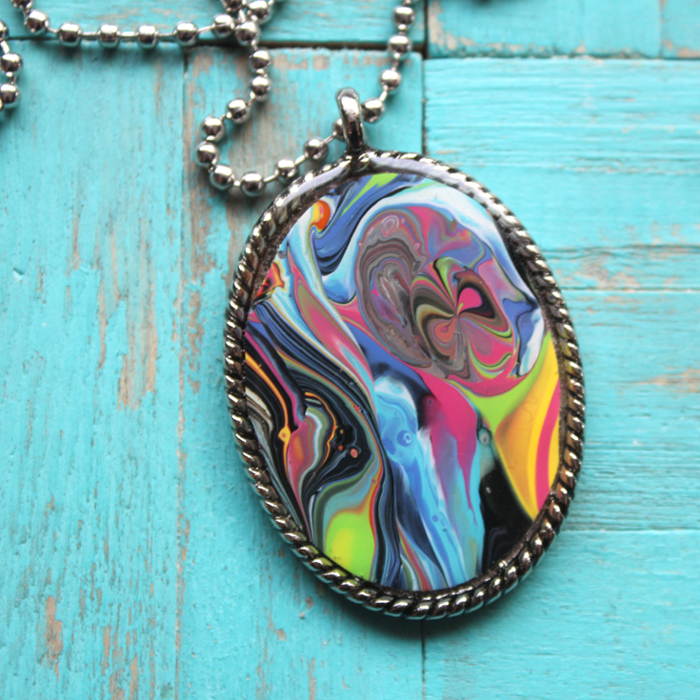
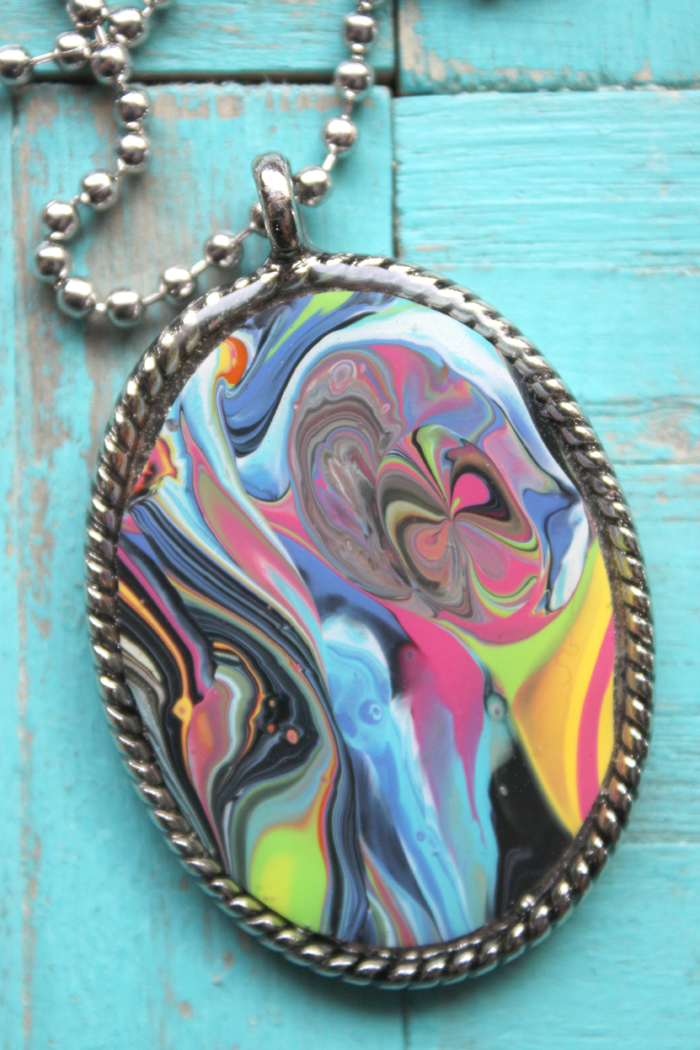
Once the resin is cured, it is ready to wear. This is such a remarkable piece and a fun fashion statement! It’s a great way to upcycle paint skins that would just end up in the garbage.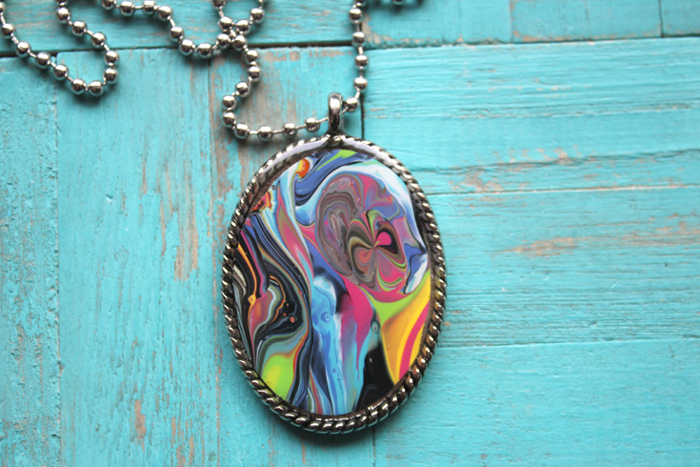
The resin elevates the sophistication of this handmade craft and gives it all a glossy, polished and smooth finish. 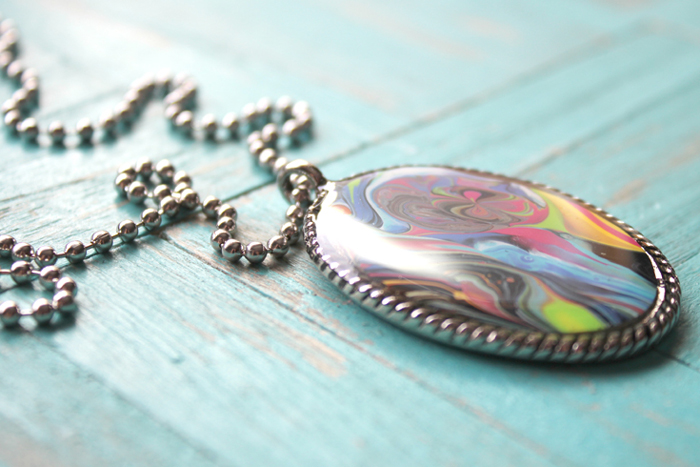
Makes an especially great handmade gift too. Don’t forget to pin, save and share!
Natalie Shaw is a Craft/DIY blogger at Doodlecraftblog.com. She loves sci-fi, fantasy and video game geekery and that comes out in many of her projects. She posts budget conscious DIY’s, crafts, jewelry, kid friendly projects, upcycled treasures and other fun on her blog 5 days a week.


hi can you put paint skins into resin
Yes, that would work beautifully!