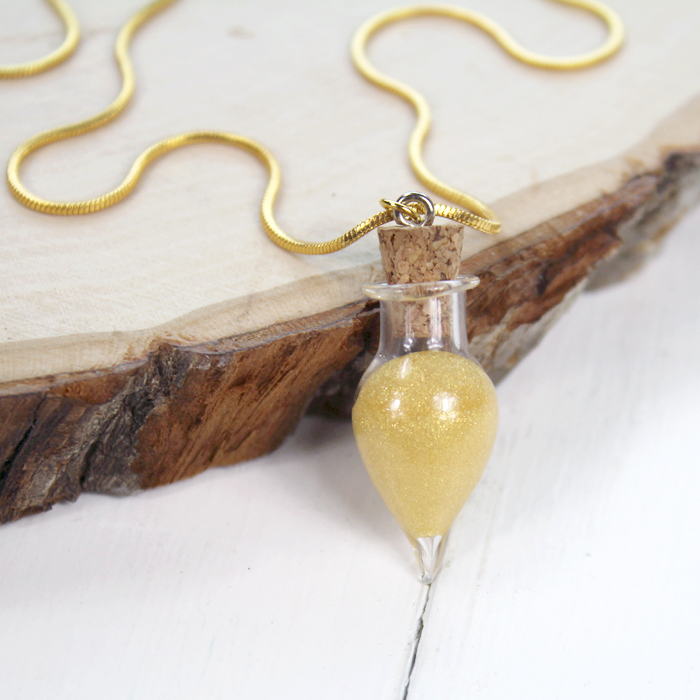
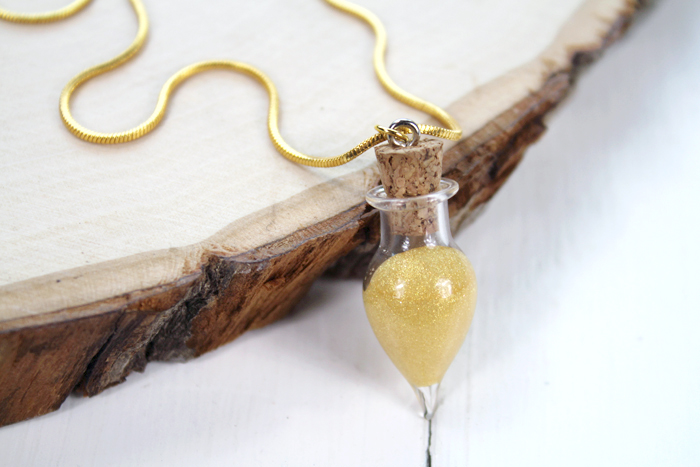
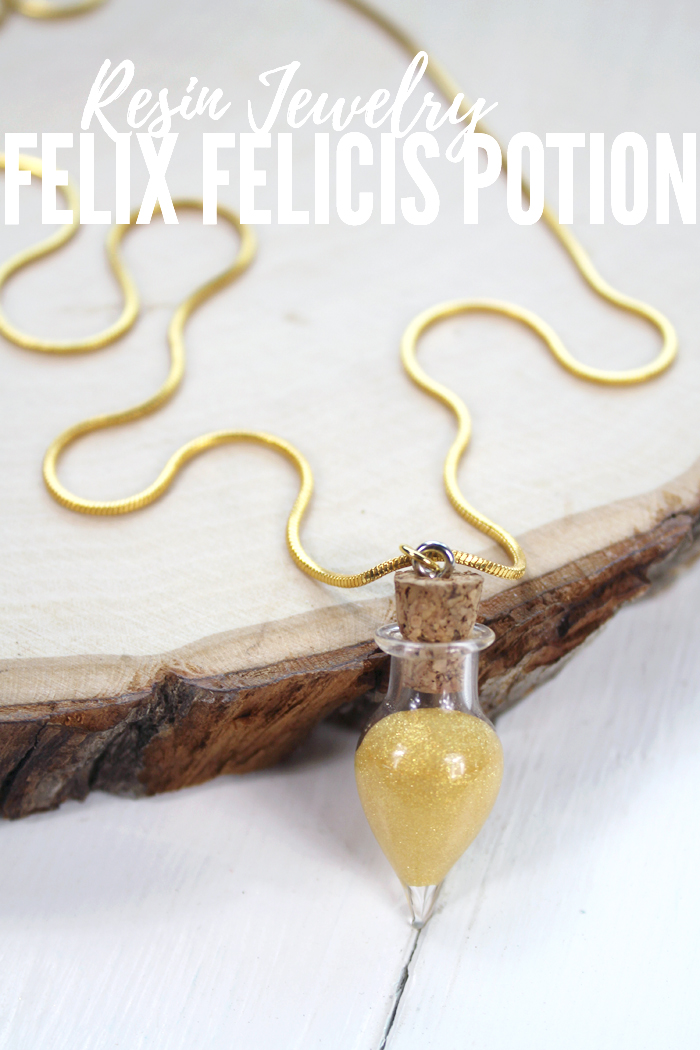
Liquid Luck Necklace Made with Resin
Hi Resin Crafters, it’s Natalie at Doodlecraft sharing a fandom craft. Make liquid luck to wear around your neck. Are you a fan of Harry Potter like me? I love the books, the movies and all the merch! Use Jewelry Resin to make a Felix Felicis Liquid Luck vial necklace to wear and showcase your true devotion to the Wizarding World.

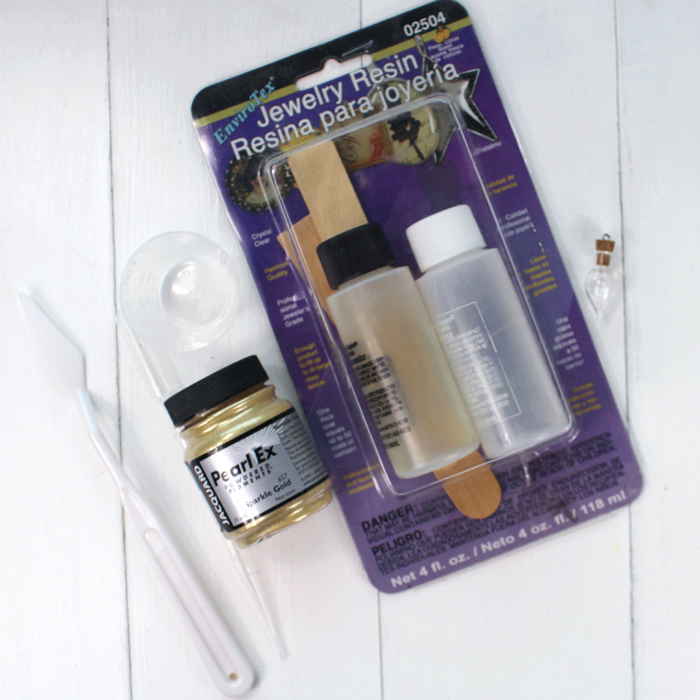
Supplies Needed for Liquid Luck:
- EnviroTex Jewelry Resin
- Mica Powder in Gold
- Pipette
- Glass Tear-drop Vial
- Mixing Cups, Stirring sticks, gloves
- Chain, Jump Ring and Jewelry Pliers
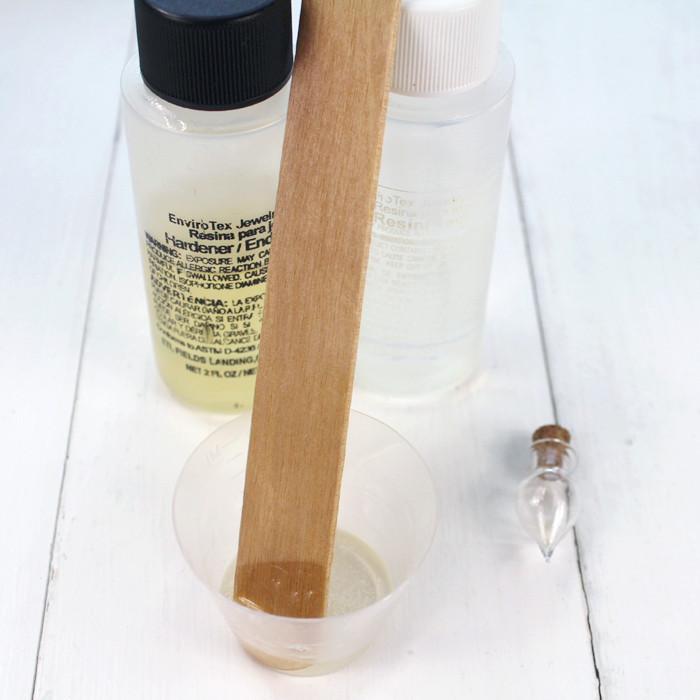
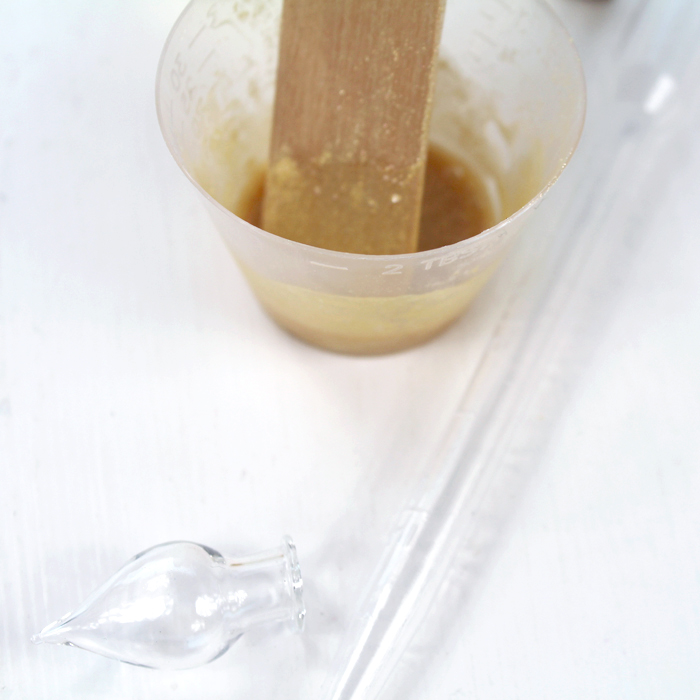
Step 1: Mixing Jewelry Resin
Begin by reading the directions for properly mixing resin. Usually if a resin project does not turn out, it’s probably due to mixing improperly. Pour equal amounts of the resin and the hardener into a cup and stir gently for 2 full minutes. Then pour the resin into a second cup and mix with a second stirring stick for another full minute.
Step 2: Mix in the Mica Powder
After mixing the resin in the full 2 phase process, add a little bit of the gold Mica Powder and gently stir it into the resin.
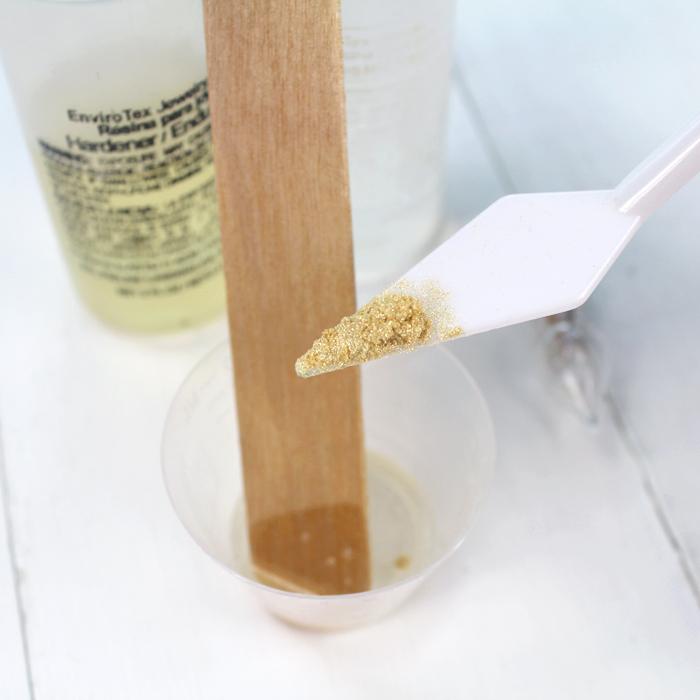
Stir slowly to avoid adding extra bubbles into the resin.
Step 3: Fill the Vial
Now use the pipette to transfer the gold resin into the tear-drop glass vial.
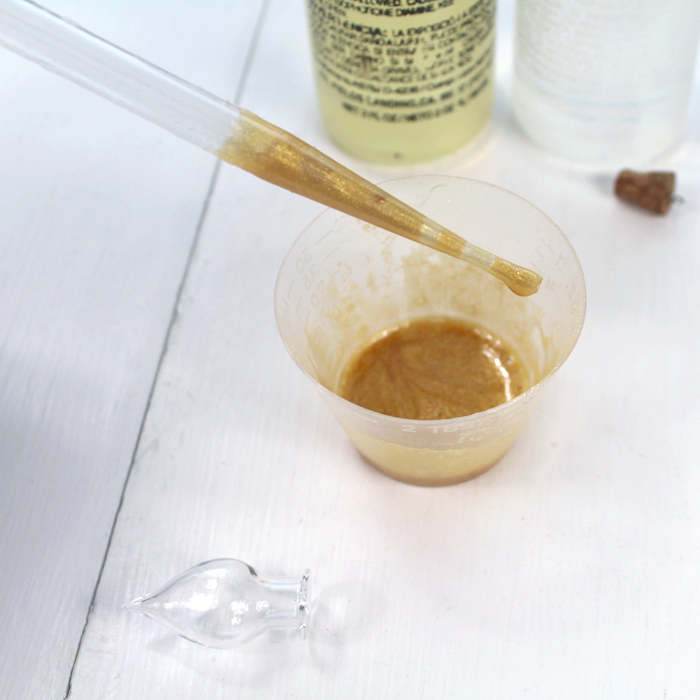
Squeeze out the pipette slowly to fill the vial without bubbles.
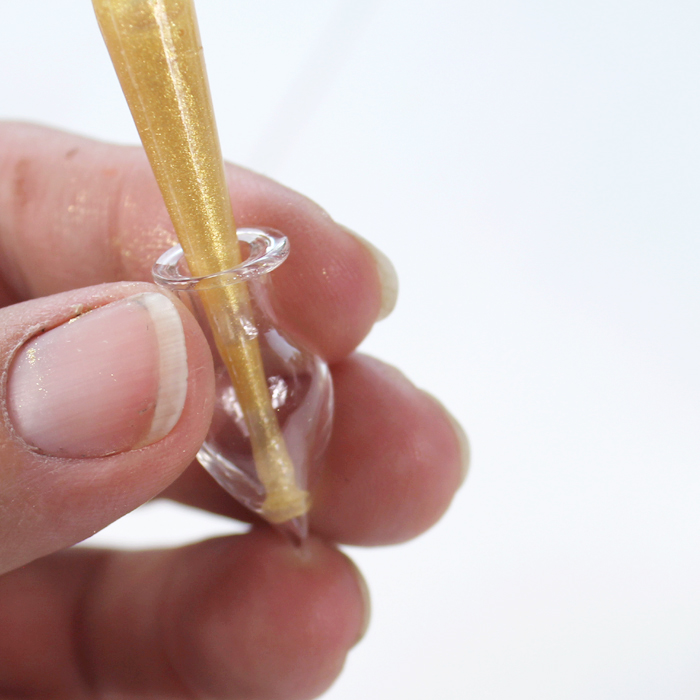
Fill up the glass vial as much as you want, leaving room for the little cork on top.
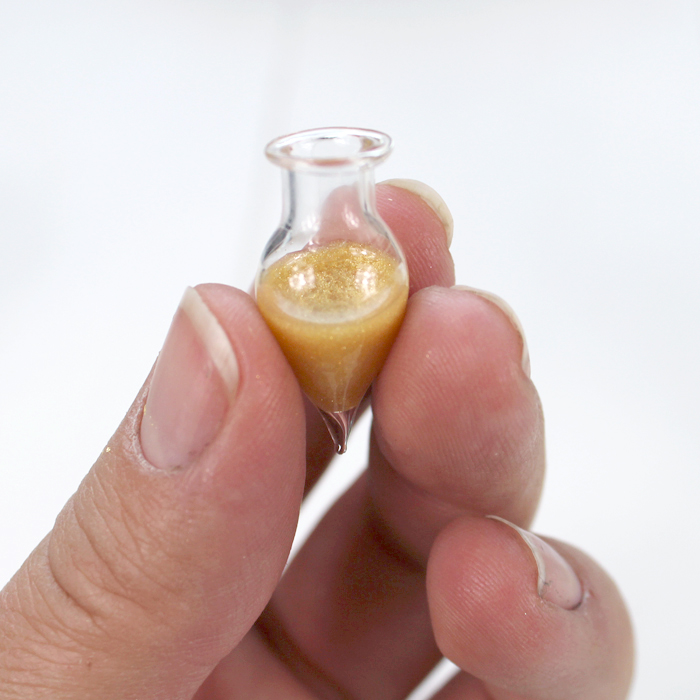
Set the vial into a piece of pierced cardboard to keep the glass straight up during the drying process. Then let it dry and cure overnight.

Step 4: Add the Chain
Once the resin has cured, place the cork back inside the vial. Then use a jump ring to attach the vial to a chain using jewelry pliers.

That’s it! Now you have a necklace that is envious of every member of the quidditch team, every wizard or witch taking their OWLS or any muggle that loves all things Harry Potter! This would make a great handmade gift too.
Do you love Harry Potter? Which Hogwarts house would you be in? I’m a Ravenclaw!
Natalie Shaw is a Craft/DIY blogger at Doodlecraftblog.com. She loves sci-fi, fantasy and video game geekery and that comes out in many of her projects. She posts budget conscious DIY’s, crafts, jewelry, kid friendly projects, upcycled treasures and other fun on her blog 5 days a week.


Leave a Reply