Use ETI’s Castin’ Craft Clear Polyester Casting Resin to create a crystal clear finish for embedded objects in an acrylic tray.
Hey Resin Crafters! Amber Oliver here with another great resin craft. This time around I was inspired to try something new – Polyester Casting Resin! I’d never tried this type of resin before and to be honest I was a bit intimidated! It’s not as simple as the 1:1 ratios of ETI EasyCast Clear Casting Epoxy or Envirotex Lite and requires a little bit of math. I KNOW RIGHT!? UGH! But I promise this little bit of extra work is worth it for the crystal clear, bubble-free finish you’ll get!!
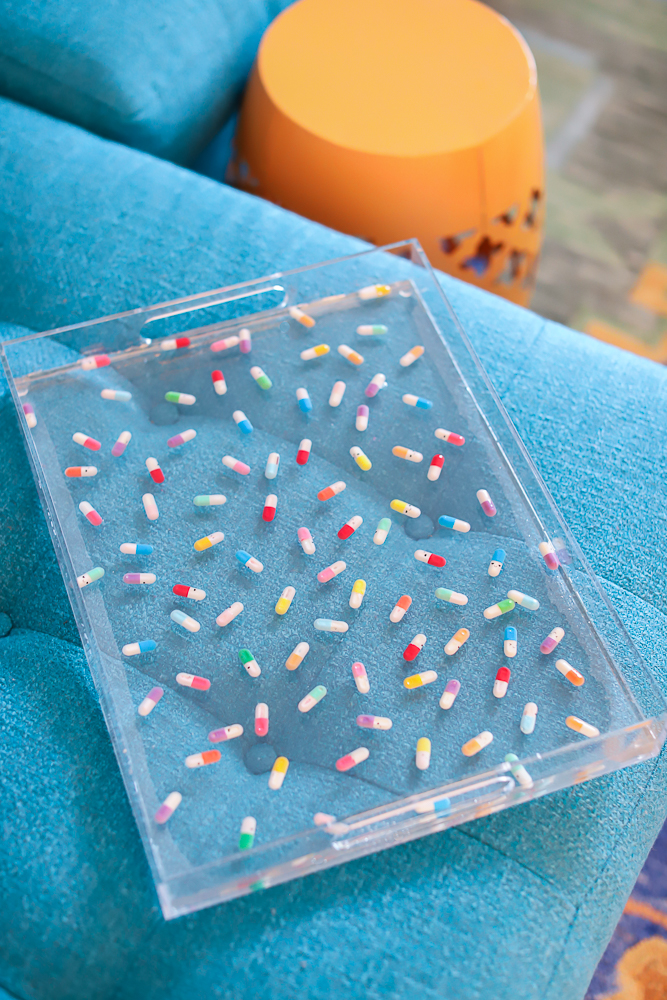
Not only does Polyester Casting Resin cure to a hard, super clear finish but it’s PERFECT for embedding and encasing objects. I think it’s important to note those words used “embed” and “encase”. Instead of thinking about mixing in objects in the resin like glitter or acetate paper like I used on these resin confetti earrings, think about the polyester resin coming around your object to suspend them.

This little shift in thinking will help you approach the project and do it properly. I made a few mistakes on my tray that I hope you can learn from!
SUPPLIES NEEDED FOR ACRYLIC TRAY WITH POLYESTER RESIN
- 40 oz of Castin’ Craft Clear Polyester Casting Resin
- Acrylic Tray (12 x 16)
- Faux Pills
- Mixing Cups
- Stir Sticks
Step 1: The first thing you need to know is this stuff is STINKY! Work in a well ventilated area and wear proper PPE.
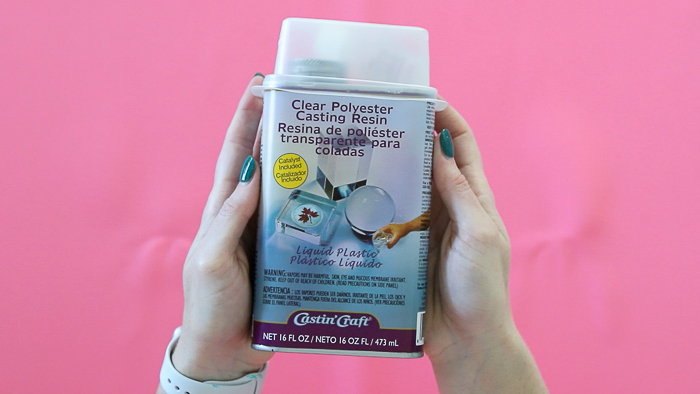
Step 2: Measure your mold or the object you are going to fill. For my acrylic tray, I wanted to fill the bottom 1/4 inch so the faux pills would be completely covered.
Step 3: To figure out how much polyester resin I would need, I poured water in my tray then poured that water into a measuring cup to figure out I need 40 oz to fill my tray 1/4 inch thick.
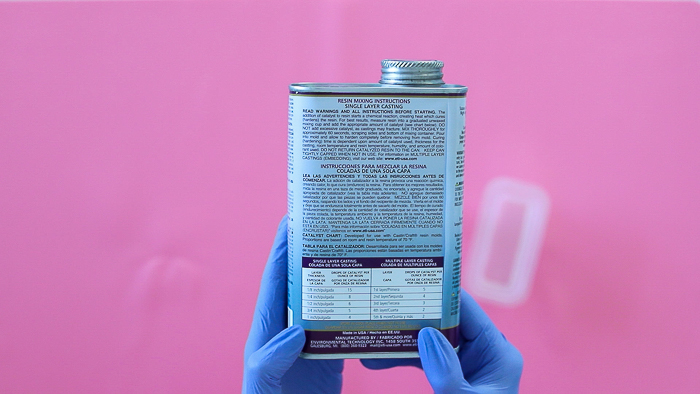
Step 4: Here’s where the math comes in! Once you know the layer thickness, you’ll know how many drops of catalyst you’ll need PER OUNCE OF RESIN you’ll be using. Since I wanted 1/4 inch thick, I needed 8 drops per ounce. 8 drops for each of my 40 ounces meant I’d have to add 320 drops of catalyst!
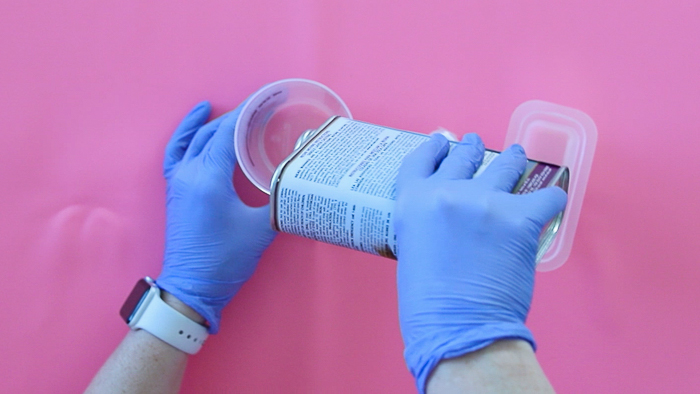
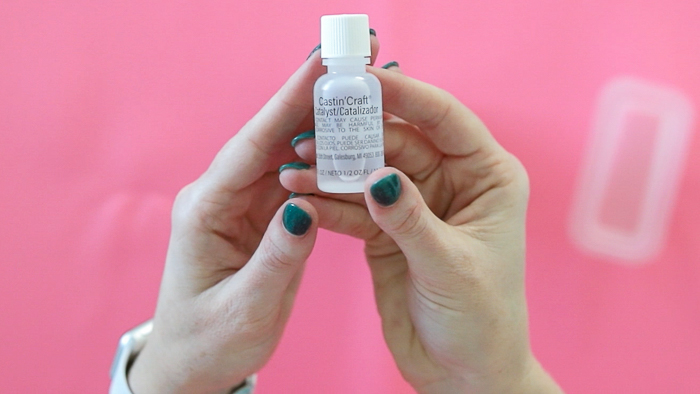
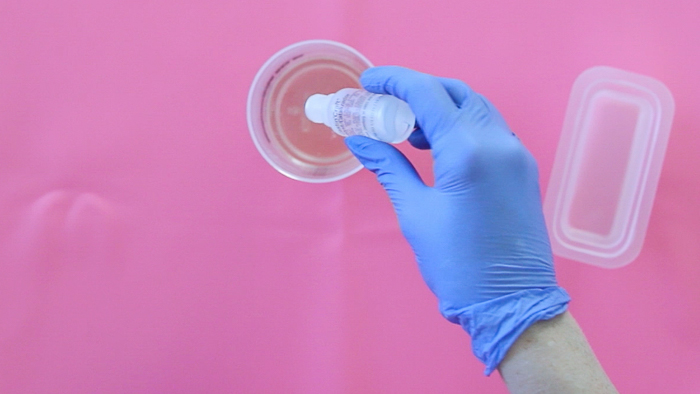
Step 4: When your resin is ready, you need to stir for one minute. Make sure you mix thoroughly and scrape along the sides and the bottom of your mixing cup or cups! I ended up having to use multiple cups since I didn’t have a large enough one to do it all together!
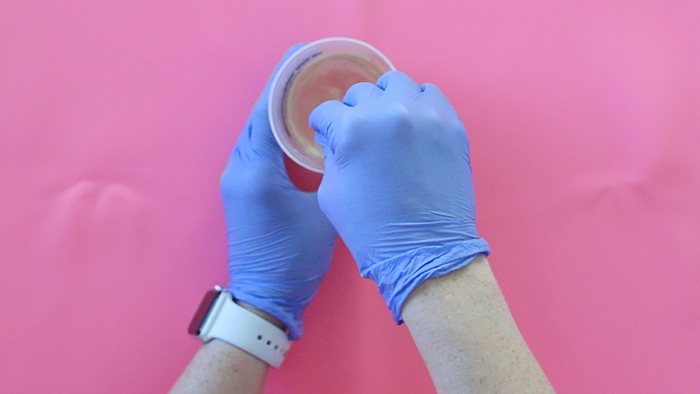
Step 5: After mixing the resin and catalyst, go ahead and pour into your mold or container. Now it’s time to allow the polyester resin to “gel”. This will happen in about 15 minutes. I recommend staying close and continually checking on it! Poke the surface with a stir stick and you should notice it turns from liquid to a kind of firm Jell-o consistency.
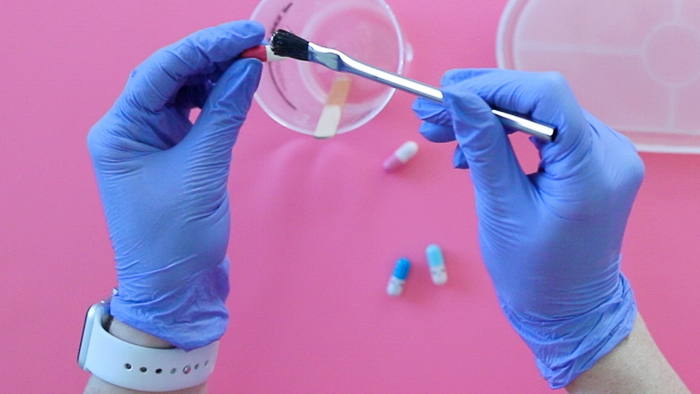
Step 6: Now you can embed your object or objects! I recommend coating them with a little of the extra resin from your mixing cup before embedding.
This is where I could have done my project differently. I went ahead and mixed up all that resin and poured it in at once. I allowed it to sit for about 15 minutes so it’d “gel” a bit and then added in my faux pills. The problem I ran into was my items were too light – they kept floating up!
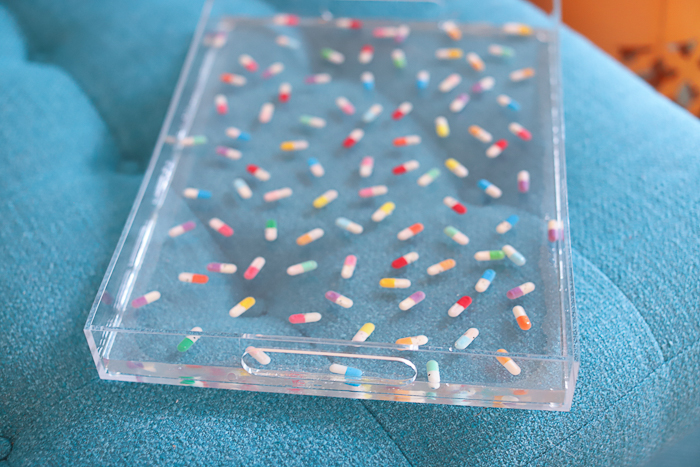
Next time, I’d mix up half the resin, embed the pills, then add a second layer to cover! Because of how I did it, I ended up getting my layer of resin all the way up to the handles on the sides of the tray – leaving no extra room! I’d planned to add vinyl words and cover/protect them with a layer of resin but there was no room left.
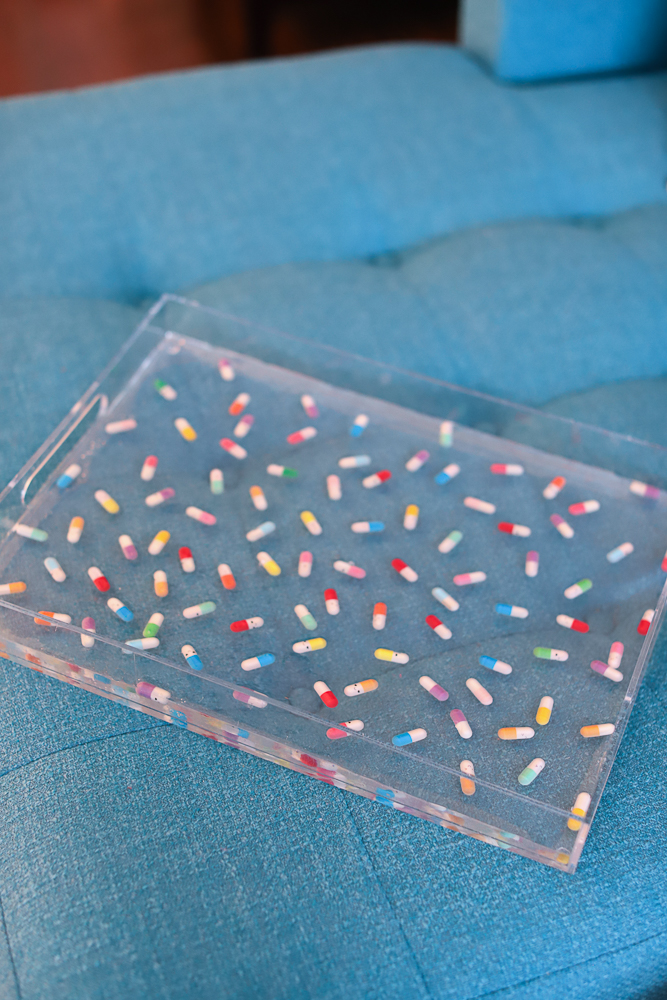
I hope this project inspires you to try polyester casting \resin! It may seem a bit intimidating at first, but if you start with a small project and non-sentimental items, you should gain the confidence to move on to complete even bigger projects!
Amber Oliver is a DIY and lifestyle blogger who shares easy DIY tutorials, colorful crafts, and more on her blog, Amber Oliver. She’s a native Oklahoman living “in the loop” in Houston, TX with her husband and dog. She’s an avid reader, world traveler, loves Tex Mex food, and creating everything from woodworking projects to websites. She focuses on budget friendly projects for the home and empowering women to try new things.


Leave a Reply