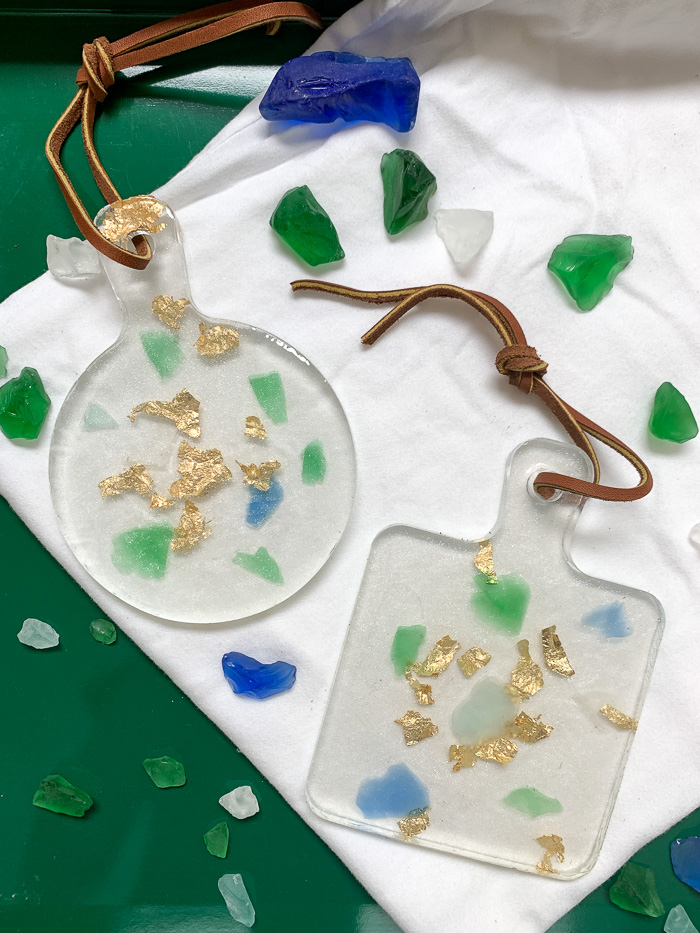
Some of the best vacation souvenirs are those you find during your adventures. Sea glass is a perfect example! Whether you’re at the ocean, a lake, or even just a souvenir store, a sea glass collection can bring back wonderful memories. Take your mementos to the next level and use them to make a beautiful sea glass and gold leaf resin trinket tray with ETI Castin’ Craft Clear Polyester Casting Resin.
Hi, Resin Crafters, it’s Bre from Average But Inspired, and I am going to show you exactly how you can make a resin trinket tray with sea glass and gold leaf flakes. You’ll love this creative way of preserving your vacation memories!
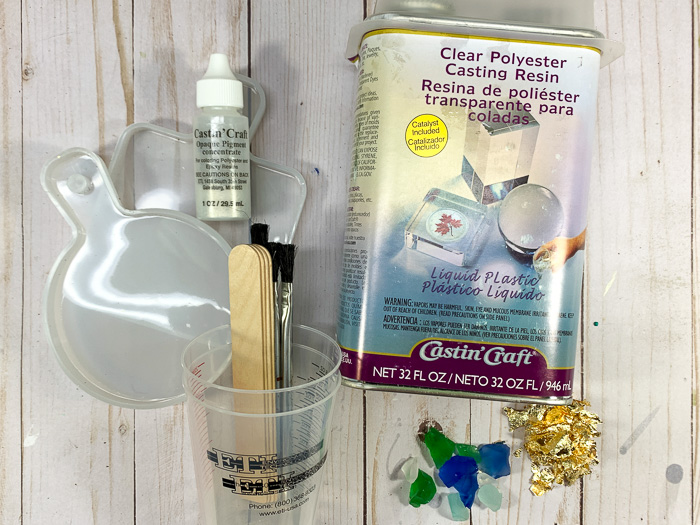
Resin Trinket Tray Supplies
These are the supplies used to make this project exactly as shown in this post.
- ETI Castin’ Craft Clear Polyester Casting Resin
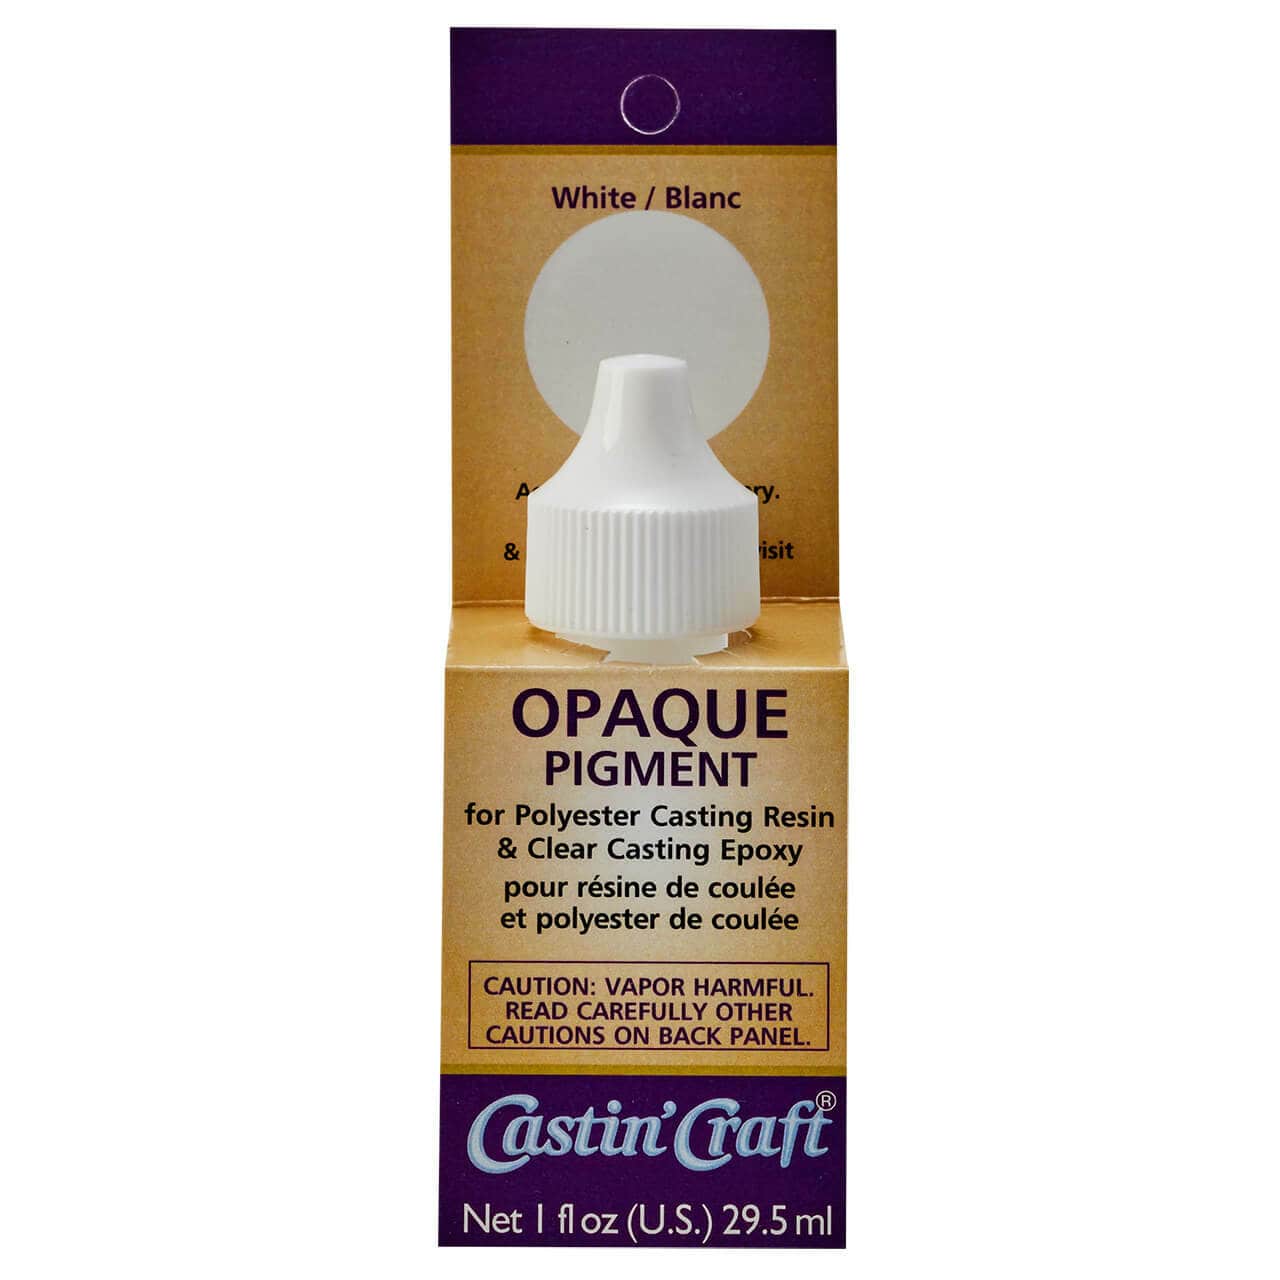
- ETI Pearl/Opalescent Castin’ Craft Opaque Pigment
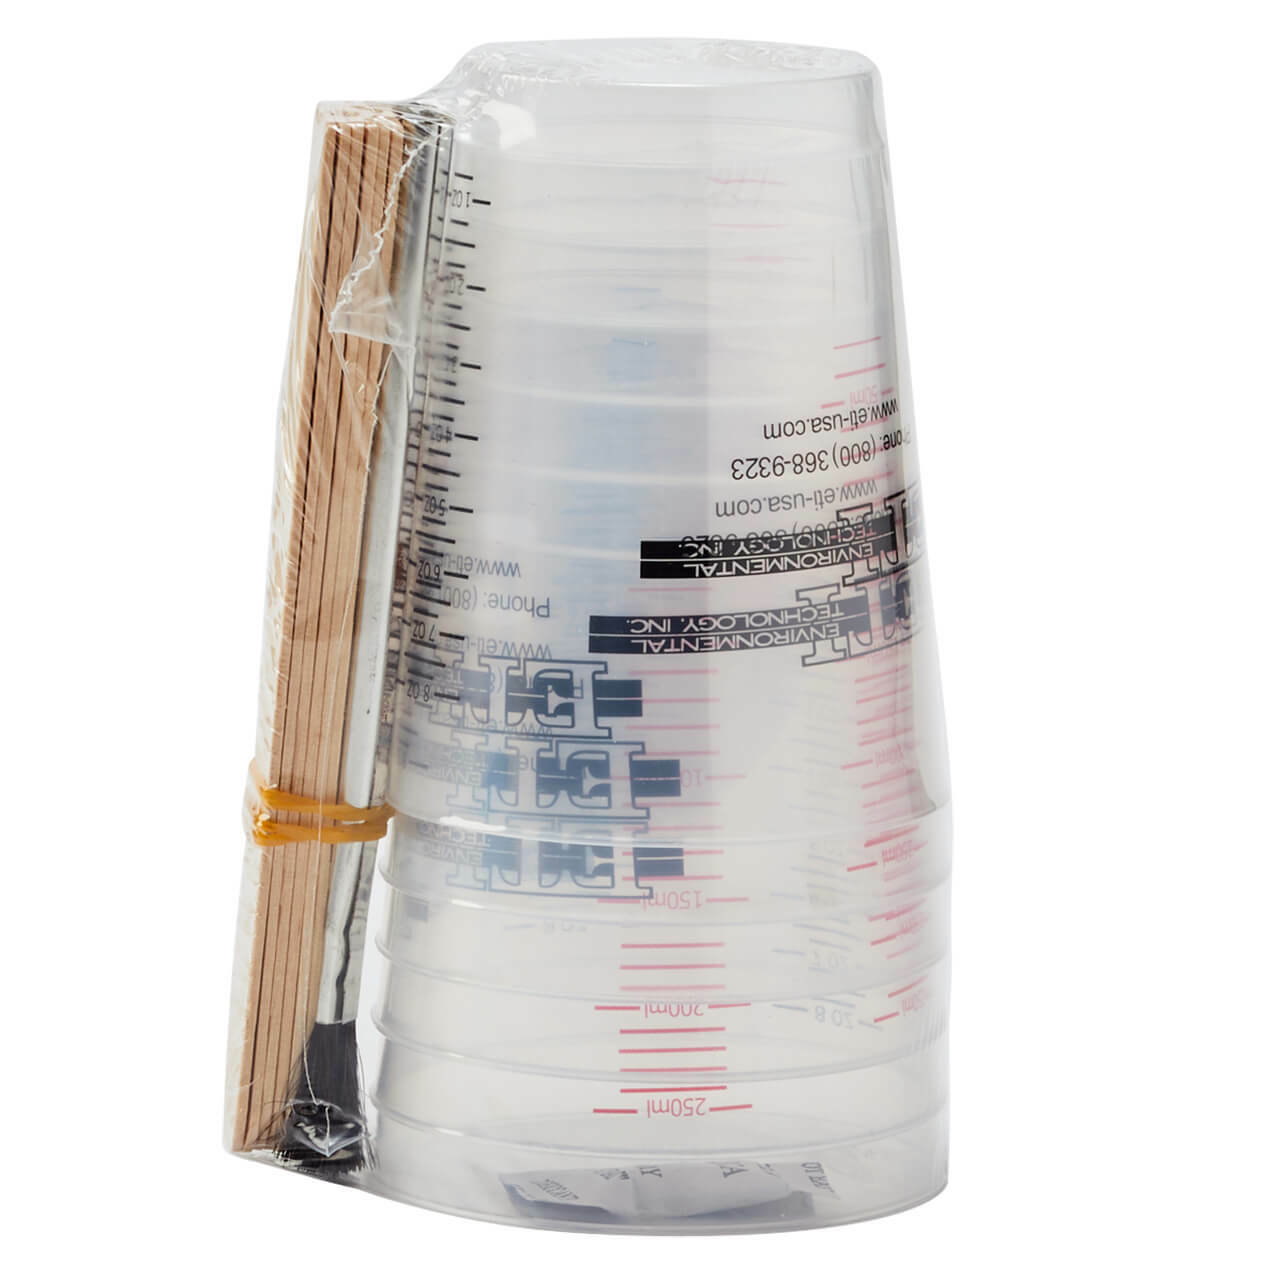
- ETI Mixing Cup Set
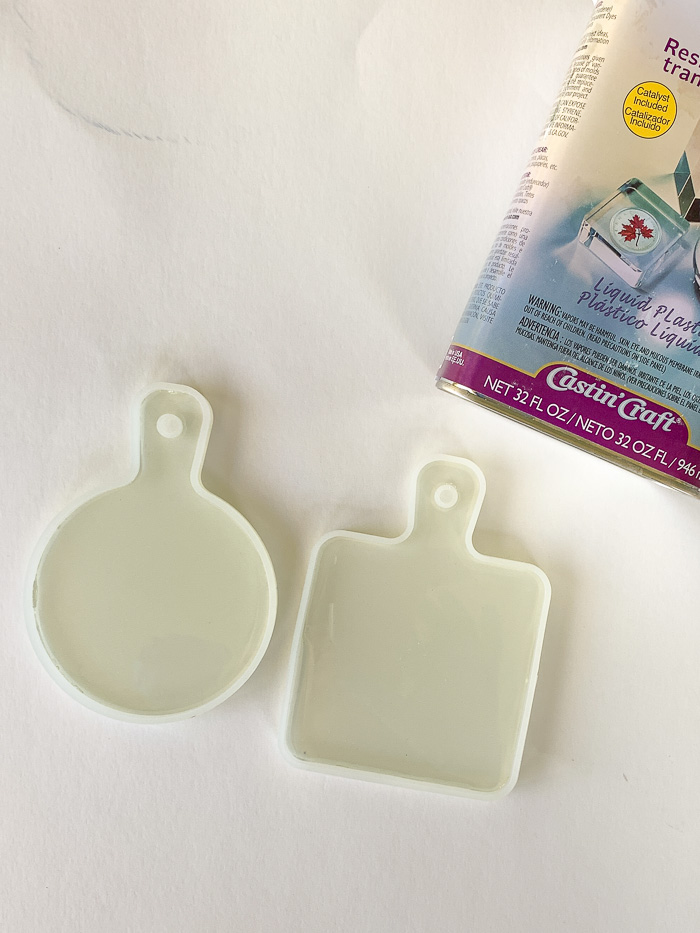
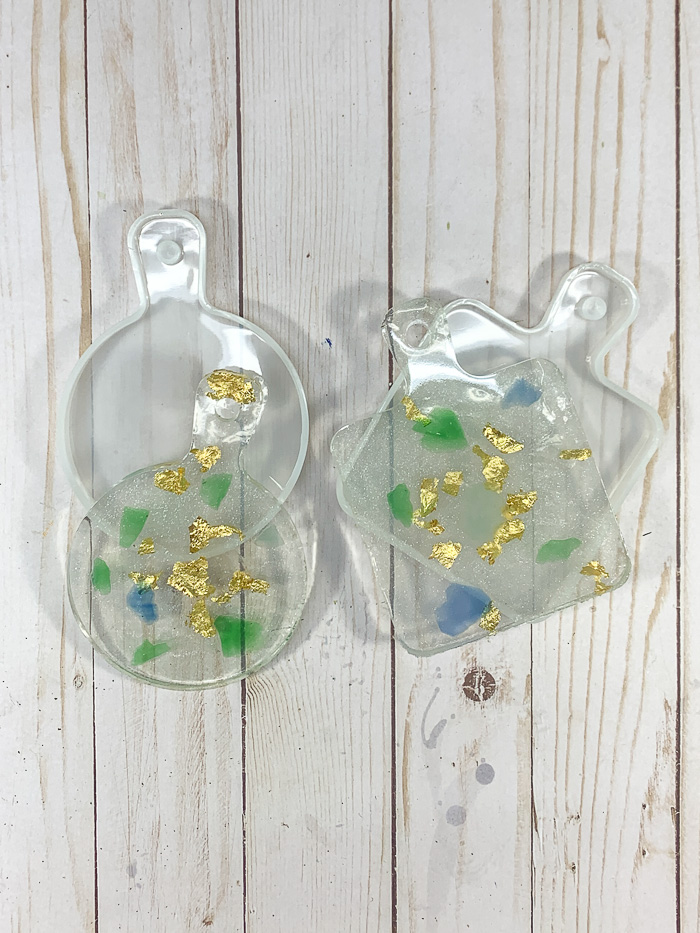
- Trinket tray silicone molds
- Sea glass (note: if you don’t have sea glass available from a vacation, you can purchase it at craft stores)
- Gold leaf flakes
- Leather cording
- Tweezers
- Toothpicks
- Disposable gloves, work surface covering, protective eyewear
How to Make a Sea Glass and Gold Leaf Resin Trinket Tray
Every time my family is at the beach or lake, we go sea glass hunting. It’s so exciting when that pretty pop of color catches your eye and you find another specimen to add to your collection. In this resin trinket tray project, the matte sea glass combined with the shiny gold leaf flakes makes a beautiful pairing.
Step One: Determine How Much Resin is Needed
Start by determining how much Castin’ Craft Clear Polyester Casting Resin you’ll need to mix for the first layer of the trinket tray.
Do this by filling the silicone mold with water and pouring the water into a mixing cup from the ETI Mixing Cup Set. This will tell you how many ounces of resin you’ll need for the entire tray.
For this project we’re working with two layers. So, divide the total amount of resin needed in half, and that will give you the amount of resin you need to mix for Step Two.
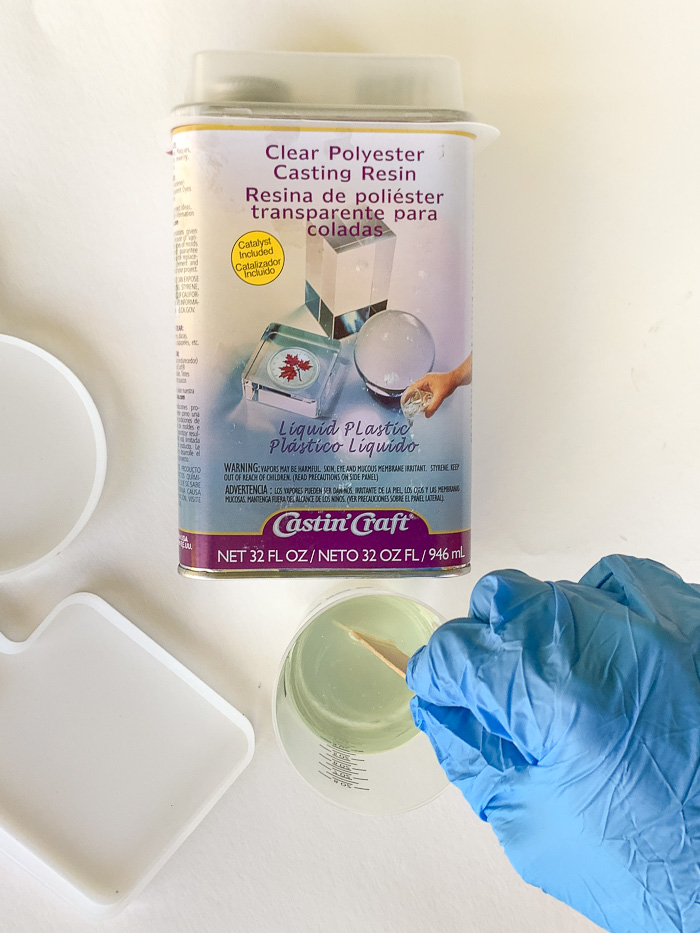
Step Two: Mix the First Batch of Castin’ Craft Clear Polyester Resin
With disposable gloves and safety glasses on, mix a batch of Castin’ Craft Clear Polyester Resin to form the first layer of resin in the trinket dish mold.
For each tray shown in this project, I mixed three ounces of Castin’ Craft with fifteen drops of the included catalyst. I made sure to stir thoroughly for at least one minute – scraping the sides and bottom of the mixing container.
One of the nice things about Castin’ Craft resin is that it does not form as many bubbles as other types of resin. Still, I let the mixed resin sit in the cup for a couple of minutes to settle.
Step Three: Pour the Resin Into the Trinket Tray Mold
Slowly pour the mixed Castin’ Craft resin into the trinket tray silicone mold. Cover the entire base of the mold, and make sure that the resin comes to the halfway point of the mold.
Let the poured resin sit until it reaches a slightly gelled consistency. The amount of time this takes depends on factors like temperature and humidity. I waited approximately 15 minutes before moving to the next step.
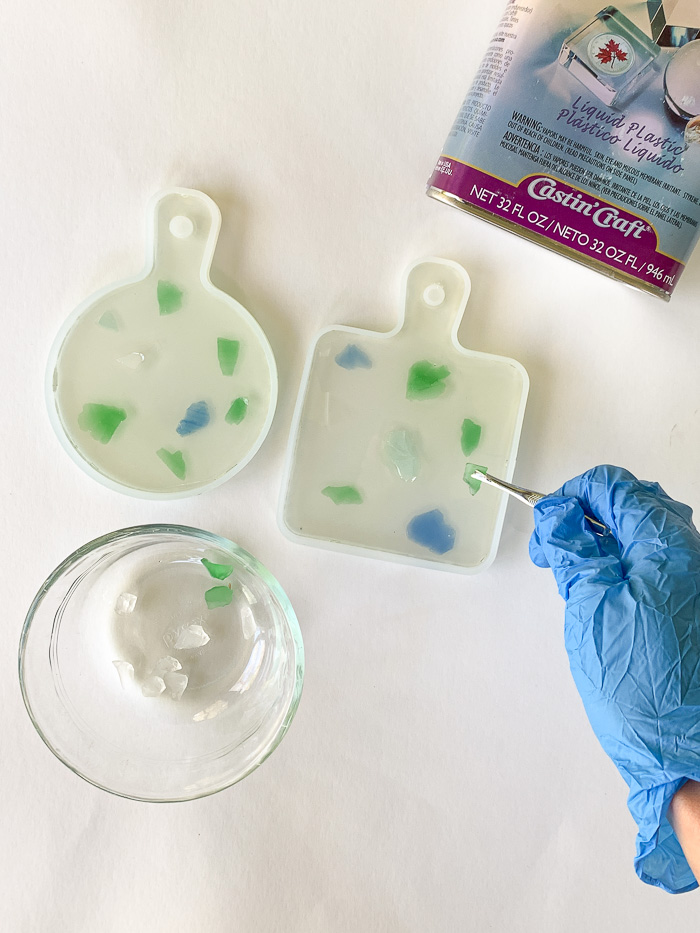
Step Four: Add Sea Glass and Gold Leaf Flakes to the Resin
Here’s where the “pretty” comes into play! Use tweezers to carefully place pieces of sea glass into the gelled resin. In order to reduce the potential for air bubbles forming in the project, paint each piece of sea glass with a bit of leftover mixed resin before placing it into the trinket tray mold.
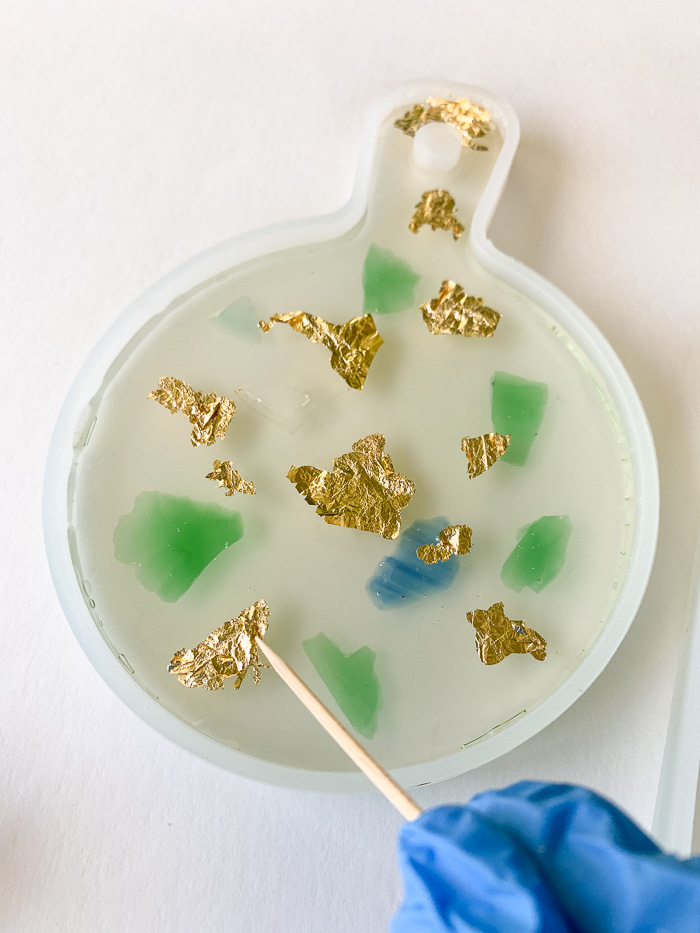
Once the sea glass pieces are placed, add gold leaf flakes to the resin, too. Because the gold leaf flakes are lightweight, they tend to not press into the resin entirely. Use a toothpick to flatten them out and have all parts of each piece make contact with the resin in the silicone tray. This will help prevent air bubbles from forming in the finished project.
Step Five: Mix the Second Batch of Castin’ Craft
Next, mix another batch of Castin’ Craft resin for the second and final layer of the resin to be poured. For this batch, less catalyst is used than in the first batch. For three ounces of resin per tray, I added twelve drops of catalyst.
Then I added several drops of Pearl/Opalescent Castin’ Craft Opaque Pigment to the resin, and mixed it for at least one minute – making sure to scrape the sides and bottom of the mixing cup.
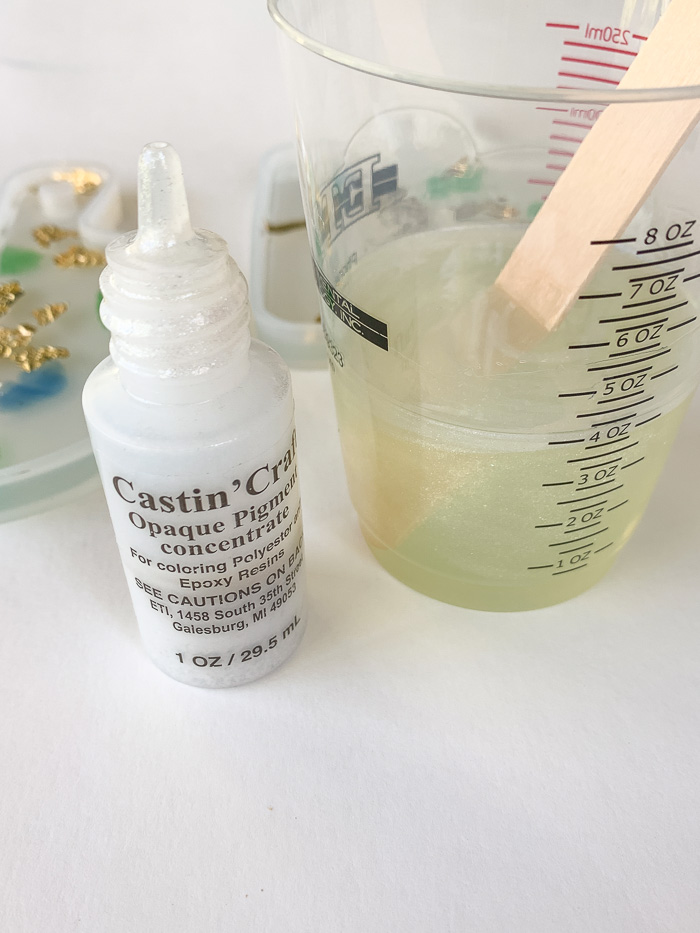
Adding pigment to what will be the bottom layer of the trinket tray helps the sea glass pieces and gold leaf stand out. If the bottom layer is left clear, it will be harder to see the objects embedded in the resin.
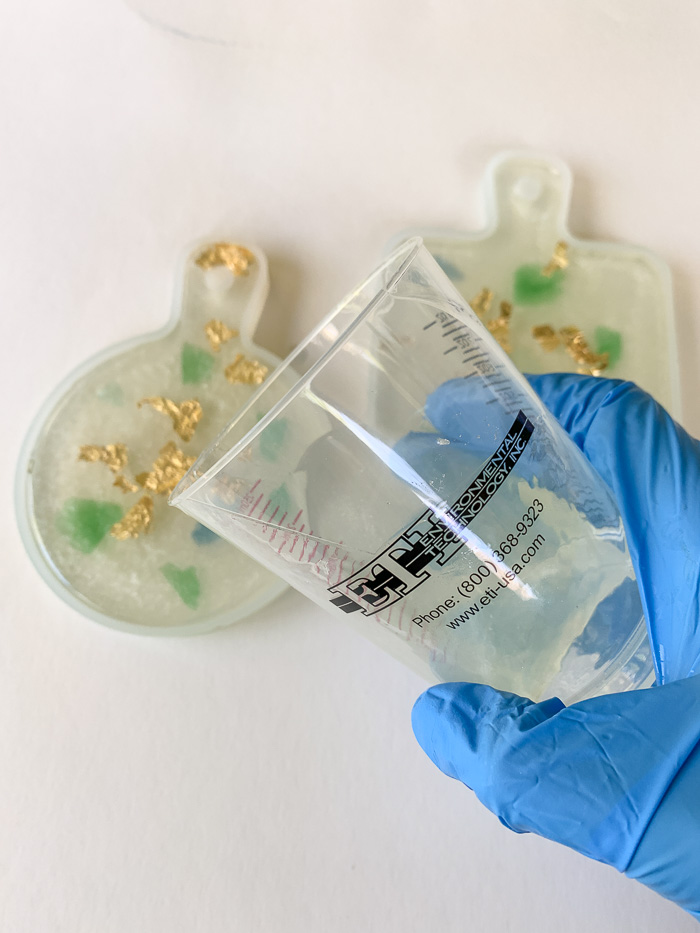
Step Six: Pour the Second Layer of Resin and Cure
Carefully pour the mixed resin into the trinket tray molds. Look for any bubbles that have not disappeared after a couple of minutes, and gently pop those with a toothpick or blow them away with a straw.
Let the molds sit, undisturbed, until the resin has fully hardened. The time this takes depends on temperature, humidity, and amount of pigment used.
The trays shown in this project took about 24 hours to fully harden.
Once they were ready to be removed from the molds, they were hard to the touch (not sticky) and had slightly pulled away from the inner edges of the molds.
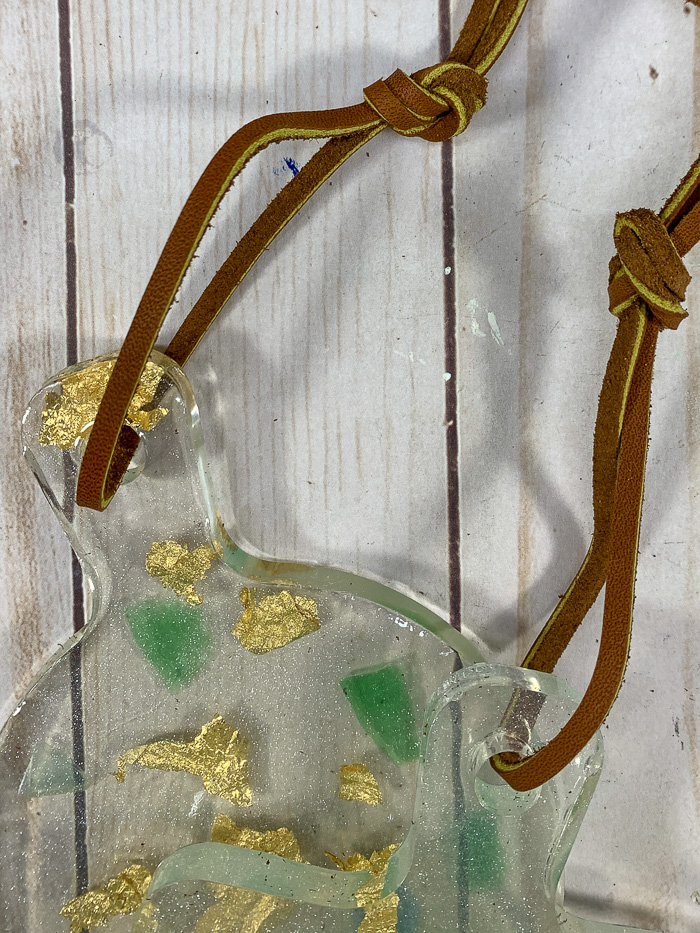
Step Seven: Add Leather Cording or Ribbon to the Trinket Trays
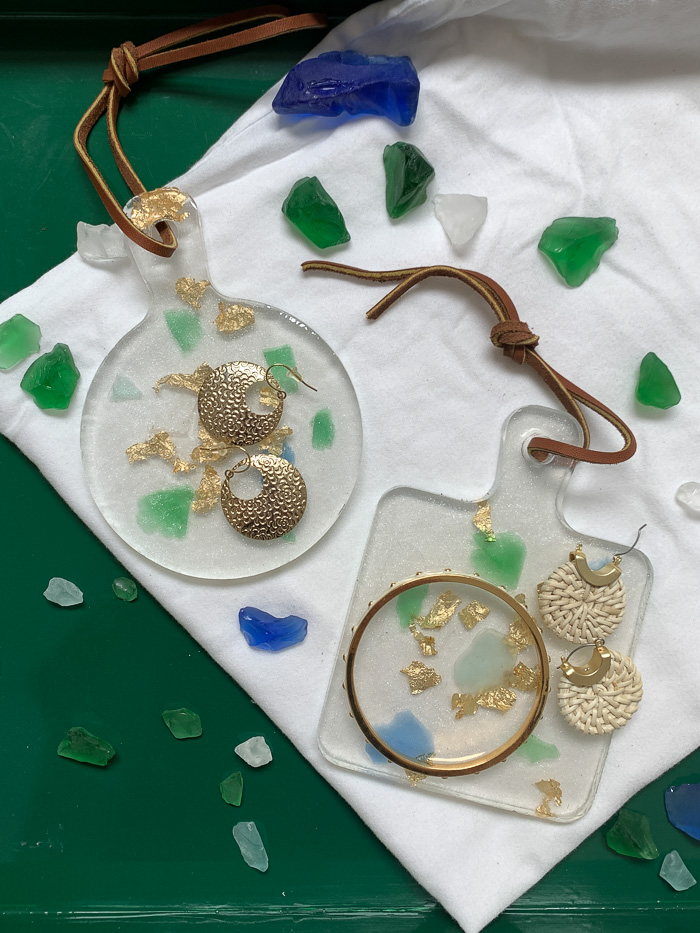
Finally, for a pretty finishing touch, string ribbon, twine, or leather cording through the trinket tray holes, and tie off at the ends.
Use your fabulous sea glass and gold leaf resin trinket tray to hold jewelry on your nightstand, as a ring dish next to the sink, as a coaster, and more! You could even hang it on the wall for a pretty decorative accent in your home.
So, will you be hunting for sea glass the next time you’re at the waterfront?
Bre is a content creator at Average But Inspired. She strives to inspire creative action in others by providing written and video DIY and craft tutorials, furniture upcycle projects, and home decor ideas. She wants others to feel empowered to tackle DIY, regardless of skill level or experience. When she’s not making something, you can find her watching Bravo TV with her labradoodle, Jasper.


This popped up in my inbox today. Don’t know how but, I would love to get back to this craft. I joined the Facebook page and will start imagining my next project!
That’s wonderful! Enjoy – there’s so much inspiration in the Facebook group! 🙂