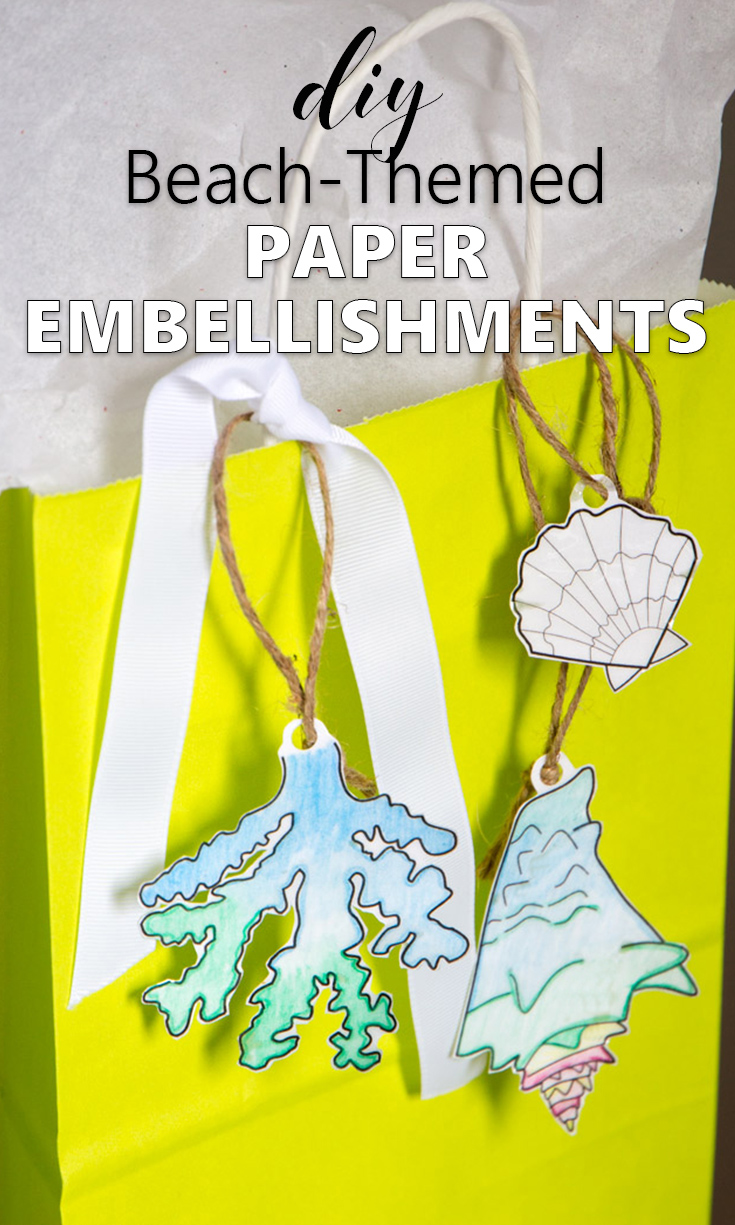
Have you ever wished you could take those beautiful adult coloring pages and put them to use after finishing them? Jane here, from Sustain My Craft Habit blog and I’m going to show you how you can take any image, colour it and turn it into useful paper embellishments that would be perfect for scrapbooking, card making, as gift tags and more.
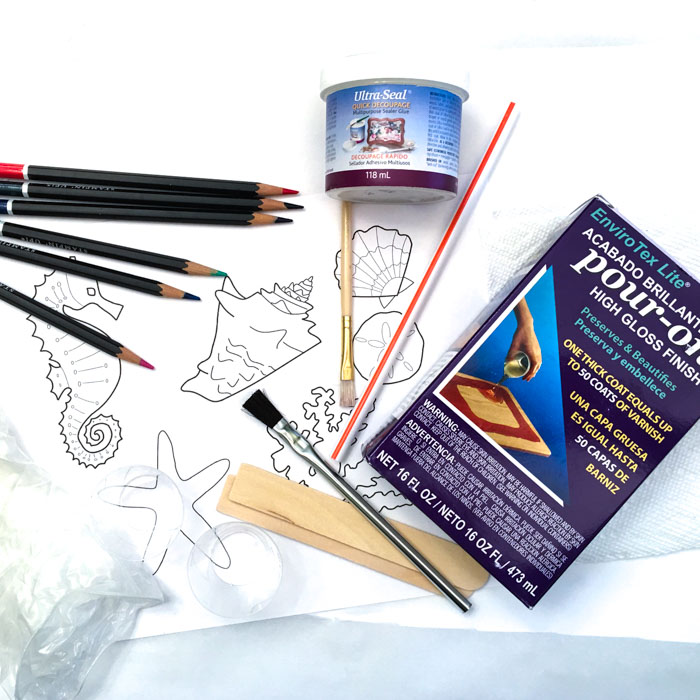
Materials needed to make your own paper embellishments:
- Colouring page such as the free Ocean-Themed Coloring Page you can download on our blog Sustain My Craft Habit, colored pencils
- Ultra-Seal Quick Decoupage (or other multipurpose sealer), paint brush
- EnviroTex Lite®
- Mixing cups, stir sticks, gloves, disposable paint brush, straw
- Mat or garbage bag to cover your working surface
Instructions to make your own beach-themed paper embellishments:
Prior to starting your project cover your work surface and be sure to completely read through the instructions provided in the EnviroTex Lite box for best results. Work in a well-ventilated area.
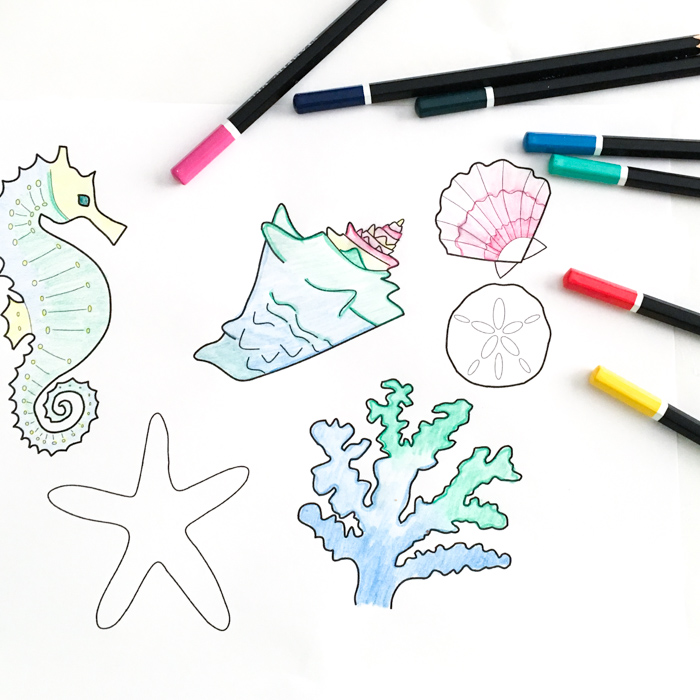
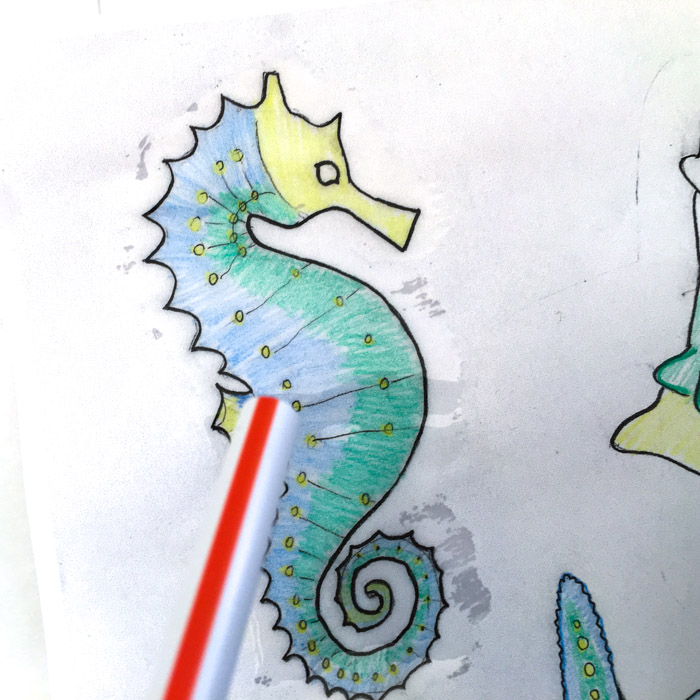
- Print out as many copies of the beach-themed motif template as you need. Colour them using pencil crayons or markers (just double-check that the colour won’t smear once you apply the sealer). I even left a few of them uncoloured.
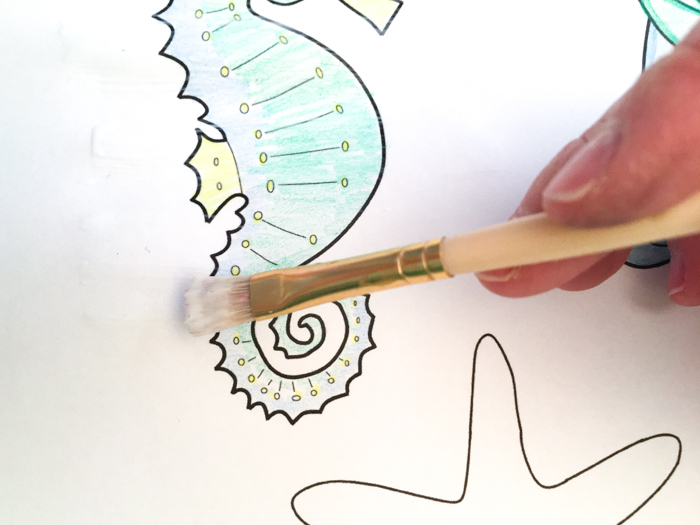
2. Apply a generous coat of sealer over the paper extending several inches outside of the motif. Make sure the paper is completely sealed! I missed a few spots and the resin seeped through leaving oily-looking spots on the paper. Let the sealer dry completely.
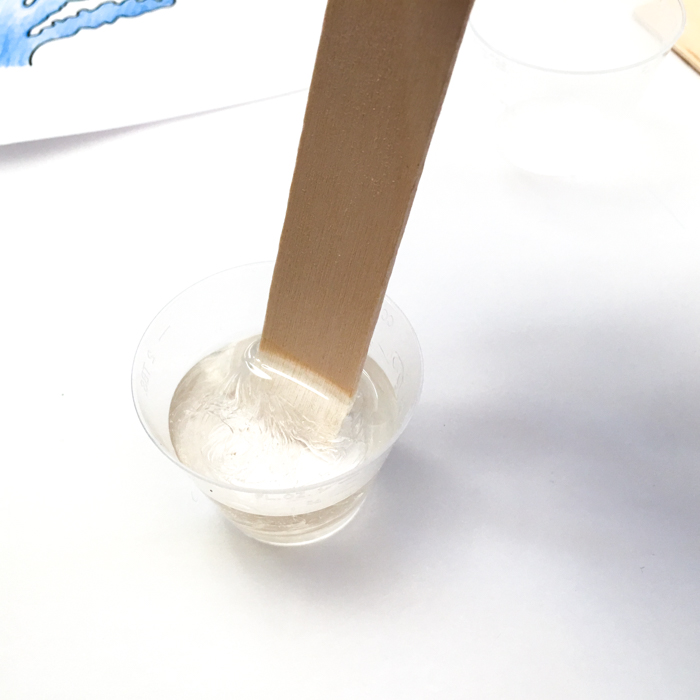
3. Pour equal parts of Resin and Hardener into a small measuring cup (I used 1/4 oz of each and had plenty). Mix thoroughly for 2 minutes, scraping sides and bottom.
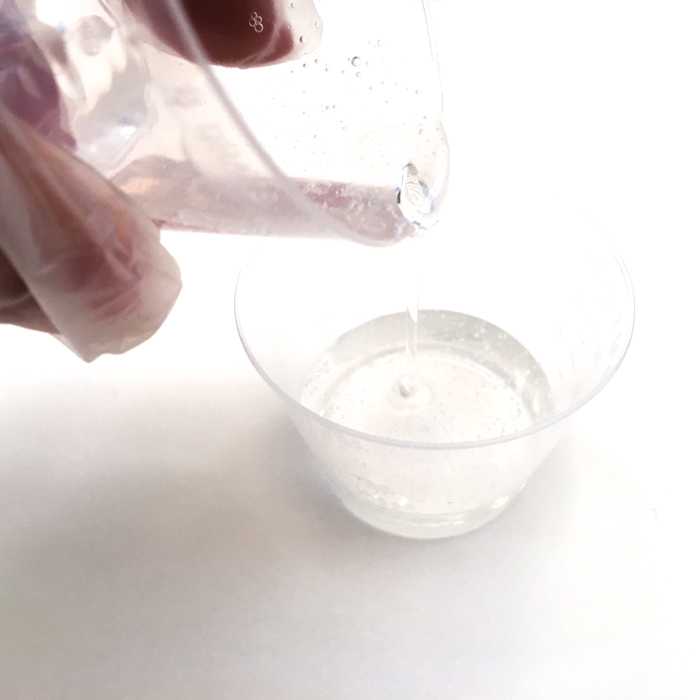
4. After 2 minutes, pour the blended mixture into another cup and mix with a new stick for an additional 1 minute.
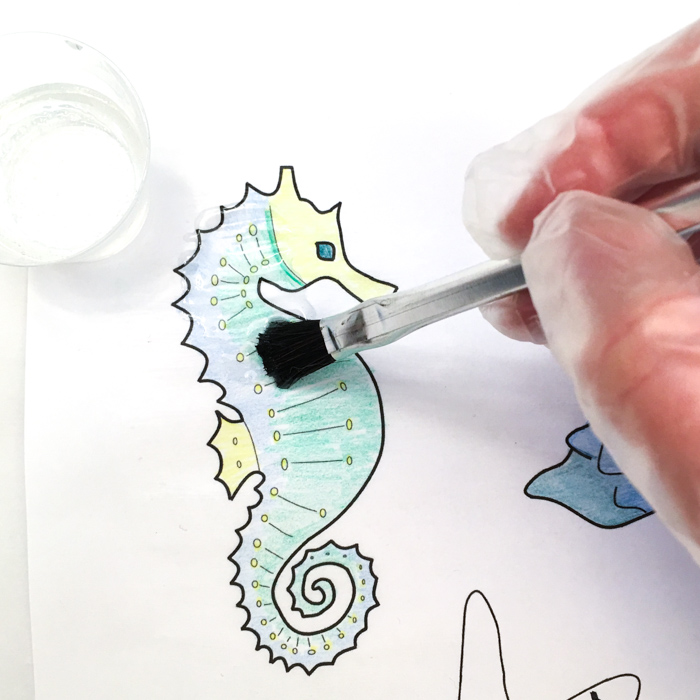
5. Apply EnviroTex Lite® onto the paper using a disposable paintbrush. I applied it to all the colored areas.
6. If air bubbles occur, use a straw to gently blow air over them and pop them. Let cure completely overnight. I let mine sit for 24 hours as I didn’t want any fingerprints on my embellishments.
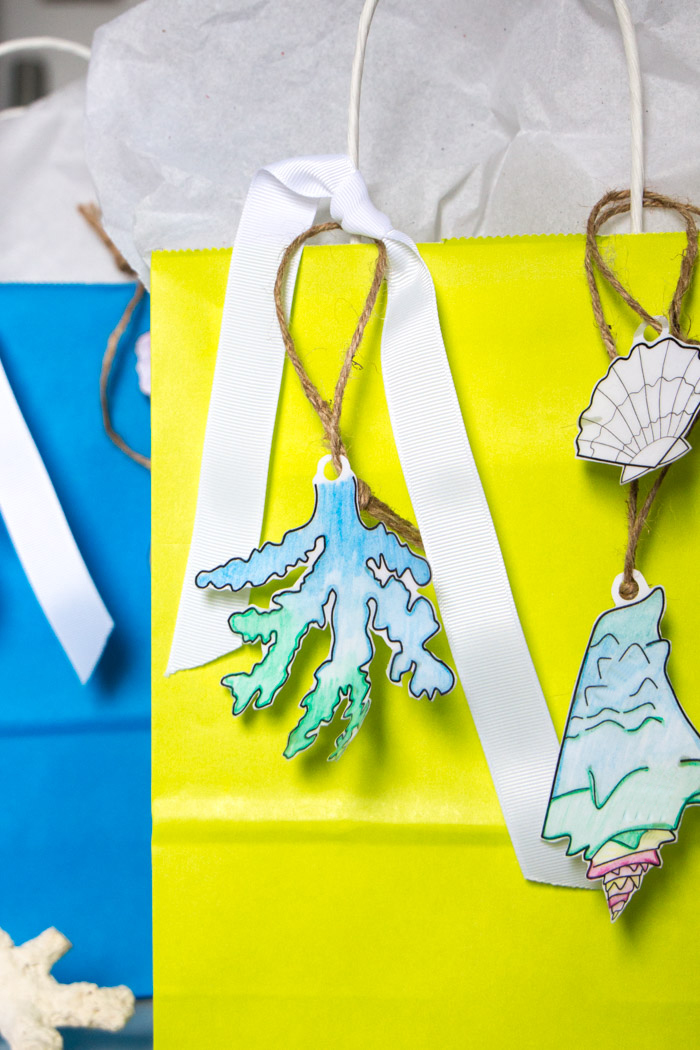
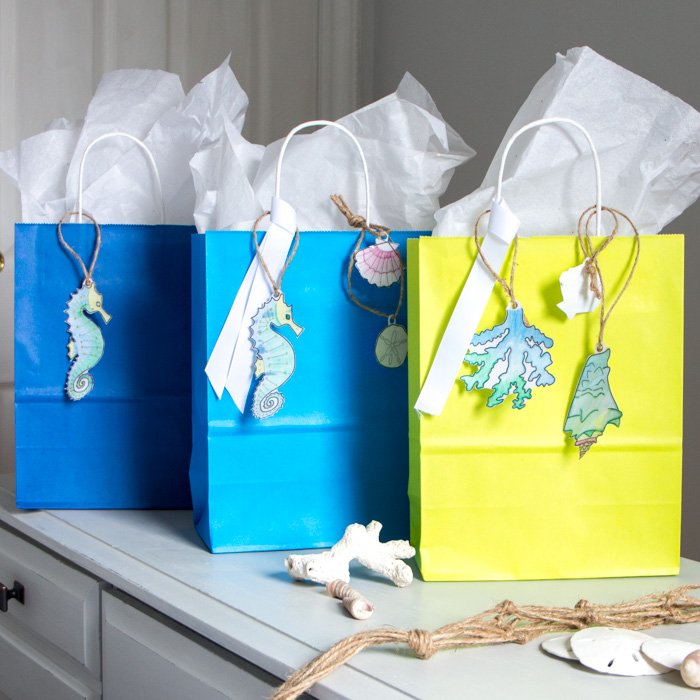
7. Cut them out and use them to embellish greeting cards, gifts, scrapbooks and more.
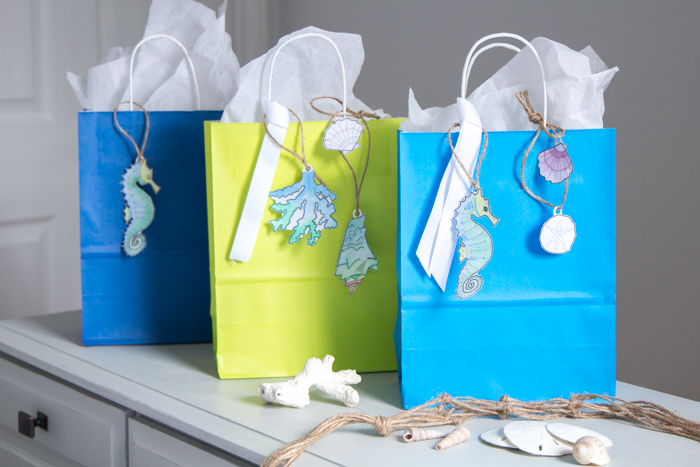
I thought these seashells, seahorses and other ocean-inspired items would be perfect for a beach-theme bridal shower, wedding or for any summertime celebrations. This technique is also so versatile! You can use it to make personalized embellishments, hand-letter names and messages, and even to preserve the kids’ art-work!

Like it? Pin it for later!
Jane and Sonja are sisters, moms and lifelong craft addicts both living near Toronto, Canada with their families. They share their love of creativity, nature and coastal DIY ideas on their blog Sustain My Craft Habit. They craft and decorate their homes using repurposed and upcycled items and materials found in nature.


Do you put sealer and resin on the back too?
That’s a great question. I would definitely seal the back side of the paper. Pouring resin on the back too isn’t needed unless you want thicker embellishments. You’d need to wait until the front side of the resin cures and then repeat the process.
Kind regards,
Jane