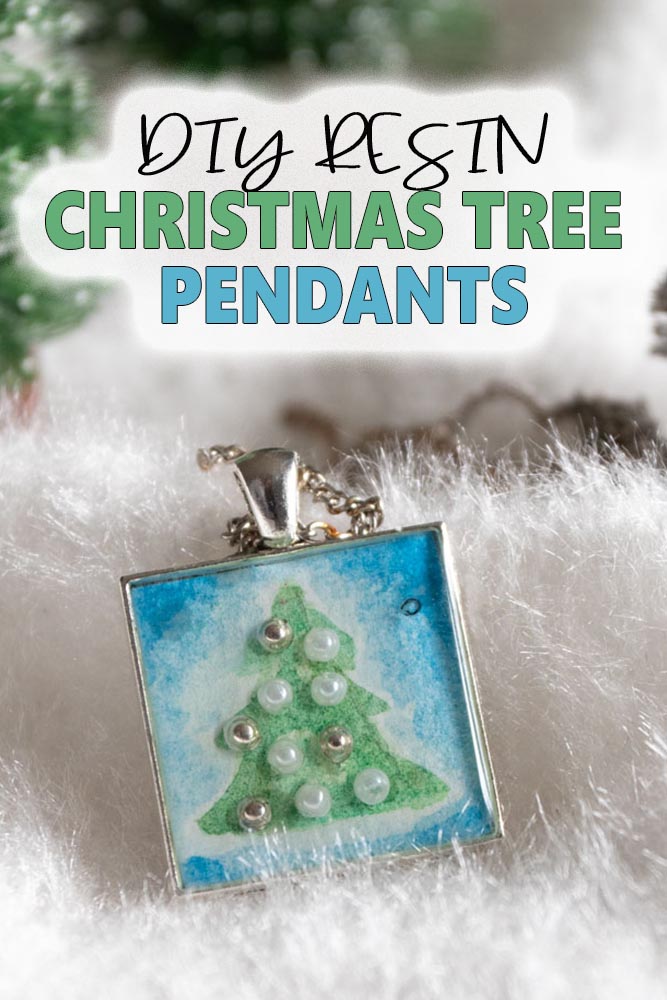
It’s time to deck out our homes and wardrobes for the holidays. These adorable hand-painted Christmas tree resin pendants will be the perfect, festive accessory for your holiday outfits.
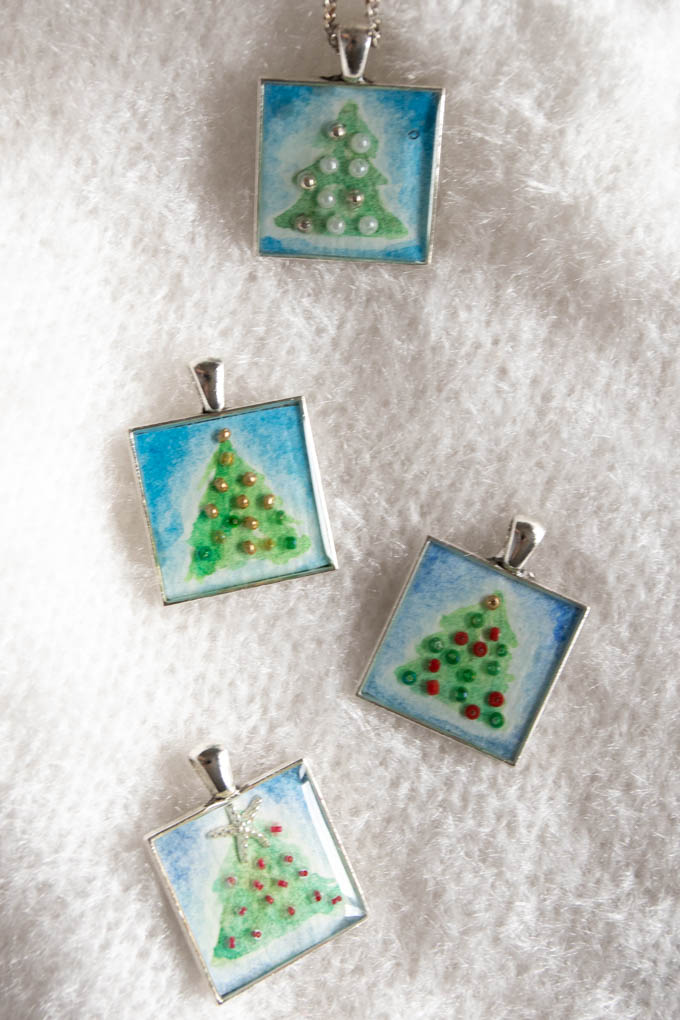
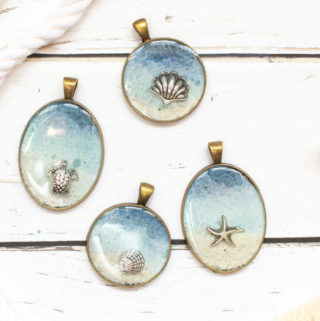
Hi crafty friend! It’s Jane from Sustain My Craft Habit. Last summer we shared this adorable seashore resin jewelry idea which has been really popular here on the Resin Crafts Blog.
I was excited to create similar pieces with a Christmas theme. Thus, the idea for these watercolor and seed bead Christmas trees were born! I love that I was able to largely use items that I already had at home. I enjoyed mixing up the bead colors such that each pendant is truly a unique little work of art.
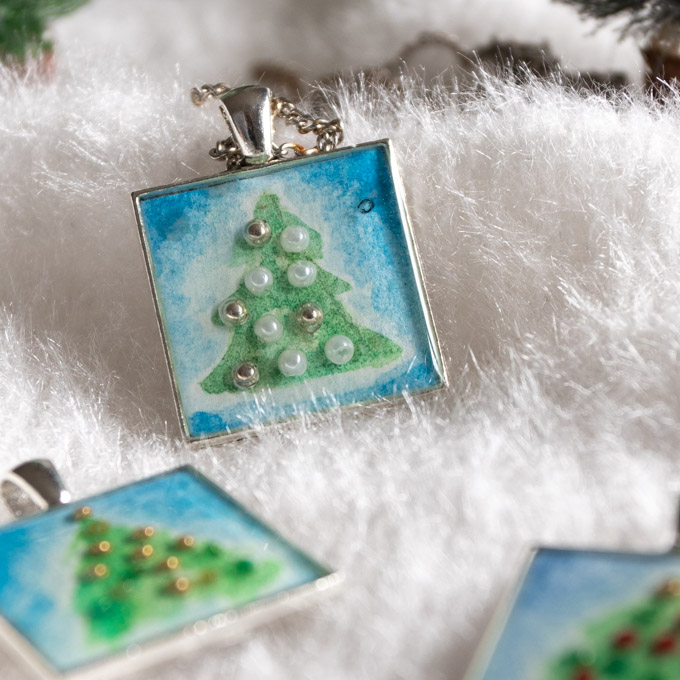
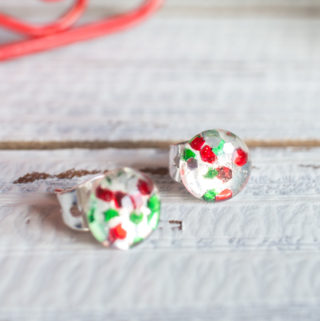
These jewelry pieces are perfect for any holiday outfit. You could give them as gifts, or attach them to a chain and lobster clip for a pretty keychain or purse charm. They would also coordinate well with our glitter DIY Christmas earrings or jewelry made with holiday gift wrap.
Materials Needed for this Resin Jewelry Idea
- Watercolor paper
- Watercolor paint and paint brush
- Square silver jewelry bezels
- Water-based sealer such as Mod Podge
- Small seed beads and star-shaped charms
- EnvirotexLite Jewelry Resin
- Wooden craft sticks, small measuring cups, gloves
- Straw or kitchen torch
How to make Christmas Tree Resin Pendants
Preparing the Pendants
Be sure to read all the instructions prior to working with your EnvirotexLite Jewelry Resin. Work in a well-ventilated area and protect your working surface.
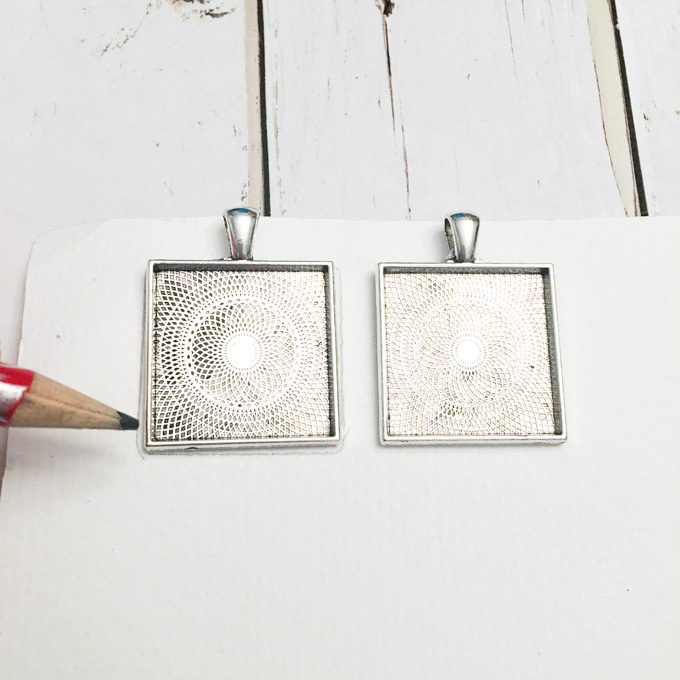
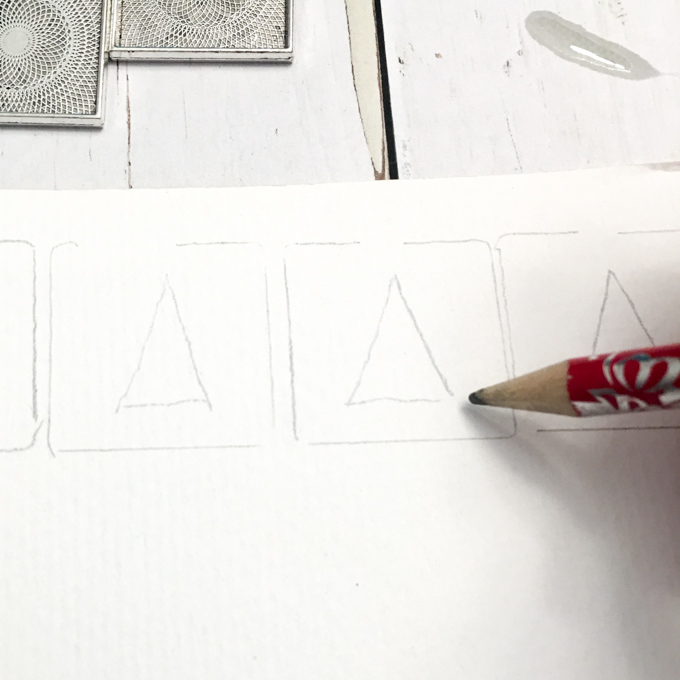
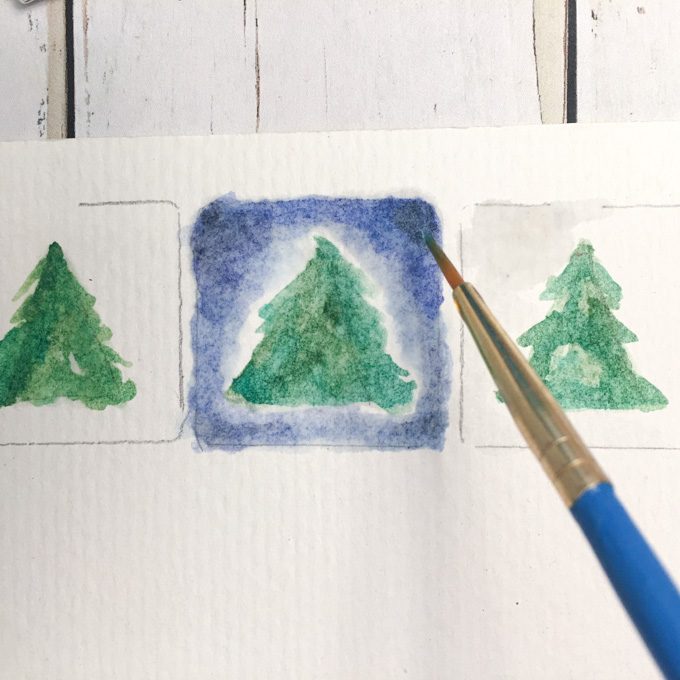
Trace your bezel onto watercolor paper with a pencil. Trace a small triangle in the center (this will be your Christmas tree).
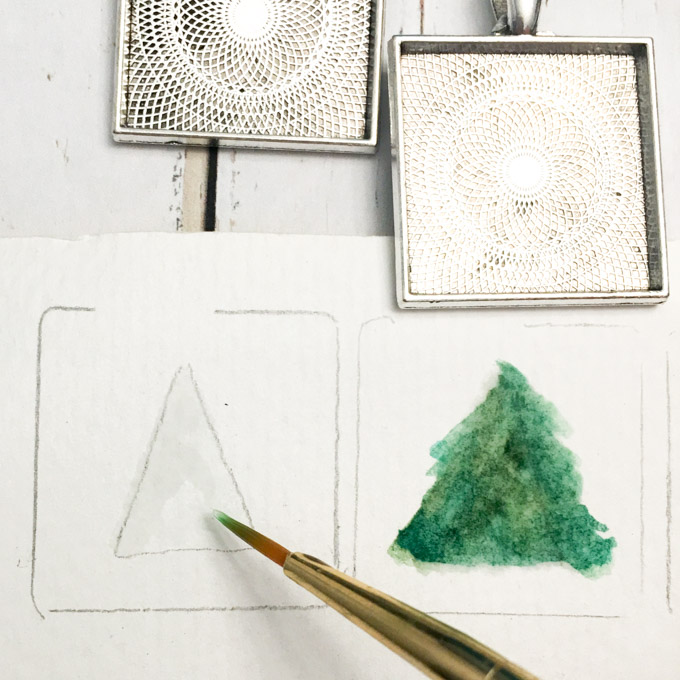
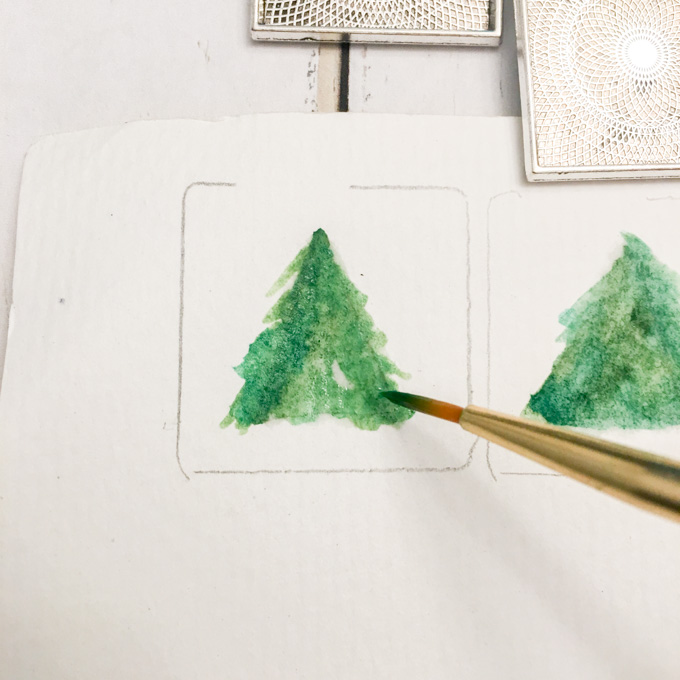
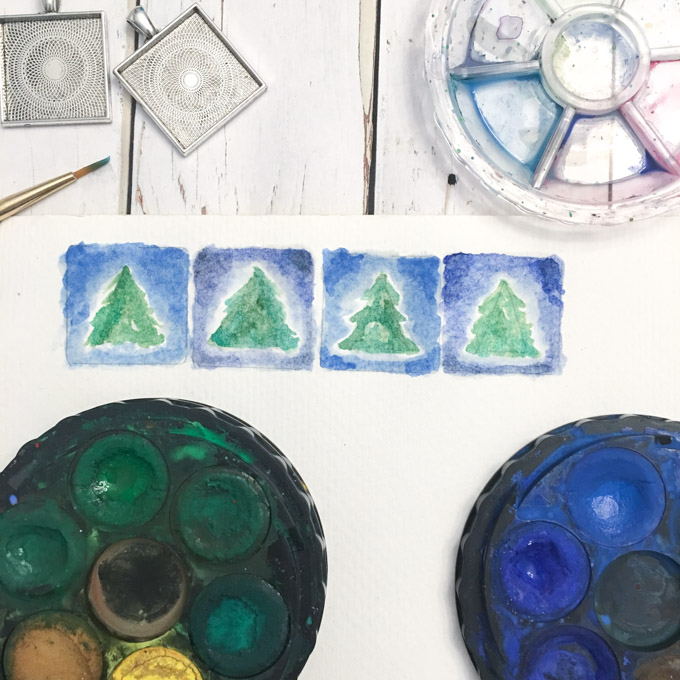
Use various shades of green to create the trees in each square.
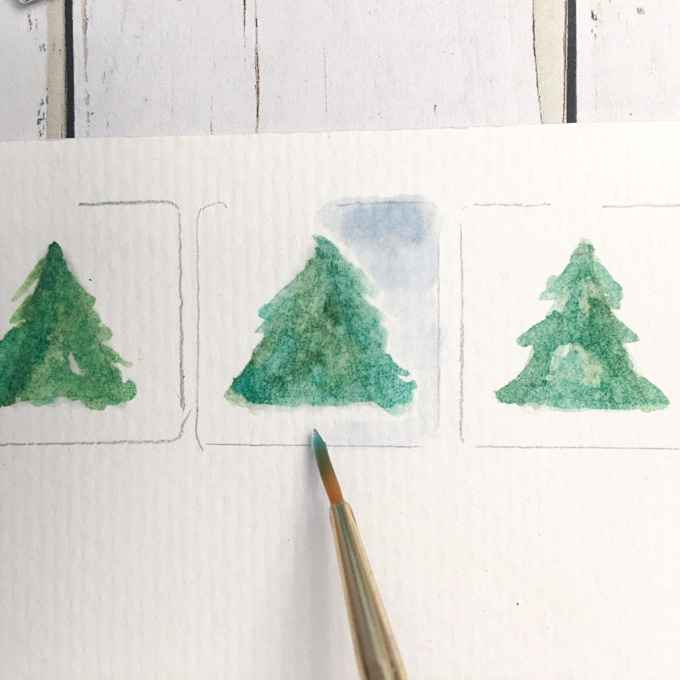
Then go from lighter to darker blue to paint the space around the tree. Let dry completely.
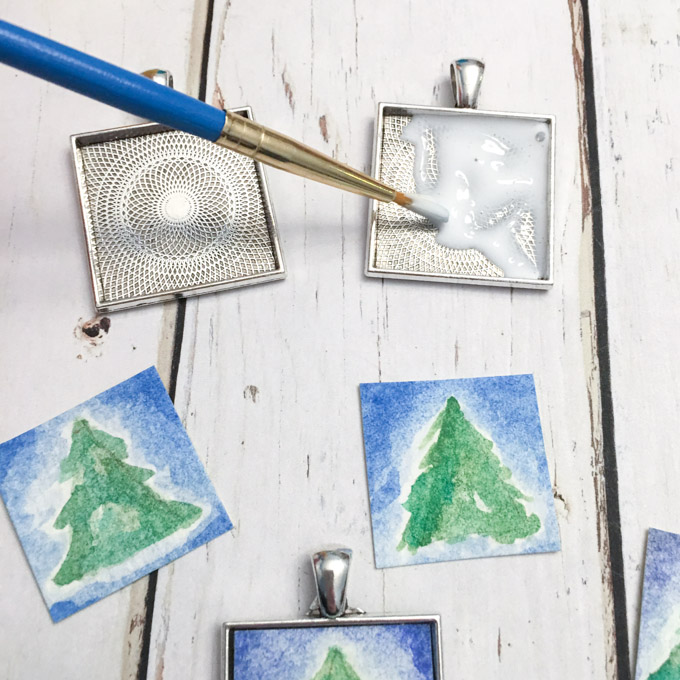
Cut out the watercolor paintings to fit the inside of the bezels.
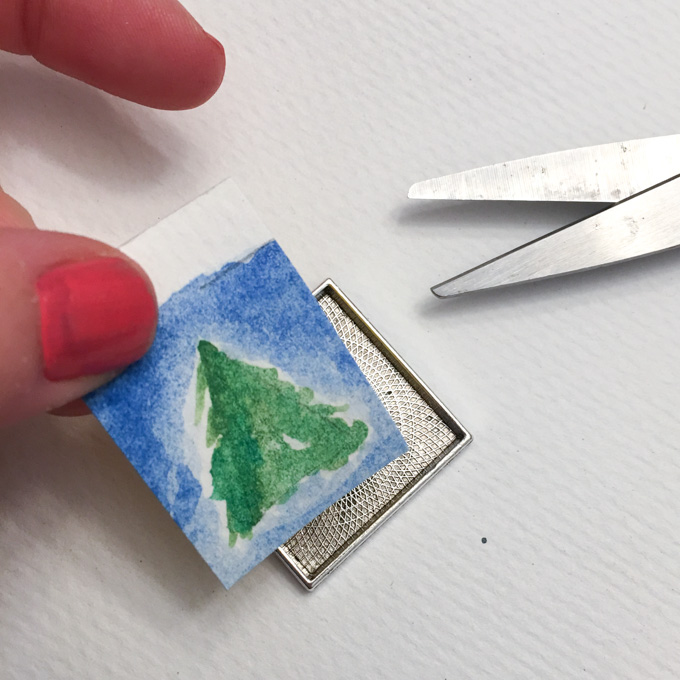
Seal the cut out into the bezels using the water-based sealer. Cover the surface of the painting with the sealer as well. Let dry.
Note: the paper may curl and bubble while wet, but will mostly flatten out once dry. You can use the end of the paintbrush to push the paper down in a couple places while it’s still wet.
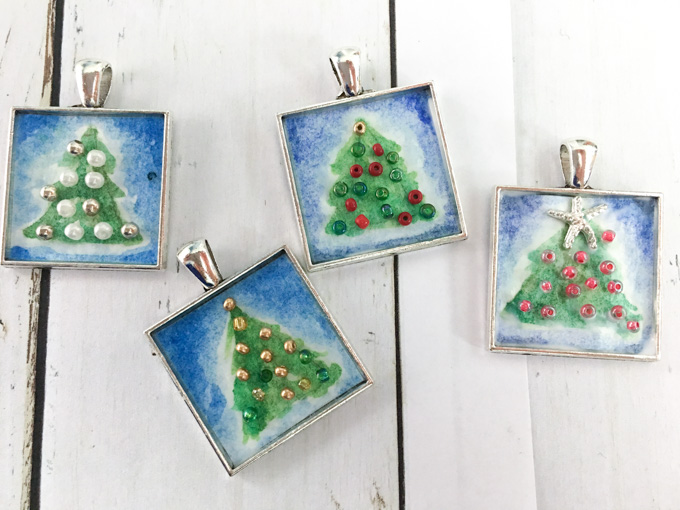
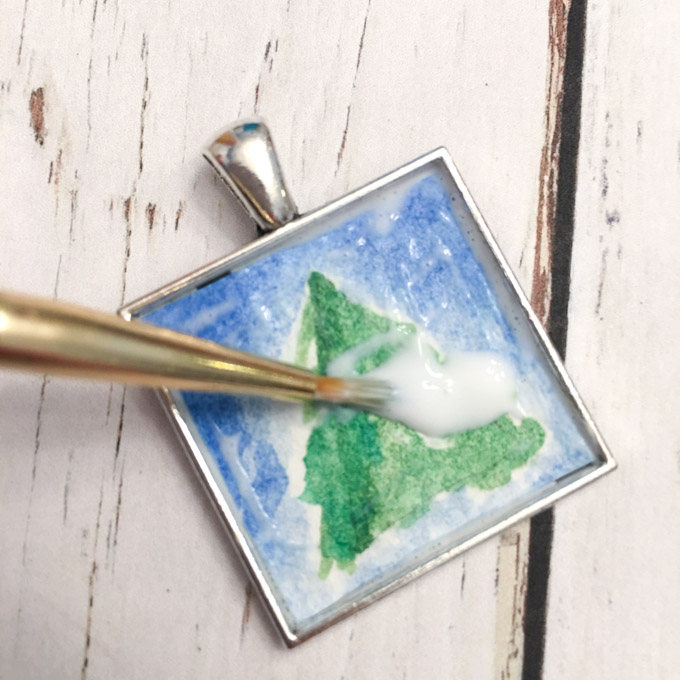
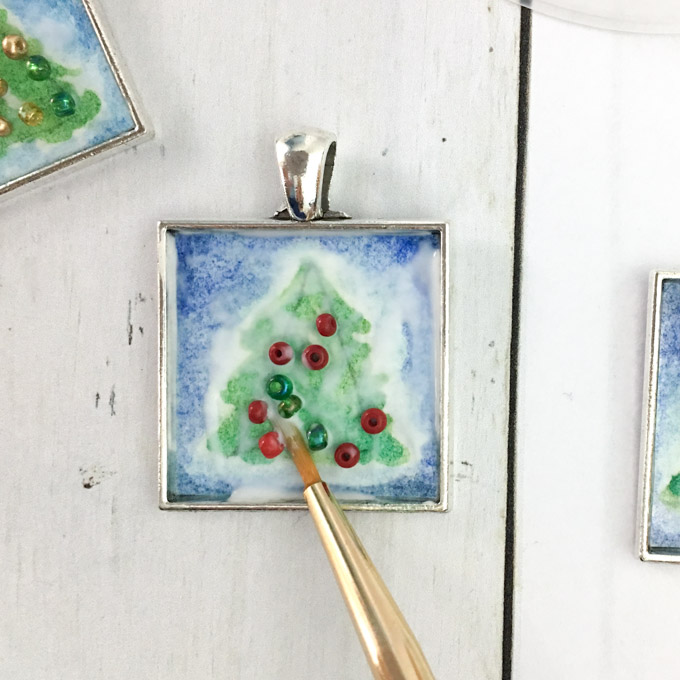
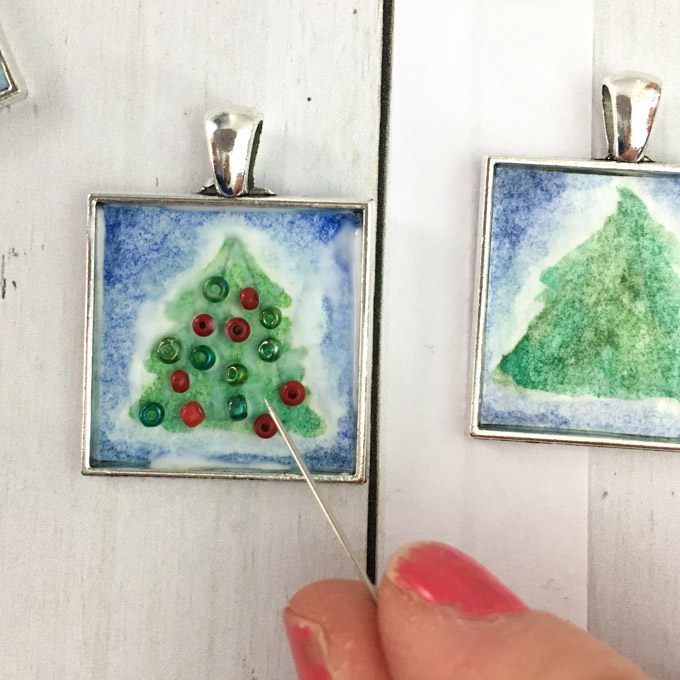
Paint another coat of glue over the tree area and place seed beads on the tree. Don’t they make adorable little ornaments?
If you have them, you can place a small metal start charm at the top of the tree, or gold colored beads. Let dry completely (I left mine overnight to be sure).
Pouring the Resin
If needed, prop up one end of the bezel with a bit of paper to ensure it is level for pouring.
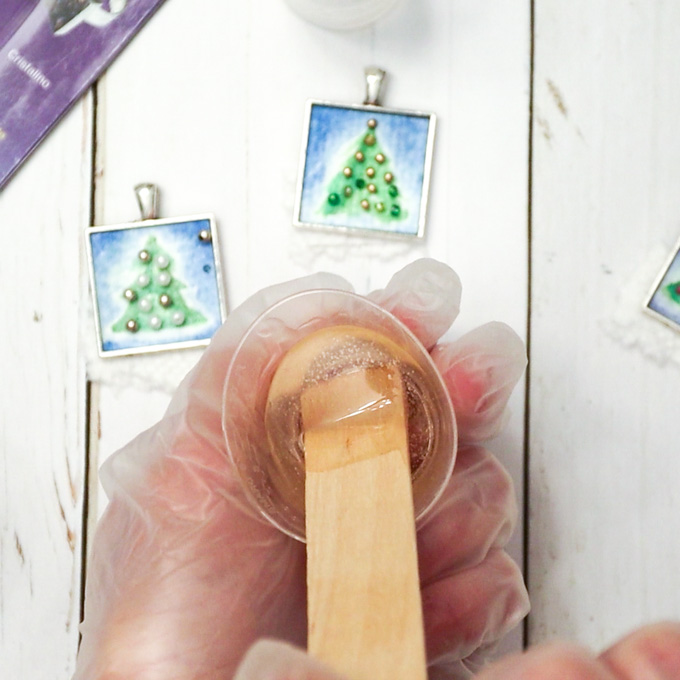
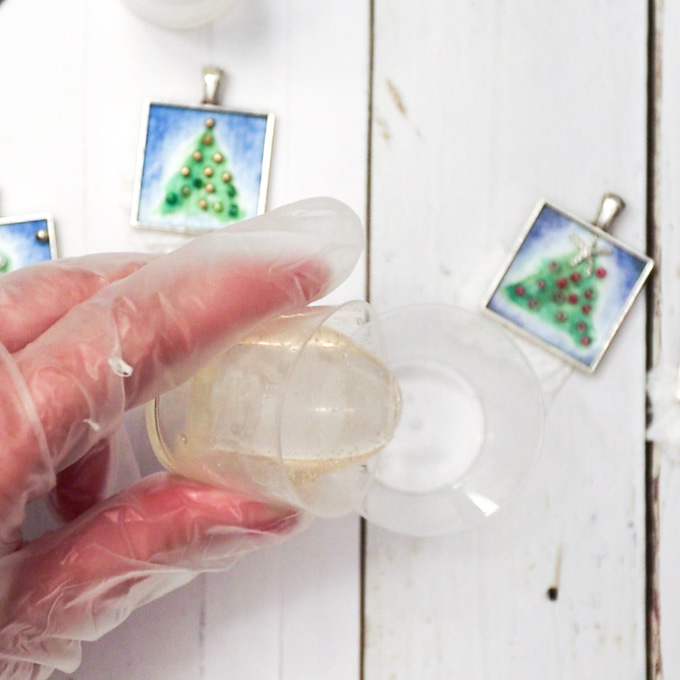
Mix equal amounts of resin and hardener in a small mixing cup (I had a total volume of 10mm to make four pendants with leftover resin). Mix for 2 minutes then pour into a second small mixing cup. Stir for another minute.
Carefully pour the resin into the bezel wells. Be careful not to over-fill, although you do want a small dome to form on the surface of the pendant.
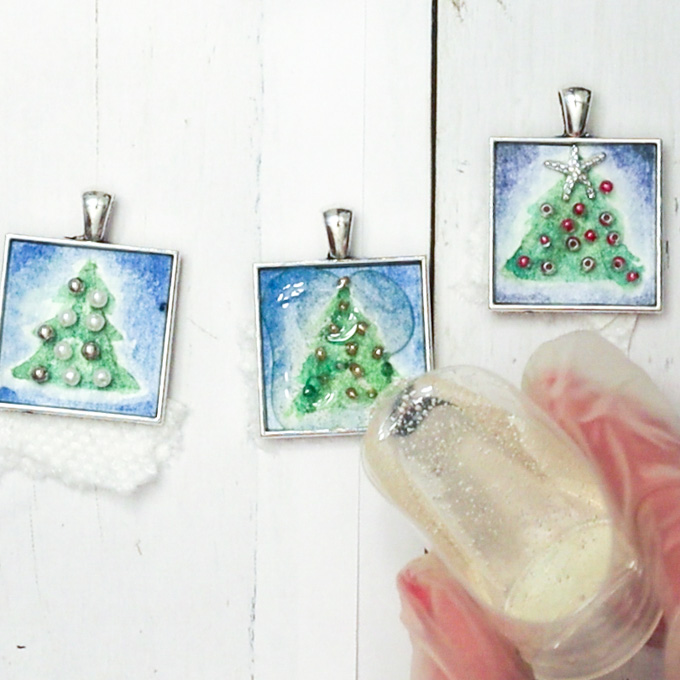
Let the poured resin rest for about 15 minutes and then blow off any bubbles arising to the surface with a small kitchen torch. Alternatively use your own breath through a straw.
Cover and let the resin cure 24 hours.
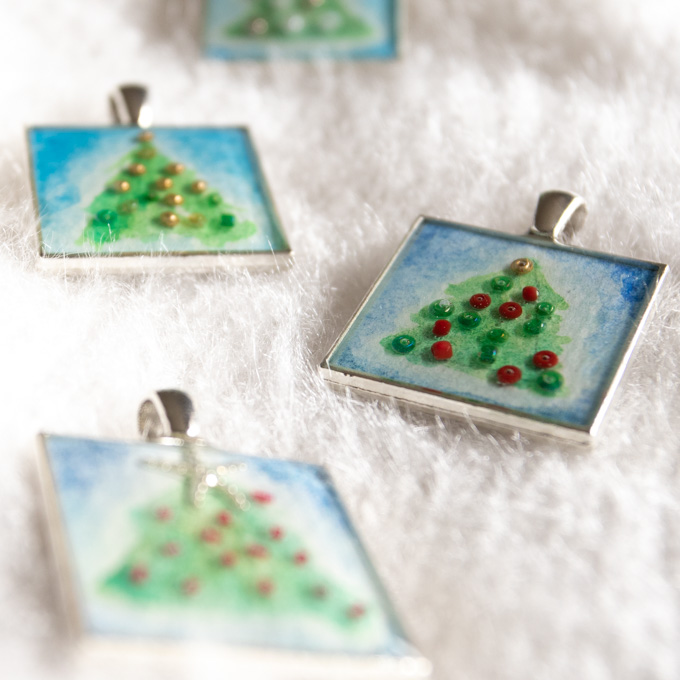
These Christmas tree resin pendants turned out perfectly. Our mom has already claimed one, as have my daughters so I will definitely be making more soon!
There are so many beautiful and creative ways to use the jewelry resin. Here are just a few additional ideas you’ll find on our blog Sustain My Craft Habit:
- Resin pendants with dried flowers;
- Rustic glam DIY jewelry organizer;
- Vintage map keychains;
- Hand lettered wood slice keychains.
Like it? Pin it for later!
Jane and Sonja are sisters, moms and lifelong craft addicts both living near Toronto, Canada with their families. They share their love of creativity, nature and coastal DIY ideas on their blog Sustain My Craft Habit. They craft and decorate their homes using repurposed and upcycled items and materials found in nature.


Leave a Reply