Want to create the most magical shoes ever? Make DIY butterfly resin shoe charms!
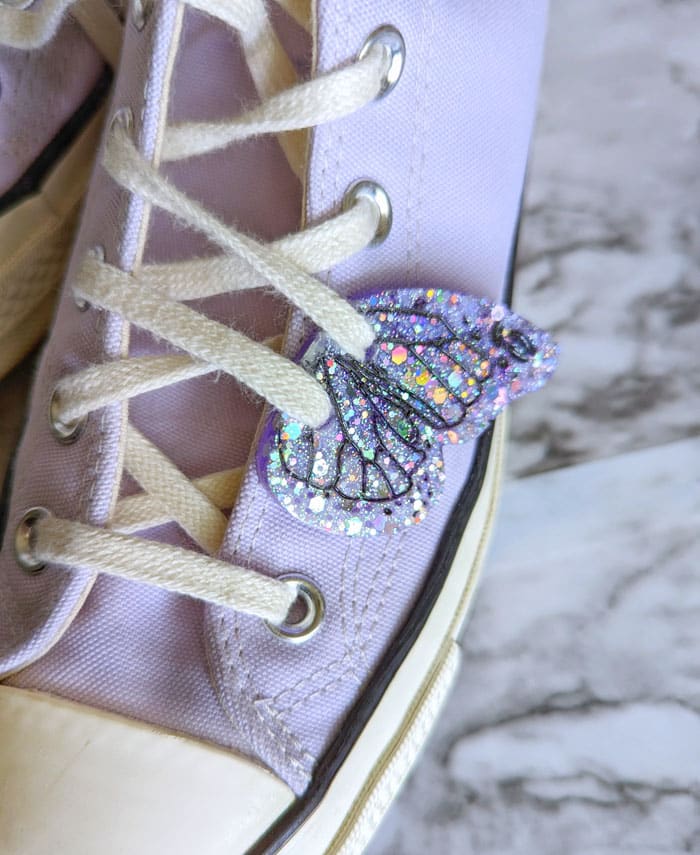
Adding epoxy butterfly wings to shoelaces is a really cute way to add color and sparkle, and make any little make-believer feel like they’re ready to fly. Check out this fun tutorial by Stephanie from Crafting in the Rain!
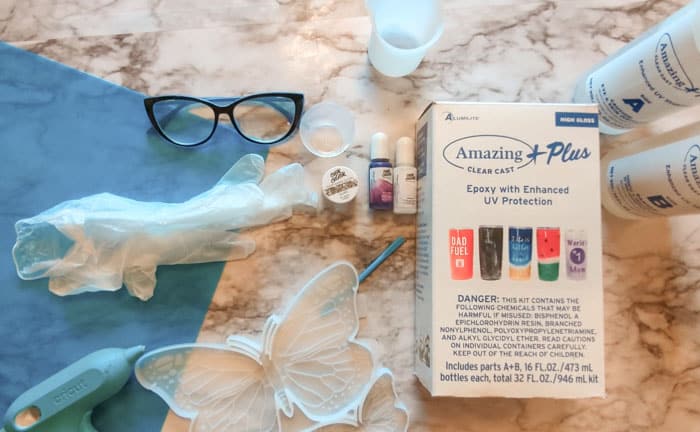
Supplies for making resin butterfly shoe charms
- Amazing Clear Cast Plus
- Alcohol Ink / mica powder
- Color Creator glitter
- Butterfly mold
- Glue gun
- Stir sticks
- Measuring cups
- Gloves and glasses
- Sand paper (I used 150 and 220)
- Drill with 1/4 inch bit
- OPTIONAL – Silicone mat (optional but great for clean up!)
- OPTIONAL – Black gel nail polish and a UV lamp
Prep the mold
Since I wanted to be able to separate my wings after the resin hardens, I used a glue gun to build up a divider down the center of each butterfly mold.
It worked pretty good! But if you have an idea for a different solution, I’d love to hear it!
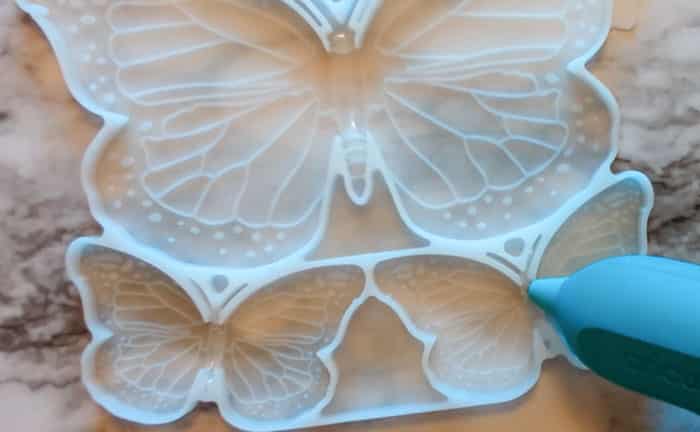
Start by filling in the gaps at the top and the bottom. Then layer up the middle. Let the glue cool before adding the next layer or the glue will spill and pool into the wings. Use a stir stick to help push the glue back into place if needed.
Remove any glue strings with a piece of tape.
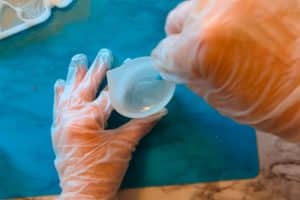
Mix the resin
Amazing Clear Cast Plus is a 2 part, 1 to 1 epoxy. Measure 30 mL of A and 30 mL of B and pour them into a new cup. (You may need to adjust depending on the size of the mold – this mold is about 2 inches high for the small butterflies and 4 inches high for the large one.) Amazing Clear Cast+ Plus is the perfect epoxy for this project, since it offers enhanced UV protection (and shoes are often worn outside!)

Stir for 3-4 minutes, and the mixture is free from cloudiness. Then stir another 2-3 minutes.
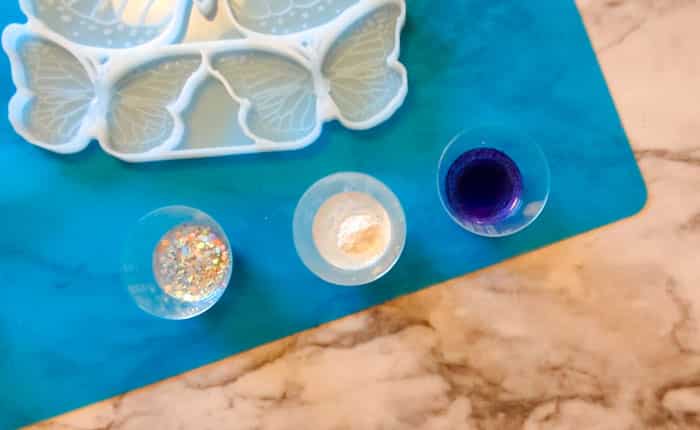
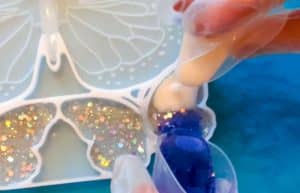
Pour into small cups to add glitter, alcohol ink, or mica powder for coloring. About 3 or 4 drops of ink is good, and about 1/4 tsp of mica powder.
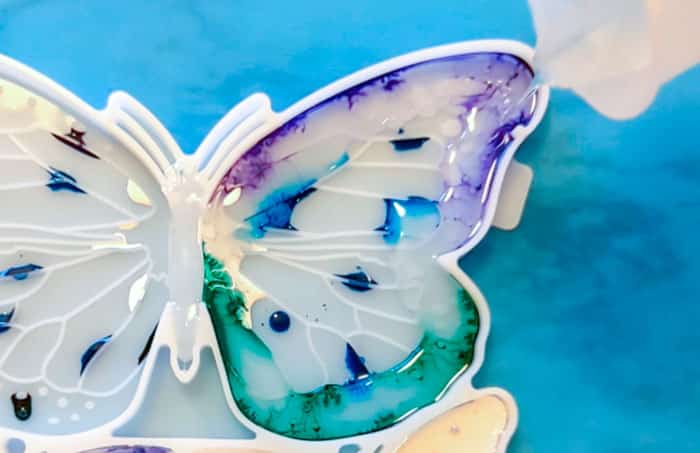
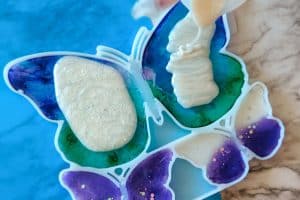
Pour the resin into the molds and feel free to experiment with your method.

I tried glitter first, then colors in sections, then swirl (but the swirl pretty much disappeared as the resin cured) and drops of alcohol ink in the mold followed by clear resin.
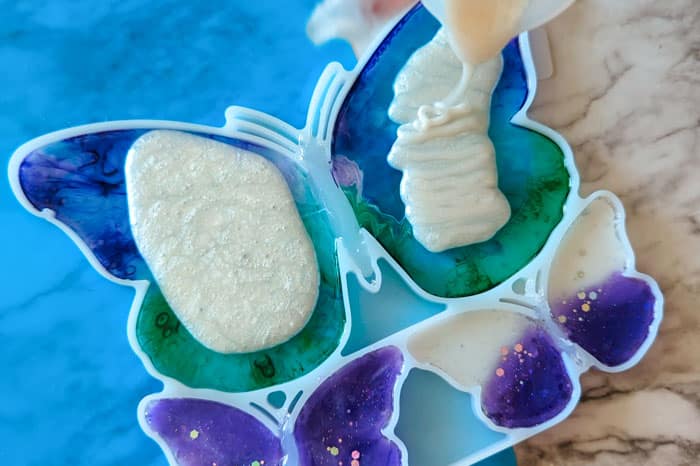
For the large butterfly, after curing overnight, I mixed up 20 more mL of resin, made it white, and poured it as a background for the ink layer.
Finish resin wings for shoe charms
Let the resin cure for 48 hours before demolding. It will set before then, but since we’ll be sanding and drilling, we want the pieces to not have any bend to them.
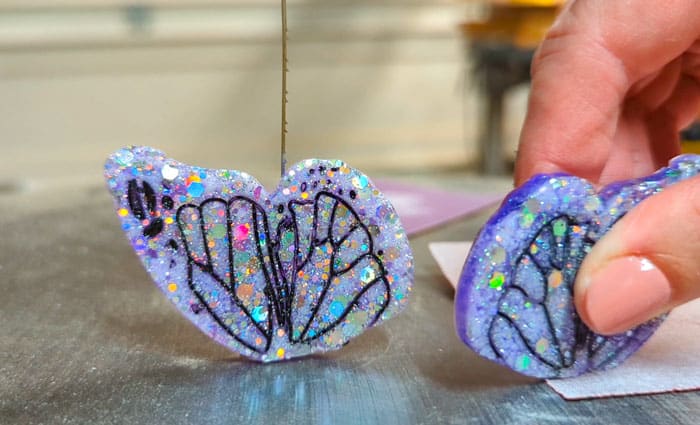
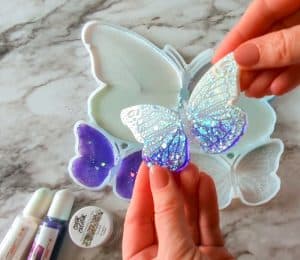
Remove the wings from the mold and peel away the glue.

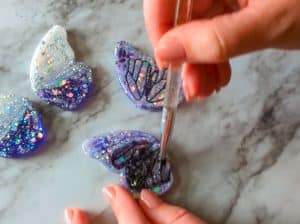
To bring out the detail of the lines on the mold, I brushed some black gel nail polish over this set of wings, and wiped away the excess with a paper towel. Then I set them under my UV lamp for 2 minutes to cure it. This will stick better and be more durable than acrylic paint. You could also do this with a fine-point sharpie if you have a steady hand.

This edge will likely be kind of rough, so lay a piece of rough sandpaper on a flat surface and rub to even out the edge. Repeat with a higher grit.
Use a 1/4 inch drill bit to drill 2 holes into each wing. Leave a bit of space on the edge, and about 3/4 – 1 inch between the holes.
NOTE: Place resin pieces on top of some scrap wood so the drill has something to drill into a bit after going all the way through the resin. This gives a cleaner hole. Remember to wear your glasses!
Don’t worry about being too exact though – they’re going on opposite shoes!
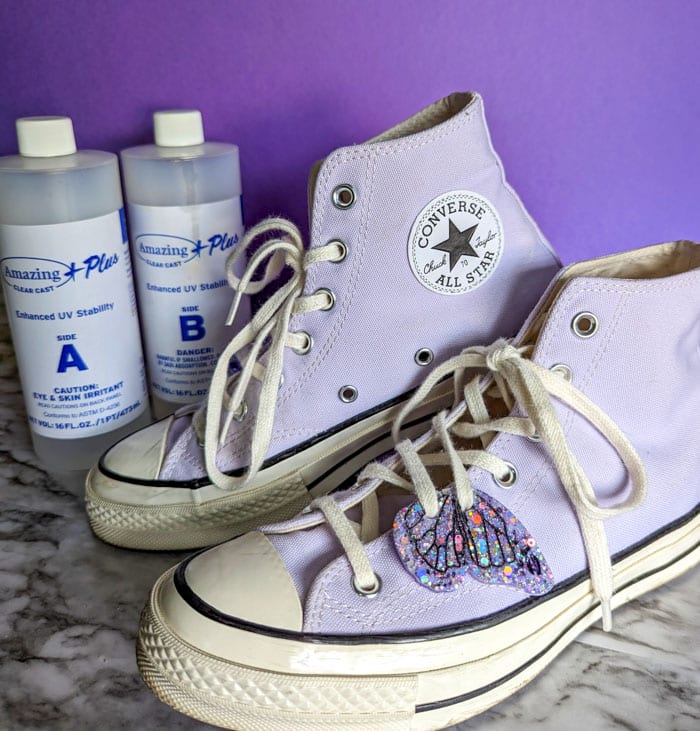
Then it’s time to thread the butterfly wing shoe charms through a couple of laces and let the magic begin 🙂
What do you think? Will you be trying this project? What colors will you make your wings?

DIY Butterfly Wing Resin Shoe Charms
Materials
- Alumilite Amazing Clear Cast +Plus
- Glitter, resin powder and/or alcohol inks
- Butterfly mold
- Glue gun
- Stir sticks
- Measuring cups
- Gloves and glasses
- Sand paper 150 and 220 grit
- Drill with 1/4 inch bit
- OPTIONAL – Silicone mat optional but great for clean up!
- OPTIONAL – Black gel nail polish and a UV lamp
Instructions
Prep the mold
- Use a glue gun to build up a divider down the center of each butterfly mold. Start by filling in the gaps at the top and the bottom. Then layer up the middle. Let the glue cool before adding the next layer or the glue will spill and pool into the wings. Use a stir stick to help push the glue back into place if needed.

- Remove any glue strings with a piece of tape.
Measure and mix the resin
- Measure 30 mL of side A and 30 mL of side B of Amazing Clear Cast+. (You may need to adjust depending on the size of the mold – this mold is about 2 inches high for the small butterflies and 4 inches high for the large one.)
- Stir for 3-4 minutes until there are no swirls visible.
- Pour into small cups to add glitter, alcohol ink, or mica powder for coloring. About 3 or 4 drops of ink is good, and about 1/4 tsp of mica powder. Pour the epoxy into the molds.
- For the large butterfly, after curing overnight, I mixed up 20 more mL of resin, made it white, and poured it as a background for the ink layer.
Finish resin wings for shoe charms
- Let the resin cure for 48 hours before demolding. It will set before then, but since we'll be sanding and drilling, we want the pieces to not have any bend to them. Remove the wings from the mold and peel away the glue.
- Optional: To bring out the detail of the lines on the mold, brush black gel nail polish over the set of wings, and wipe away the excess with a paper towel. Set under a UV lamp for 2 minutes to cure it. This will stick better and be more durable than acrylic paint. If you have a steady hand, you could also do this with a fine-point sharpie marker.
- Lay a piece of rough sandpaper on a flat surface and rub to even out the edges of the butterfly wings. Repeat with a higher grit.
- Use a 1/4 inch drill bit to drill 2 holes into each wing. Leave a bit of space on the edge, and about 3/4 – 1 inch between the holes.
- Then it’s time to thread the butterfly shoe wings through a couple of laces and let the magic begin 🙂

Notes
Stephanie is a crafty wife and mom living in the Pacific Northwest. She shares her creative ideas -along with a bit of “making it up as she goes” – on her blog, Crafting in the Rain.


Leave a Reply