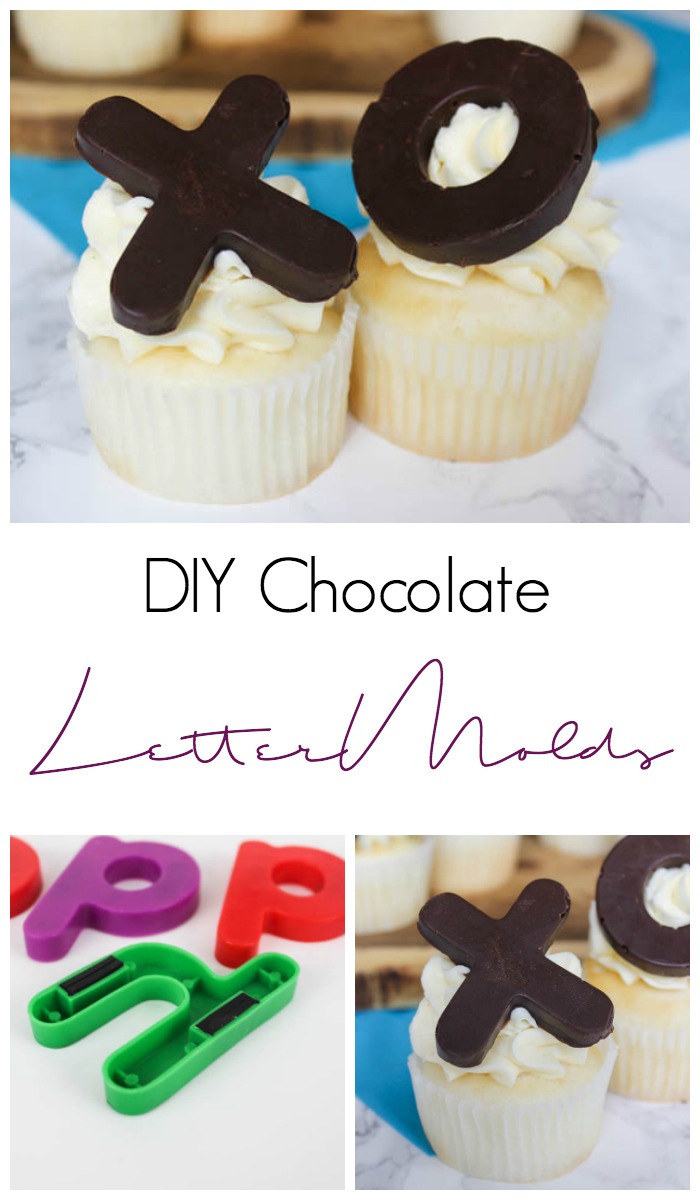
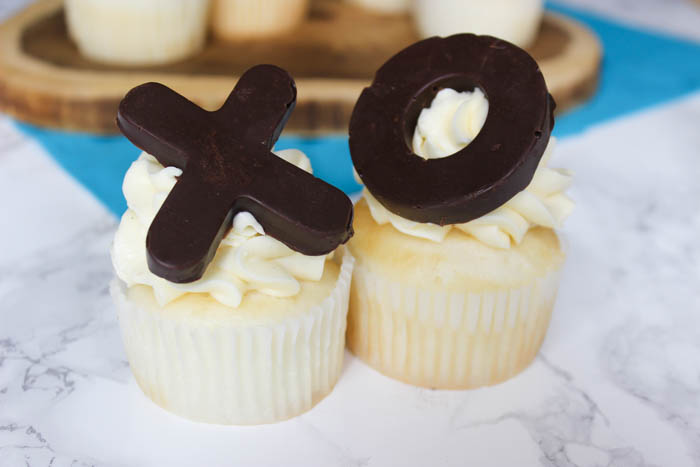
Hey everyone! This is Lindi, from Love Create Celebrate. I’m excited to be back! Are you a party host? I’m an extrovert that loves to have people over. I’m constantly trying to think up new creative party ideas. When I got the idea to make these chocolate letter molds, I was beyond excited. Imagine all of the decorative ideas? Chocolate letters on cakes or cupcakes. Spelling names, dates, ages, “xo”, “love”… the possibilities are endless! Let me show you how easy it was!
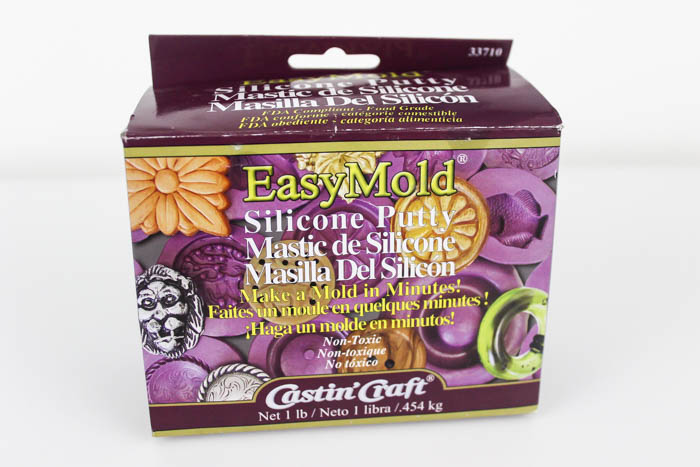
If you haven’t heard of silicone putty yet, you’re going to want to use it after this. It makes molds in minutes out of virtually anything!
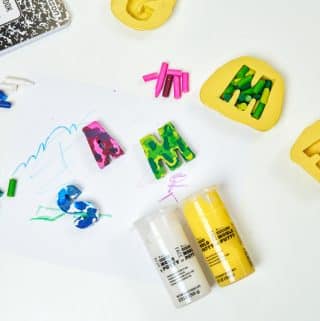
Here’s everything you need to make these chocolate letters:
- EasyMold Silicone Putty
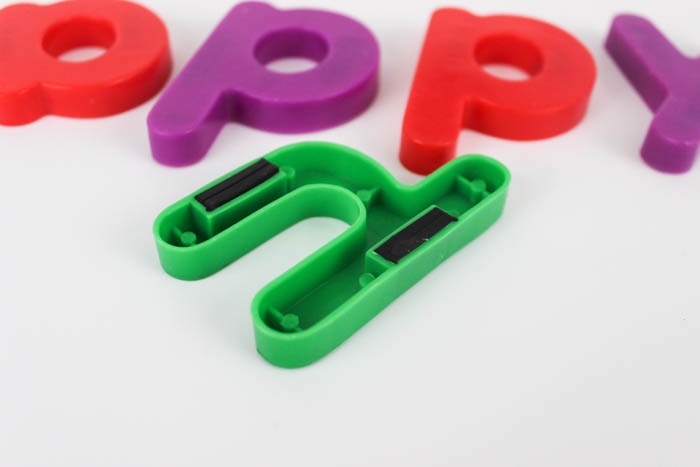
- Fridge Magnets (or other letters)
- Chocolate wafers (or baking chocolate)
I just used my daughter’s regular old fridge magnets for this – and the mold doesn’t wreck or affect them at all! I photographed the letters for “happy” thinking I would do “happy birthday”, but then ended up making these cupcakes for an anniversary and switched to “xo” for the finished product 🙂 “Happy Birthday” will have to wait!
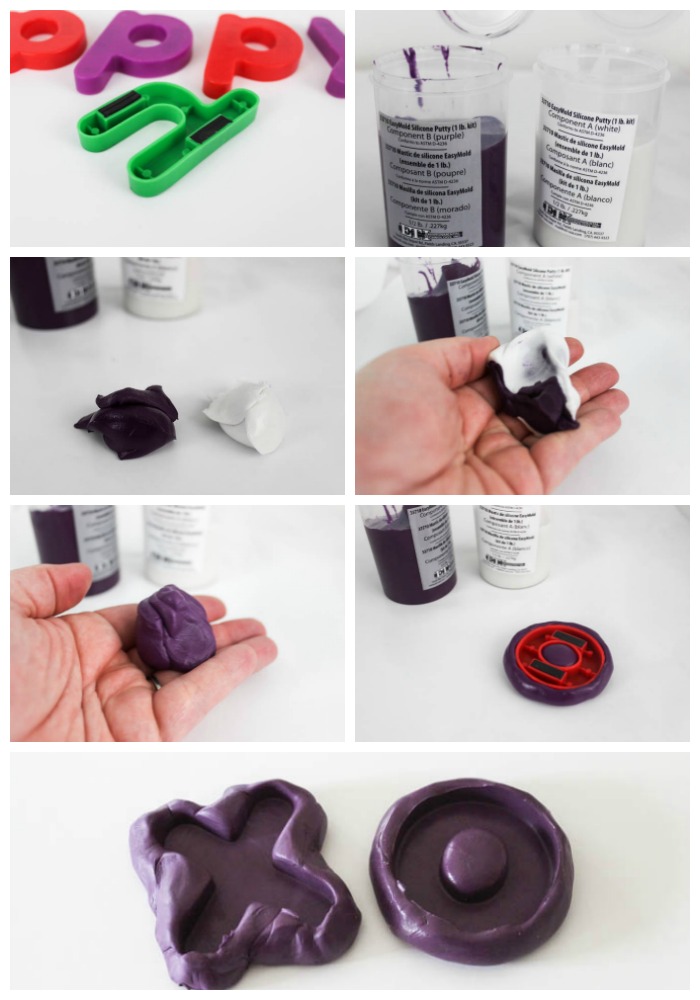
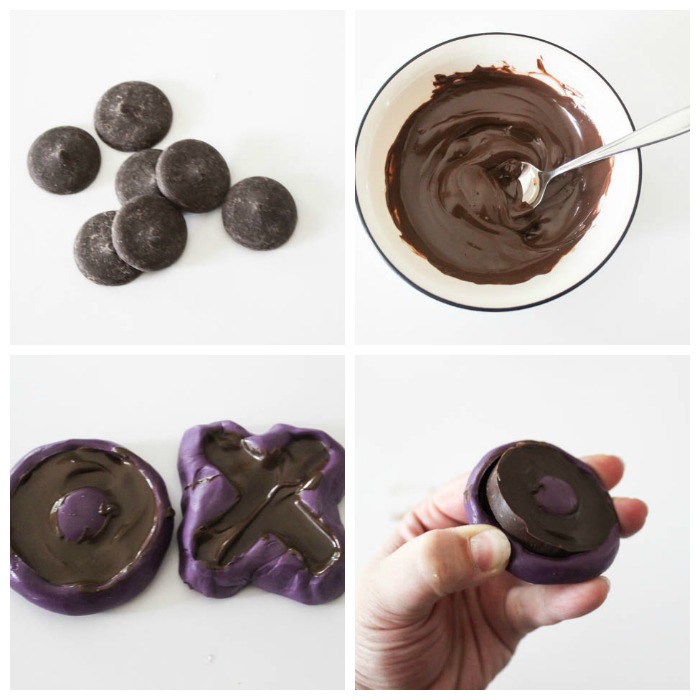
The EasyMold Silicone Putty is a two-part system and comes with a white and purple bottle. You need to take out equal parts of each colour and mix them together quickly. This putty sets crazy fast. Once it’s all mixed, such your letter on top, trying to make it as flat as possible. After only a few minutes, the moods will be set and you can remove the plastic letters.
When you’re ready to make your chocolates, just melt the chocolate as per the directions. If you use the wafers, it took me approx. 12 wafers for each letter. Stick the mold in the fridge for the chocolate to set. When it’s ready just pop the chocolate out of the mold. My chocolates only took a few minutes to set also. I was done all of them in about half an hour and I used the same holds over and over again!
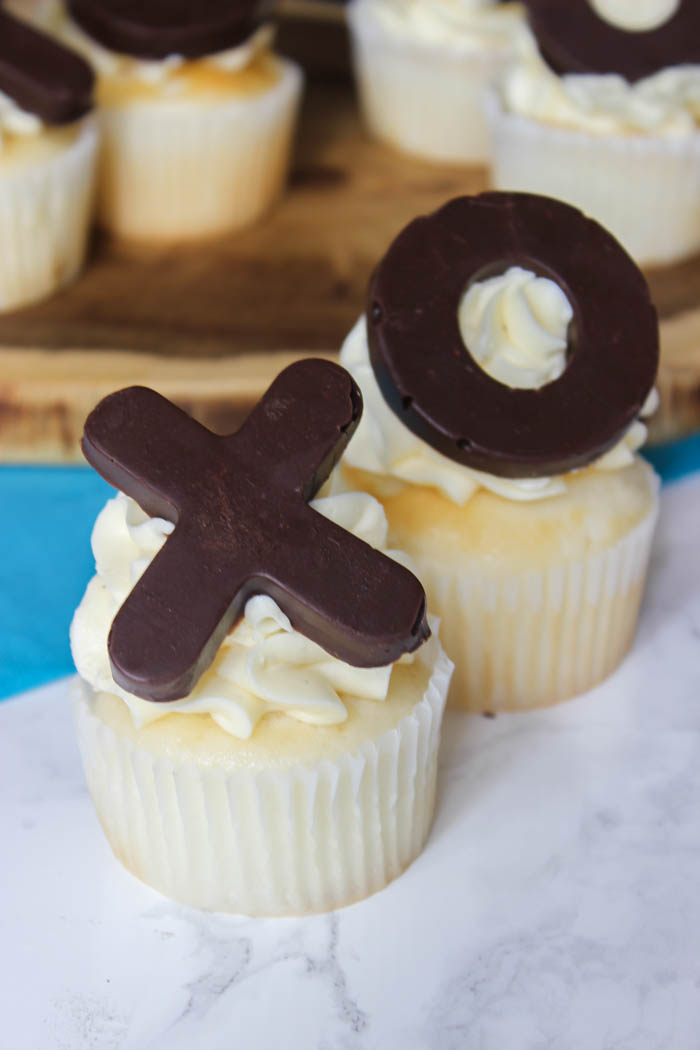
What do you think of our anniversary cupcakes?
What would you spell out with your chocolate letters? Hope you enjoy using your silicone putty!
Lindi is a DIY blogger at Love Create Celebrate that focuses on the home. She lives in Northern Canada where she became a self-taught crafter, decorator, builder, photographer – you name it! Her focus is helping her readers love, create, and celebrate their homes by sharing her favorite DIY furniture projects, DIY home décor projects, and home renovations.

This is really cool. I just bought a mold on Etsy the other day. Fun to see how they are made.Sharing on FB. Thank you for sharing on Merry Monday! Hope to see ya next week!
Kim
so super cute and I can think of so many different uses for them
thanks for sharing
come see us at http://shopannies.blogspot.com
Those are safe for chocolate?