What child (or adult, for that matter!) wouldn’t like to have crayons that spell out their name? See how easy it is to create custom crayons with letters, shapes and more out of melted crayons and a simple DIY silicone mold.
Melted crayon art is a fun trend that you can find all over Pinterest. We’re taking melted crayon crafts up a notch and making customized crayons with our own handmade molds. In addition to names, think of all the fun shapes the kiddos could have fun crafting. Ghosty crayons, snowmen, Peeps or even ornaments; the imagination is truly the limit. With these letters being larger than standard crayons, they’re even easy for little toddler hands to maneuver (and perfect for learning the alphabet!)
If you’ve never made your own molds before, get ready to develop a new hobby. You will love the versatility of making your own molds and you’ll be amazed at the ideas you’ll come up with on how to use them. While we’re using these DIY molds for crayon letters, they can be used for resin casting, candles, recreating missing buttons, soaps, bath bombs and more. The molds are even food-safe so you could make custom chocolates, jello, ice cubes or whatever strikes your foodie fancy.
Supplies for Custom DIY Crayons:
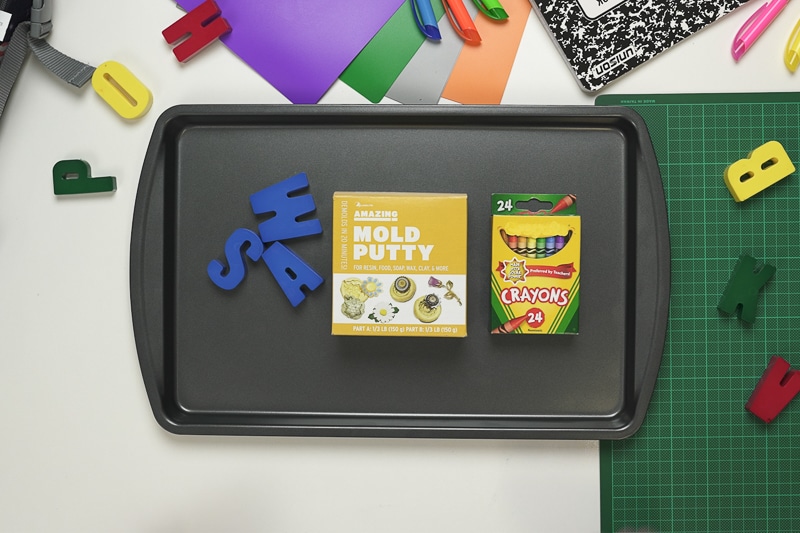
- Letters to create your DIY molds (the size and shape you want your crayons to be)
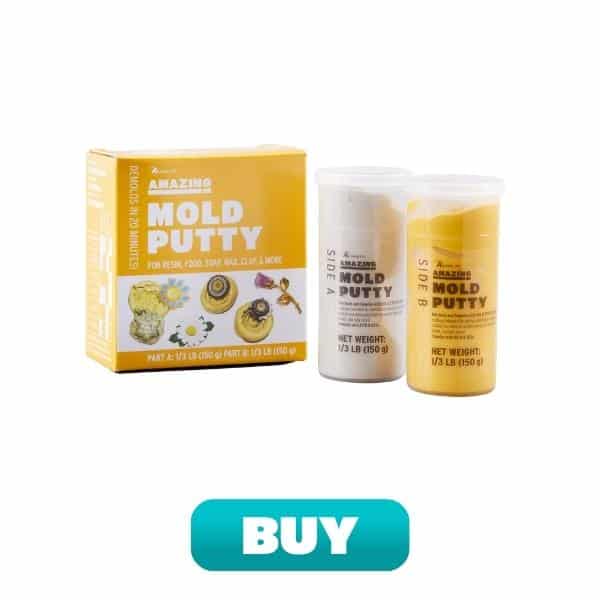
- Alumilite Amazing Mold Putty
- Protective gloves
- Crayon pieces
- Baking sheet and oven mitt
DIY Name Crayons Tutorial – video and written tutorial
How to Create Letter Molds
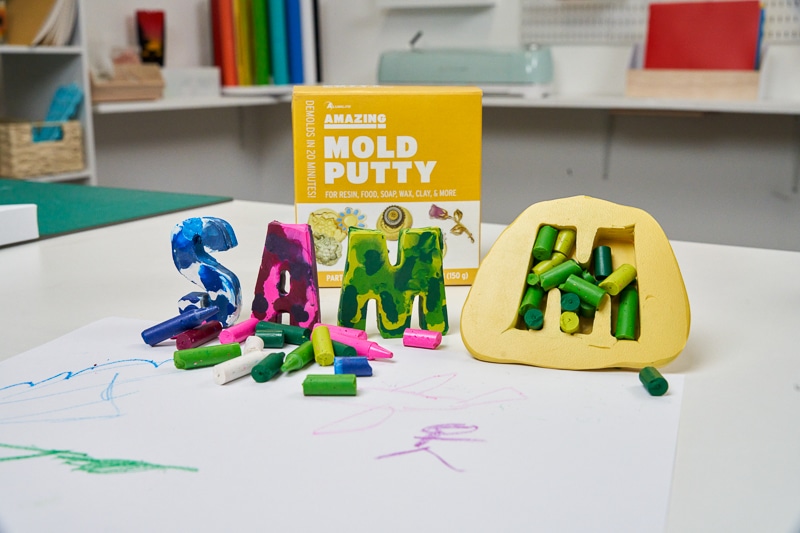
Amazing Mold Putty is a silicone based mold making product that allows you to create a mold and replica of almost anything. It’s easy to use and cures in 20 minutes, so you will be crafting with your new molds in no time.
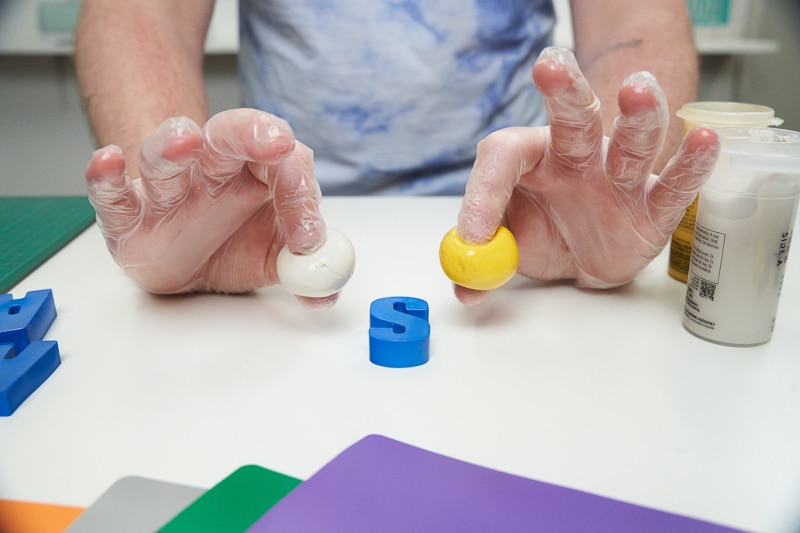
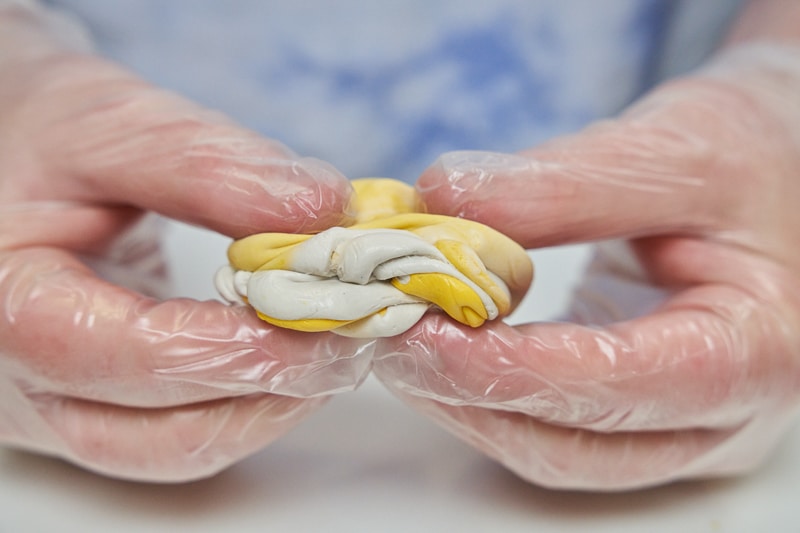
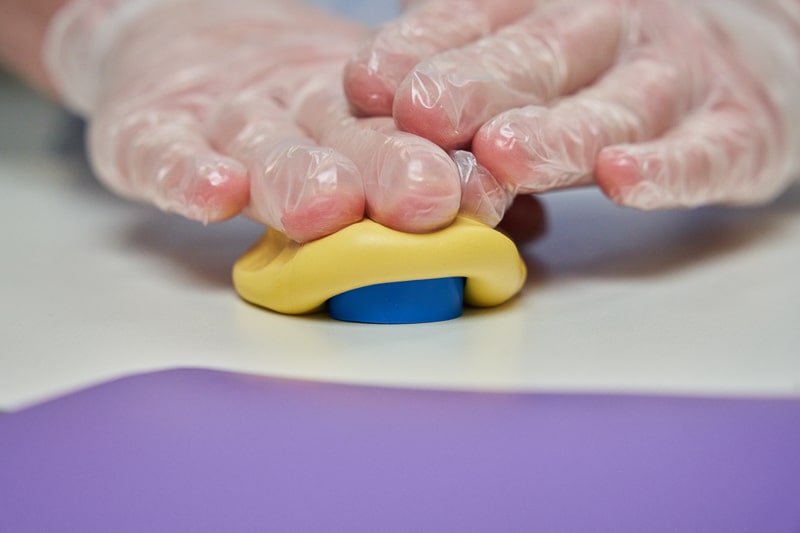
You always want to wear gloves when working with mold putty. Place your letter master (that you will use to make the mold) onto a flat, protected work surface. To determine how much mold putty you will need, cover half of the letter with just side A of the putty. After you’ve covered one half with side A, remove it, roll it into a ball and then you know you need to get the same amount from side B to cover both halves of the letter. Once you have equal amounts of sides A and B, combine it thoroughly until the color is completely uniform.
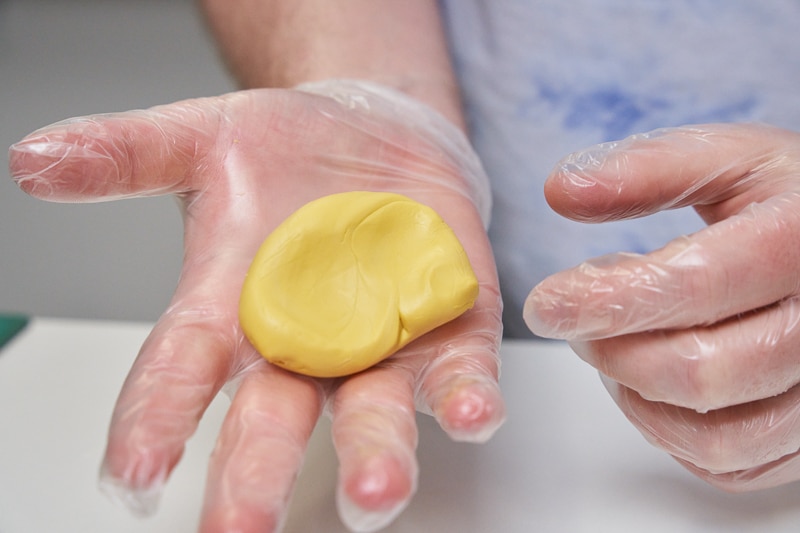
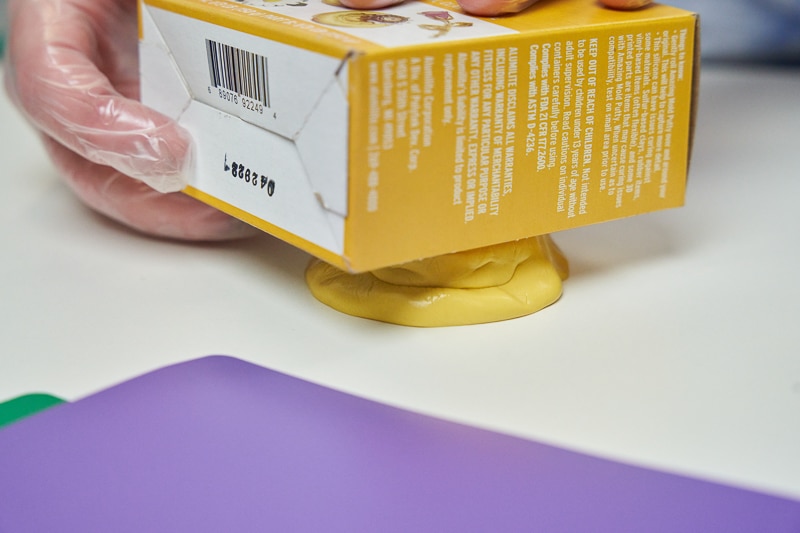
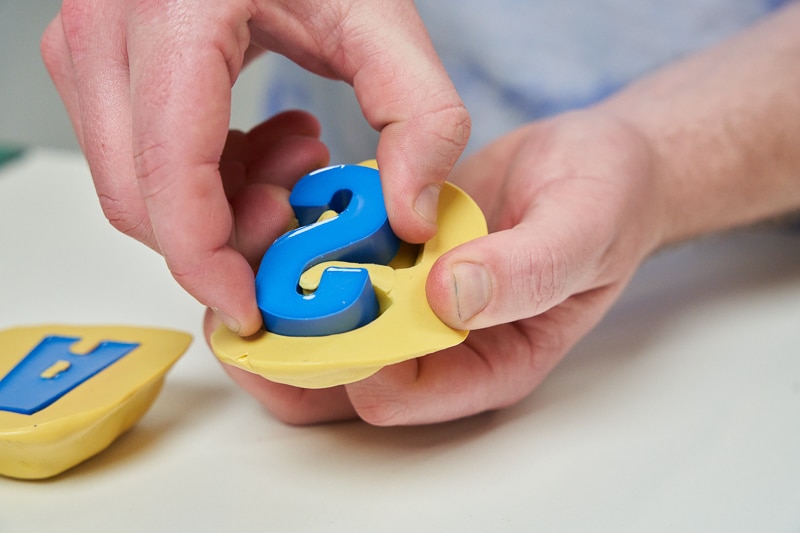
Press the combined mold putty over the entire letter, taking care to get the putty into the letter’s nooks and crannies. Seal the edges all the way onto your work surface. Press the covered letter with a box to create a flat bottom surface. Allow to cure for 20 minutes. Once cured, pop the letter out and you have your mold. It’s that simple!
How to Melt Crayons
The best way to melt crayons is in the oven. Preheat your oven to 200 degrees F. Pick out whatever colors you’d like each crayon letter to be. Get creative with fun color combos, or stick with traditional solid colors. This project is a great use for all of those broken, old crayons that you’ve never gotten around to sorting through! Peel off the paper wrappers from the crayons (you can soak them in water for a few minutes before removing to make sure all of the glue is dissolved).
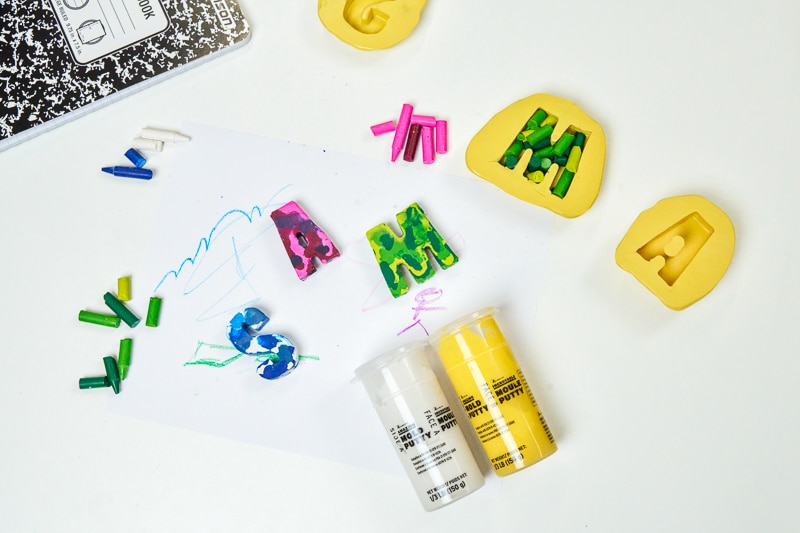
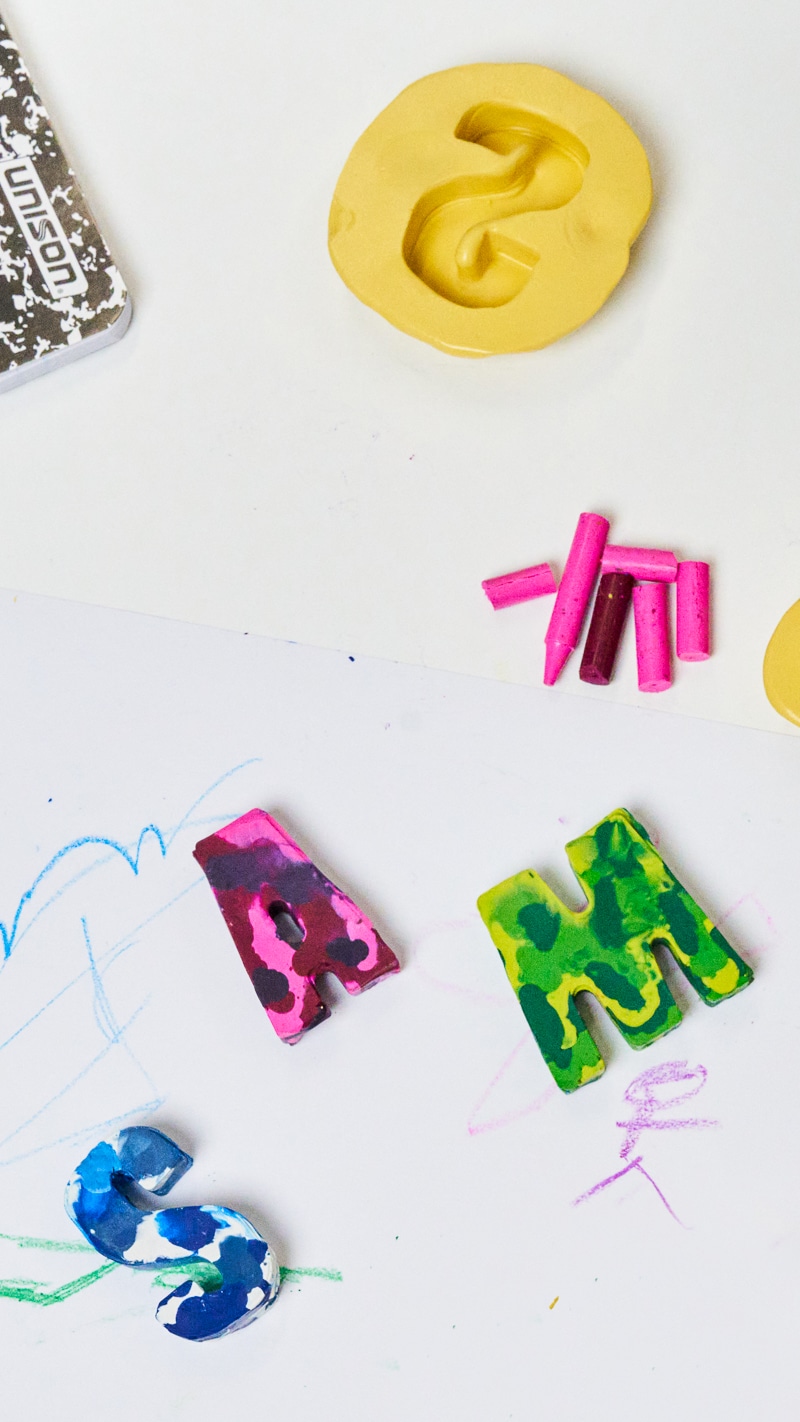
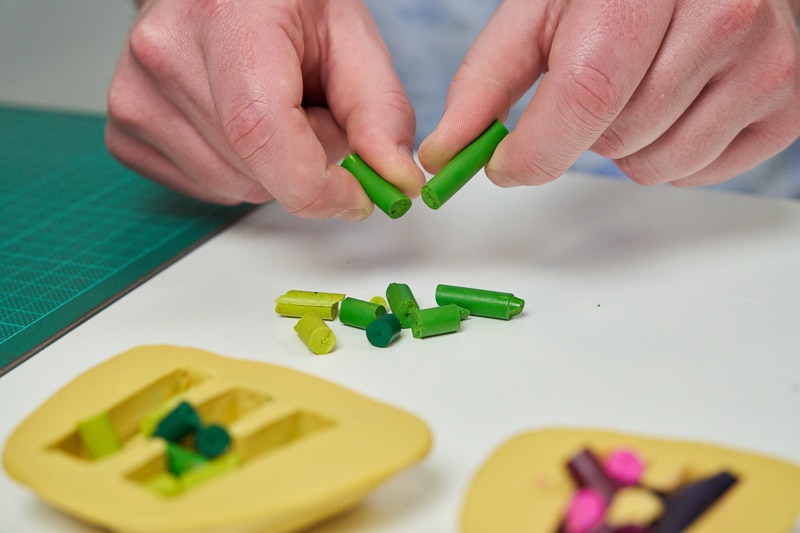
Amazing Mold Putty is naturally non-stick, so there is no need to use any kind of cooking spray or mold release. Break up whatever colors you’d like for your melted crayon letters and place the broken crayons in the molds. Place the crayon filled molds onto a baking sheet and bake for around 10 minutes. Since ovens vary, check to make sure your crayon letters are thoroughly melted before removing from the oven. Once removed, allow to cool completely.

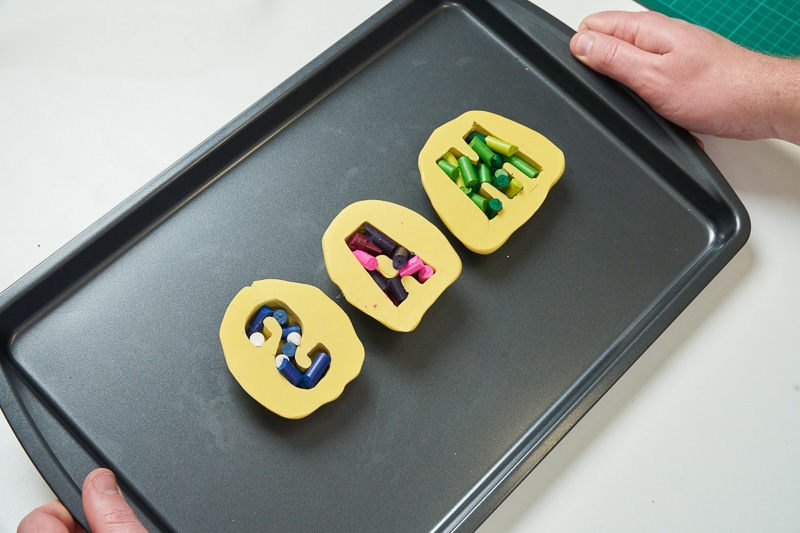
Then for the fun reveal… pop out each letter and see what fun designs were created with all of those crayon pieces!
There are so many fun ways to use these DIY crayons. They would make fun party favors, back to school projects, stocking stuffers and so much more.
What type of customized crayons would you want to make?
Lydia Nordhoff is the creator of Lydi Out Loud, a blog where she shares her adventures in crafting and DIY. Lydi Out Loud has been featured on the Home Depot Blog, House Beautiful, Good Housekeeping, Southern Living, Elle Decor, Brit + Co., Buzz Feed, Cricut and Somerset Home Magazine.


Leave a Reply