Hey everyone! This is Lindi, from Love Create Celebrate. I’m excited to be back sharing another great DIY project. Ever since I made my first concrete project, I have LOVED working with it. I often use a product that sets in less than an hour, making the concrete process so rewarding right away! (read: I’m too impatient to wait… lol). Hope you like these concrete and resin planters!
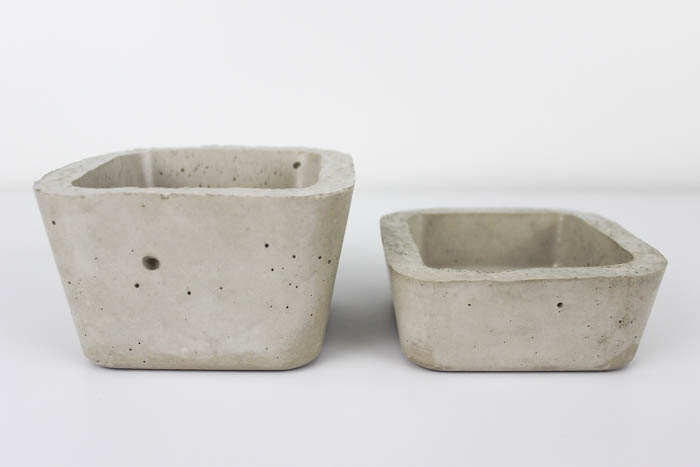
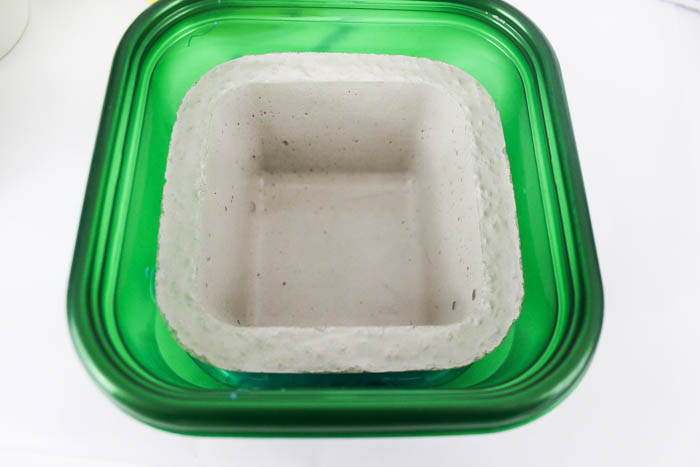
For this project, I started by making two concrete planters that were different sizes. I used this tutorial to make them in less than an hour. If you had two vases or cups that were the same size on the bottom those would work too – the shorter one will act as the base for the planter.
Once you have your bases ready, here’s everything you need to make the concrete and resin planter:
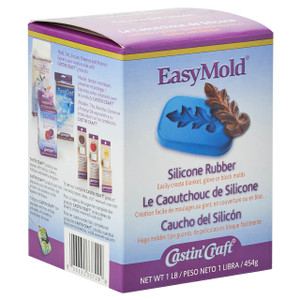
- Easy Mold
- A plastic container to mix in
- A plastic container slightly bigger than your larger concrete piece
- An X-acto knife (optional)
- Strong tape
- Small wood clamps
- EasyCast Clear Castin Epoxy
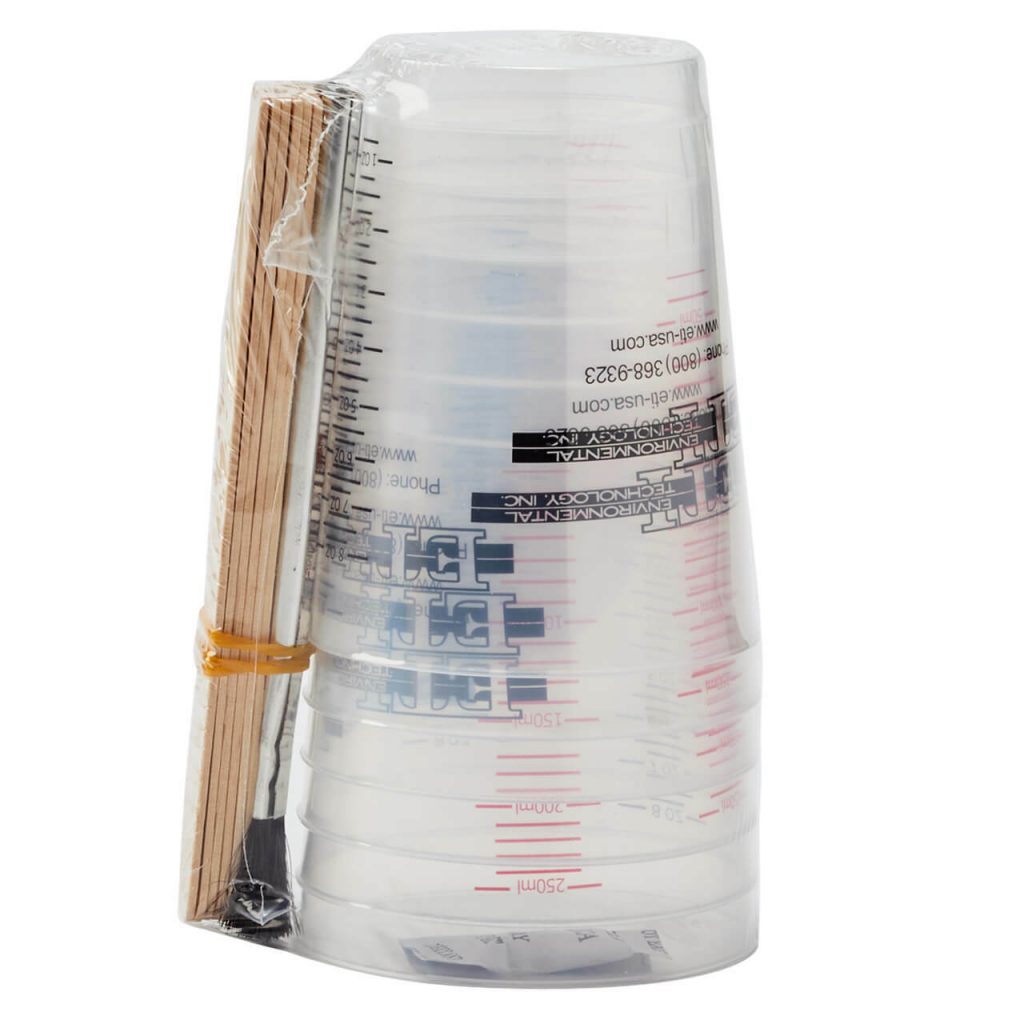
- 8oz mixing cups (2)
- Stir sticks
- Blue transparent resin dye
- Wet sandpaper
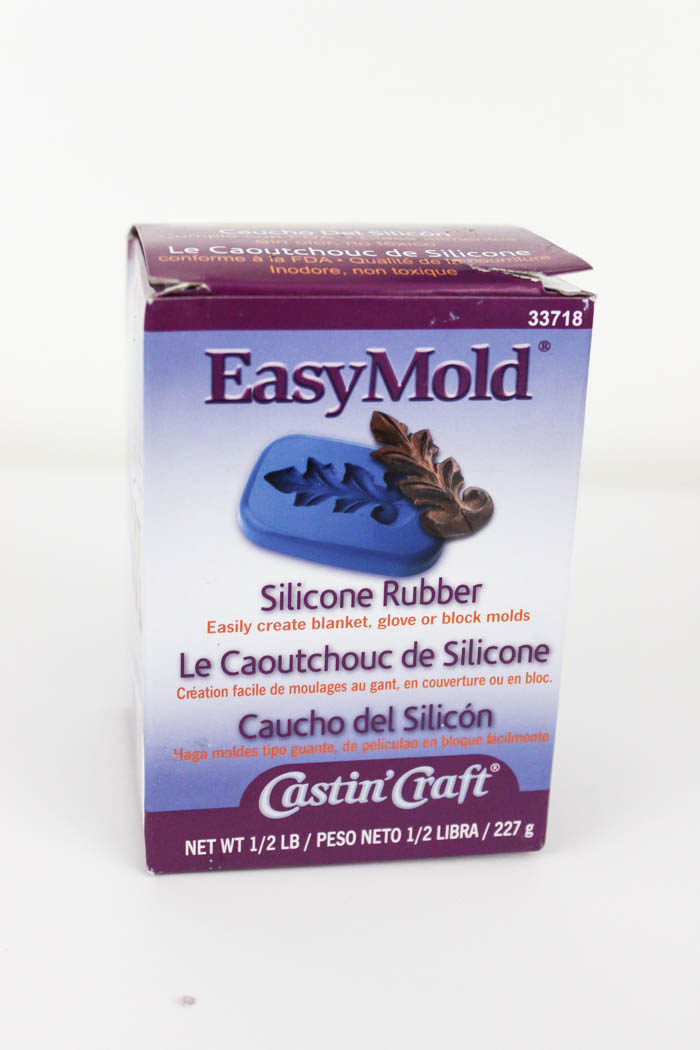
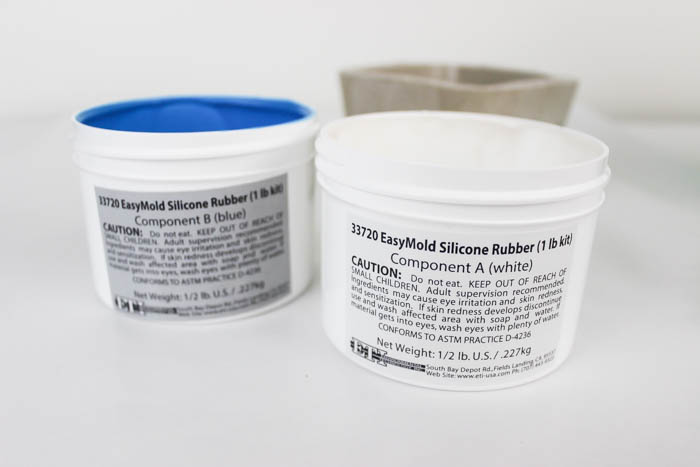
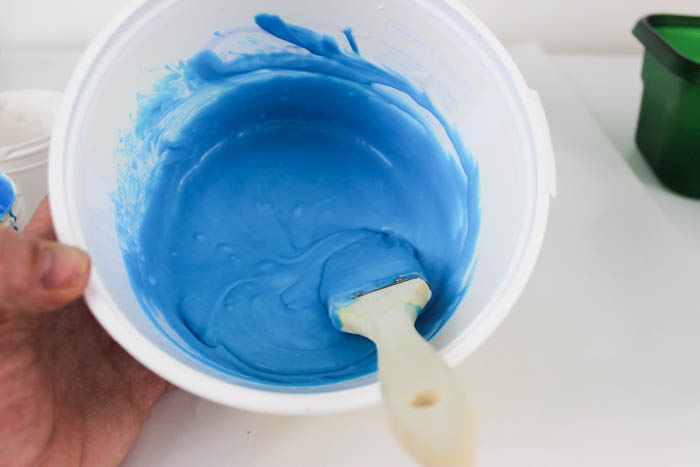
Start by mixing the EasyMold Silicone Rubber Parts A and B together, as per the instructions. I used the entire 1lb kit and the 1/2 lb kit.
Once its mixed, put a small amount in the bottom of your container, then place your larger concrete planter inside (you will make a mold of this). Add your EasyMold Rubber mix around the edges, top and inside of the piece, until it is completely covered. I put a lot of my mixture inside of the planter because I wanted to make sure it was weighted down. Let it set according to the directions on the box.
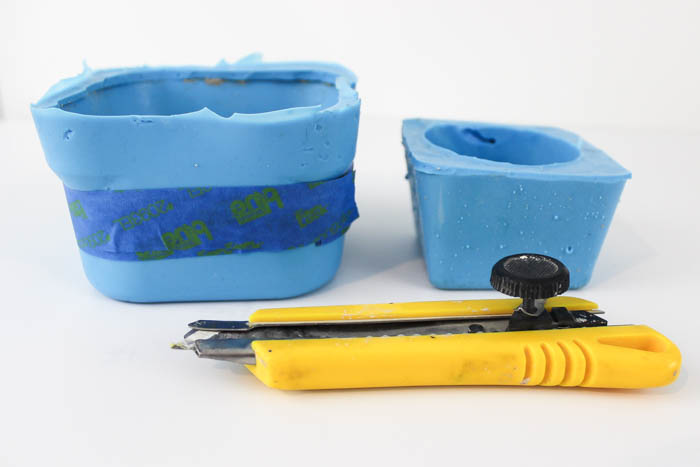
Once the mold is set, use an x-acto knife to cut the top and bottom of the mold apart. I also used the knife to cut off the top edges so that I had space to pour my resin afterwards.
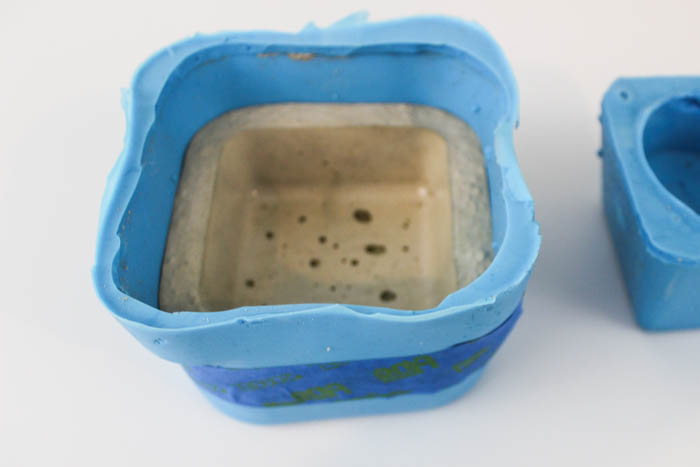
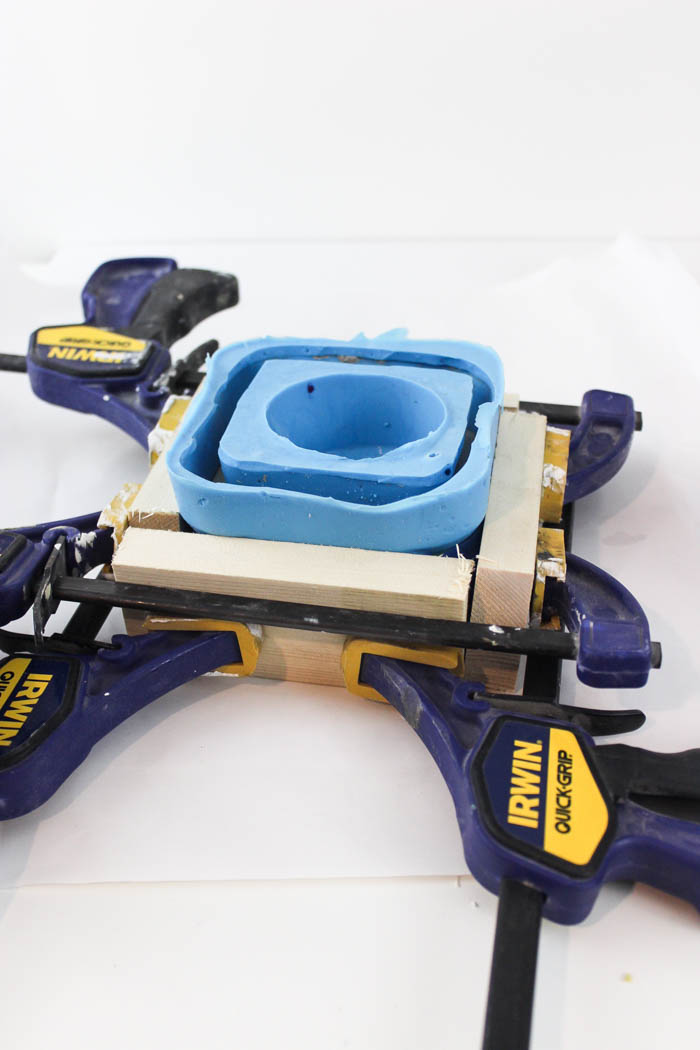
Your smaller planter should now fit snuggly into the mold you just made. I was really worried about having the resin leak down the sides or down the inside, so I taped around the top of the concrete so make sure the mood was snug, and then…
I also clamped around the edges to doubly make sure that it was all tight! The last step is to put the inside of the mold back inside of the small planter. Make sure to push it down so that it is tight again.
Now it’s time to mix your resin. Mix the EasyCasrt according to the directions on the package, making sure to mix it in one cup, and then transfer it to a second cup and mix again. I made 8oz (4 oz of part A and B), but I only needed about 4 oz total.
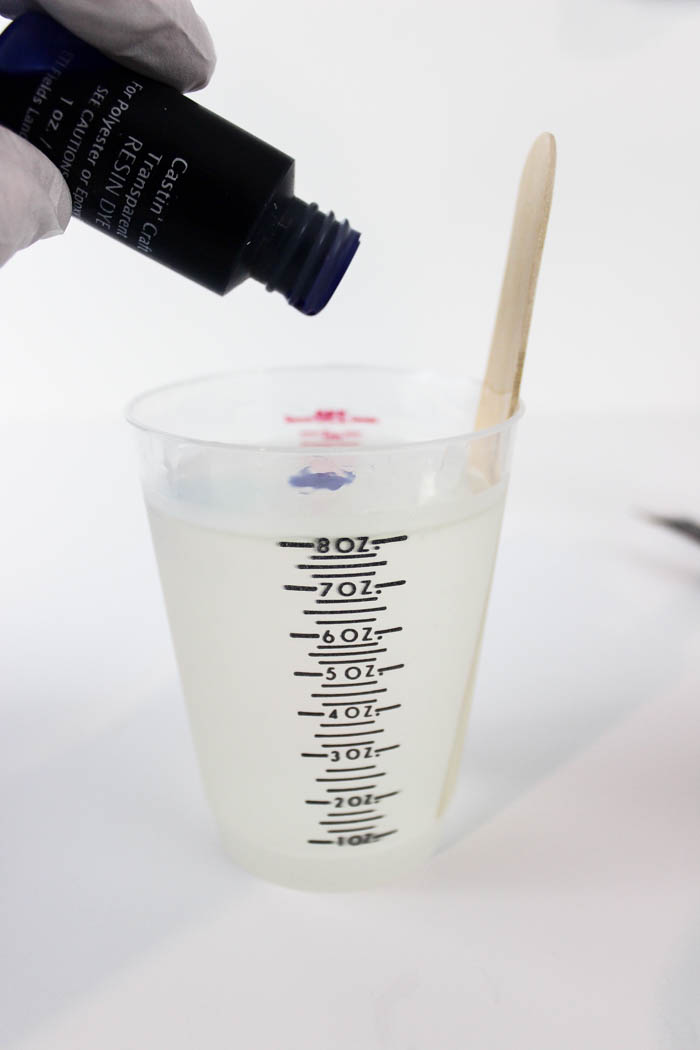
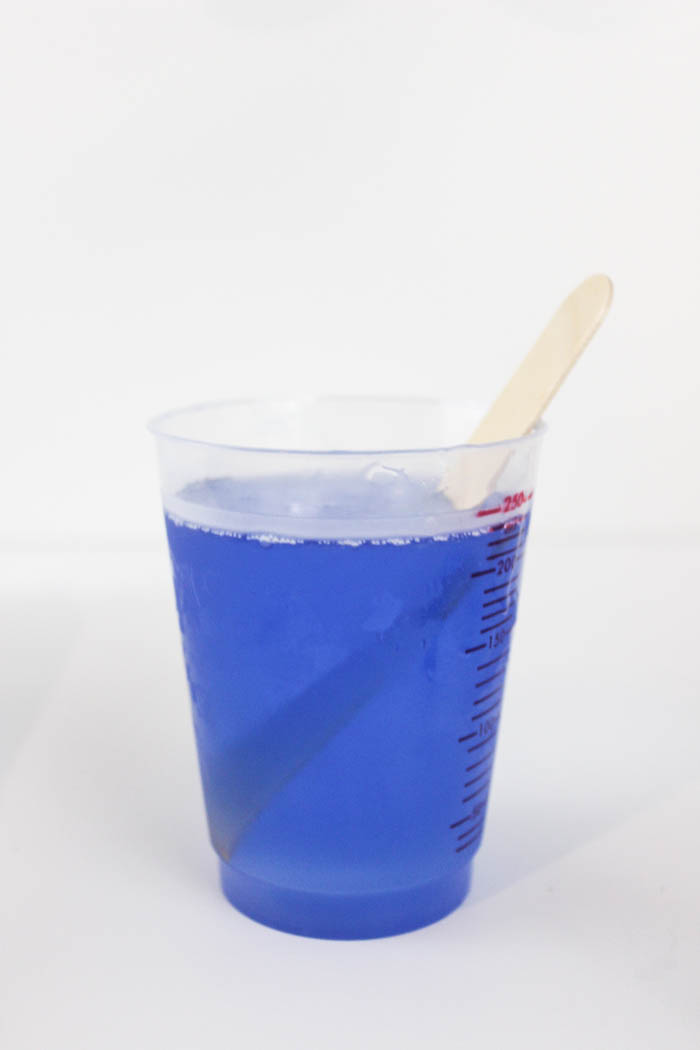
Once the resin was mixed, I added 10 drops of the transparent dye (so if you mix 4 oz, you may only need half as many drops).
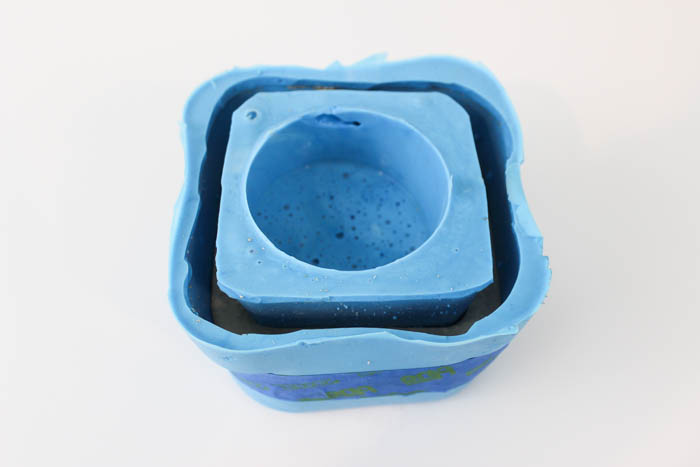
Pour the resin mixture into the gaps of your mold until you reach the desired height. It is a self-leveling product, so it will level itself out. Pour until you are happy with the height. Let the resin cure overnight as per the instructions on the package.
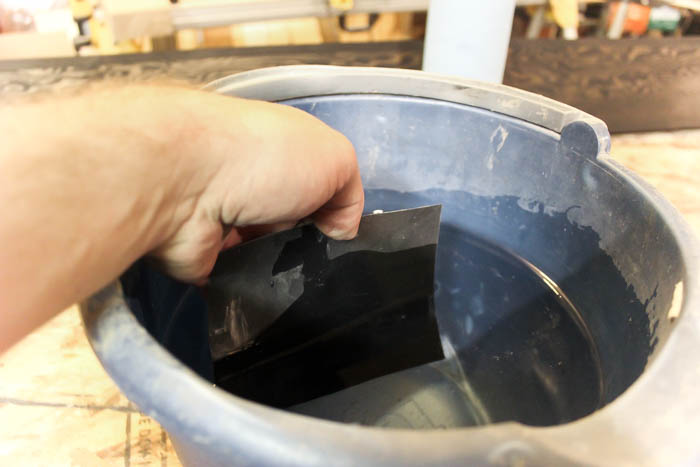
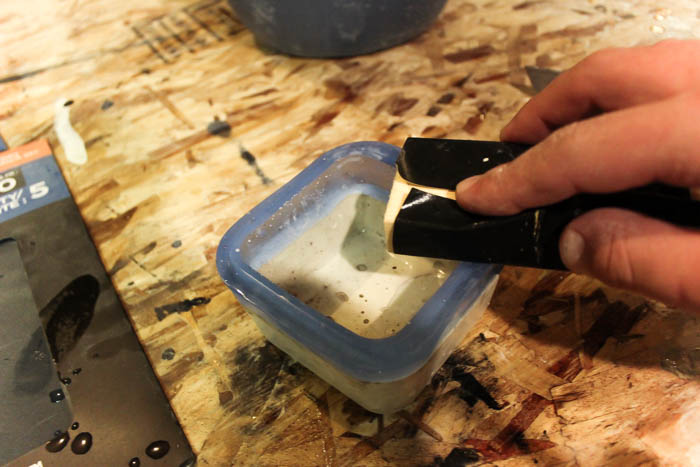
When the piece comes out, you can sand down the top of the planter so that it looks shiny and beautiful. The best way to do this, is by wetting some wet sandpaper.
We used our sander to sand down the first layer, before starting the wet sanding.
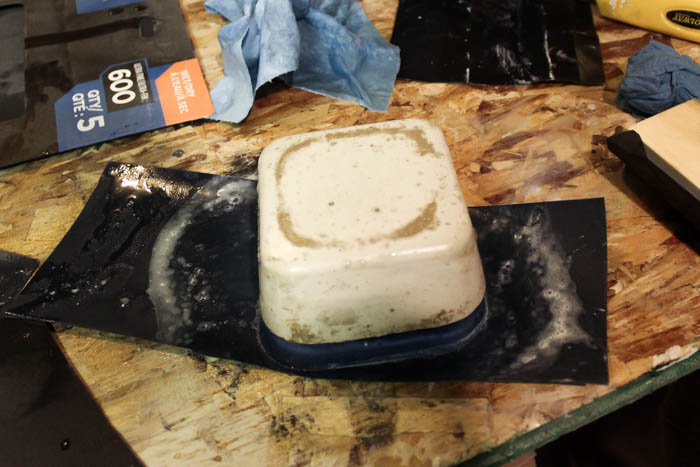
For the wet sanding, we found that using a circular motion helped get a smooth result.
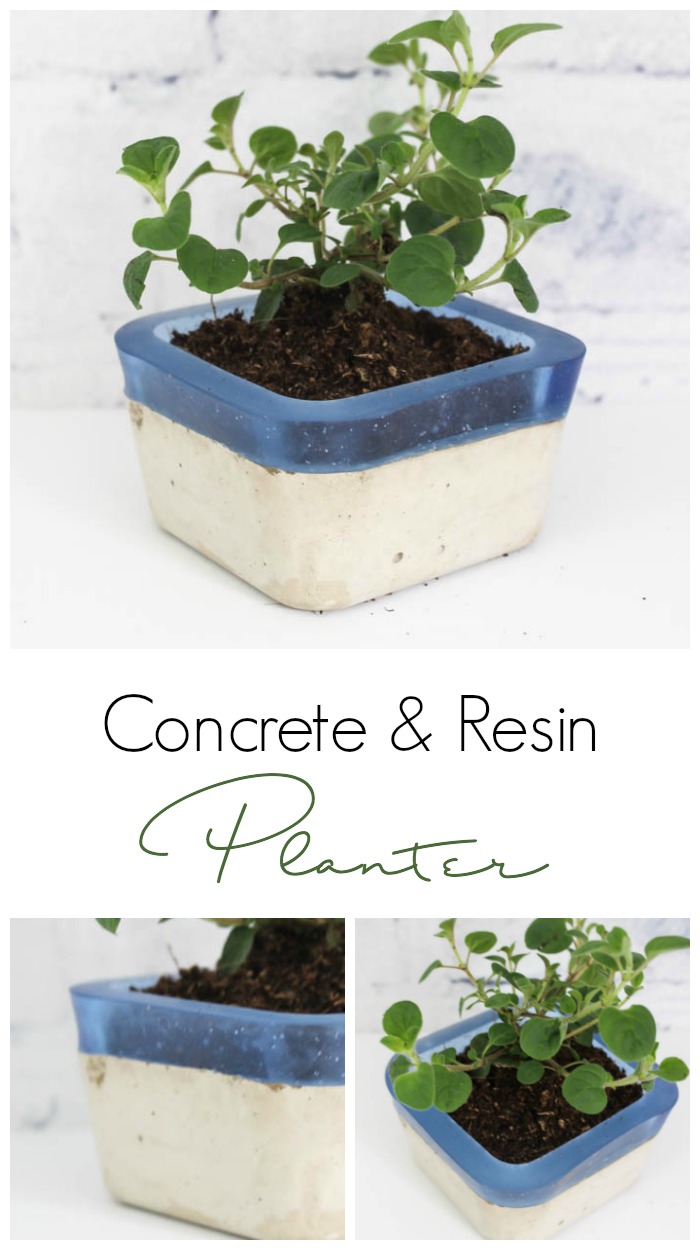
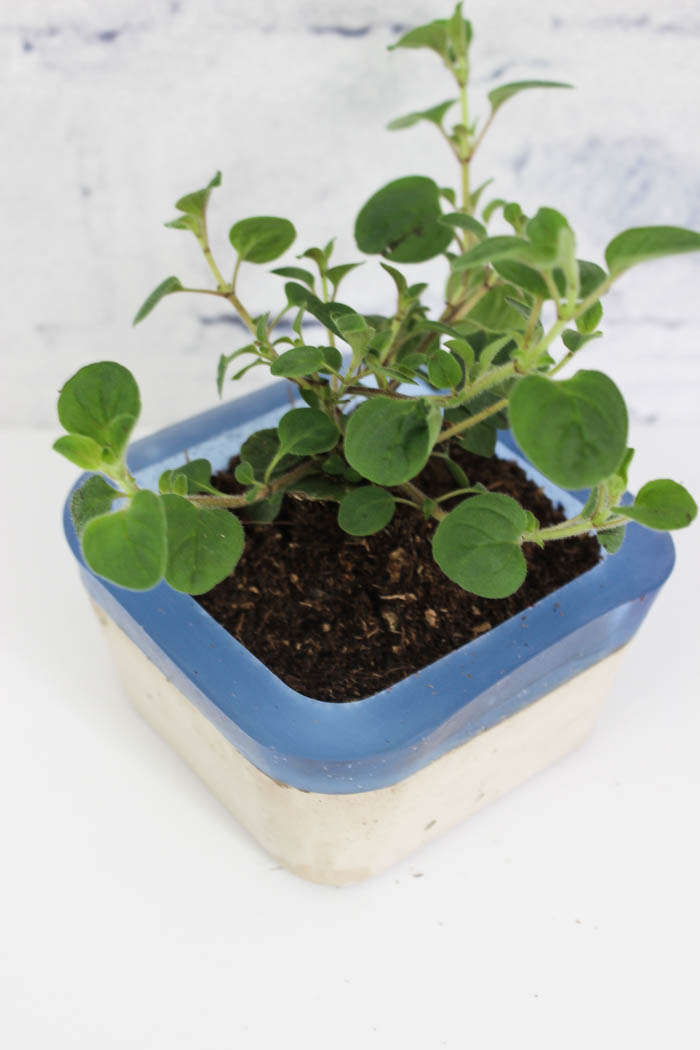
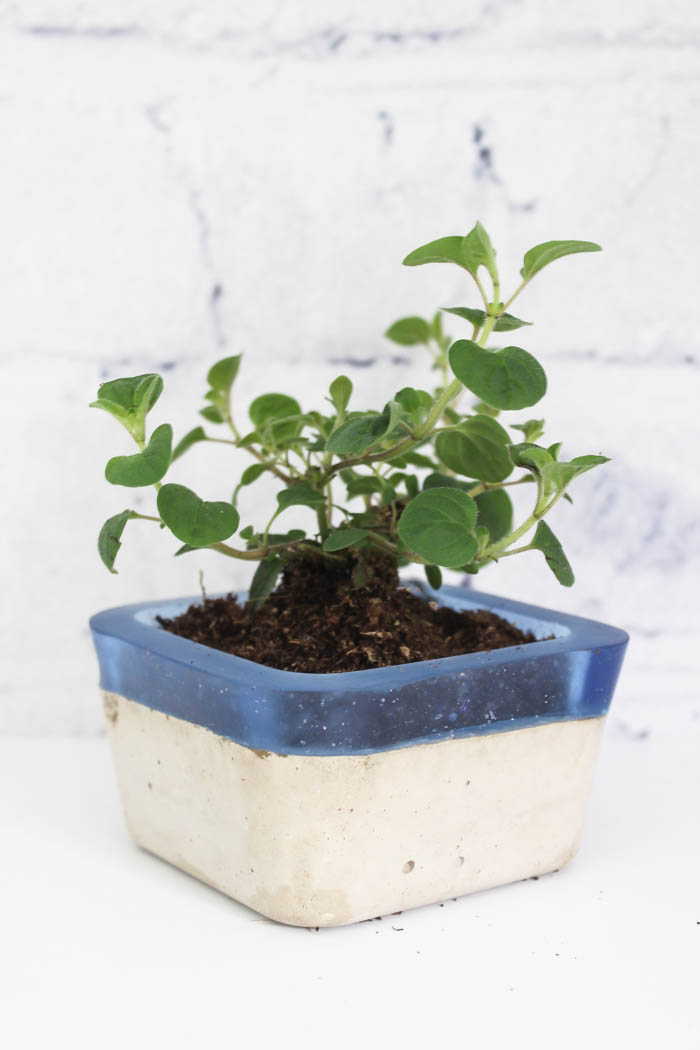
Here’s the finished concrete and resin planter…
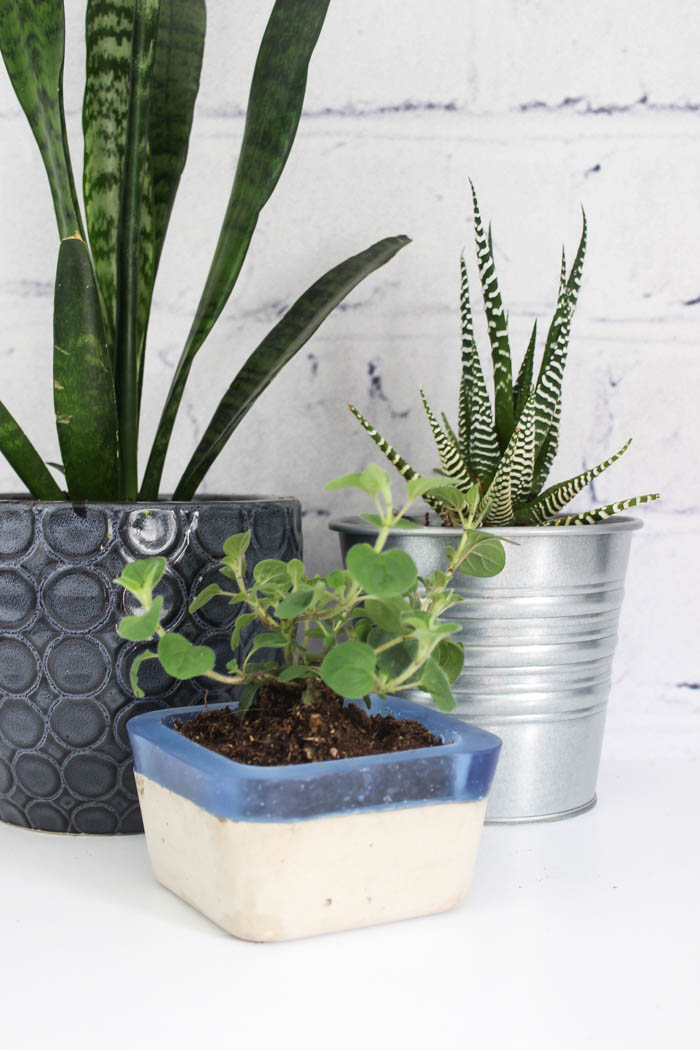
I love the looks of this concrete and resin planter beside my other planters on the counter. I’m thinking I may add green dye to my next one 🙂
Lindi is a DIY blogger at Love Create Celebrate that focuses on the home. She lives in Northern Canada where she became a self-taught crafter, decorator, builder, photographer – you name it! Her focus is helping her readers love, create, and celebrate their homes by sharing her favorite DIY furniture projects, DIY home décor projects, and home renovations.



Lovely Lindi! Love the combination of the rough cement with the smooth and transparent resin. The blue colour you made it perfect!