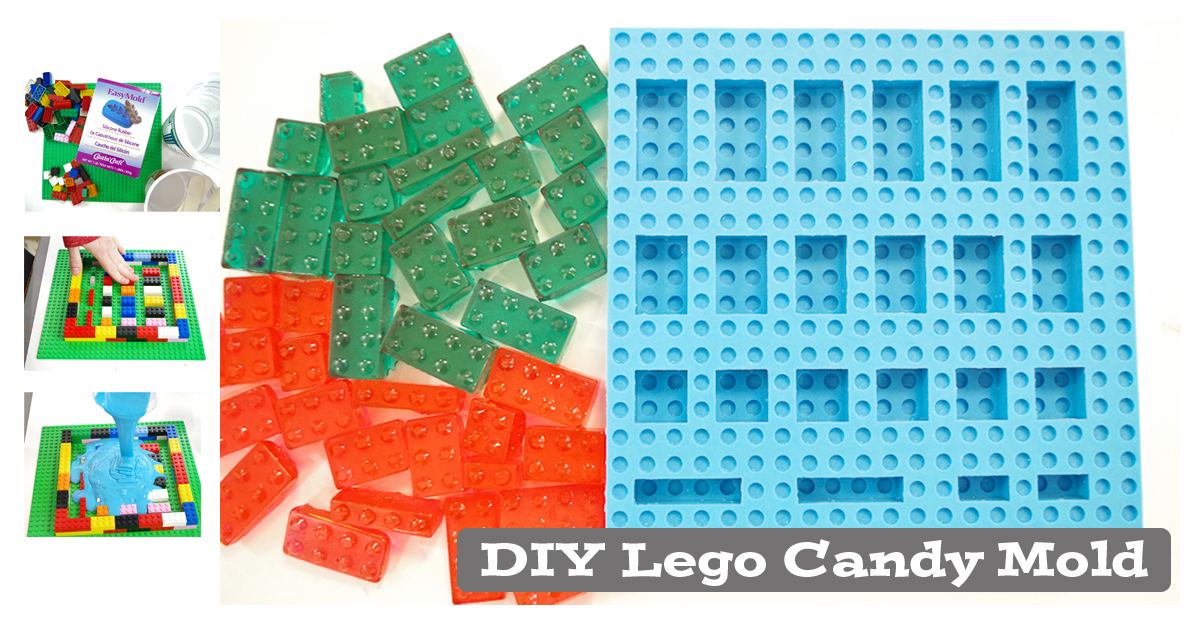
 One thing that my kids really love are Legos, and it occurred to me that it might be fun to have a Lego candy mold around the house. I’m thinking of making a Lego cake for my son’s birthday and these will be perfect to cast chocolate or candy blocks for decorating the cake. Here’s a tutorial on how I made the Lego candy mold!
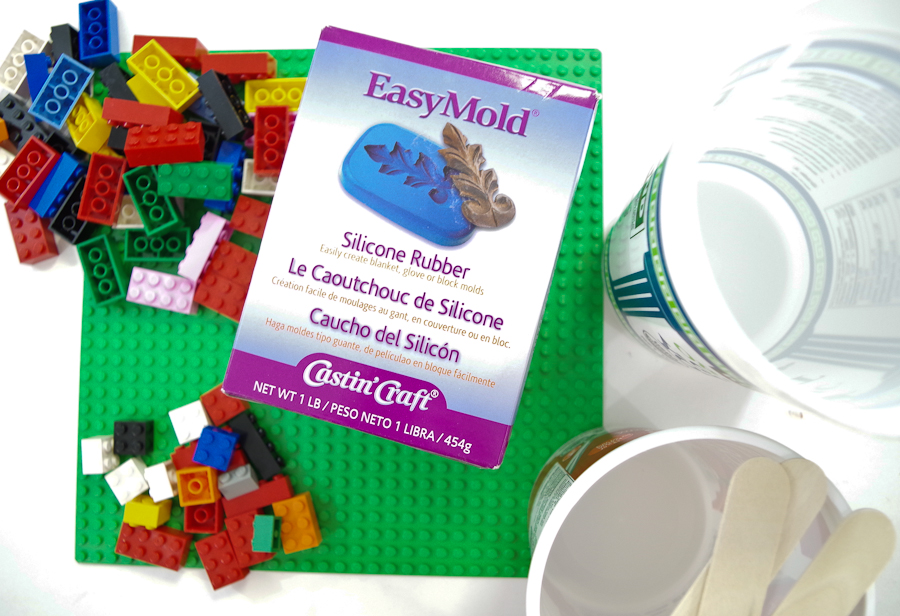
SUPPLIES:
- Lego building blocks
- Lego base plate
- EasyMold Silicone Rubber
- Large disposable containers (at least two)
- Stir sticks
- Vinyl gloves
Building the Form:
The first step is to build the Lego form that will hold the silicone rubber. To do this I just used the 2×4 blocks to build a square on the base. You will need two layers.
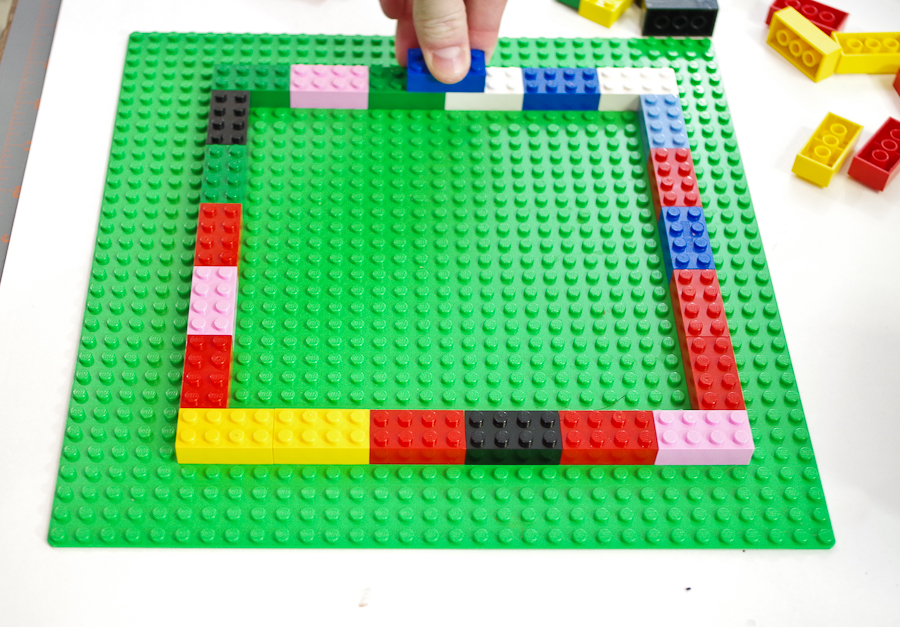 I staggered the second layer with the first so that the seams wouldn’t be the same. This just makes the walls stronger.
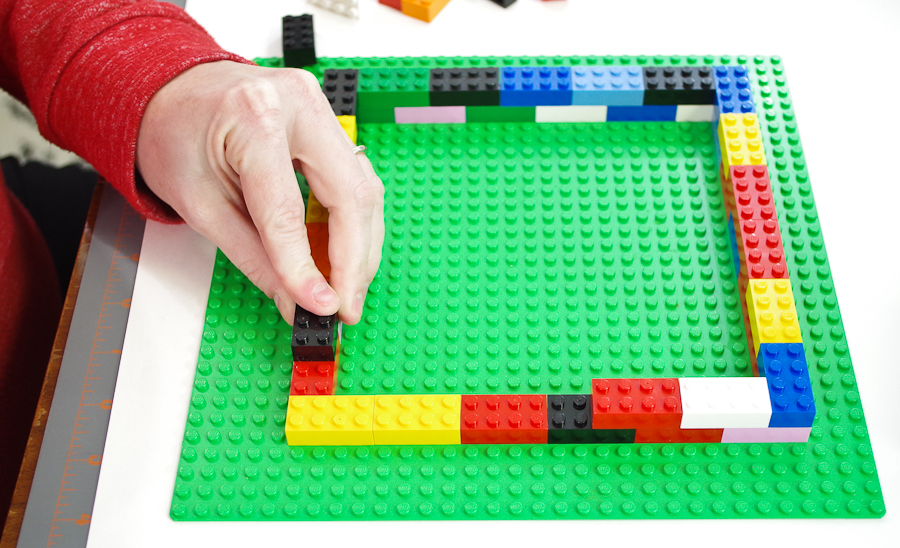
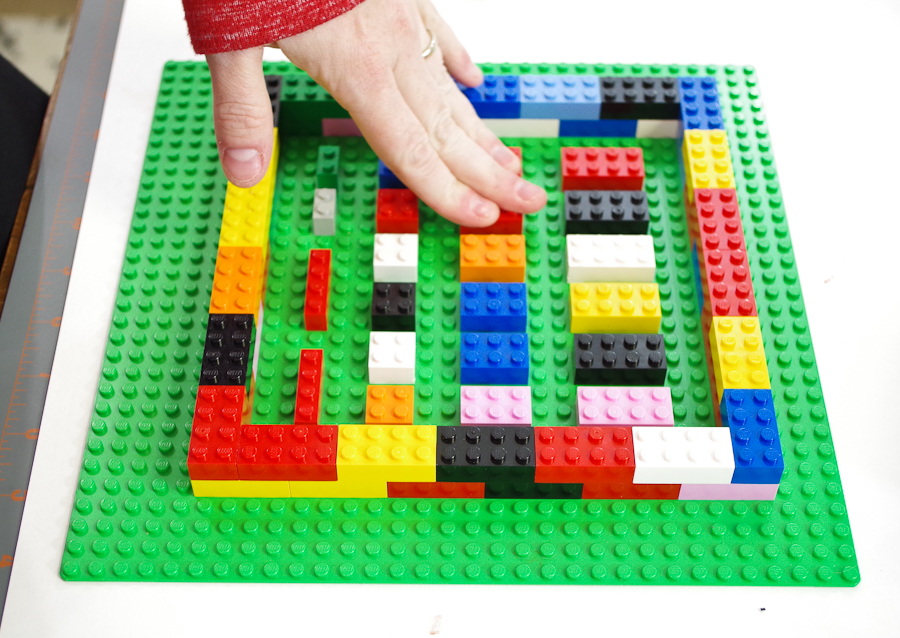
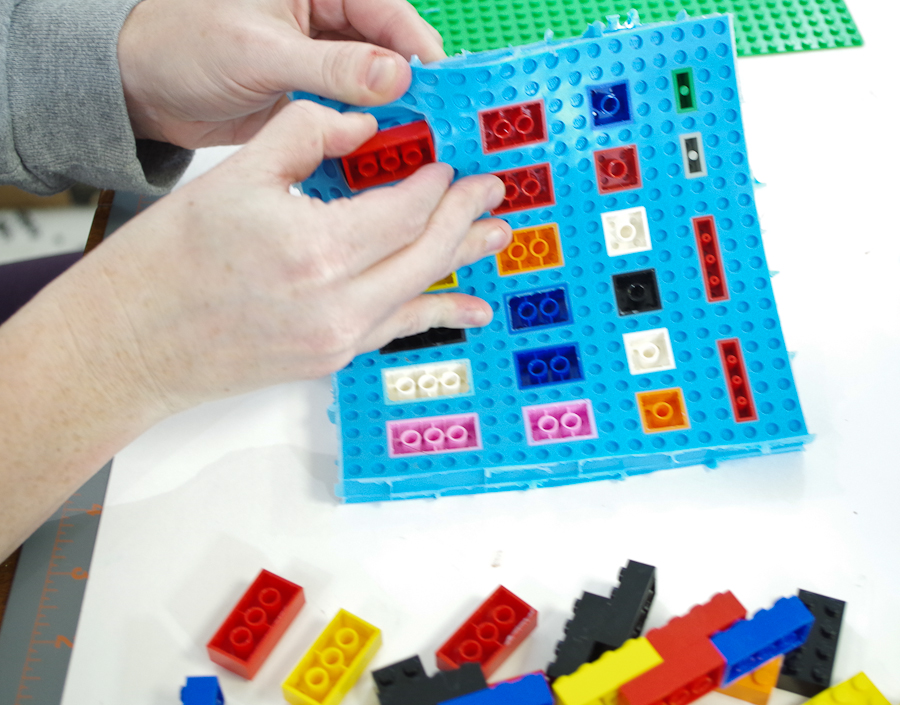
Next, place the blocks that you want to have molds of within the square. I knew I just wanted the basic sizes, so I placed them evenly spaced within the square frame.
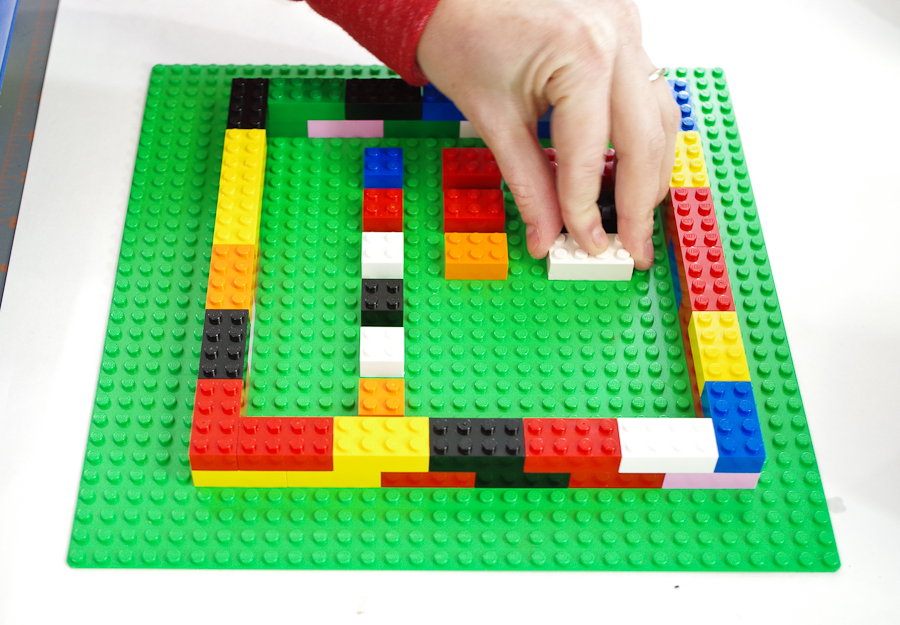 Once they are all in place, press them down firmly and make sure they are all secure.
Pouring the EasyMold Silicone Rubber to make the mold:
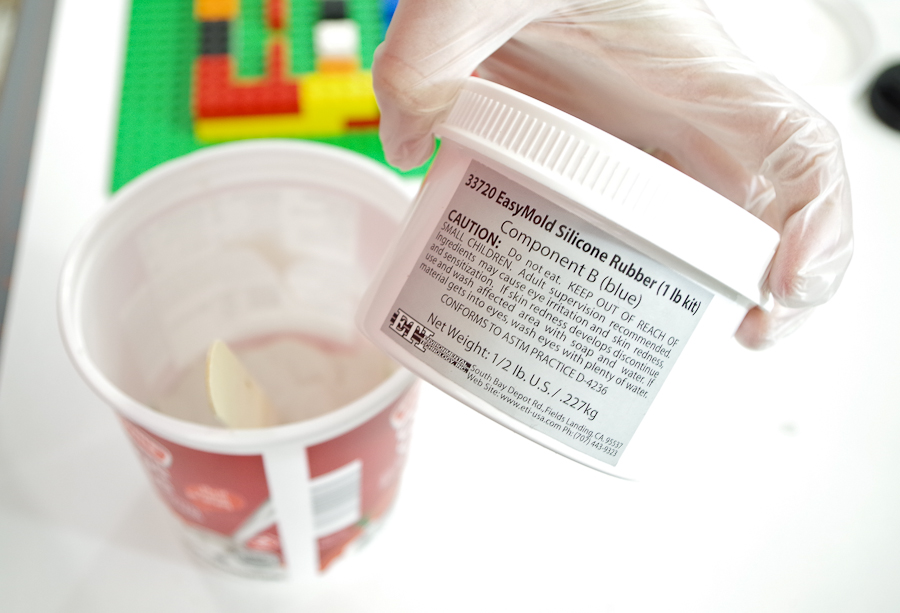
I used one 1 lb. package of the EasyMold Silicone Rubber to make my mold and it was the perfect size. If you follow the instructions in the package it will tell you how to figure out the amount you need.
Put on your vinyl gloves and grab part A from your box of EasyMold Silicone Rubber.
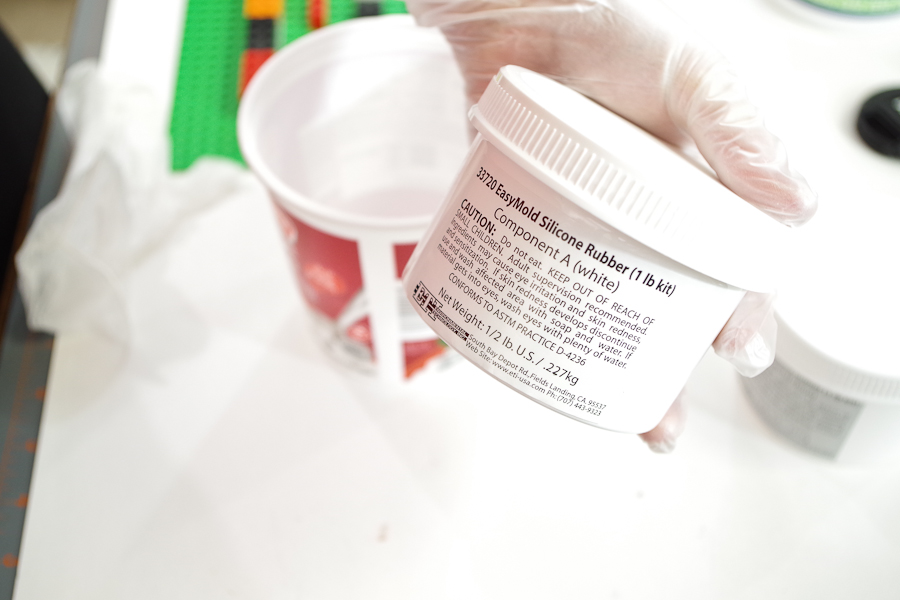
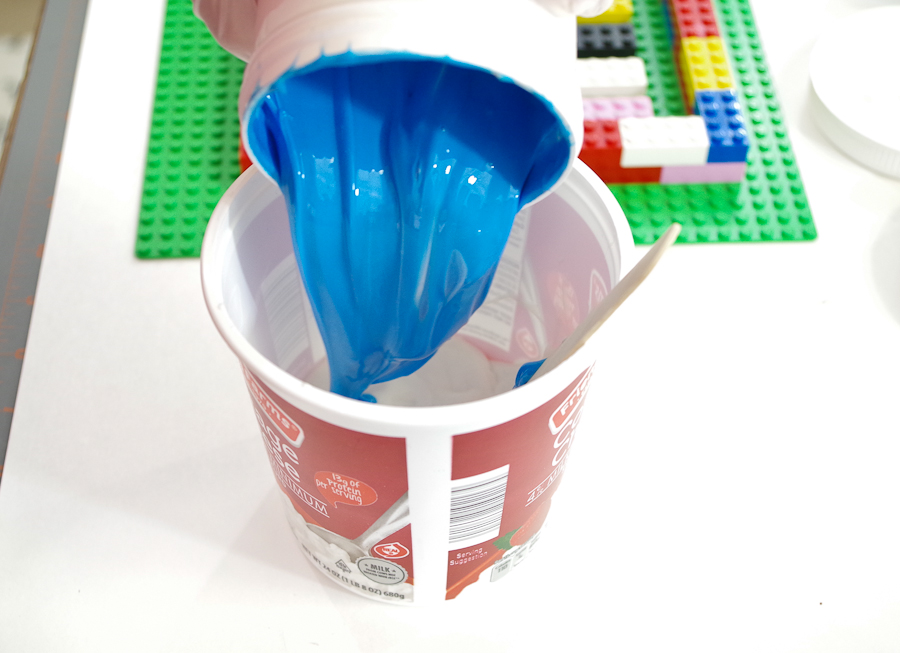
First, pour part A into your disposable container. I used an old cottage cheese container that had been thoroughly cleaned and dried.
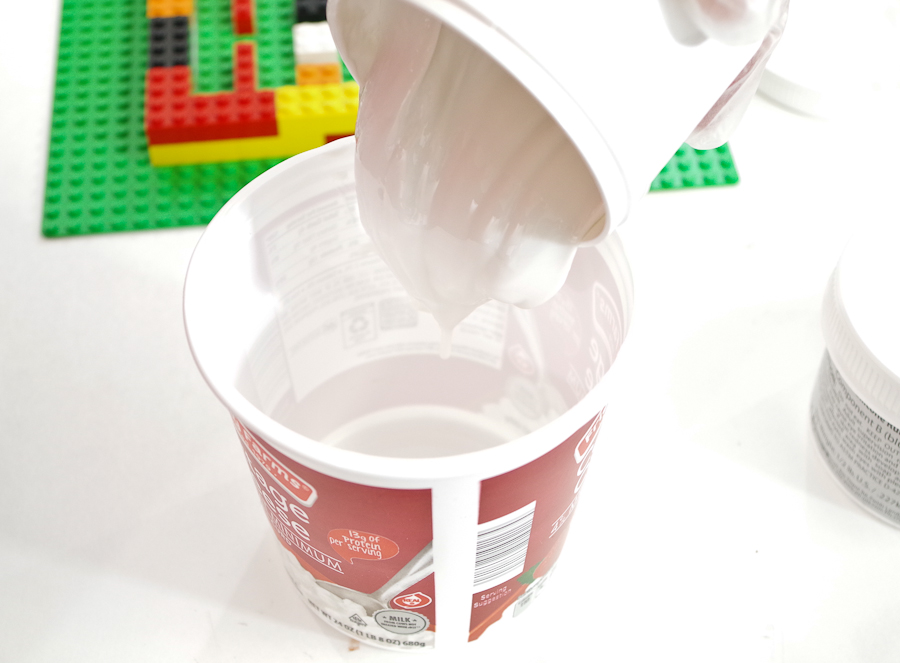
Next, grab part B from your box.
Pour part B into the same container.
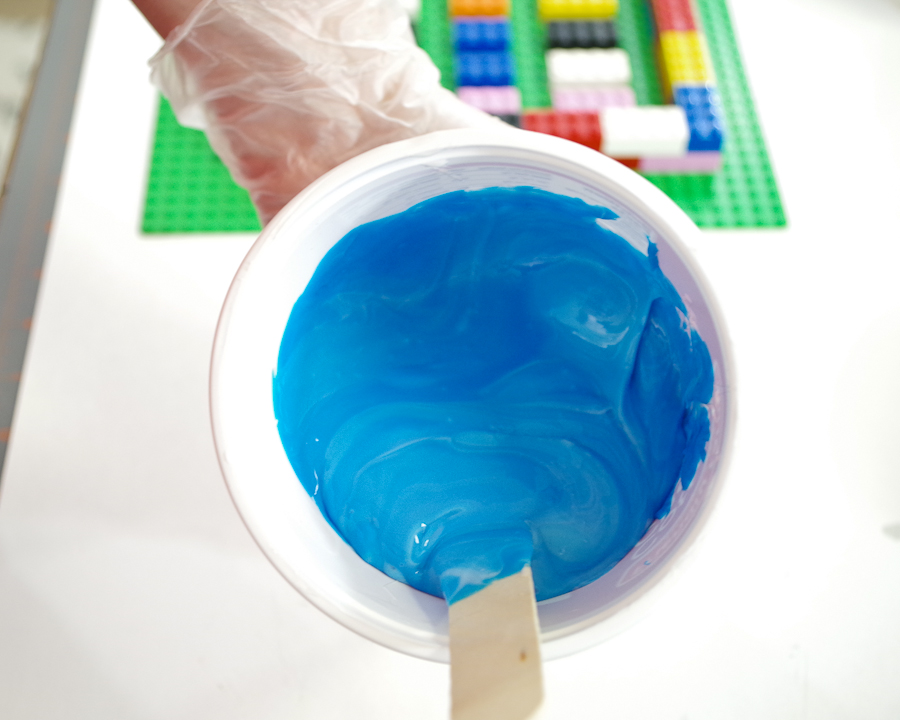
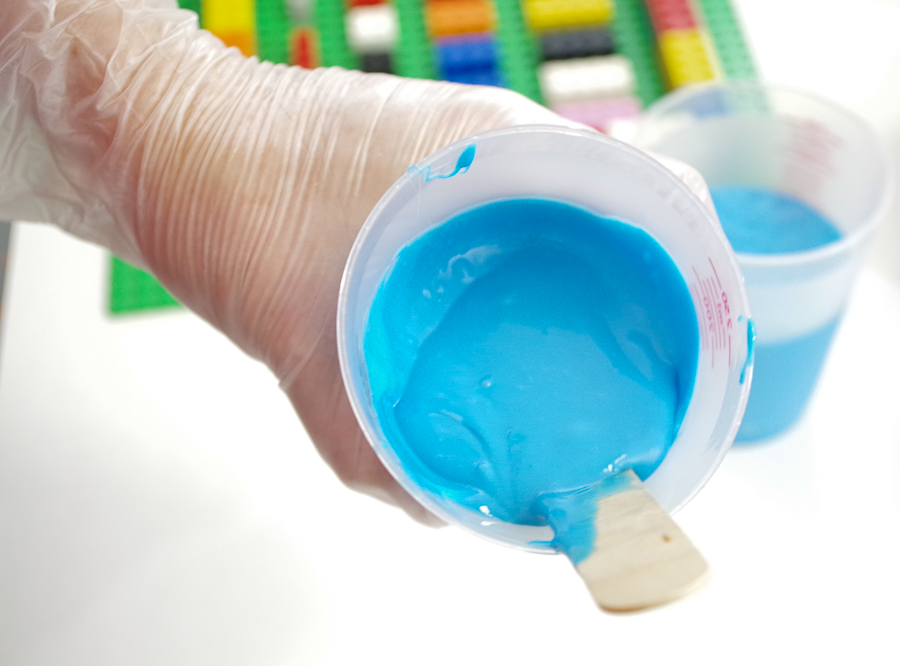
Use your stir stick to thoroughly mix the two parts together until they are one solid blue color with no streaks. Make sure to scrape the sides and bottom and mix thoroughly.
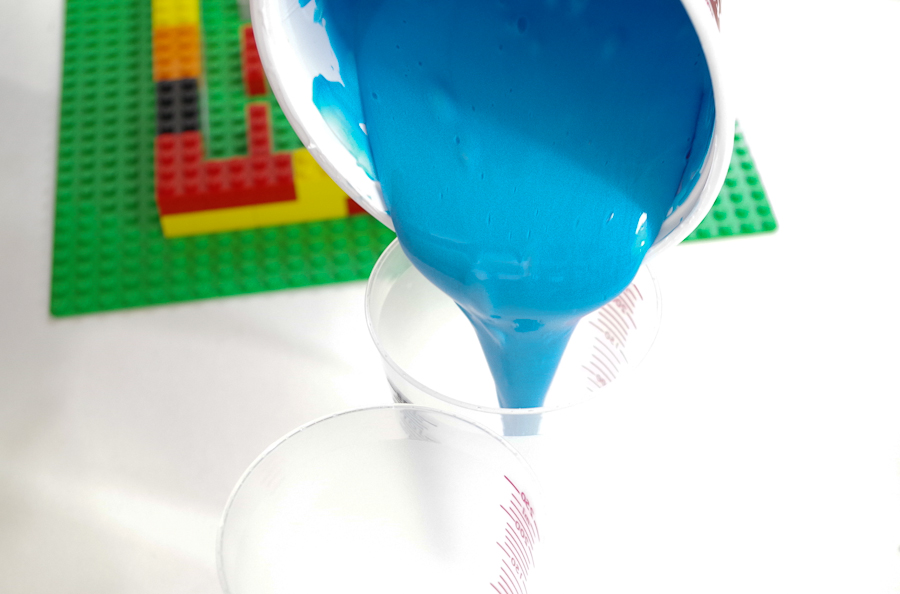
Just to be sure it is completely mixed, use the two cup method and pour your mixture into a second container (I actually used two more because I didn’t have another large enough.) Again, mix this thoroughly, ensuring it is one solid color.
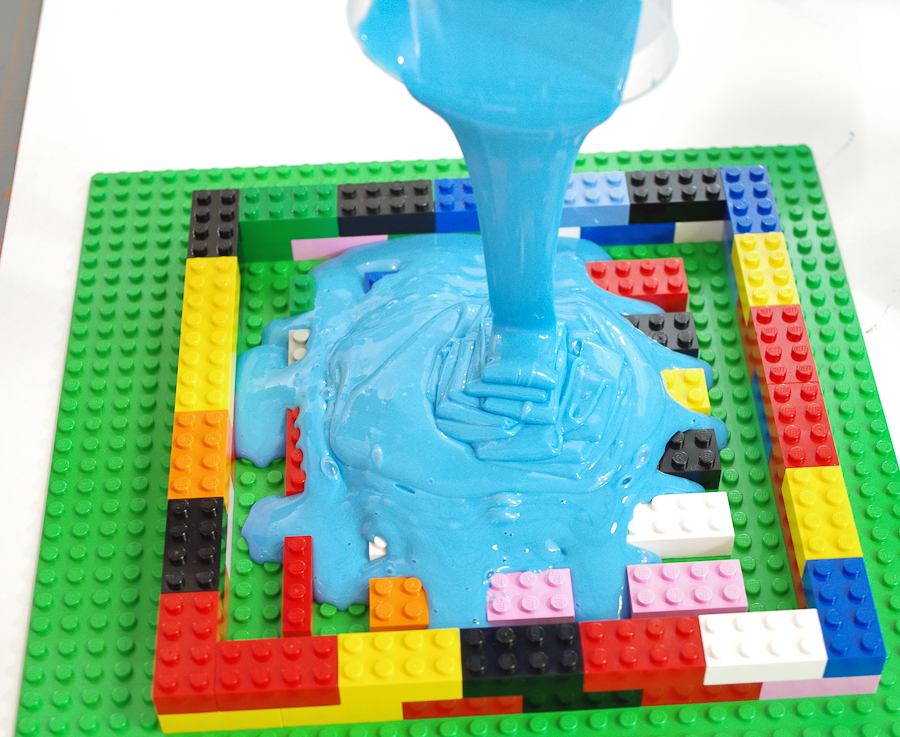
Now it’s ready to pour!
Begin pouring in the center of the mold and keep pouring in that same spot. This will ensure that most of the air bubbles will get pushed out as it spreads across your form.

Pour all of it completely into your form. Be sure not to let it go over the sides though! I didn’t have enough to need to worry about that.
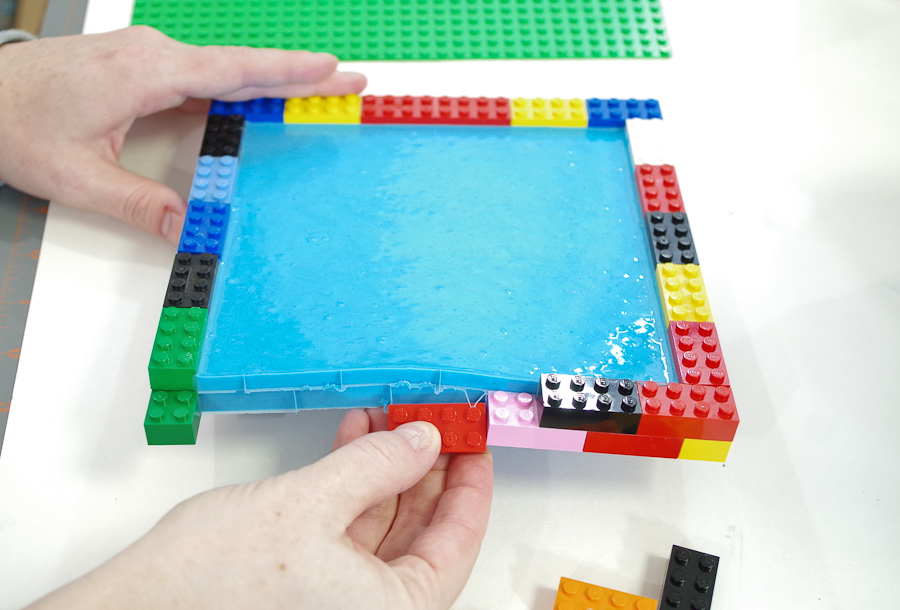
Once it is all poured do a double check and make sure the outer wall is solid and secure!
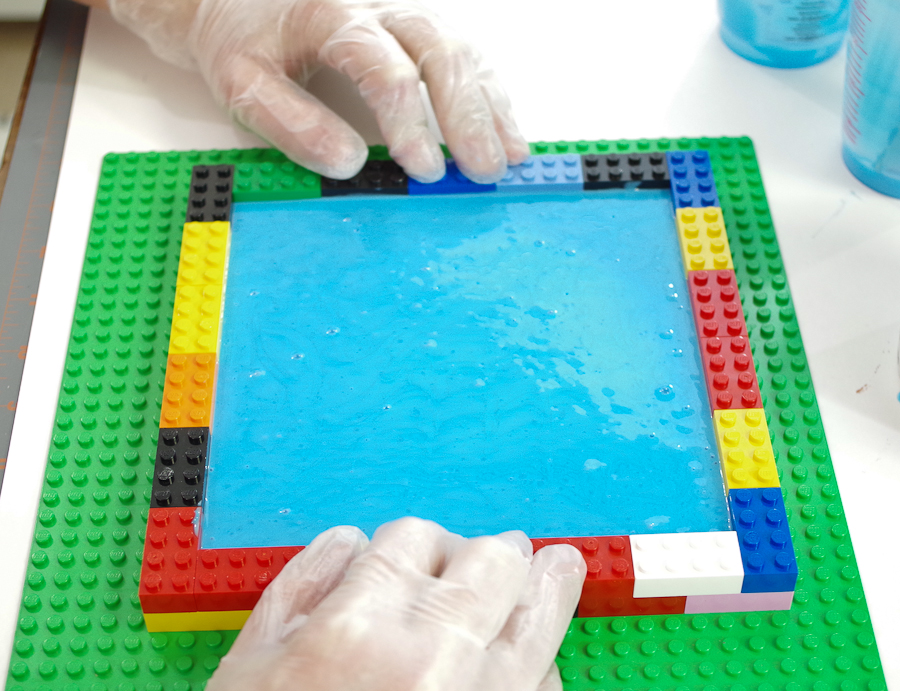
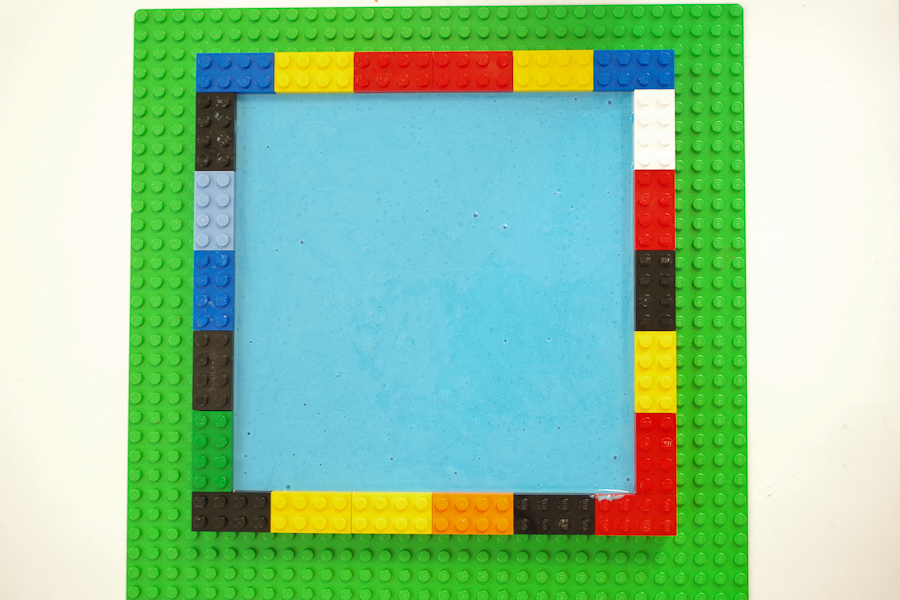
Let the silicone rubber cure for 24 hours.
Removing the Mold from the form:
The easiest way to remove the mold from the form is to flip it over and first remove the base plate.
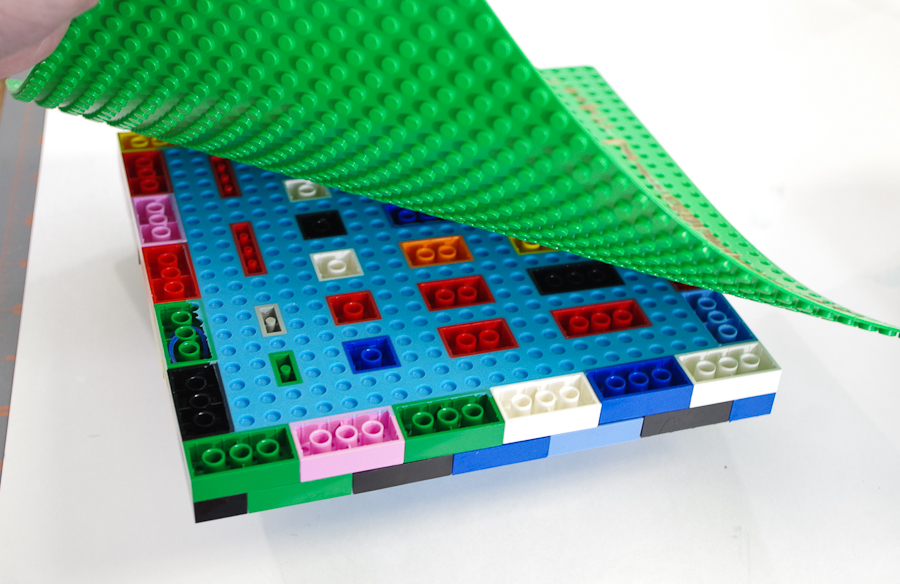
Next, you’ll want to begin removing the outer walls. You can see that a small amount of silicone rubber got between the blocks but this is not a problem, simply pull them off.
Next, remove all of the inner pieces from the mold. The Silicone Rubber stretches a little so this is an easy task. Just take care not to tear your mold.
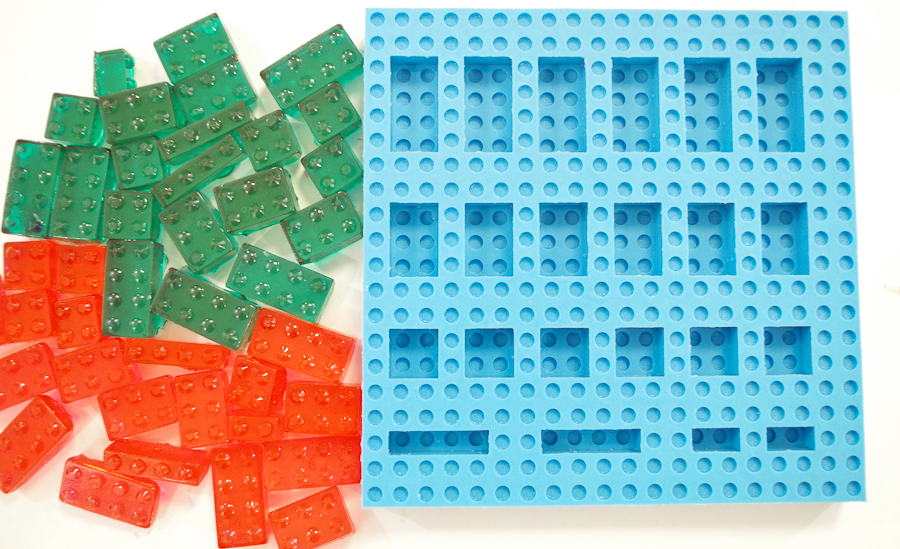
Finished Lego Candy Mold!
And there you have it! A completed Lego candy mold. I even made some hard candies to show you how great it works! You can use this mold for other things like chocolate, ice cubes, jelly candies, etc. It could also be used for resin pieces, just be sure that if you use it to cast non-food items that you mark it because it cannot be used again for food.
Hope you liked this project! Be sure to check back for more awesome projects using ETI products!
Remember to PIN or SHARE this with your friends!

Sheri is a Maker and DIY blogger at Hazel + Gold Designs. She is usually in the middle of multiple projects at once and finds great satisfaction and joy in creating something new. She is constantly learning new skills, putting them to the test, and sharing her experience and knowledge with others. Her favorite hobbies are crafting, painting, crocheting and basic woodworking. Her goal is to inspire others to step out of their comfort zone, learn a new skill and have the confidence to make their life a little more beautiful!


Really like this idea can”wait to try.
Thank you! I hope you do!