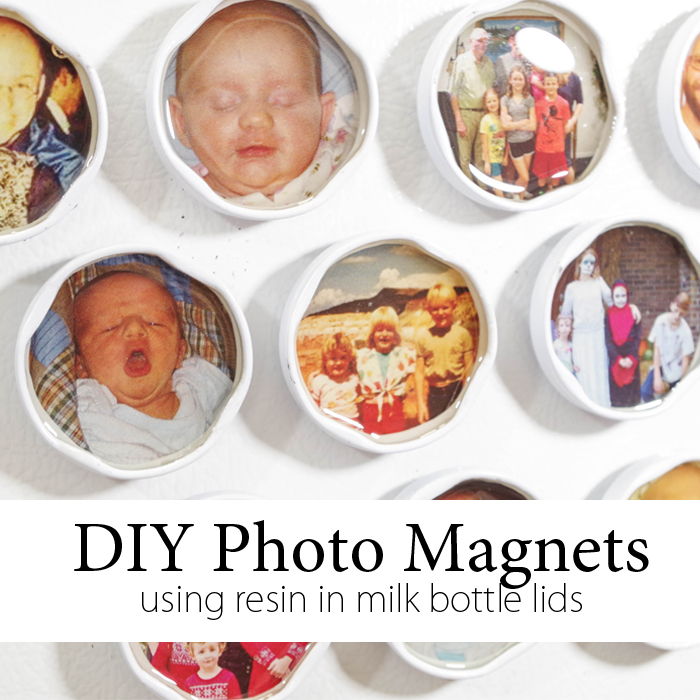
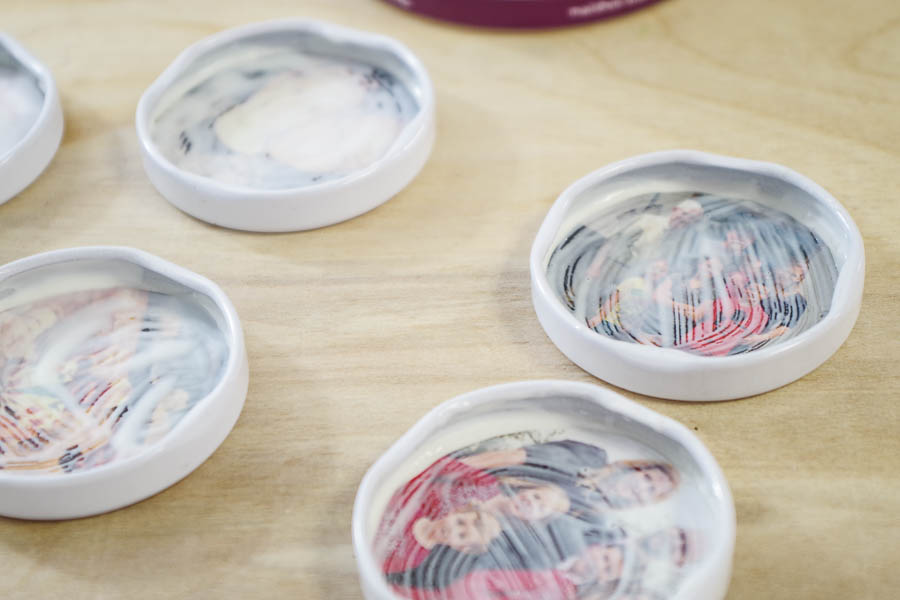
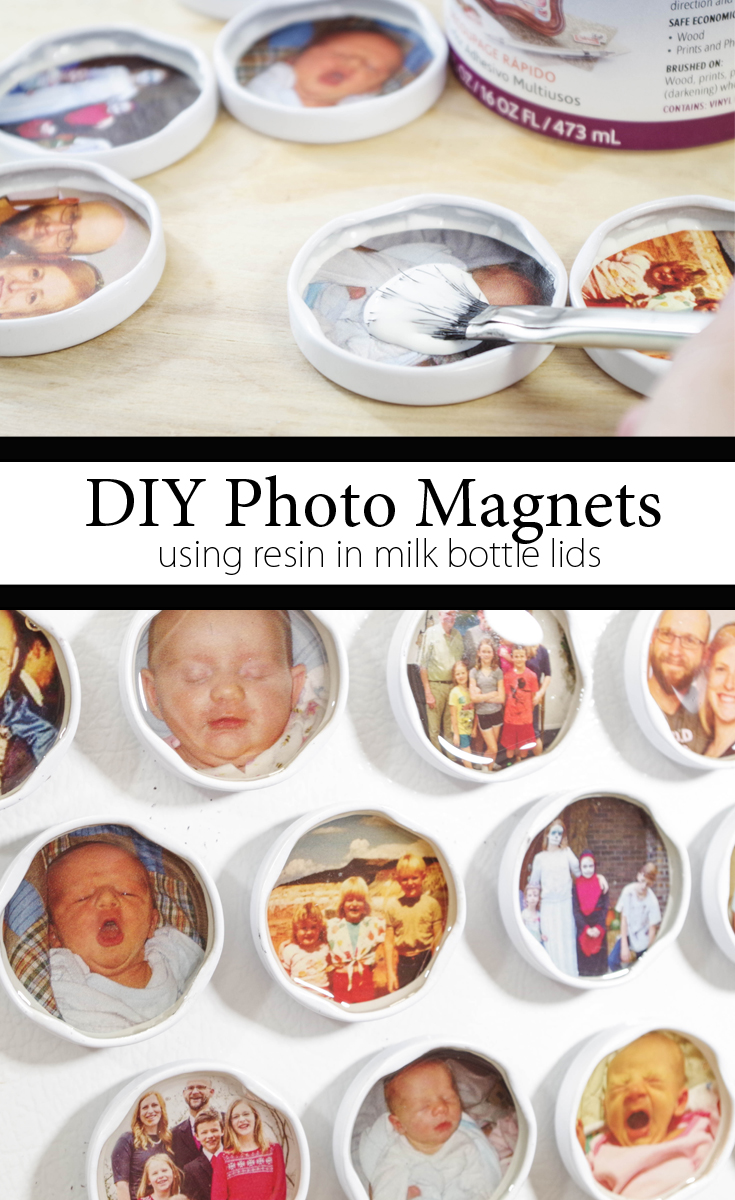
Hello resin crafters! Today I have a fun craft for you to display some of your favorite photos in a functional way. Rather than using generic magnets on your fridge to display photos, turn those photos into gorgeous and long-lasting magnets to hold all your other papers! Here’s a quick and easy DIY Photo Magnets tutorial using EasyCast Clear Casting Epoxy in milk bottle lids.
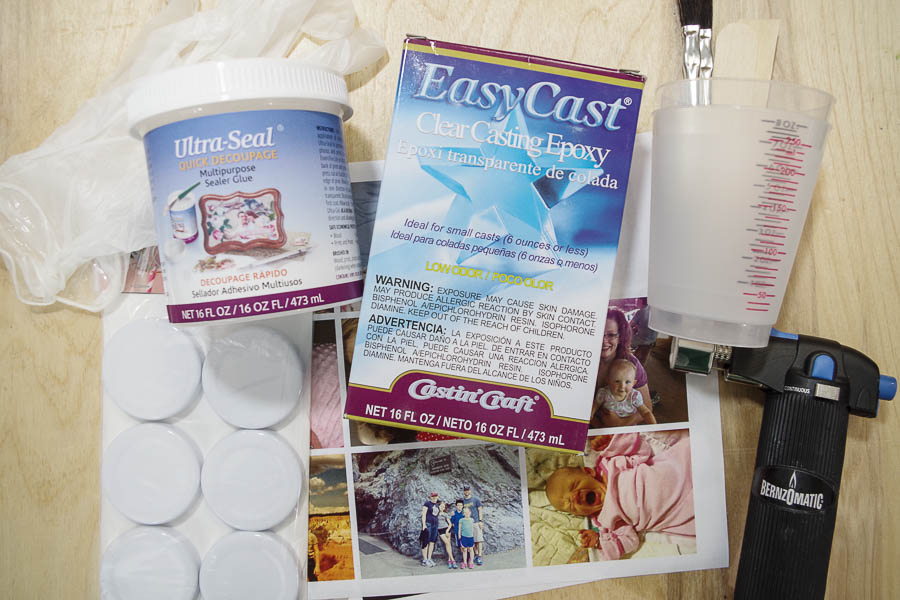
SUPPLIES:
- Milk Bottle Lids
- EasyCast Clear Casting Epoxy
- Disposable measuring cups
- Disposable stir sticks
- Vinyl Gloves
- Photo prints
- Scissors
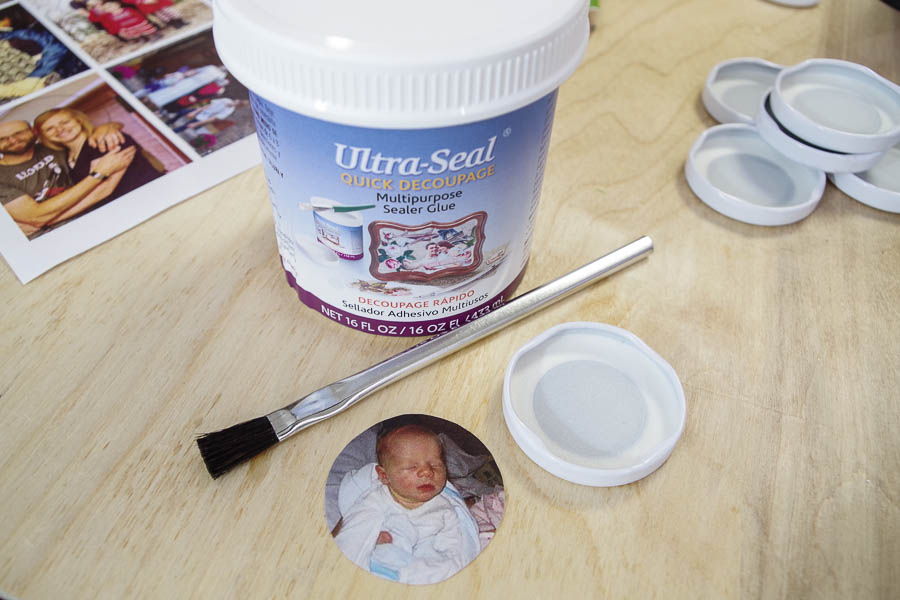
- Ultra Seal or other Multipurpose Glue Sealer
- Paint Brush
- Micro-butane Torch
- Magnets
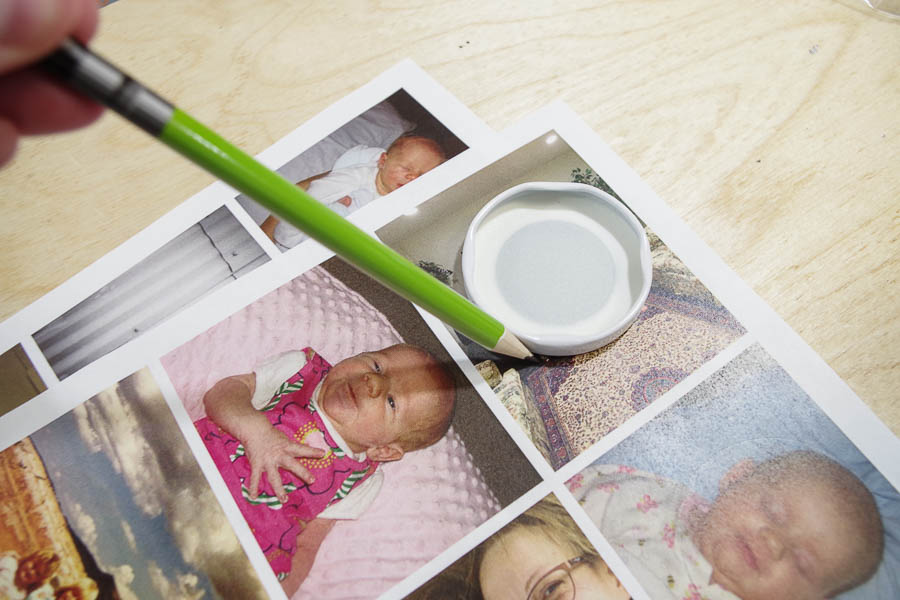
Applying Photos:
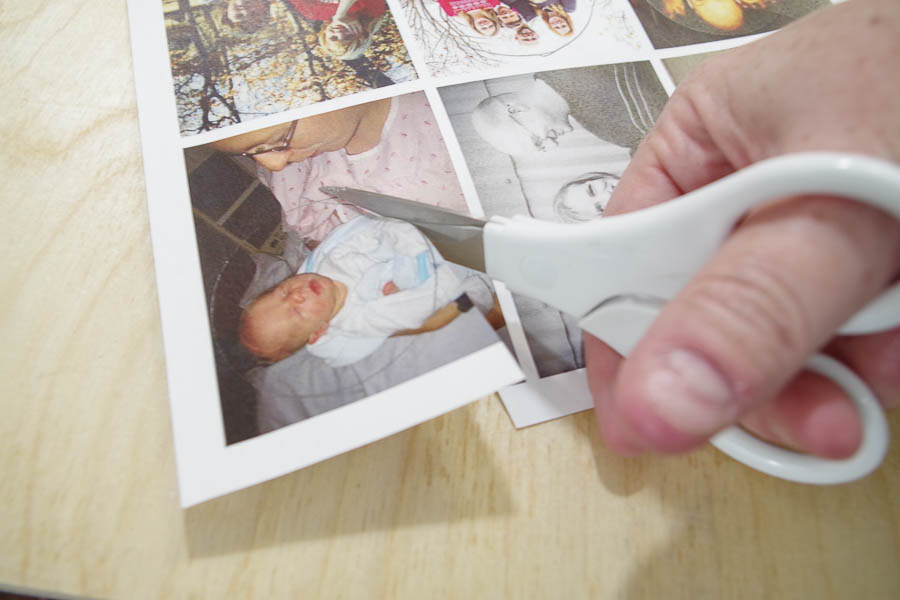
The first step in this project is to cut your photos into the right shape. To do this, trace around the outside of the lid over the part of your photo that you want showing in the lid. Cut out the circle just inside the traced line.
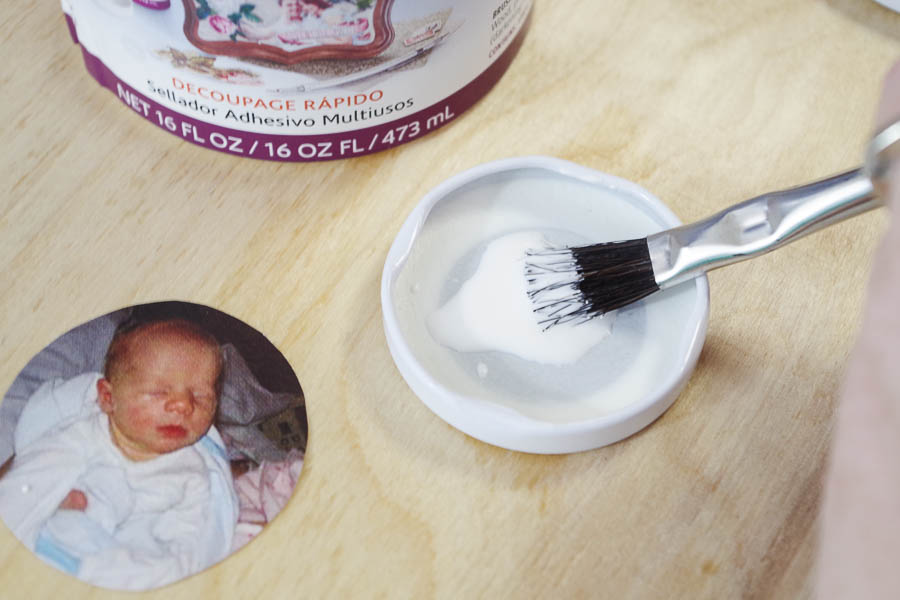
Next, glue the photos circles into the milk bottle lids using Ultra-Seal or some other multipurpose glue sealer.
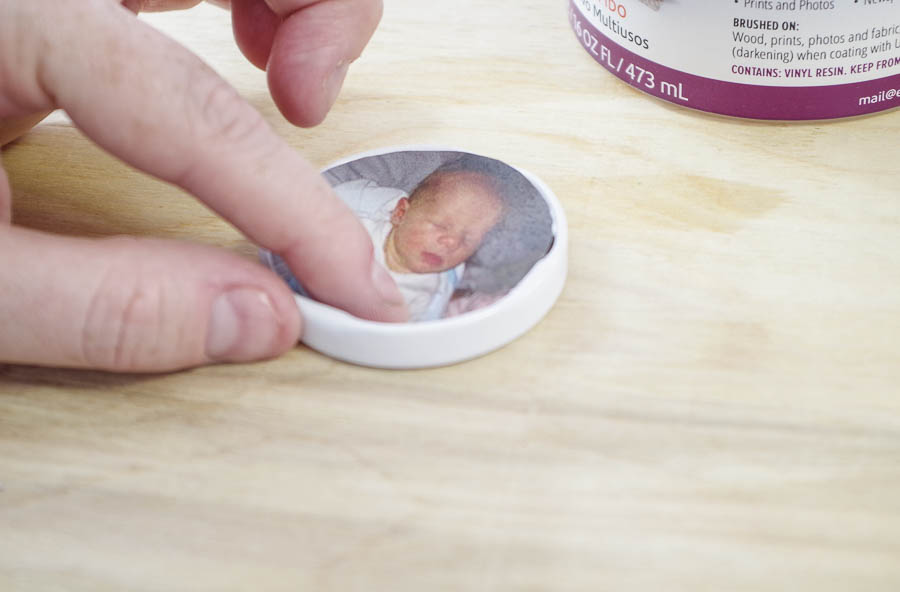
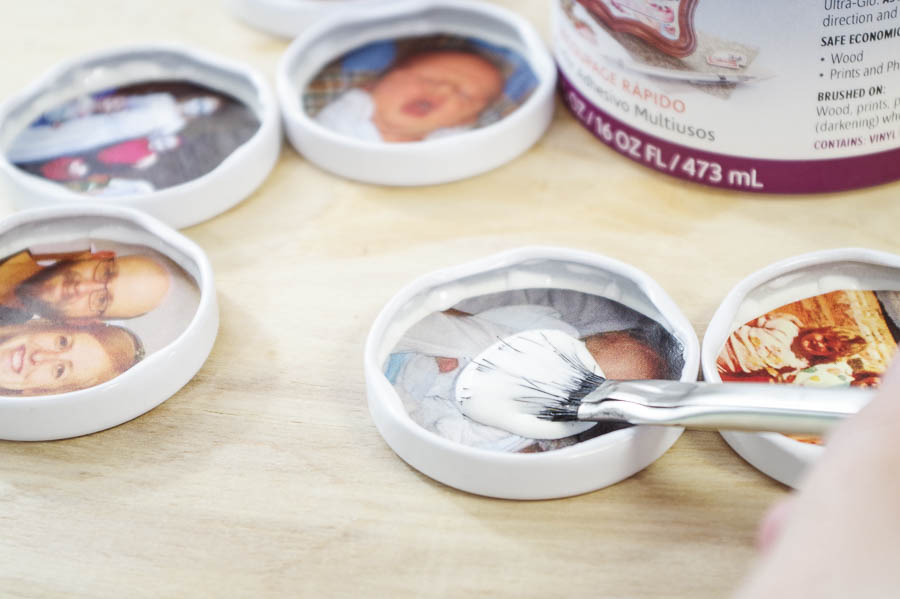
Apply an even coat of the sealer to the inside of the lid, press the photo into the glue and smooth down, then add another even coat over the top of the photo. Let dry.
Once the glue is completely dried, get ready to mix and pour the resin!
Adding Resin:
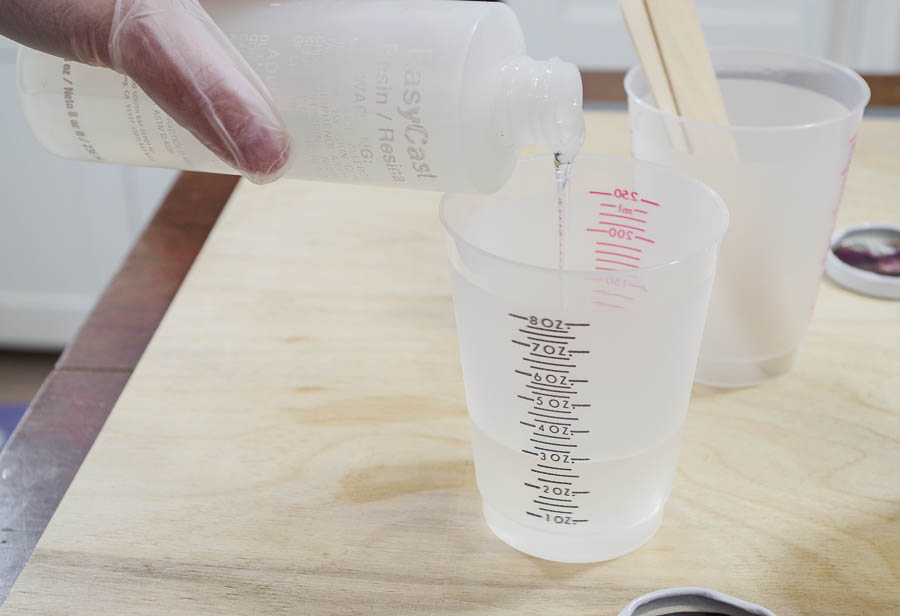
The first step is the gather all your resin mixing supplies: EasyCast, Vinyl Gloves, Measuring Cups, Mixing sticks, Butane Torch. Put on your gloves.

Pour Part A into your cup. I used 3 oz. because I was making 12 photo magnets. Approximate how much you’ll need and pour half of that amount into your cup.
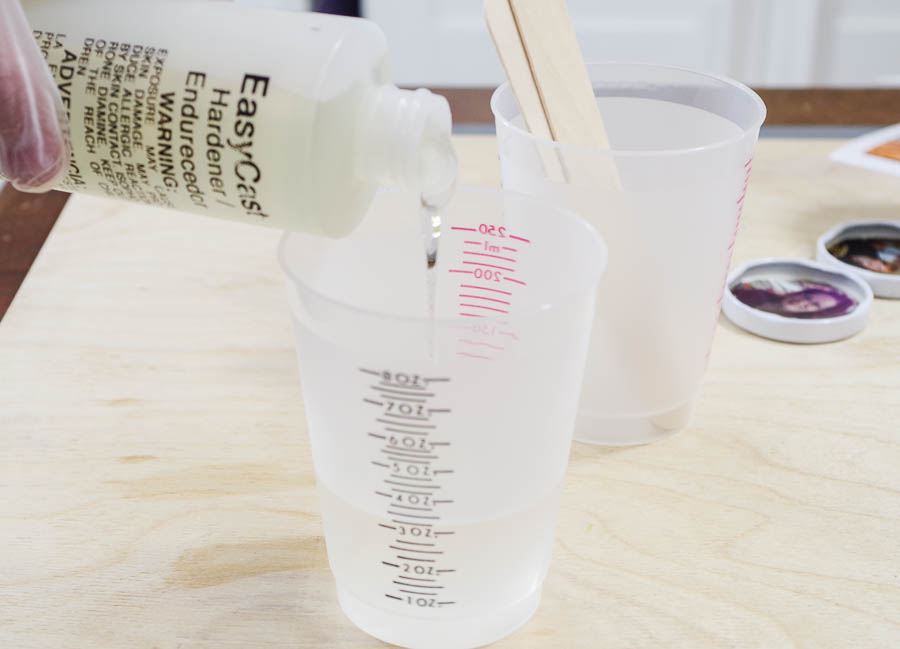
Next, pour the exact same amount of Part B into the cup. So you will have equal amounts of Part A and B, meaning I had 6 oz. total. Mix thoroughly with your stir stick.
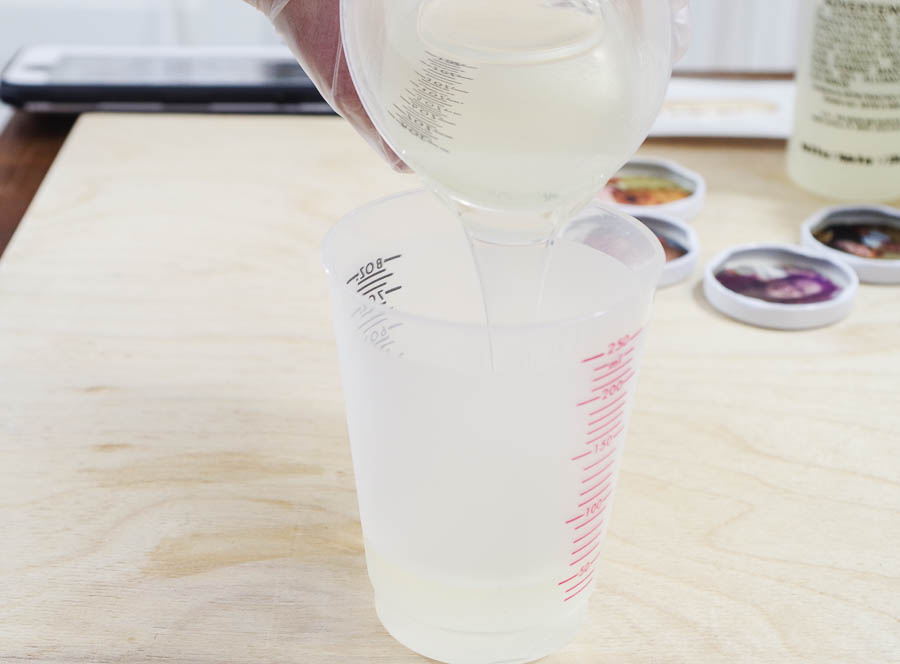
Once mixed, pour into your second cup and mix again. This is the two-cup method and ensures that the resin is completely mixed. This prevents any soft spots after curing.
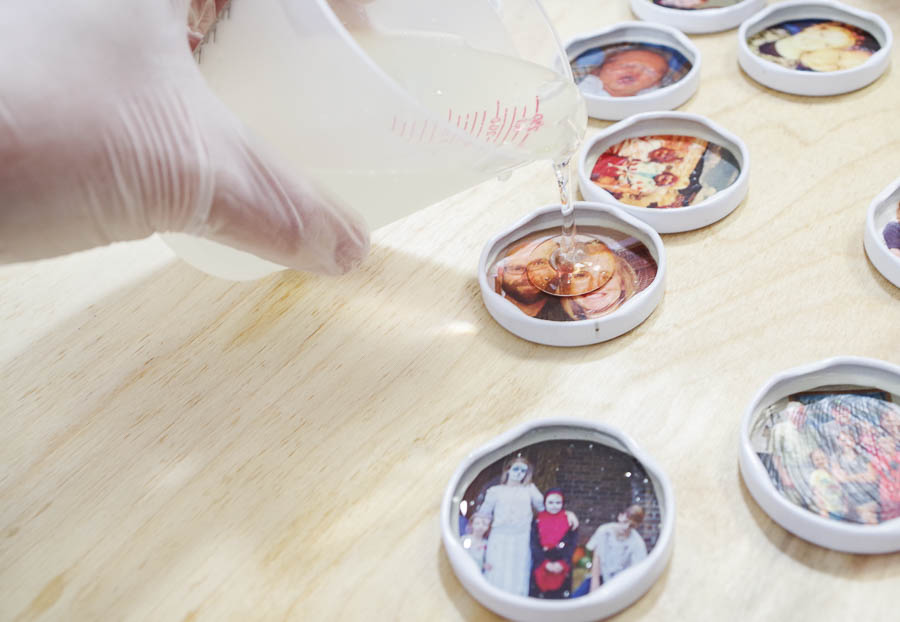
Pouring Resin:
Now you’re going to add the resin to the magnets. Slowly pour enough resin into each lid without it going over the edge. You may want to have a stir stick in your other hand to catch any excess resin from dripping between pours.
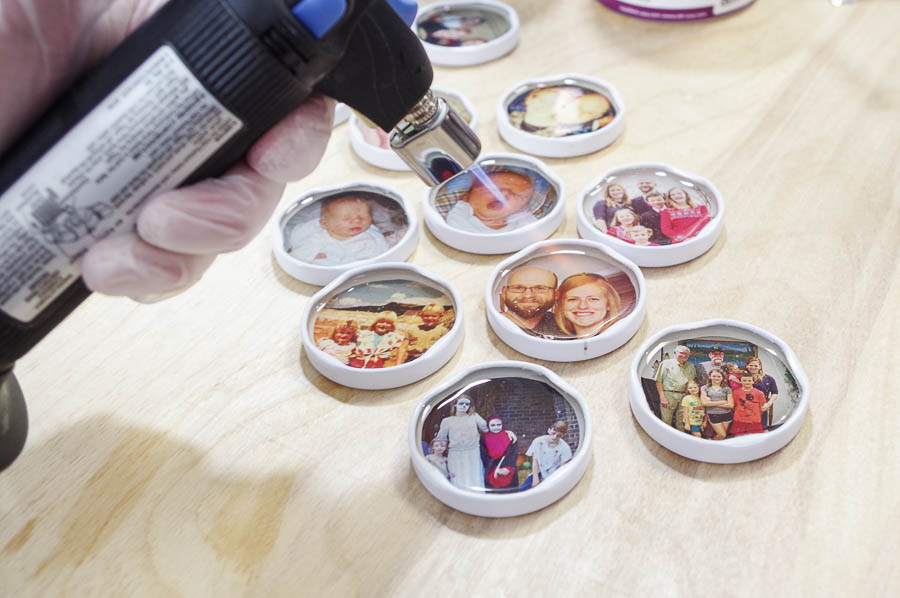
Use the micro-butane torch to pop the bubbles. If you don’t have a torch, you can exhale over the top of each one and that will also pop bubbles.
Let the resin cure for 24 hours in a dust-free area.
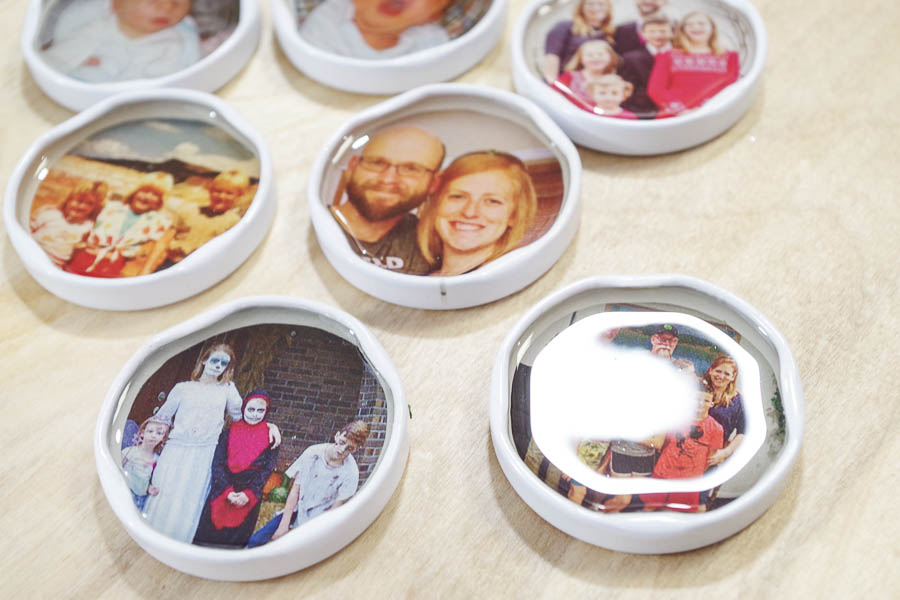
Super glue magnets to the back of the lid.

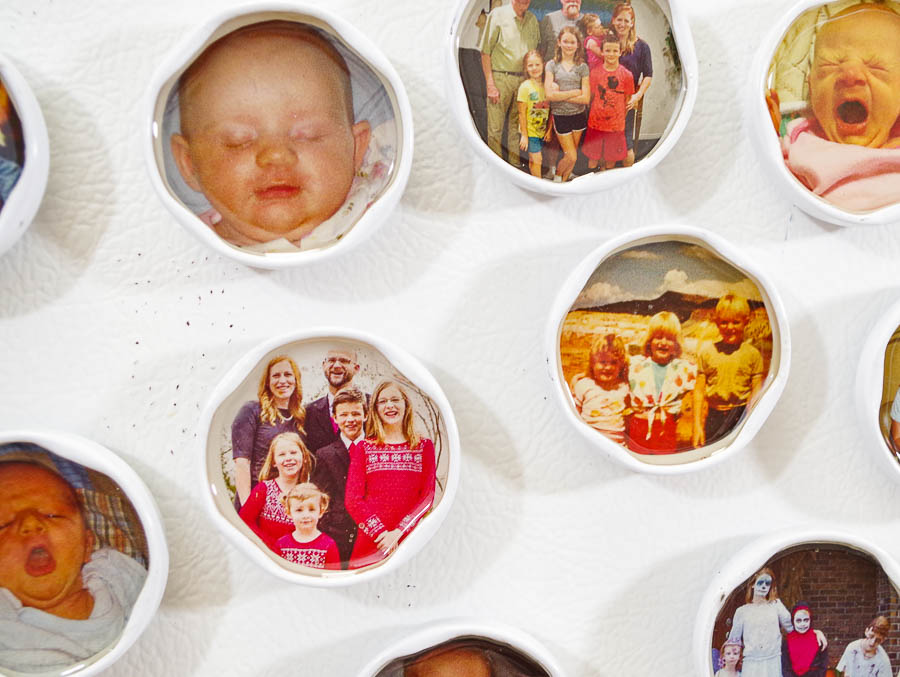
FINISHED!
And there you have it, perfectly beautiful DIY Photo Magnets using EasyCast in Milk Bottle Lids. This is such a quick and easy project (aside from the 24 cure time). Just picture how beautiful your fridge will be with these personalized magnets on the entire thing. I hope you liked this project!
If you like this project, please save this image to Pinterest. Thanks for reading!
–Sheri
Sheri is a Maker and DIY blogger at Hazel + Gold Designs. She is usually in the middle of multiple projects at once and finds great satisfaction and joy in creating something new. She is constantly learning new skills, putting them to the test, and sharing her experience and knowledge with others. Her favorite hobbies are crafting, painting, crocheting and basic woodworking. Her goal is to inspire others to step out of their comfort zone, learn a new skill and have the confidence to make their life a little more beautiful!


Thank you for that it was very well explained im new to using resin and always lookibg for new ideas.
Thank you Jane!