Use colorful resin mixtures to create an eye-catching set of DIY Galaxy Coasters that are out of this world!
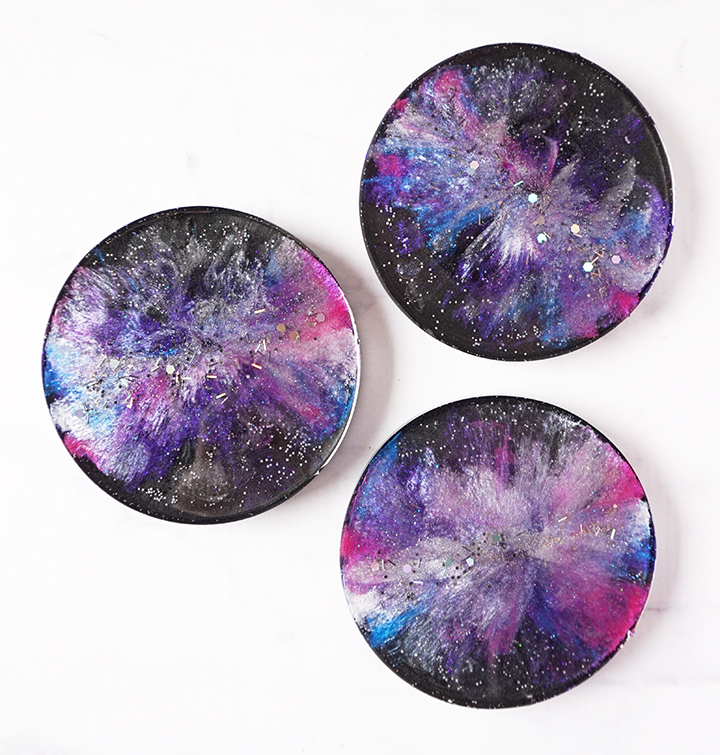
Hello, Resin Crafters! Lindsay from Artsy-Fartsy Mama here with a new resin project that is out of this world! I absolutely love the galaxy craze that is happening right now, and decided to give it a try using resin. This project is a lot of fun, and is actually really simple. However, there are quite a few steps to get to the final project – but I promise all of the work is worth it!
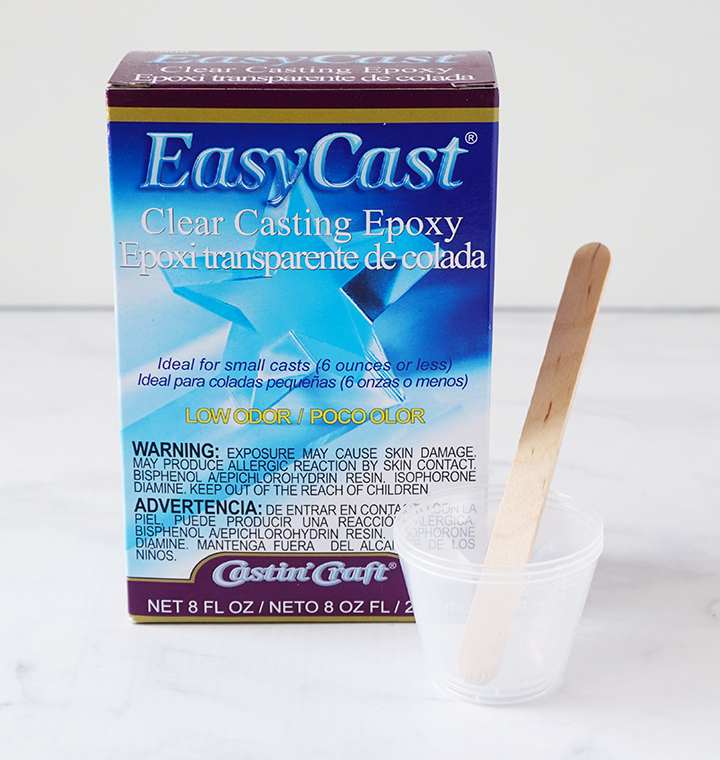
SUPPLIES NEEDED FOR DIY RESIN GALAXY COASTERS:
- EasyCast Clear Casting Epoxy
- Measuring Cups
- Stirring Sticks
- Disposable Gloves
- 4″ Round Silicone Coaster Molds
- PolyColor Resin Powder or Castin’ Craft Opaque Pigments – black, purple, pink, blue, white, silver
- Resin Glitter (same colors as powders/pigments), plus a chunky silver glitter
- Microbeads – white, silver
STEP 1:
Prepare the resin according to package directions. Be sure to work in a well-ventilated area, wear disposable gloves, and protect your workspace.
Add equal parts resin and hardener to the mixing cup. Each mold cavity will need 1 ounce of resin for this step, so I mixed up 3 total ounces. Stir the resin mixture together with a stir stick for two minutes, making sure to scrape the bottom and sides of the mixing cup. After 2 minutes, pour the resin into a clean mixing cup and stir the resin again for another minute or two with a clean stir stick.
STEP 2:
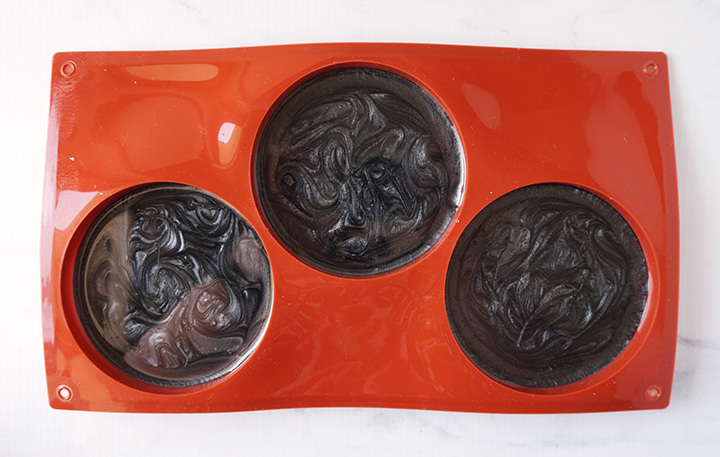
Add in a drop of black Castin’ Craft Opaque Pigment or a small scoop of some shimmery black mica powder. Mix well to distribute the color. To keep the bubbles down to a minimum, don’t stir too fast and give the resin a minute or two to “rest” after mixing to let any bubbles rise to the top.
Add 1 ounce of resin to each of the mold cavities. If you wait for about 45 minutes after pouring the resin into the mold, the resin will become a gel-like consistency. Gently stir the resin around with a stir stick to give the coaster this swirling effect! If you stir it earlier, it will look like this at first but then it will settle and circle in the center instead.
Pop any bubbles that rise to the top using a lighter, heat gun, or by gently blowing through a straw. Leave the resin to cure in an undisturbed area for 24 hours. You will know that the resin is completely cured when it is no longer tacky.
STEP 3:
Mix up another 3 ounces of resin. Stir the resin mixture together with a stir stick for two minutes, making sure to scrape the bottom and sides of the mixing cup. After 2 minutes, pour the resin into a clean mixing cup and stir the resin again for another minute or two with a clean stir stick.
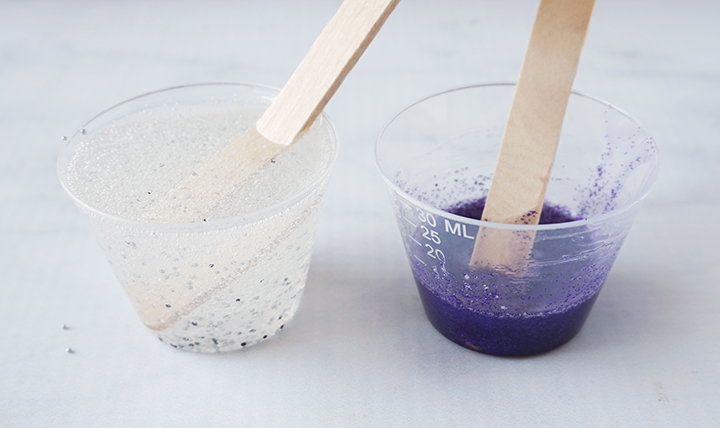
Add about 10 ml of resin into a small mixing cup, and fill another with about an ounce/30 ml. In the full mixing cup, add in some white and silver micro-beads. In the other cup, add in a drop of purple Castin’ Craft Opaque Pigment or a small scoop of shimmery purple mica powder. Toss in some fine purple glitter, while you’re at it, and mix well.
STEP 4:
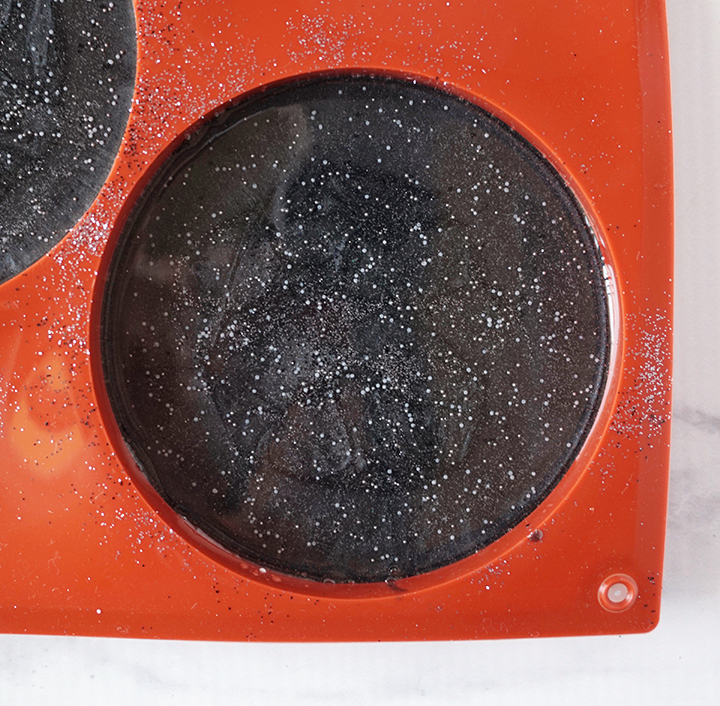
Pour 1 oz of clear resin and micro-beads mixture right on top of the black resin. Gently use the stir stick to spread the micro-beads around the coaster. These are the key to making the background look more like a galaxy with groups of stars and planets! I tried this step using glitter, and it just didn’t look as good.
STEP 5:
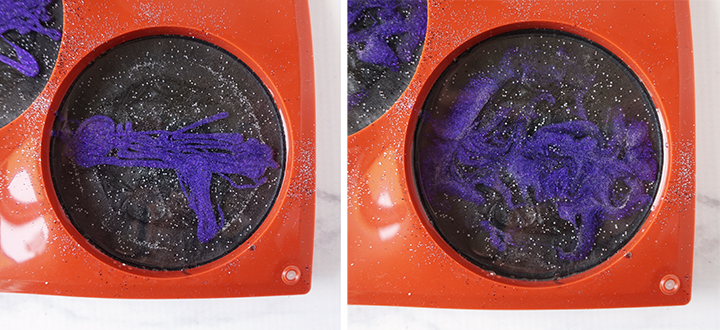
Use the stir stick to add a messy line of glittery purple resin through the center of the coasters. You won’t need a lot – that 10 ml mixture is for all 3 coasters!! Keep in mind that you can always add more color, but it’s a lot harder to take it away.
Next, we need to turn this messy scribble of resin into something more, well, galactic! Use a hair dryer on low (cool setting, if possible) or blow through a straw to move the purple resin around. You can even use a stir stick to manually move the resin around if you would like to be a little more in control. I’ve found all of these options tend to get a similar effect.
Pop any bubbles that rise to the top using a lighter, heat gun, or by blowing through a straw. Leave the resin to cure in an undisturbed area for 24 hours. You will know that the resin is completely cured when it is no longer tacky.
STEP 6:
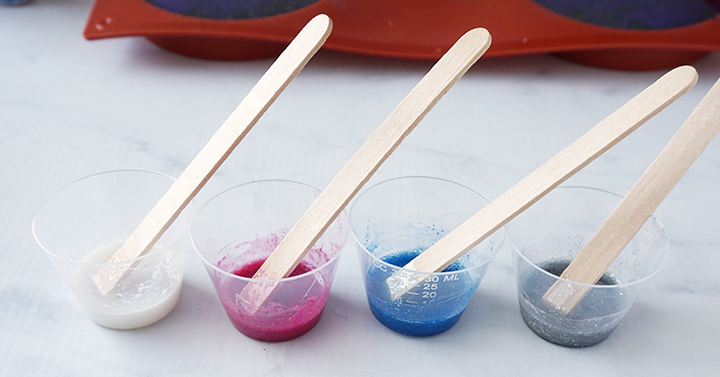
Mix up another 3 ounces of resin. Keep the majority of the resin in the cup, but pour 5-7 ml into four different mixing cups. Add a tiny amount of pigment or dye and fine glitter in the same color into each of the cups: white, pink, blue, and silver. If you don’t have silver pigments, you can use a tiny drop of silver acrylic paint. Mix each of the resin cups well.

STEP 7:
Pour about 1 ounce of the clear resin into each of the molds. Make a messy scribble of pink resin across the center of the coaster, right over the purple. You don’t need to use much resin at all. Again, these colored resin mixtures are for all 3 coasters! Next, add a thin scribble of blue resin, and then a slightly thicker layer of white on top.
STEP 8:
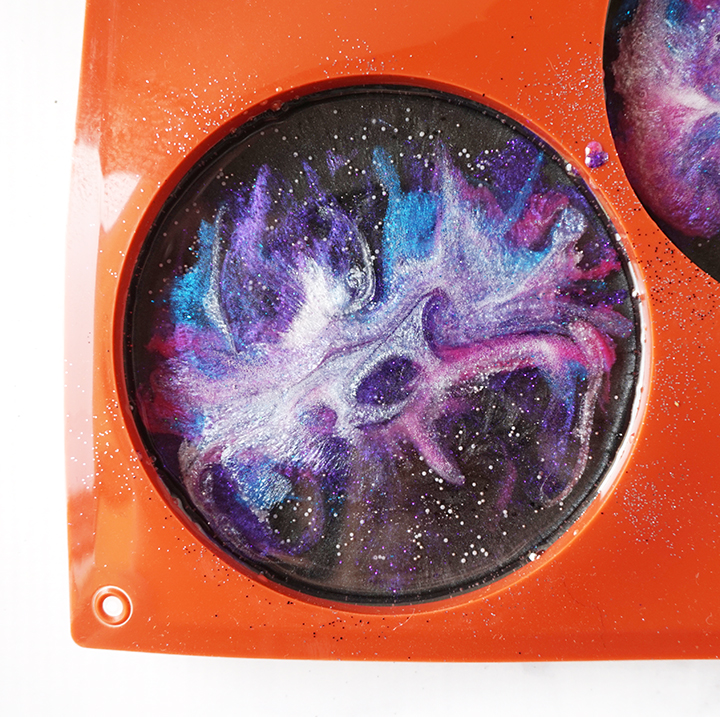
Use a hair dryer on low (cool setting, if possible) or blow through a straw to move the resin scribbles around to get a more ethereal effect. You can also use a stir stick to manually move the resin around. If you are doing this method, be very careful not to mix it too much! This will just blend all of the colors together and won’t look very galactic.
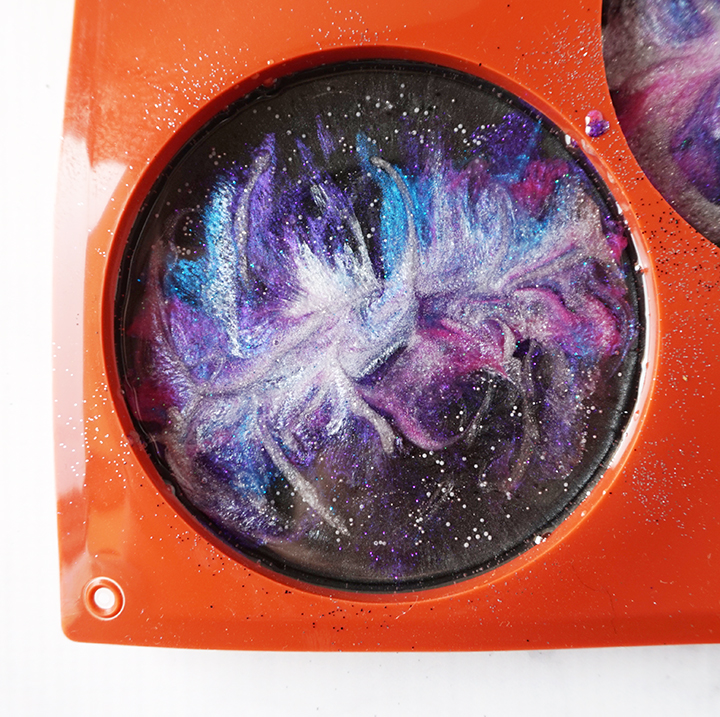
STEP 9:
Dip the end of the stir stick into the silver resin mixture, and gently add in lines of silver to the center of the galaxy. You don’t want to add too much. This just adds hints of metallic shine to the galaxy.
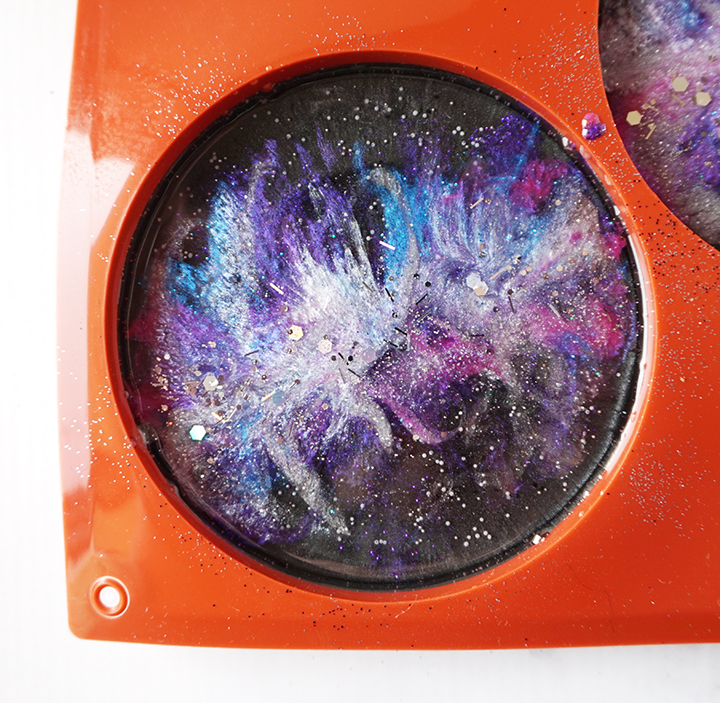
STEP 10:
This step is totally optional, but I love it! Sprinkle a little bit of silver, chunky glitter along the center line of the galaxy. This will add extra sparkle and gives the look of stars and planets in your galaxy! If you don’t want to use glitter, you could use silver metallic flakes.
Pop any bubbles that rise to the top using a lighter, heat gun, or by blowing through a straw. Leave the resin to cure in an undisturbed area for 24 hours. You will know that the resin is completely cured when it is no longer tacky.
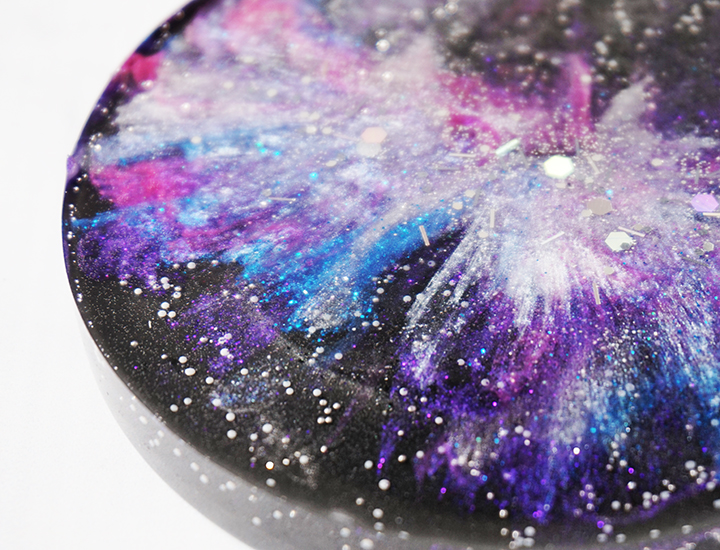
Look at all of that colorful and sparkling detail! I have found myself just staring at these coasters because it’s hard to believe it’s all resin! The layering is so incredible after being blown around, combined with the wispy streaks of color and hints of sparkle from the glitter. I tried my best to capture it in the photo, but I highly recommend trying it out for yourself because it really is that awesome!
STEP 11:
After removing the coasters from the mold, cut away any excess resin. The resin sinks a little as it cures, making a small lip around the edge of the coaster. To make the top smooth and even, I mixed up a small batch and carefully added a thin layer all the way to the edges and let it cure. Alternatively, you can sand the coaster down and then give it a topcoat of resin to bring back the gloss.
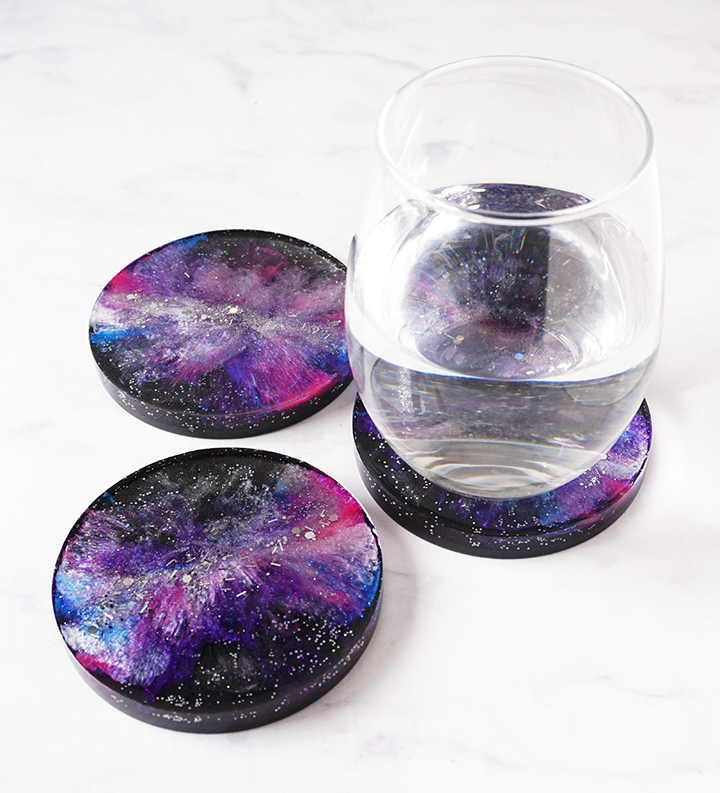
Just like in nature, no two galaxies are alike! I love how each of the coasters are unique, but make such an eye-catching collection when they are all together. These coasters would make gorgeous gift, and will certainly be a unique conversation piece on your coffee table at home. Be sure to check out our other resin galaxy projects for more inspiration!
Lindsay is a crafter, graphic designer, and glitter enthusiast from Utah. She’s passionate about homeschooling her creative daughter, traveling, and spending time in the craft room. Lindsay shares DIY project tutorials, printables, recipes, kids crafts, and more on her blog, ArtsyFartsyMama.com, where she inspires readers to live a creative life.



Lindsay, what a fabulous project. TY so much for the specific directions. We need what not to do as much as what you need to do. This is inspiring!
Thank you so much, Cindy!!
I hope I don’t sound stupid but here I go…aren’t coasters used so you dont get condensation roll off your glass and onto your table? Will these soak up liquid? They are sooo beautiful I would love to try to make some for my home.
No, resin won’t soak up liquid! It is true that resin and water don’t mix, but once it is cured there should be no issues. The only thing I could see happening using a coaster with no lip at the edge would be runoff, but these seem large enough to not have to worry about. I’m no pro, but I hope that helps!
What coasters did you use? I would have to do this backwards with the coasters I have and I don’t think this would work. Thank you!
Hi Jae, I poured resin into a coaster mold to create the coasters.