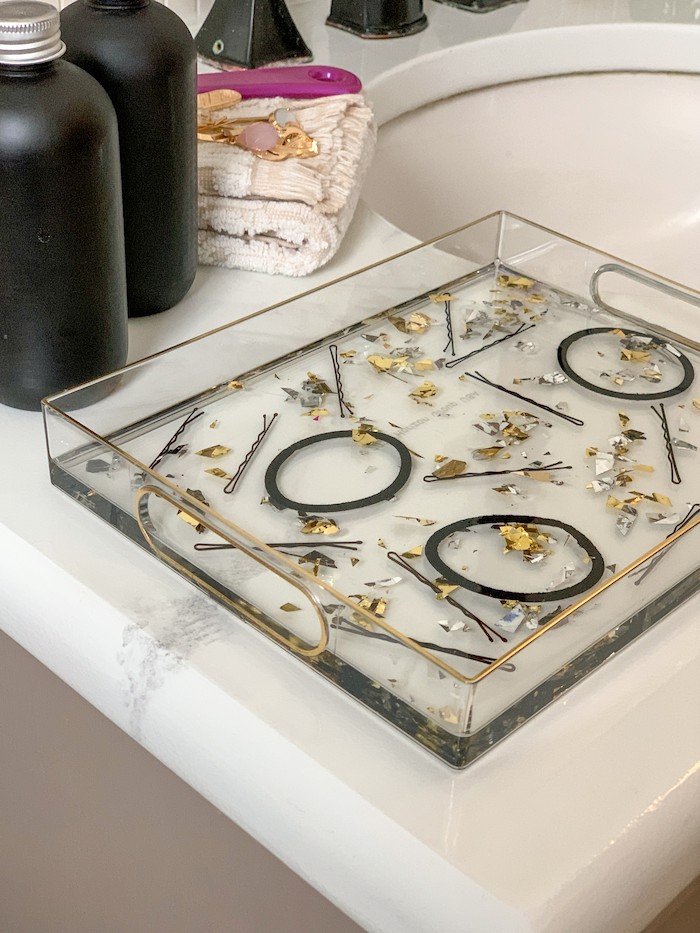
Looking for a unique way to keep your hair products tidy in your bathroom? Or, maybe you need a great gift for a hairstylist? Make this adorable DIY resin tray for hair accessories!
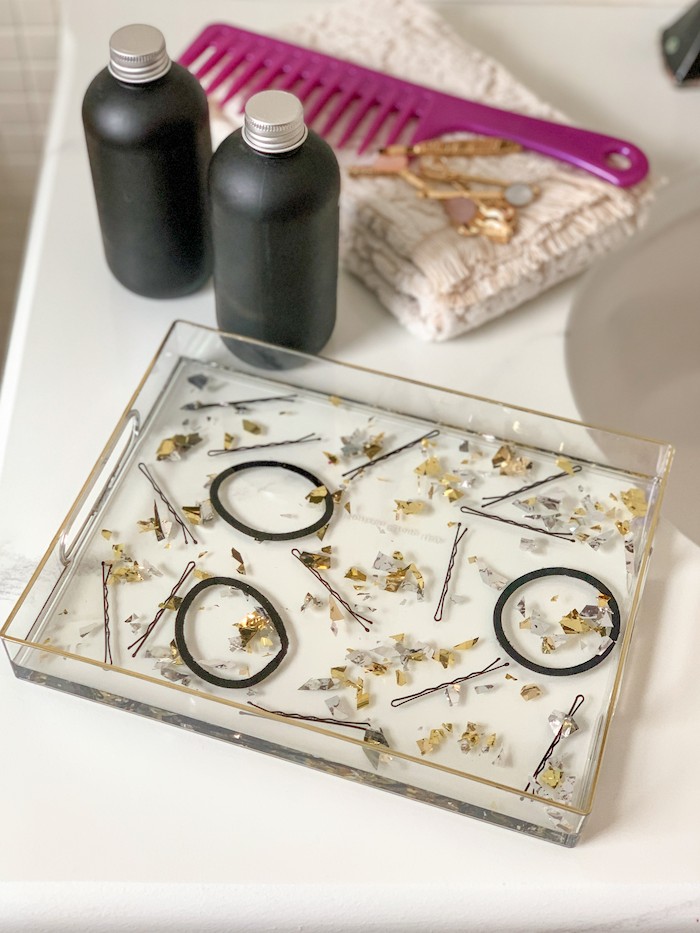
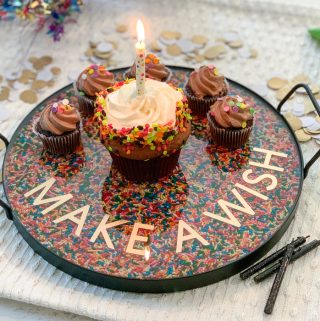
Hi, Resin Crafters, it’s Bre from Average But Inspired, and I’m pumped to be sharing this quirky and cute project with you today! Because this resin tray is made with ETI Envirotex Lite, it’s so easy to get great results when making this yourself! (I found that out when I used Envirotex Lite to make this celebratory Resin Sprinkles Tray!)
Supplies Need to Make a DIY Hair Accessories Resin Tray
Here’s what you need to make this project as shown in this post. You can modify things to make it your own, too!
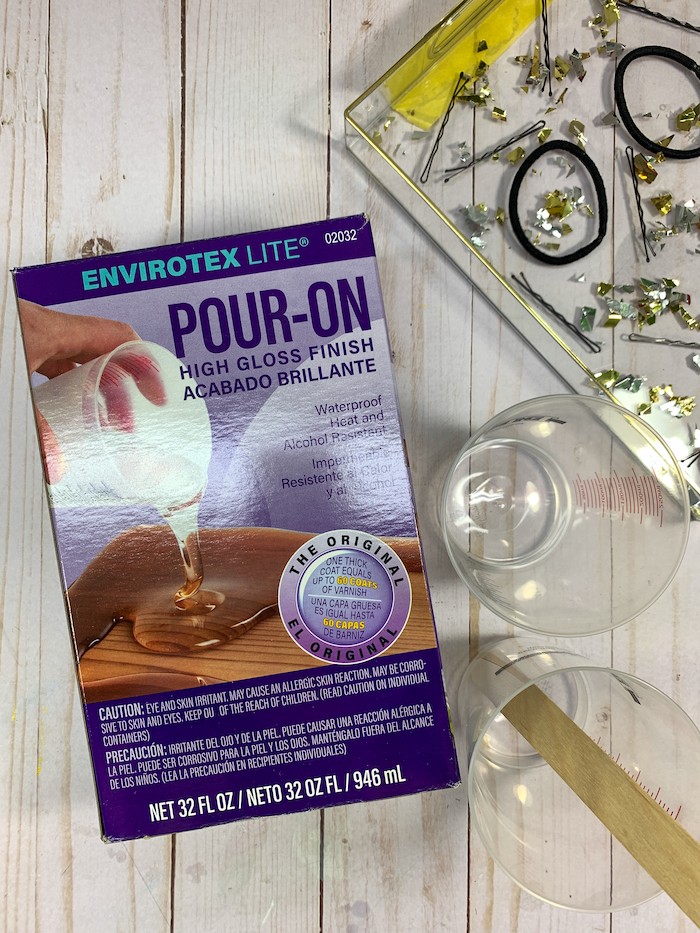
- ETI Envirotex Lite, 16 oz. kit
- ETI Mixing Cup Set
- Clear acrylic tray (I purchased this tray in the Bullseye Playground section at Target. Similar clear acrylic trays are available online.)
- Bobby pins
- Ponytail holders / hair elastics
- Confetti glitter
- Optional: heat gun (or embossing gun), painters tape
How to Make This Resin Hair Accessories Tray
Wait until you see how easy this is to put together!
Prep the Acrylic Tray
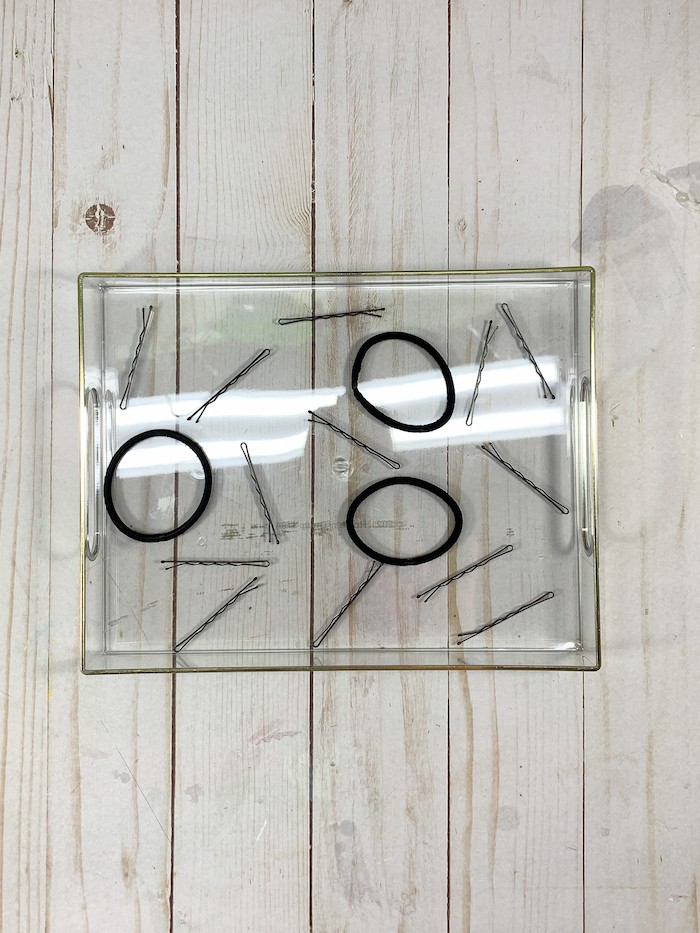
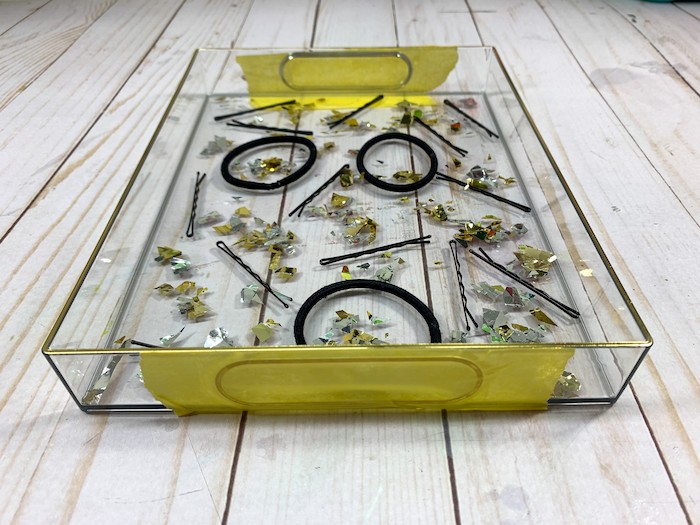
Start by placing hair accessories, such as bobby pins and ponytail elastics, in the base of a clear acrylic tray.
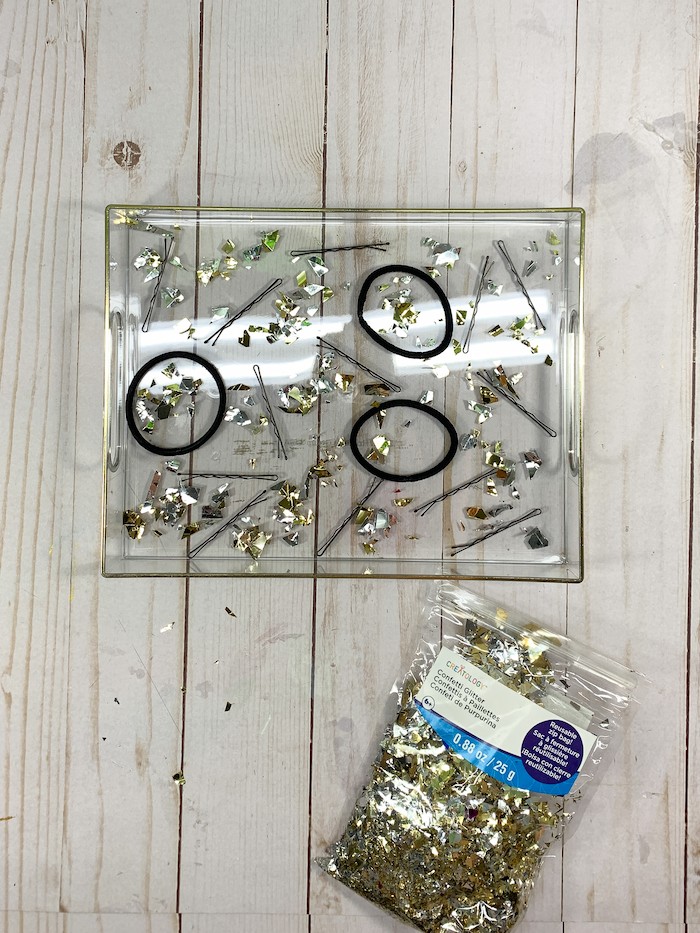
Add some sparkle with confetti glitter! Alternatively, you could add regular glitter, different hair accessories, pressed flowers, and more.
If the acrylic tray you’re using has handles, like mine does, tape over the handles with painters tape to prevent resin from pouring through the handles accidentally.
Mix the Envirotex Lite
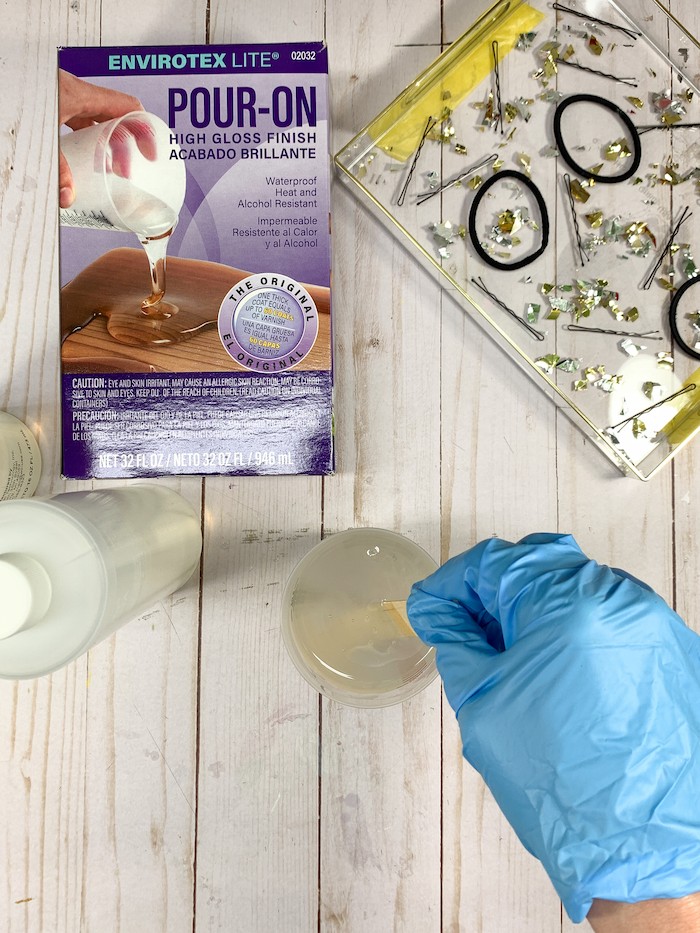
Next, put on your latex gloves and safety goggles and get to work mixing the Envirotex Lite!
For this tray I mixed 8 ounces of Envirotex Lite resin by combining 4 ounces of the resin with 4 ounces of the hardener. I mixed for 2 minutes, and then poured the contents of that mixing cup into another mixing cup and stirred for 1 more minute.
Pour the Envirotex Lite
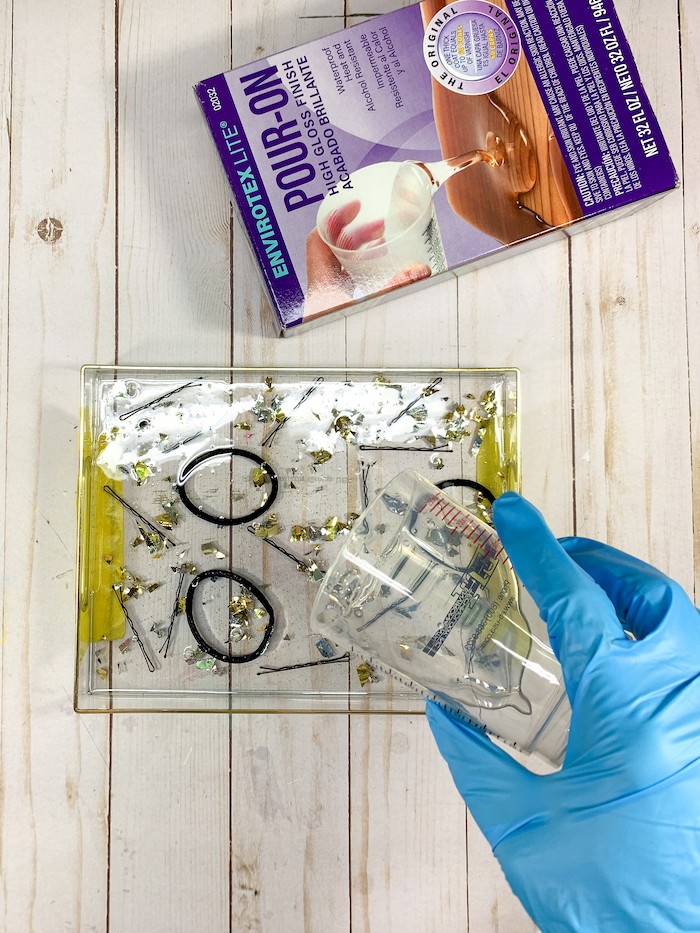
As soon as I finished mixing the resin, I slowly poured it into the tray – right over the hair accessories and confetti glitter.
8 ounces was exactly enough to cover the tray contents. If I were making this again, I would probably have mixed 9 or 10 ounces just to have a little extra coverage, but this was my lucky day and 8 ounces was enough.
After letting it sit for about 10 minutes, I used an embossing gun to gently pop bubbles that had risen to the surface. This is always my favorite part of working with resin: watching the bubbles pop is so satisfying! If you don’t have a heat gun, you can gently blow on bubbles through a straw to pop them.
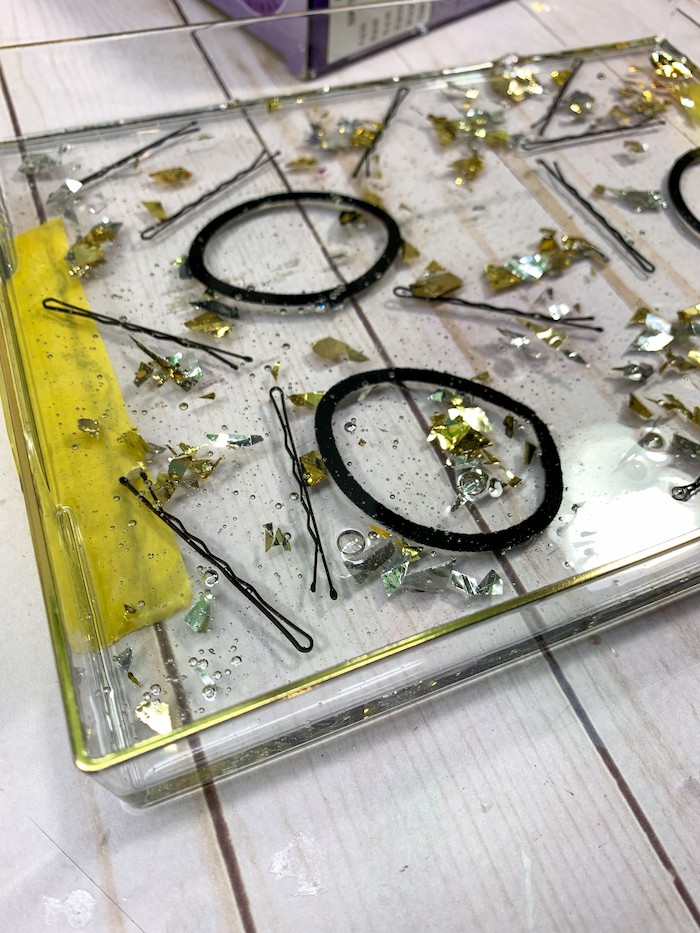
Once the surface was crystal clear and bubble-free, I set the tray aside to harden for approximately 24 hours. When I came back the next day, I removed the painters tape and was tickled to see how cute this project turned out!
I made sure to give it to my daughter in an effort to get her to actually put her hair accessories away! Cross your fingers that it helps. 🙂
If you make this, be sure to share it with us on Instagram and pin for later!
Bre is a content creator at Average But Inspired. She strives to inspire creative action in others by providing written and video DIY and craft tutorials, furniture upcycle projects, and home decor ideas. She wants others to feel empowered to tackle DIY, regardless of skill level or experience. When she’s not making something, you can find her watching Bravo TV with her labradoodle, Jasper.

Leave a Reply