
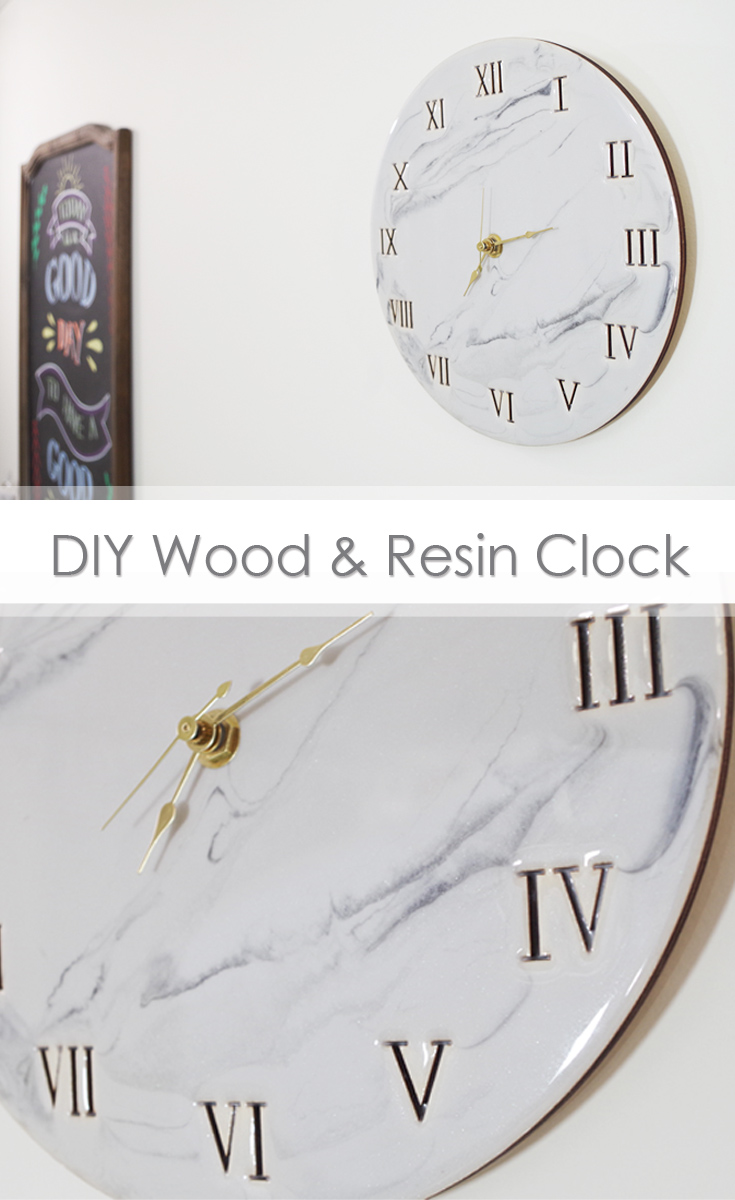
Hello resin crafters! It’s Sheri again from Hazel + Gold Designs and I am so excited to share this new project with you. While walking through the craft store the other day I found this wooden clock face for just a couple dollars and knew I just had to throw some resin on it! It’s funny how once you find a medium you love the ideas just come to you. Here’s how I made this DIY Wood and Resin Clock!
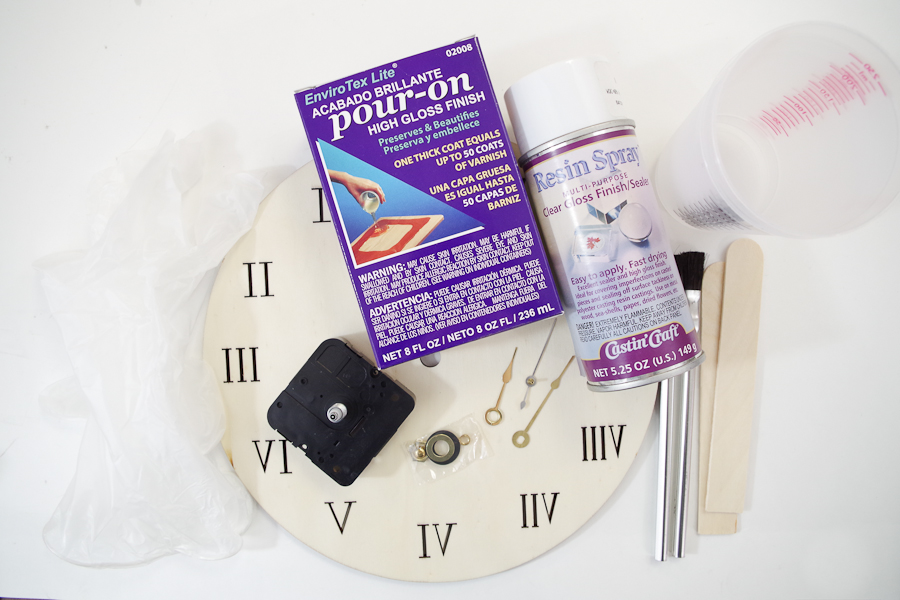
SUPPLIES:
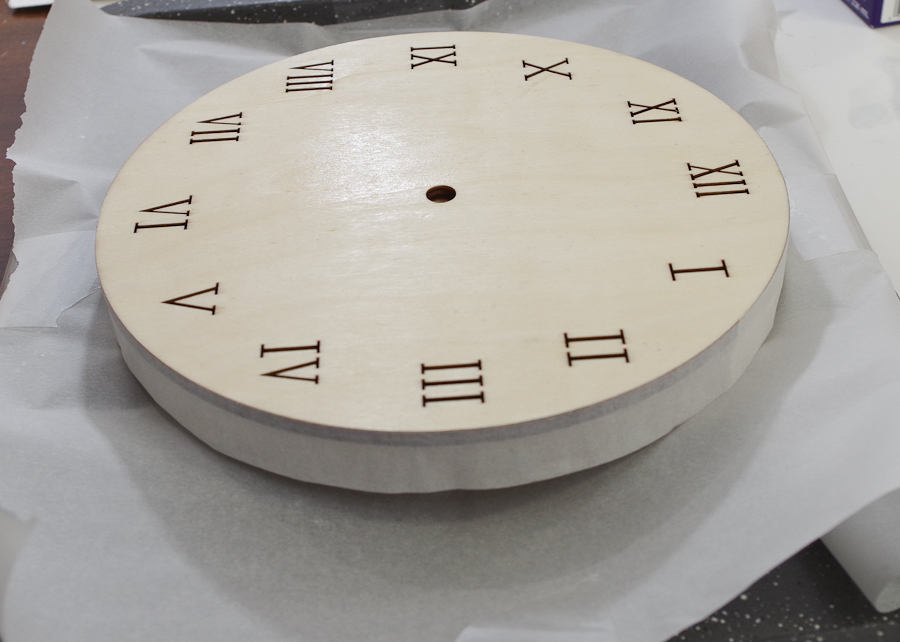
- Wooden Clock Face
- Clock mechanism and hand kit
- Resin Spray Sealer
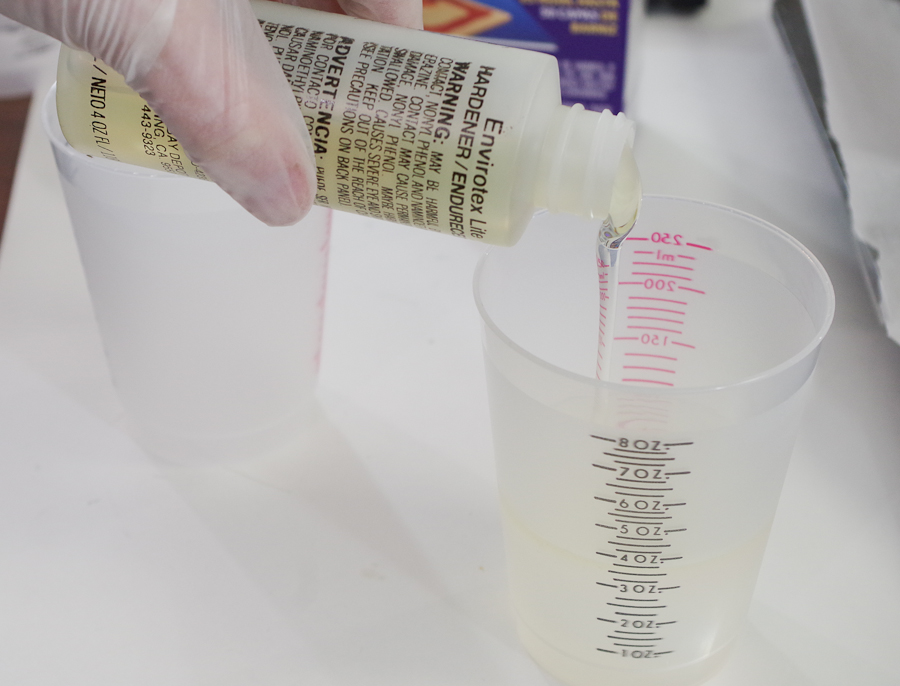
- Envirotex Lite Pour-On Resin
- Vinyl Gloves
- Disposable Measuring Cups (at least 4)
- Stir Sticks
- Disposable Paint Brushes
- White, Silver and Black Acrylic Paint
- Masking Tape
- Micro-butane torch
Prep the Clock Face:
The first step is to spray your clock face with Resin Spray. This will seal the wood and prepare it for the resin coating. 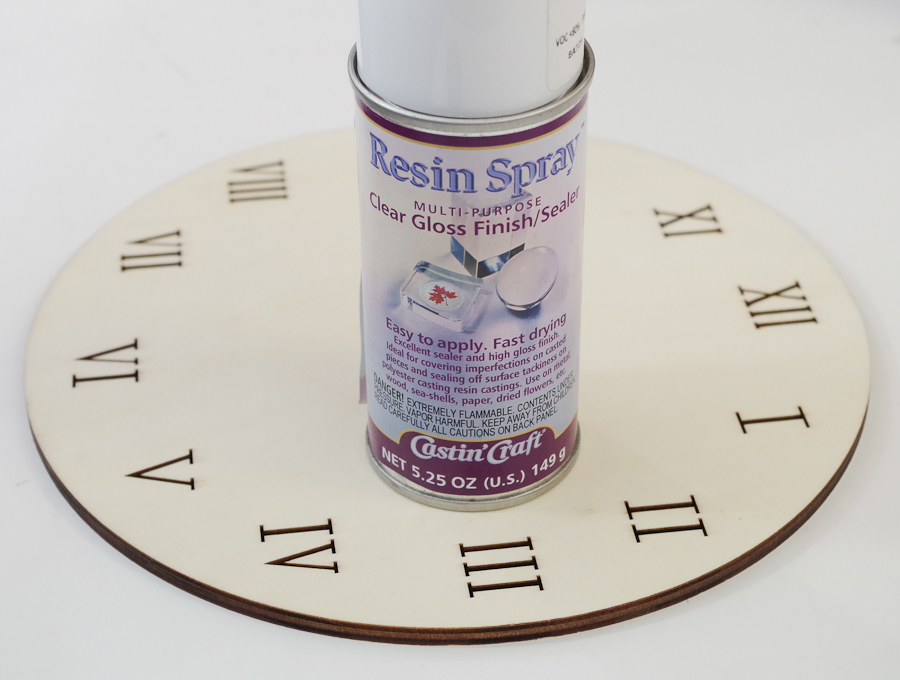
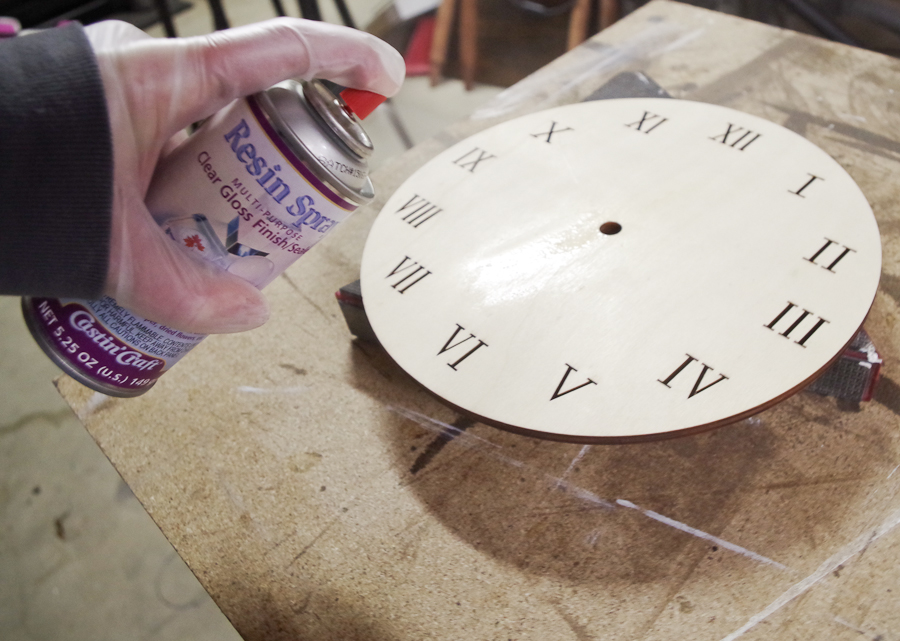
Let the Resin Spray dry completely before moving onto the next step.
Next, use masking tape to cover the edges of the wood. If you want the resin to coat the edges then you can skip this step, but I wanted to still see the wooden edge. 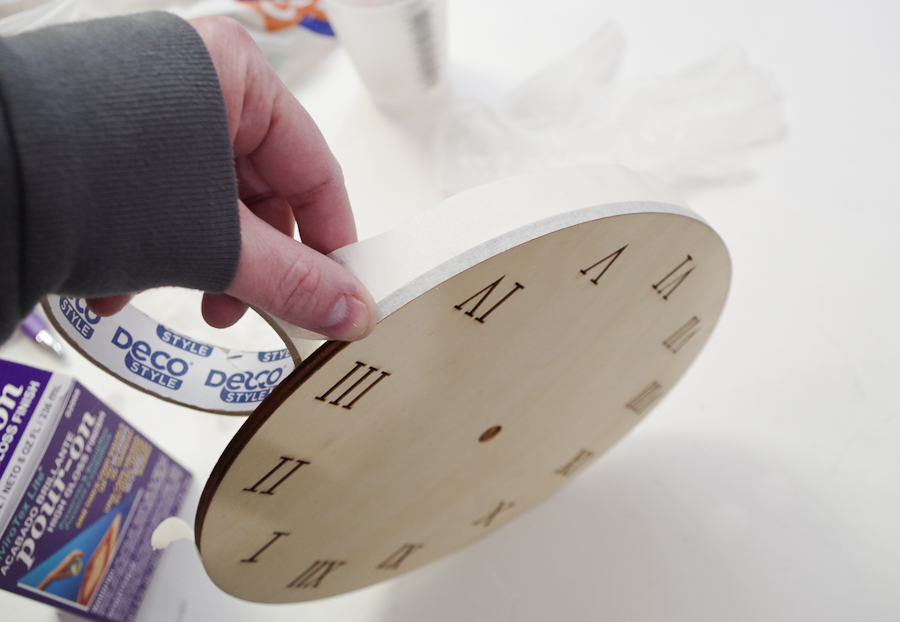
Be sure you have a disposable work surface of some sort underneath your project (I used a cookie sheet lined with parchment paper). Place the clock on a disposable cup (or other disposable item) to elevate it above your work surface.
Resin:
Follow the instructions in the Envirotex Lite Pour-On Resin package to be sure that you are aware of all the details on how resin works. Be sure to use your vinyl gloves. Mix equal amounts of Part A Resin and Part B Hardener in one of your cups.
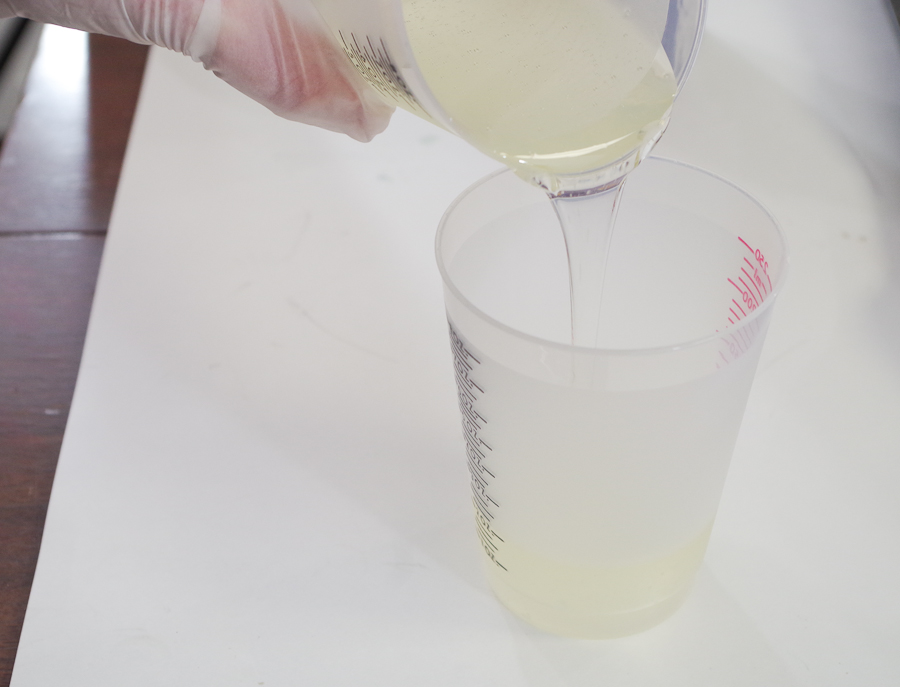
Mix thoroughly. Then pour the mixture into a second cup to ensure a clean and complete mixture.
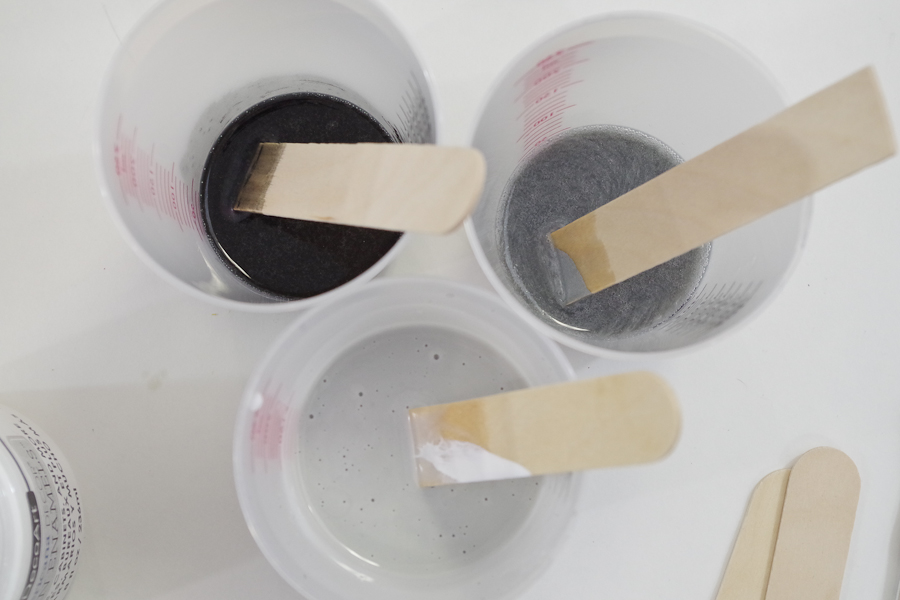
Pour a little amount of resin into two more cups. You’ll be making three colors. In the first cup, with the largest amount of resin, add some white paint and a little silver paint. This will make a very light gray color. In another cup with just a little resin, add some silver. And in the third cup with the smallest amount of resin add some black paint.
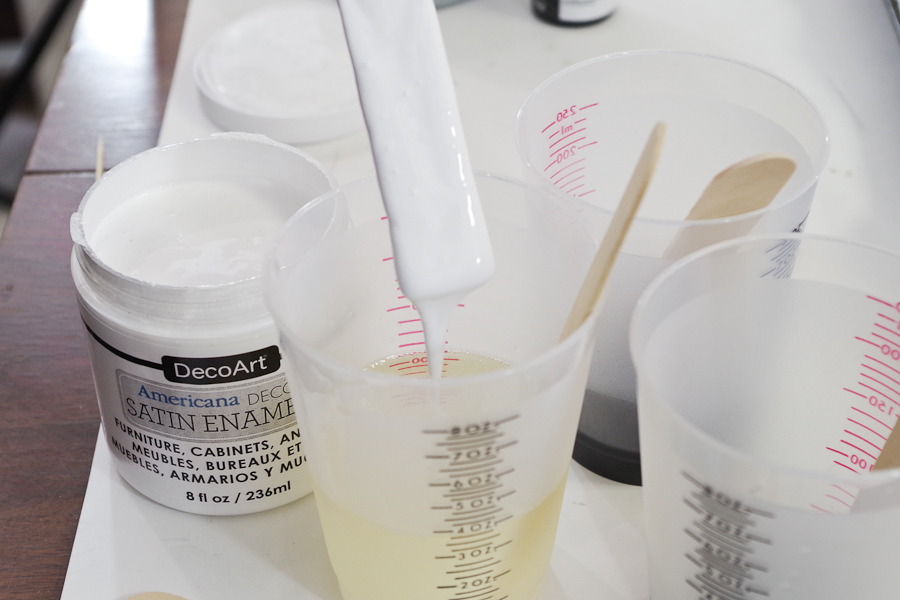
Stir the paint in thoroughly to get the desired colors.
Pour Resin:
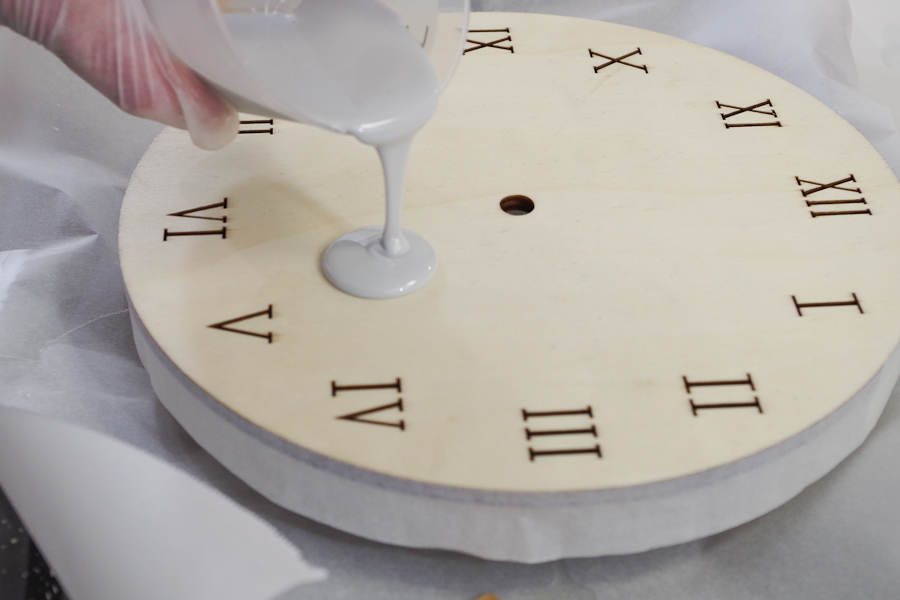
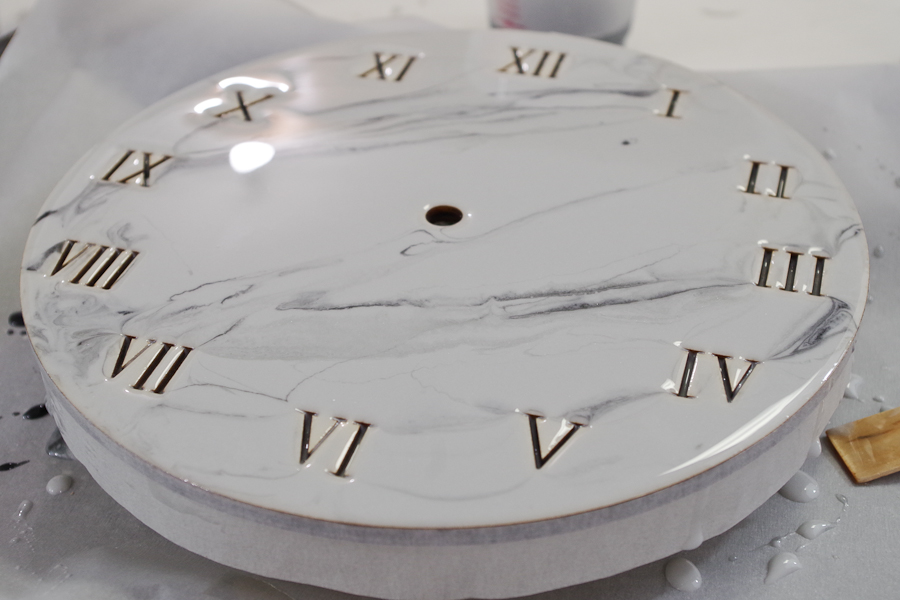
Starting near the center, begin to pour the light gray resin onto the wooden clock face. If you need, use a stir stick to spread the resin where you need. Cover the clock completely with the gray resin.
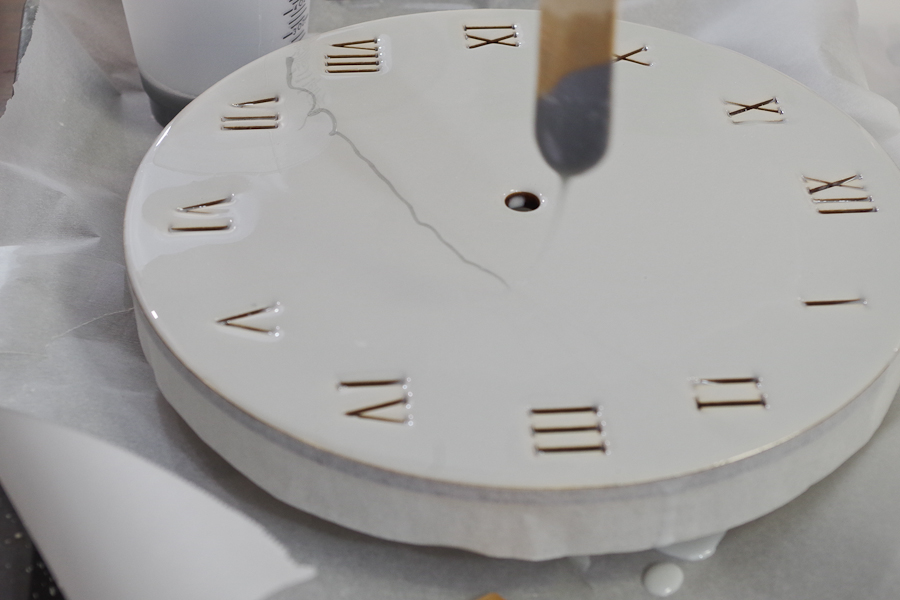
Use the silver stir stick and let the resin drip off the end while you drag it above the clock. The silver resin will make lines. Do as many as you’d like.
Use a disposable paint brush to break up the solid lines and give it a more realistic marbling effect. Add some smaller drips of the black resin.
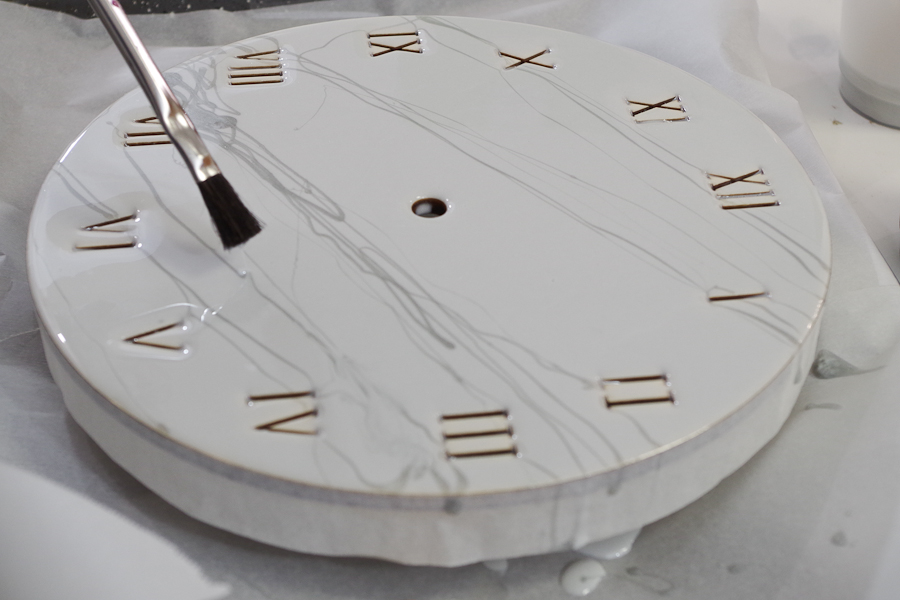
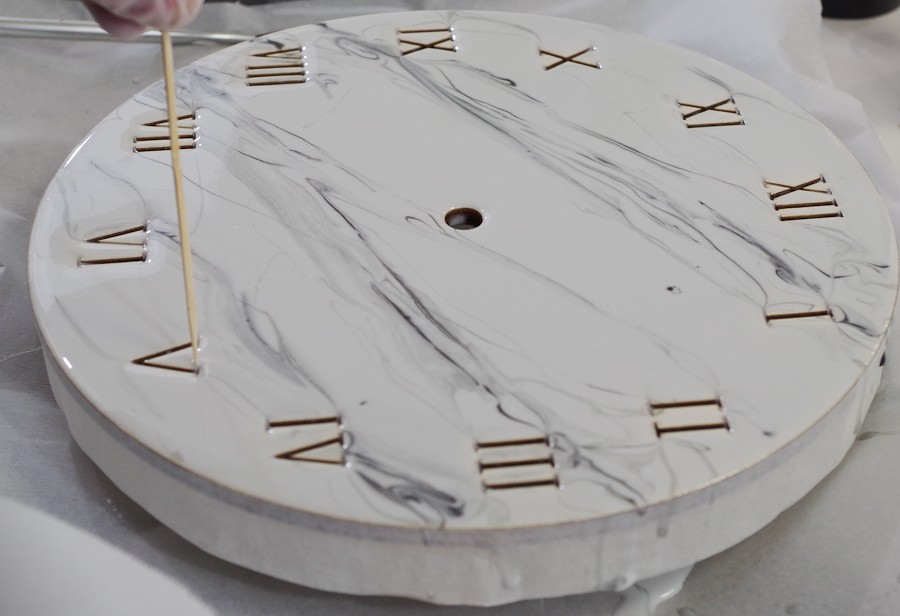
Once you have your lines in the resin, use a toothpick or something small to define the numbers by making sure the resin doesn’t cover it.
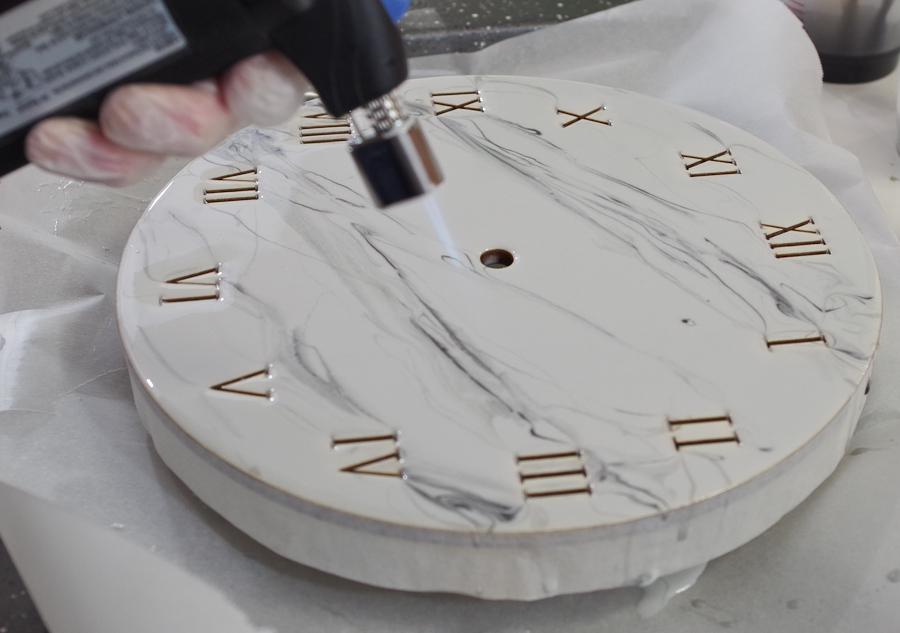
Let the resin sit for about 10 minutes, then use your micro butane torch to pop any bubbles on the surface.
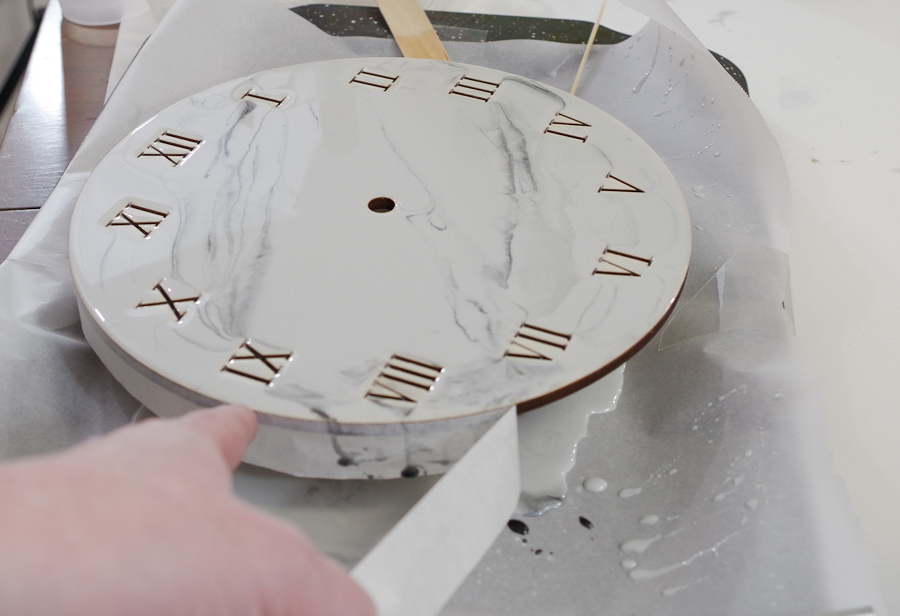
Let the resin cure for about two hours. Then come back and very carefully remove the masking tape from around the edges. Be sure not to touch the top of the clock face because the resin will still be very liquid and touching it will ruin it at this point. If the tape is stuck under resin, you can soften the resin a little with your micro-torch and then peel the tape off. Just don’t burn anything.
Let the resin cure for 24 hours!
Now time to assemble the clock. Grab your kit and instructions and put your clock together.
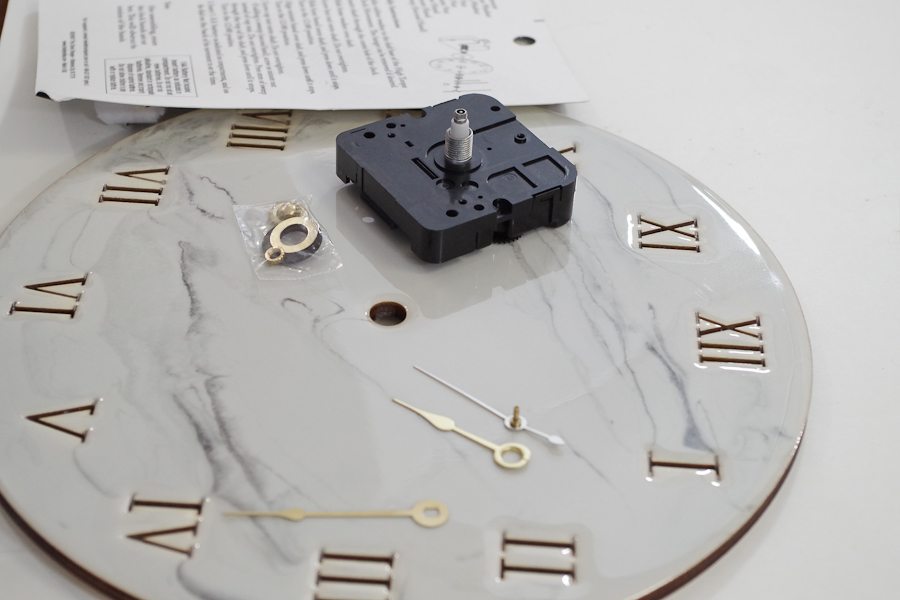
Set the time and hang up your beautiful clock!
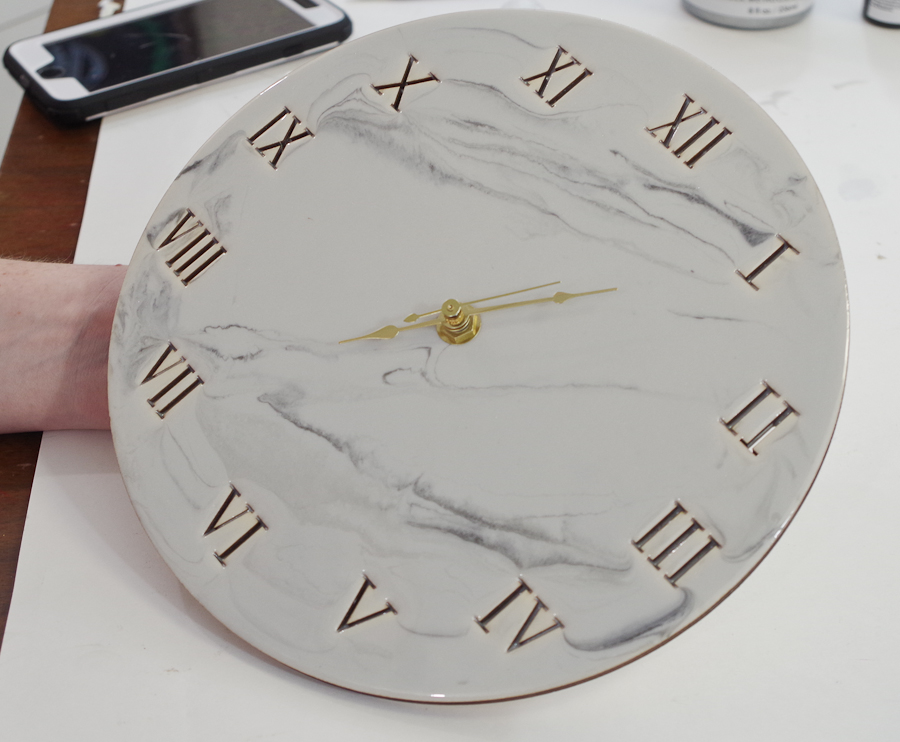
Finished!

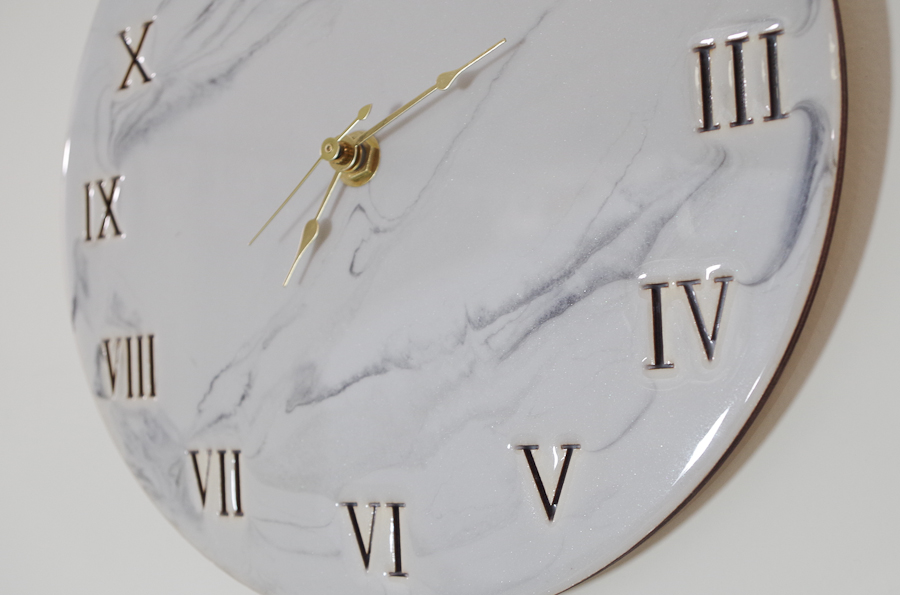
I hope you like this DIY Wood and Resin Clock tutorial! Have a great day and feel free to share this project on social media! Pin this image to Pinterest:
Sheri is a Maker and DIY blogger at Hazel + Gold Designs. She is usually in the middle of multiple projects at once and finds great satisfaction and joy in creating something new. She is constantly learning new skills, putting them to the test, and sharing her experience and knowledge with others. Her favorite hobbies are crafting, painting, crocheting and basic woodworking. Her goal is to inspire others to step out of their comfort zone, learn a new skill and have the confidence to make their life a little more beautiful!


This clock is absolutely amazing! Such a stunning finish that looks just like a marble surface! I’m going to have to try this for sure!
Thank you Natalie!
Great result. The marbling is so realistic! Love the clock face you used too!
Thank you!
Este trabajo esta precioso
Thank you very much!
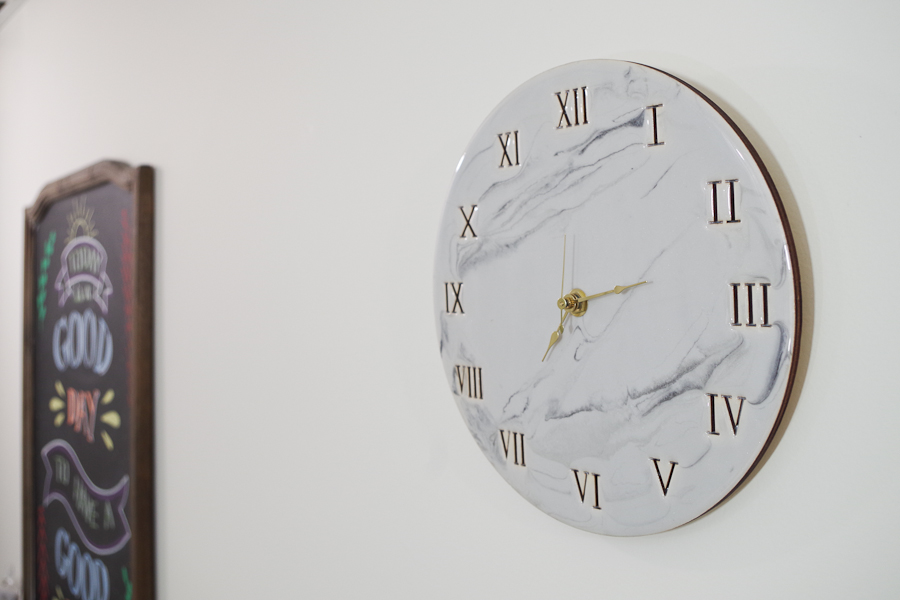
Hi does the clock lay flat on the wall or is the hand mechanism causing it to stand out from the wall some?
Hi Sheila, it stands out a little bit, but no more than any wall clock does.
The clock is beautiful, great job! However, you didnt state what you used the black cup of resin for. If I missed that part, I apologize..
Hi Megan! Thanks for bringing that to our attention. The directions have been updated… she used the black to add some smaller drips for more color variation/dimension.