
Fruit Puns Enamel Pins with Jewelry Resin DIY
Hi Resin Crafters, it’s Natalie from Doodlecraft sharing fruity pun enamel pins, perfect for every denim jacket or backpack. Enamel pins are all the rage and making some witty fruit pun pins is a piece of cake! Just a few supplies needed for these faux enamel pins. When I was in Elementary school, having pins all over your jacket or backpack was especially cool. Honestly, I don’t think that trend has ever gone out of style. My kids love enamel pins and buttons too–and they make great gifts!
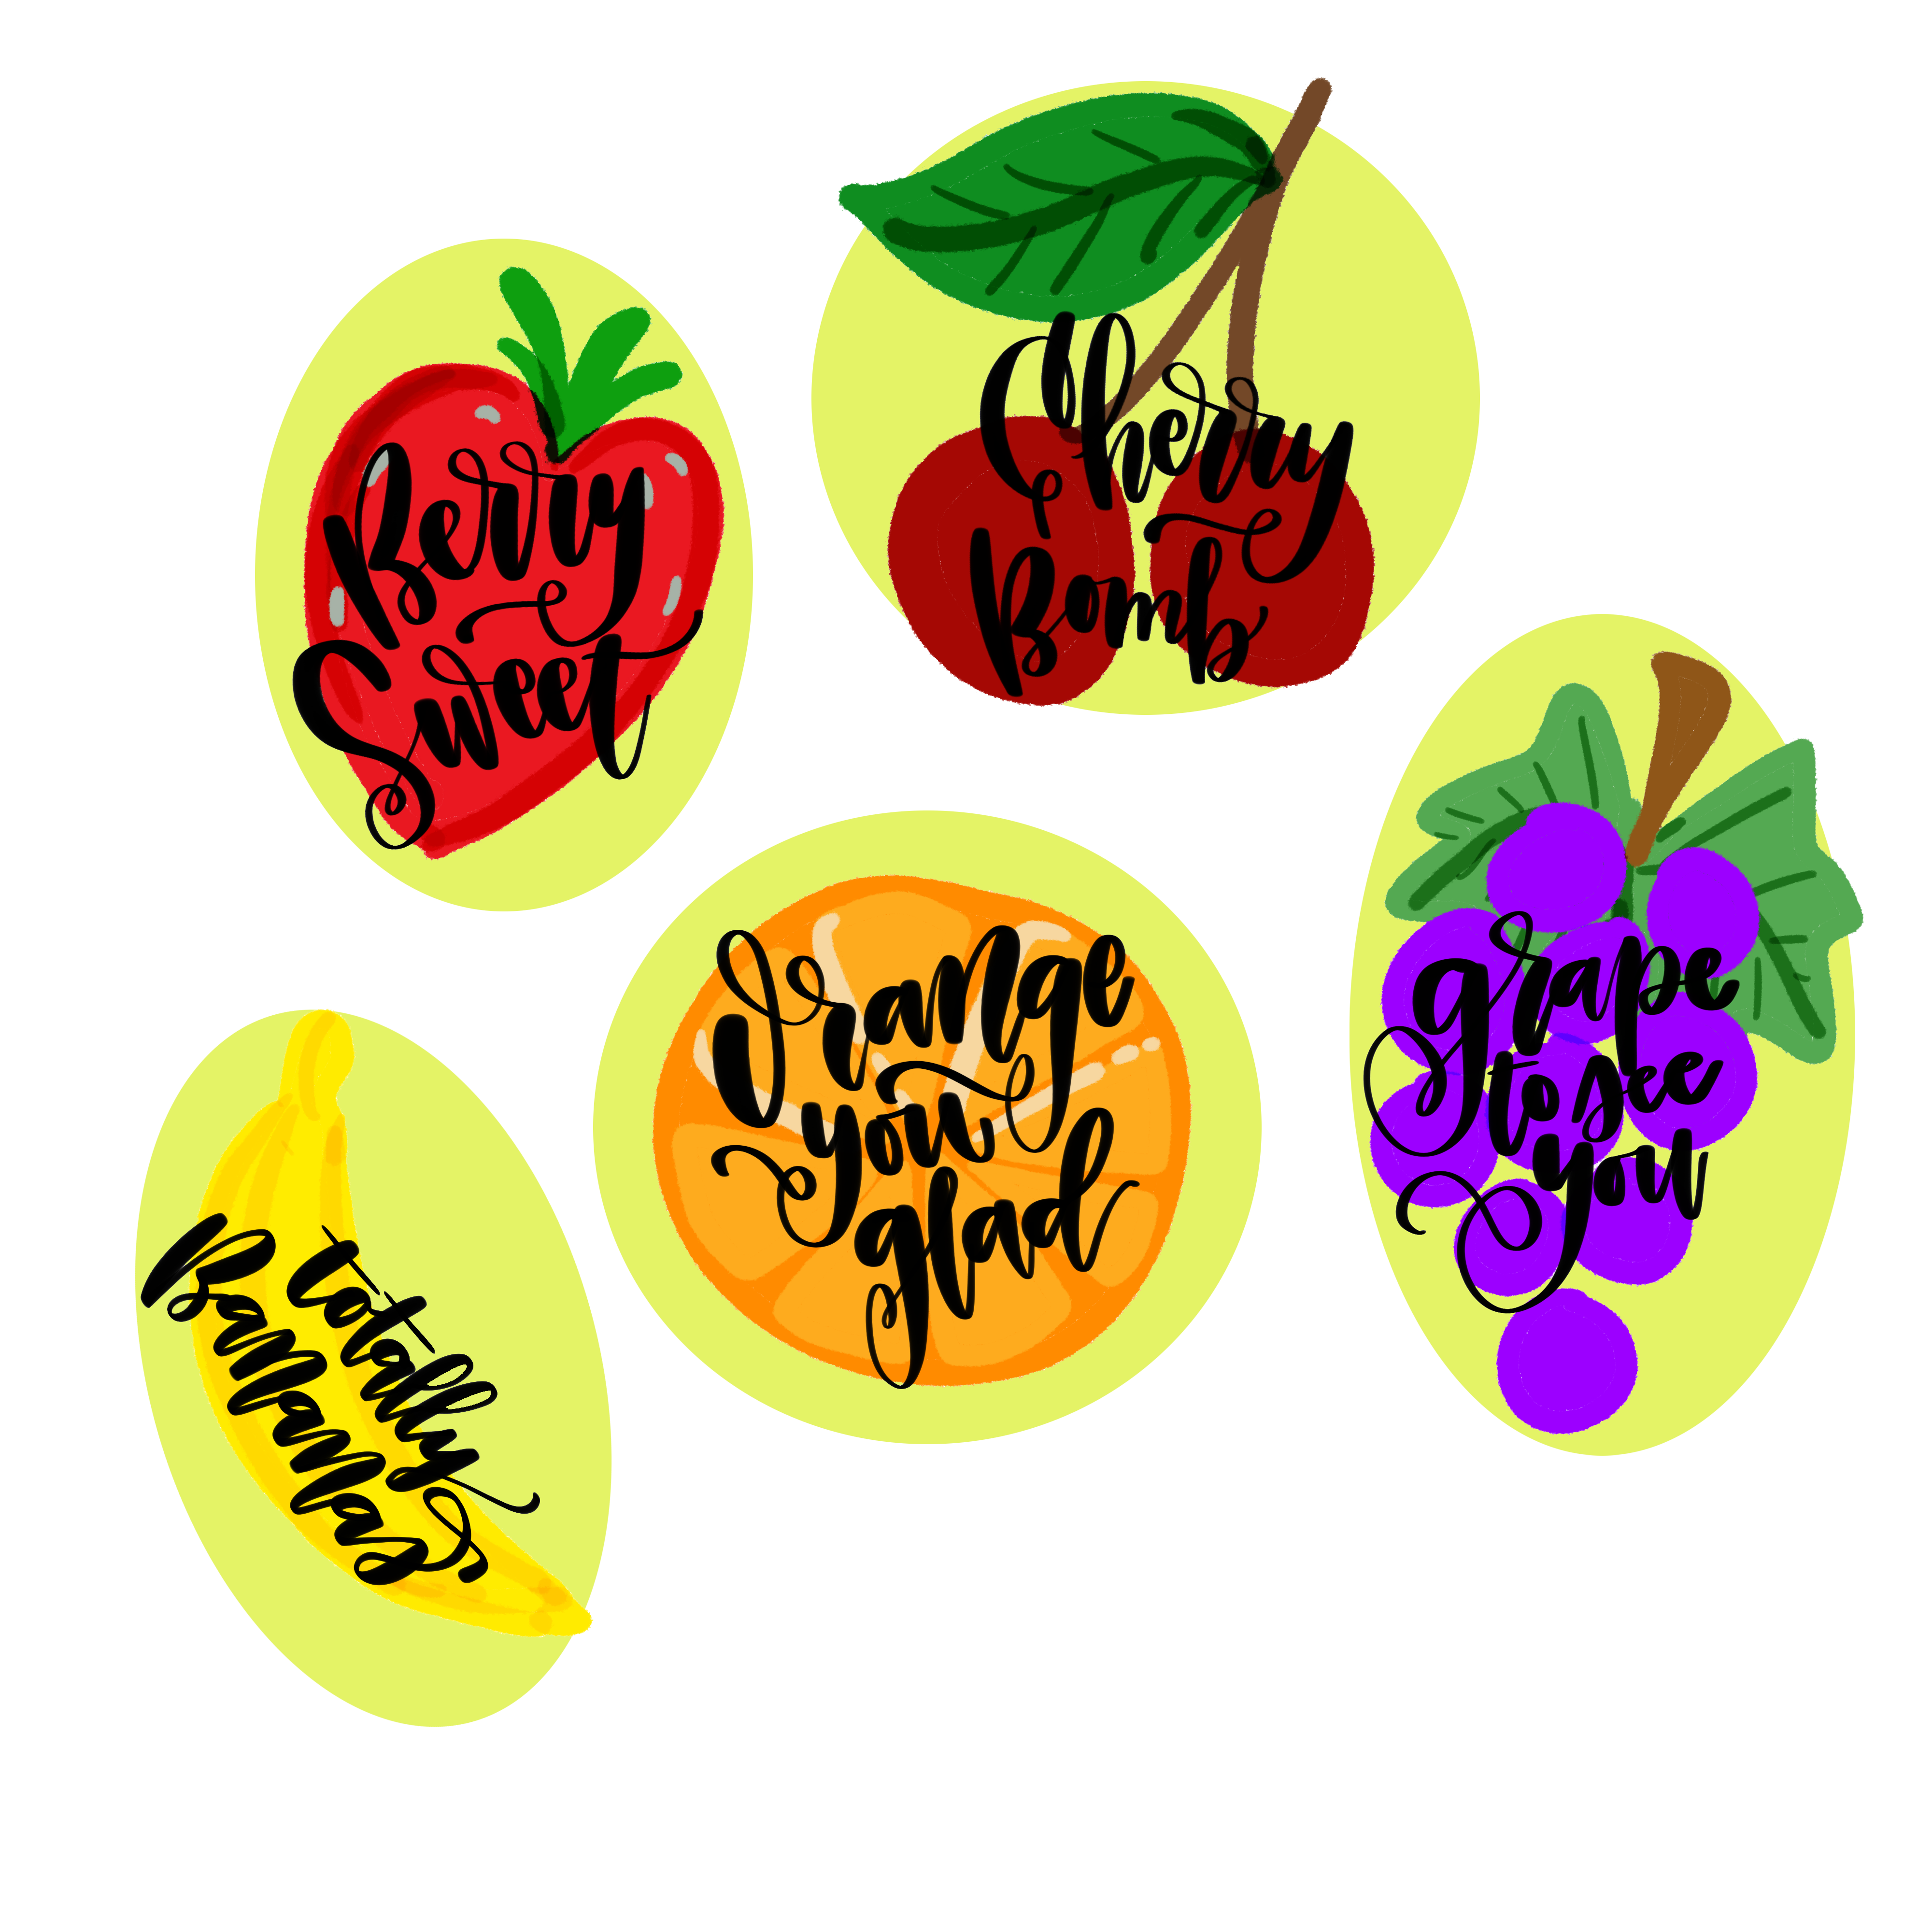
Right click to save this fruity image and make some enamel pins too!
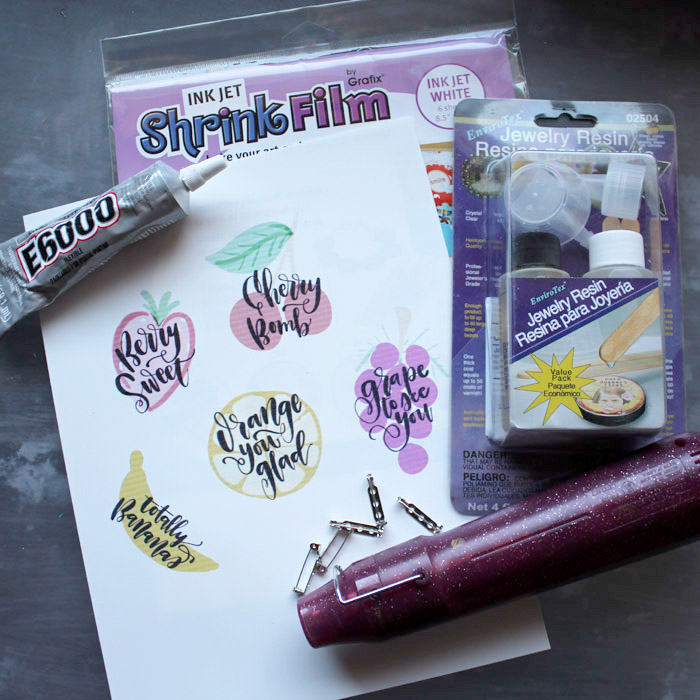
Supplies Needed for DIY Enamel Pins:
- Jewelry Resin
- Ink Jet Shrink Film
- Printer
- E6000 Glue
- Pin backs
- Embossing Heat Gun
- Mixing cups, stirring sticks, disposable gloves
Get Started:
Begin by printing out the fruity image on the shrink plastic. Unfortunately, my colored ink was nearly out, so the background did not print as vibrantly as desired. Next, use scissors to cut the images out. Use the yellow background as a guide. 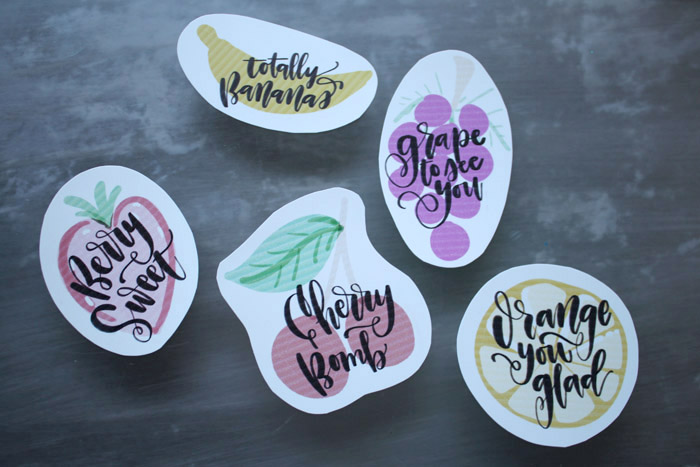
Shrink:
Next, shrink the plastic. Use the embossing heat gun or place them on a baking sheet in the oven set to 350*F for 2-5 minutes. Watch the plastic curl up like a bowl, then flatten out. Let them cool completely.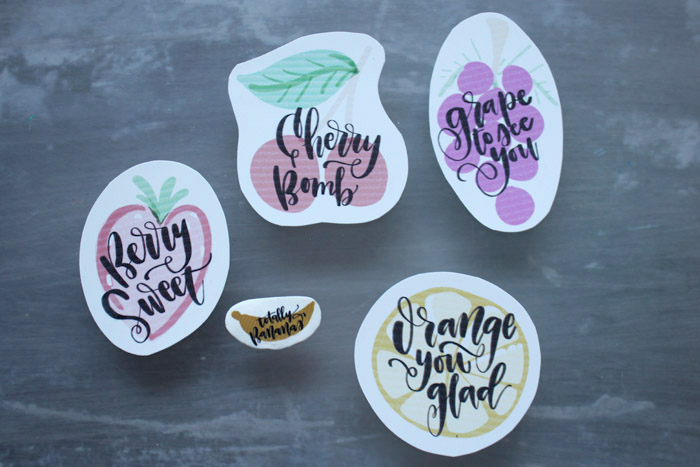
After they are melted, the plastic is thick and condensed.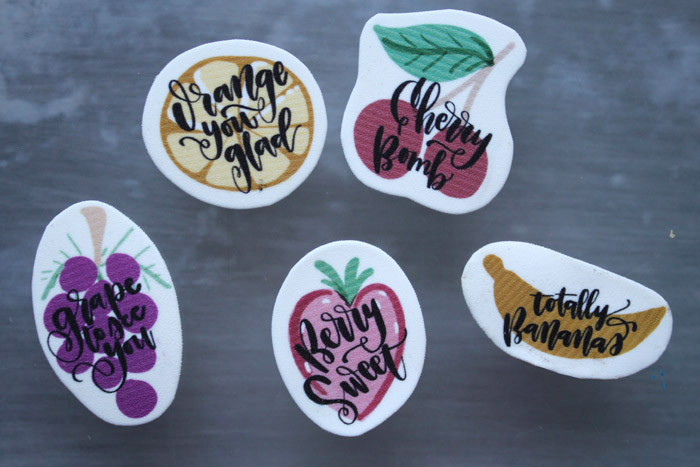
Time for Resin:
Now place the fruit shapes on a piece of cardboard and mix up 1 teaspoon of jewelry resin according to the package directions. It’s super critical to follow the directions and mix for the full time in the 2 phase process.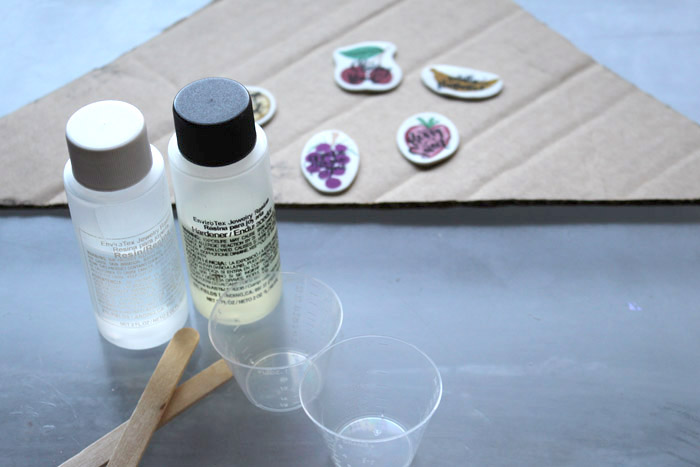
After mixing the resin for 2 minutes, transfer to a second mixing cup and stir with a new stick for another full minute.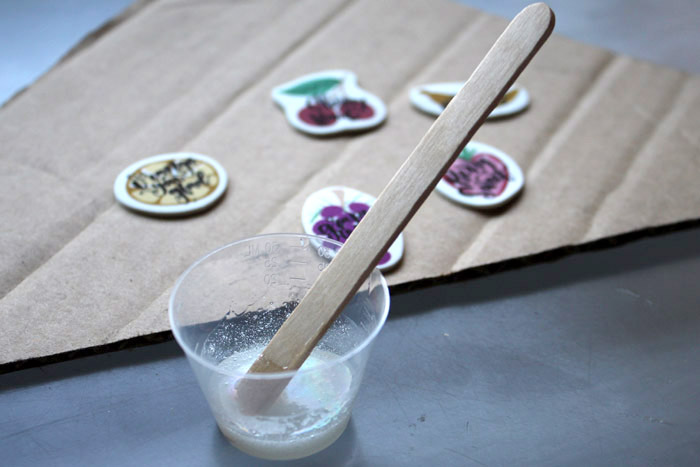
Then get a little resin on the end of the mixing stick and coat the surface of the shrink plastic. Resin has amazing surface tension and forms a beautiful dome over the top of the project.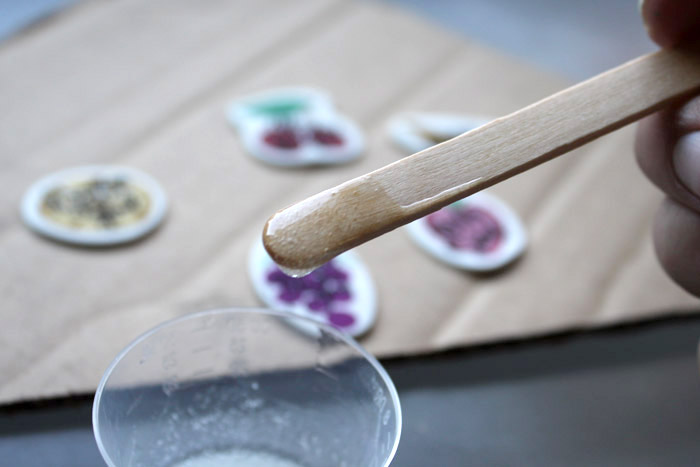
Once the resin is coating the fruit enamel pins, let them sit overnight, undisturbed on a level surface. Check the resin after 20 minutes and pop any bubbles that have surfaced with the heat gun or a mini torch.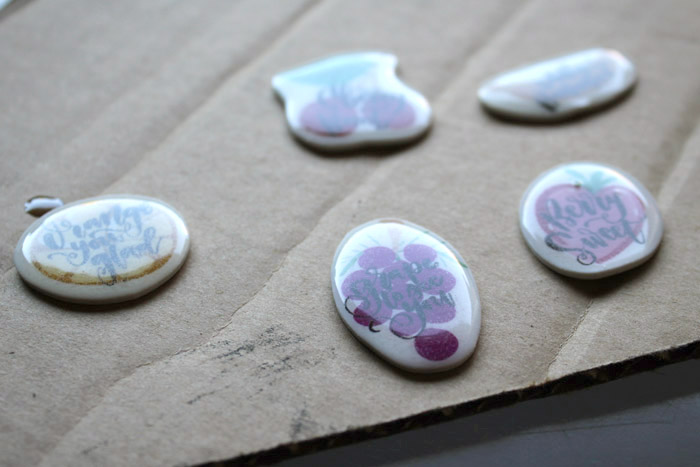
Glue Pinbacks:
The next day, turn the resined pieces over and use the E6000 glue to adhere a pinback on the backside of each piece. 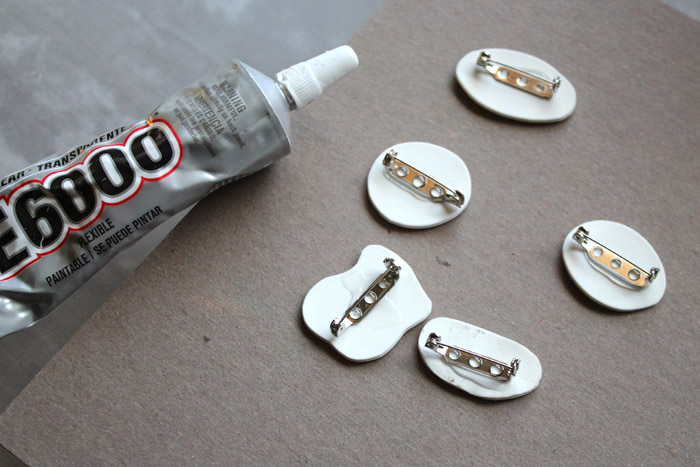
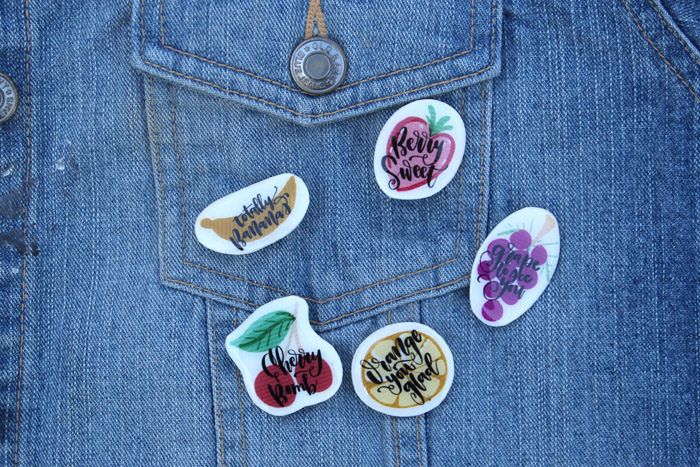
Let the glue dry for at least 4 hours. Then pin them on the nearest jacket, backpack or lapel! Hook them to a gift tag for a personal touch on a gift.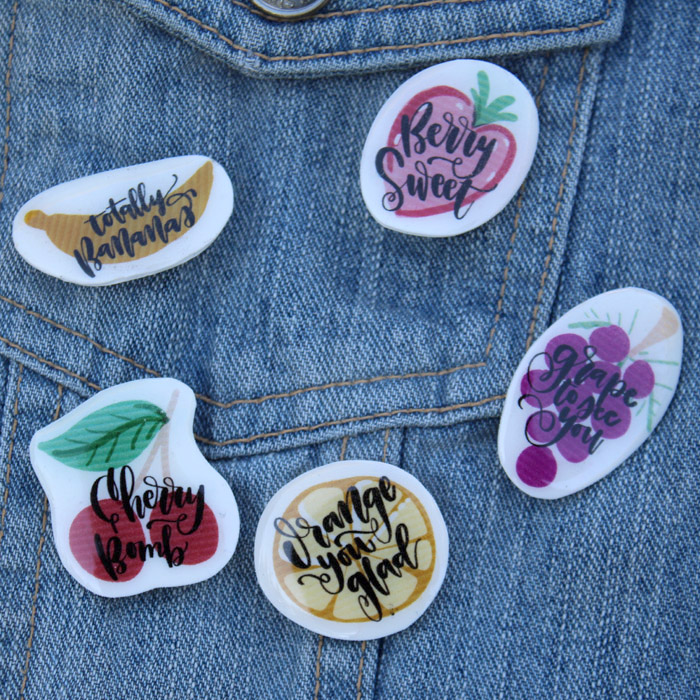
That’s it!
Like, Pin and Share!

Natalie Shaw is a Craft/DIY blogger at Doodlecraftblog.com. She loves sci-fi, fantasy and video game geekery and that comes out in many of her projects. She posts budget conscious DIY’s, crafts, jewelry, kid friendly projects, upcycled treasures and other fun on her blog 5 days a week.


So love this, gotta try it but maybe some of my own images. Great job, thank you.
Thank you for sharing your adorable project. I’m thinking fast, very few items needed and creative!.. That’s a big plus plus plus????.. I believe these would be fun for advanced and the beginners. They are so adorable and the pins never go out of style.
Thank you Natalie ❣️