Glittered Resin Switch Plate DIY
Hi Resin Crafters, it’s Natalie from Doodlecraft sharing a fun resin craft. Make an especially unique switch plate cover using glitter and resin. Customize the color of glitter and top it off with High Gloss Resin for a smooth and shiny finish. It’s a simple DIY craft that takes a few minutes of work time and overnight drying. 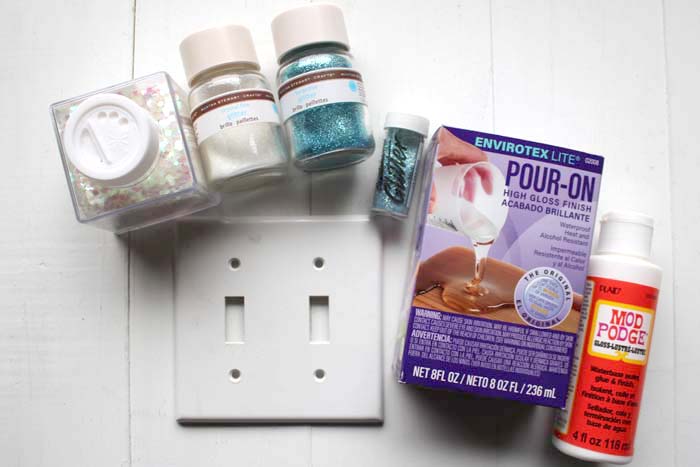
Supplies Needed:
- Switch Cover or Electrical Cover
- Envirotex Lite High Gloss Resin
- Glitter in variety of colors/sizes
- Rubbing Alcohol
- Mod Podge or Ultra Seal
- Paintbrush
- 2 Mixing Cups, 2 Stirring Sticks, Disposable gloves and disposable work surface
Get Started:
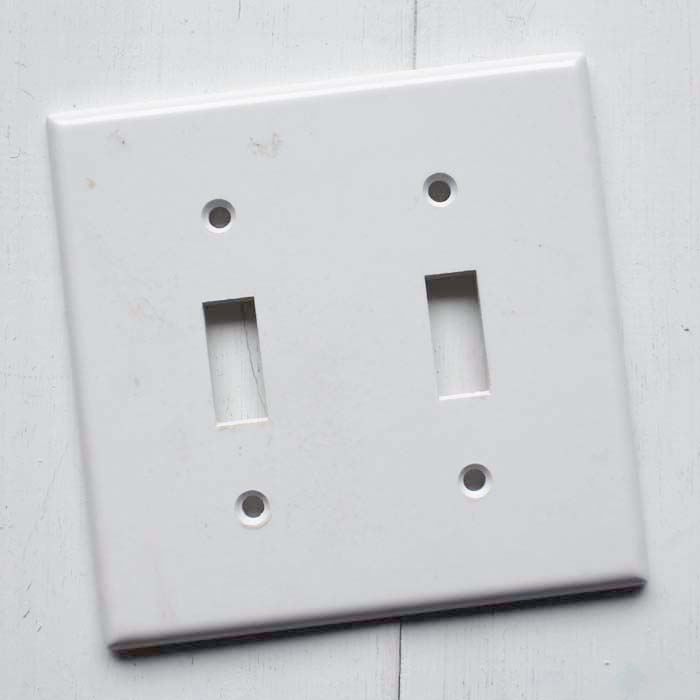
If you look around the house, you are likely to find a few switch plates that could use a facelift. Mine is dirty and scuffed, so a glittery update is just what it needed. Simply clean the plate with rubbing alcohol to remove dirt and oil build up.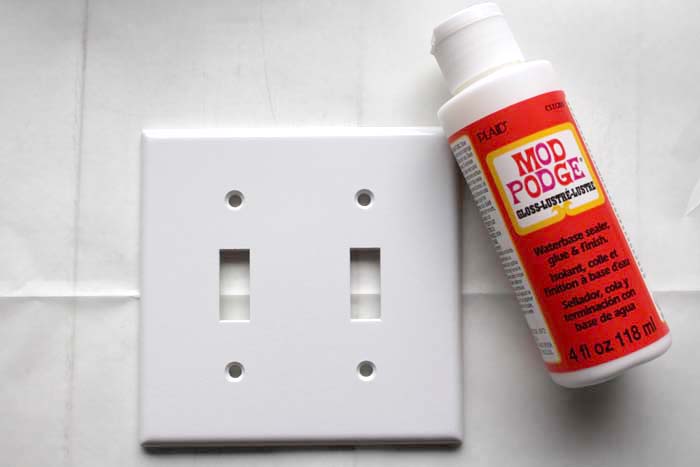
Use the Mod Podge or Ultra Seal with the paintbrush and coat the entire plate surface. Work over the disposable surface for easy clean up.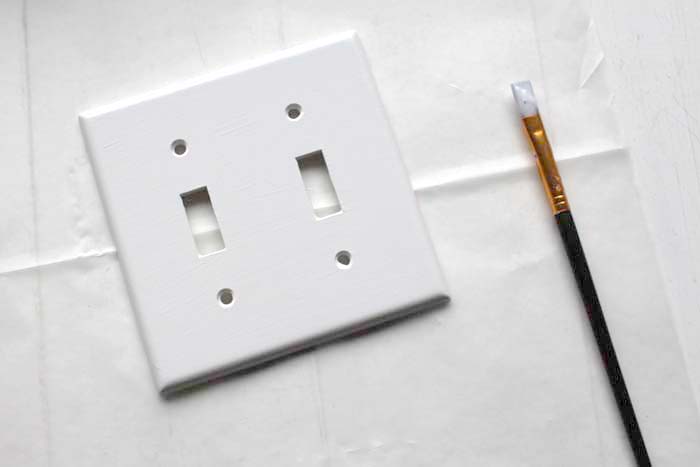
Add Glitter:
To make the ombre glitter effect, pour out a hefty amount of glitter on the lower half of the switch plate. I used aqua glitter, my favorite color. Then gently lift up the switch plate to dump all the excess glitter off onto the work surface. Lift the paper and pour the glitter back into the jar.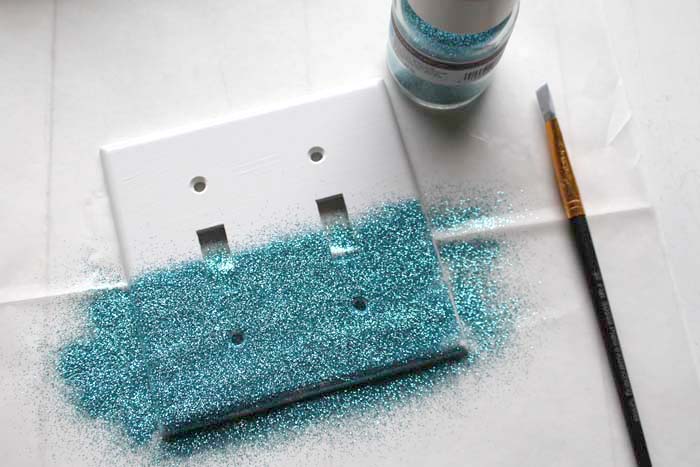
Next pour out the white glitter on the top half of the light switch cover. 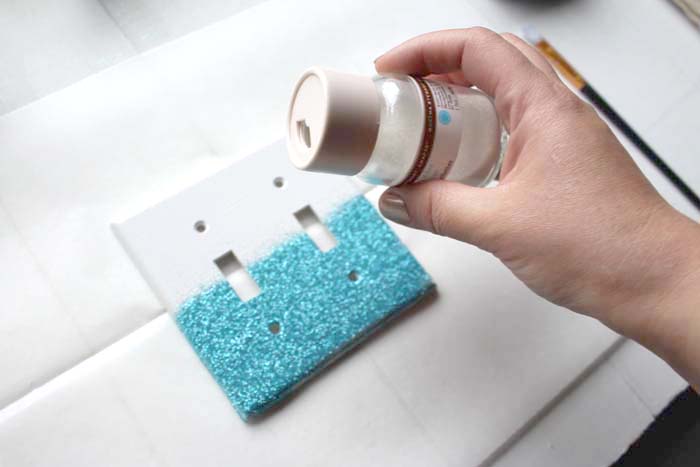
Repeat the process as before by returning the excess glitter back into the jar. Add some chunky glitter across the center of the plate…just across the middle.
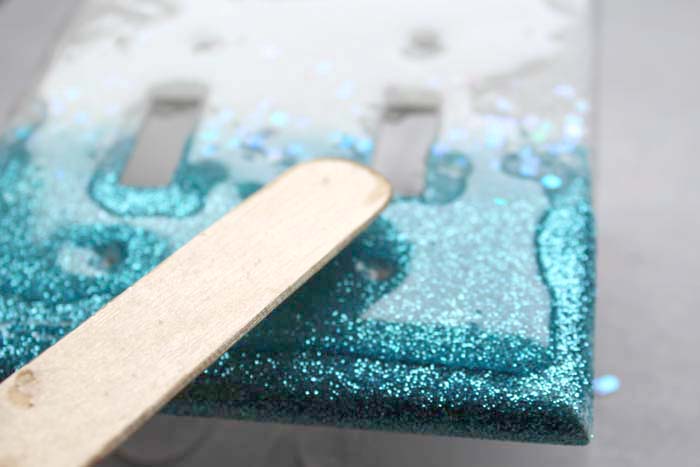
Pour on Resin:
Now set the switch plate on top of some small cups as risers. Then mix up about 1 ounce of high gloss resin. I mixed a giant cup full to use with another project, so disregard the quantity pictured. Just an ounce is plenty for the top of the switch plate.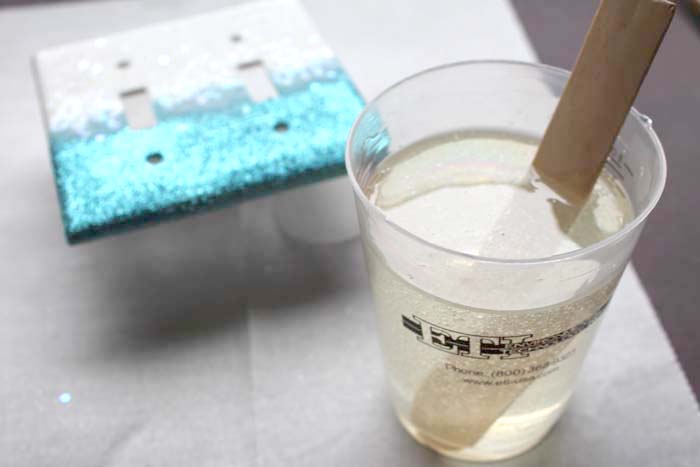
Use the stirring stick to pour out some of the high gloss resin all over the glitter. Allow it some time to soak in around the glitter. The resin is self leveling and will work it’s way around the plate. Encourage it with the stirring stick to cover the entire top of the switch plate. Let the resin dry and cure overnight.
Clean Up:
The next day pull the face plate off the risers and use a small hobby knife to clean up the drips and drops on the backside of the plate.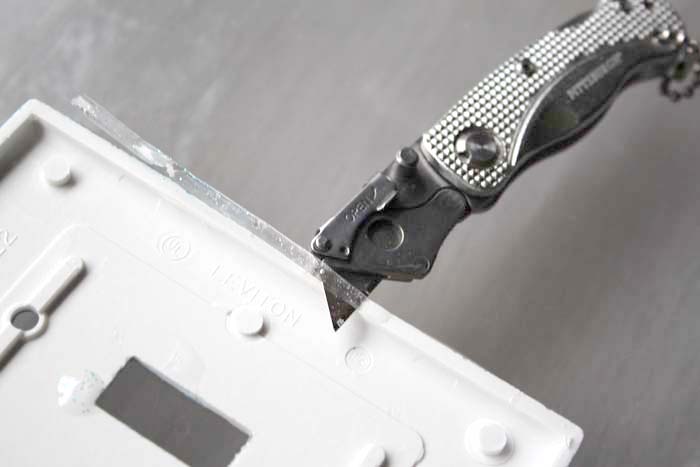
Now the switch plate is ready to hang on the wall.
That’s it!
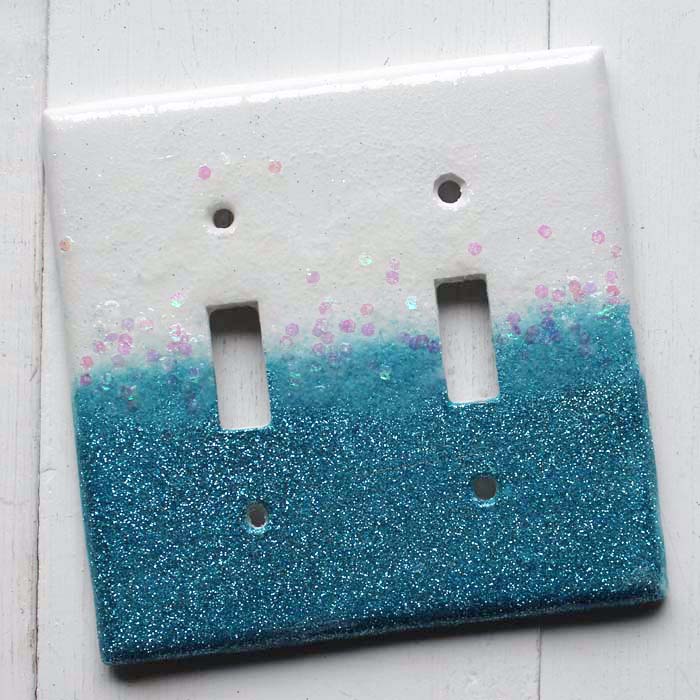
Doesn’t it look fabulous!? I love the thick chunky glitter in the center and the sparkly blue shine on the bottom.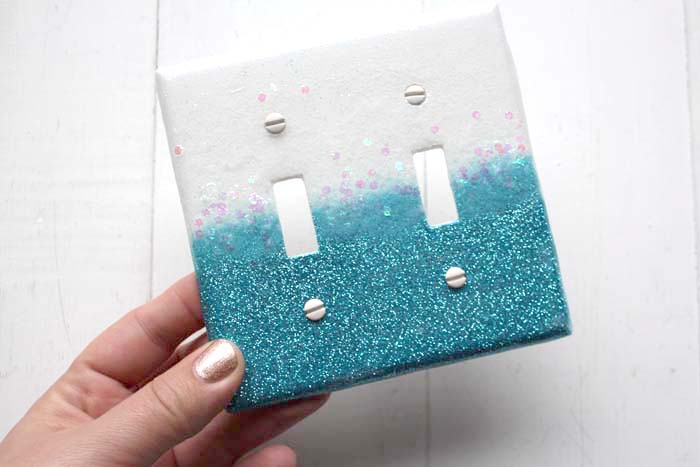
Simply screw the switch cover back on the wall for a stunning statement!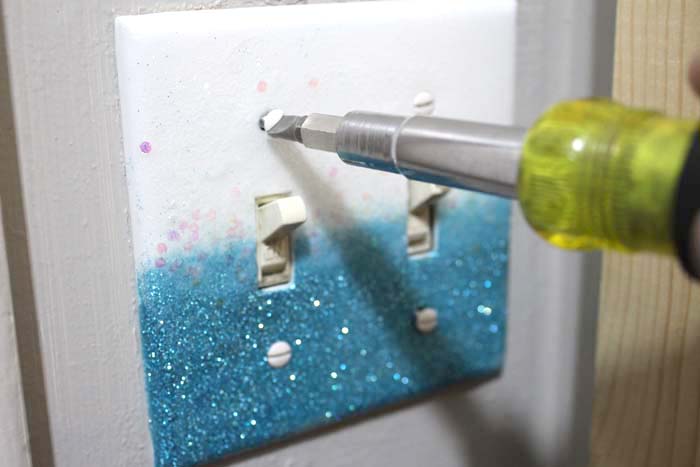
It adds a bit of jewelry to a boring wall. Now I want to do this technique on every switch plate in the house.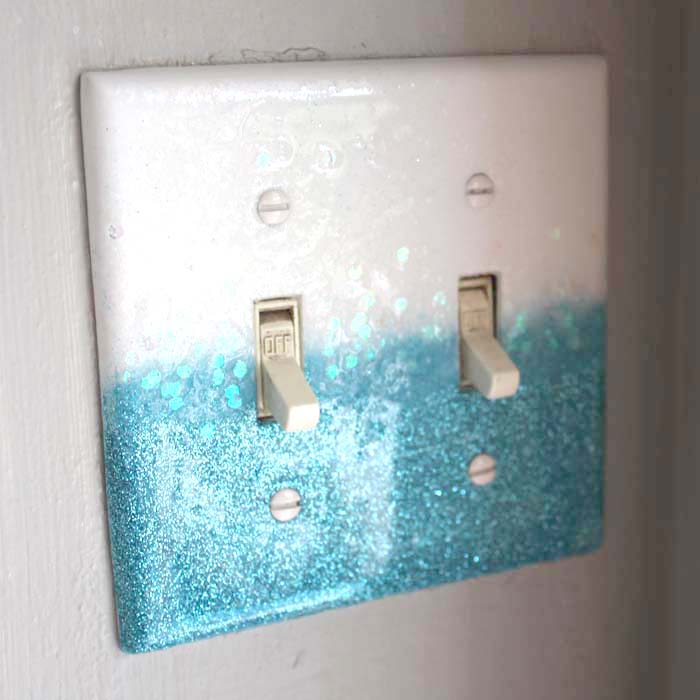
Like, Pin and Share!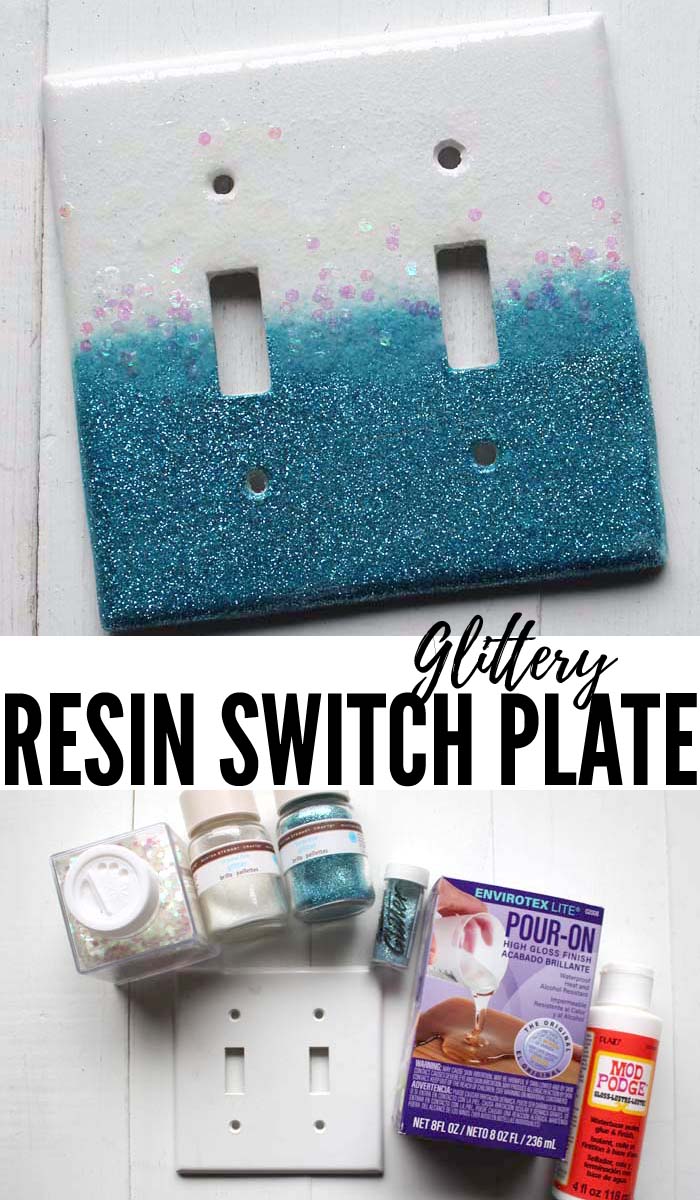
Natalie Shaw is a Craft/DIY blogger at Doodlecraftblog.com. She loves sci-fi, fantasy and video game geekery and that comes out in many of her projects. She posts budget conscious DIY’s, crafts, jewelry, kid friendly projects, upcycled treasures and other fun on her blog 5 days a week.


Natalie, you did it again! What a fabulous switchplate idea. I made your coffee filter snowflakes. Next I’m making these glitterfied switch plates. TY for the directions ????????????
I don’t know if anyone will ever see this comment but I made one today to try it out. It’s curing now and it looks great. Thanks for the inspiration.
Jeff
That’s great! Thanks so much for letting us know, Jeff!
I’m getting ready to resin 11 switch plates and outlet covers, so nervous! I don’t know how much to use? Do I spread it with my fingers? Do I continuously wipe off the sides so resin doesn’t drip? If anyone could help with those questions that’d be great!!!
Hi Jacki,
Instead of doing all 11 plates at once, start with just one or two so you don’t have to rush the resin process. I used an ounce of resin for the double light switch cover. I spread it with a stirring stick propped up on cups. It self-levels and drips off the edges fairly evenly. I did not have a lot of drip waste. It was easy to scrape the drips off the next day with a hobby knife. No need to continuously wipe off the sides. Good luck! Let me know if you have more questions and I’ll get back to you faster! 🙂