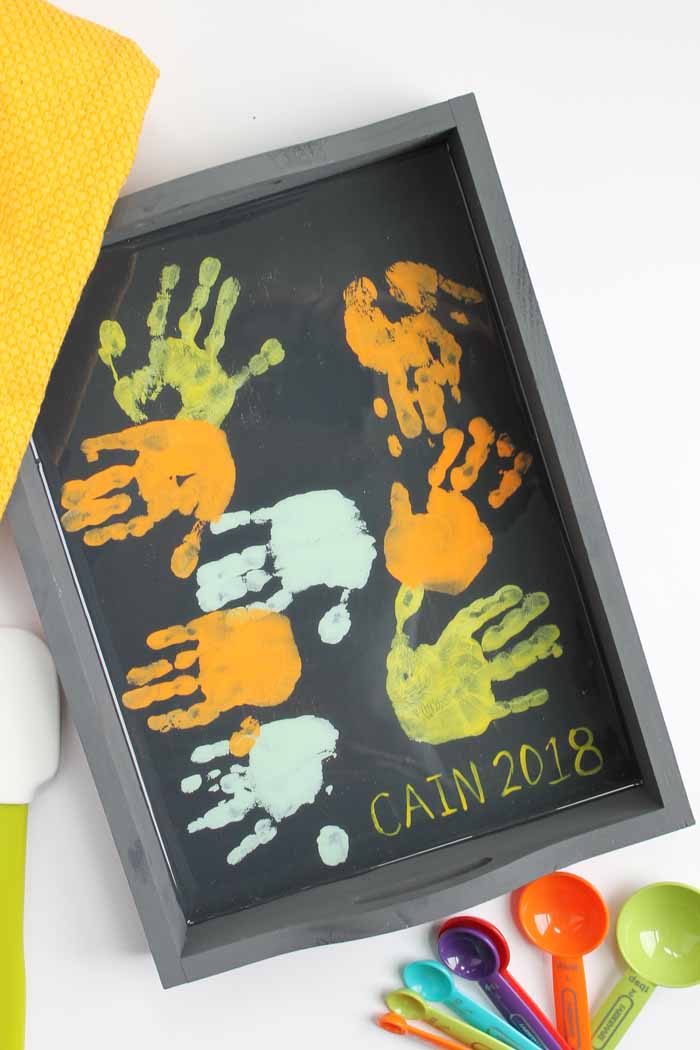
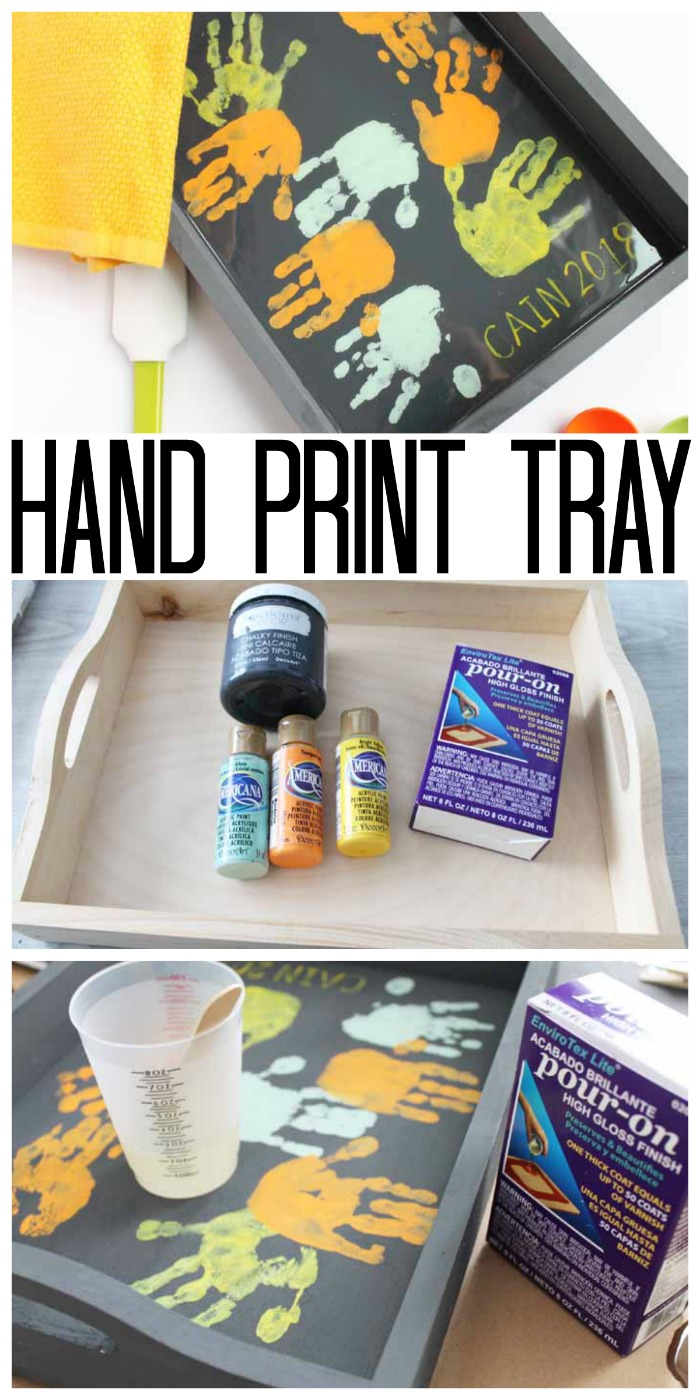
Make a hand print tray this year for mom. This makes a great Mother’s Day gift and it is so easy to make. You can add a layer of resin so mom can use this tray daily without issues. Grab a little one or two and get started on this handmade gift idea now.
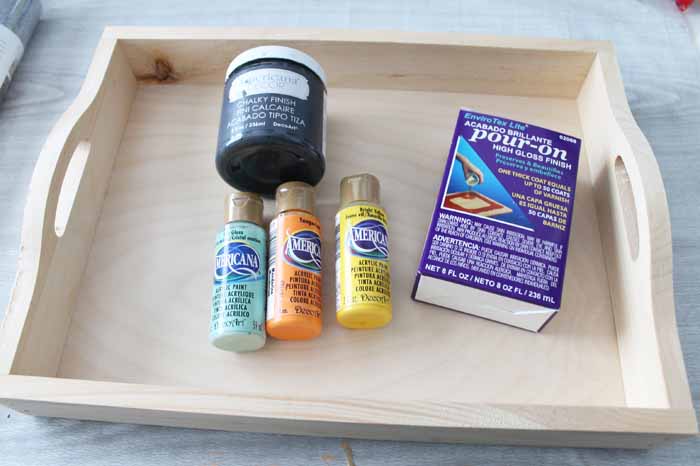
Supplies needed to make this hand print tray:
- Wood tray
- Grey paint
- Various colors of craft paint
- EnviroTex Lite®
- Paint brushes
- Mixing cups
- Measuring cups
- Stir sticks
- Clear adhesive or caulk
Instructions:
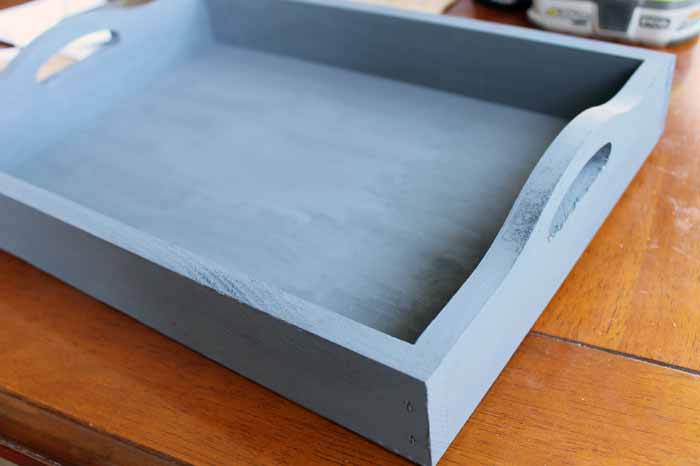
Start by painting your entire tray one solid color. Here we used a dark grey paint. This may require two or more coats for complete coverage. Be sure to dry in between coats and before continuing to the next step.
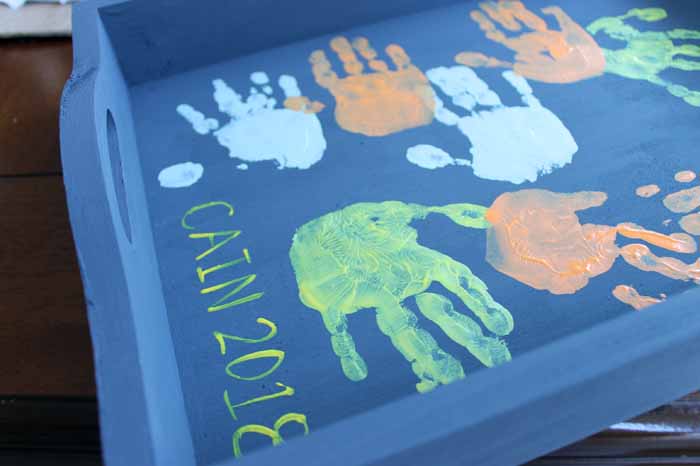
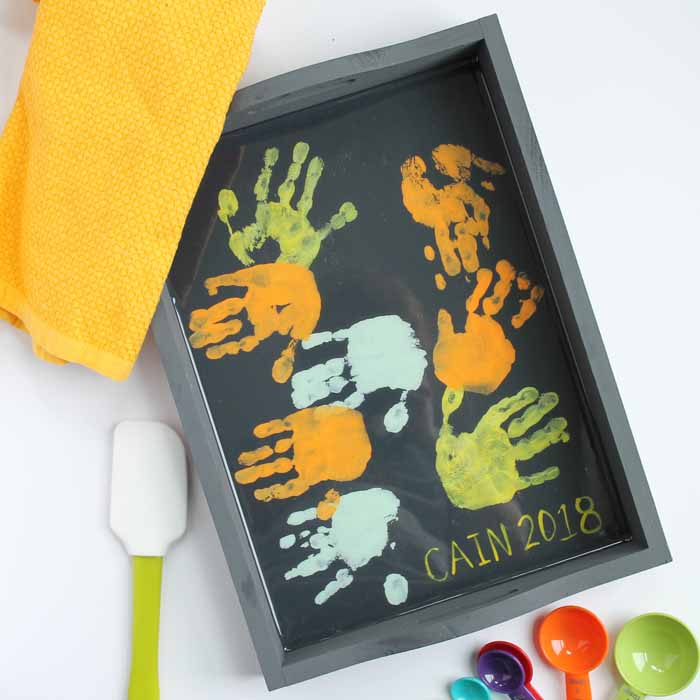
Grab the kids and start adding hand prints to the bottom of the tray. We used one child but you can use as many as you would like. Add the paint to their hand with a paint brush and supervise them as they apply it to the bottom of the tray. For younger children, you will need to hold their hand and make sure they get as complete a print as possible. Finish by painting on their names and the year with a fine point brush.
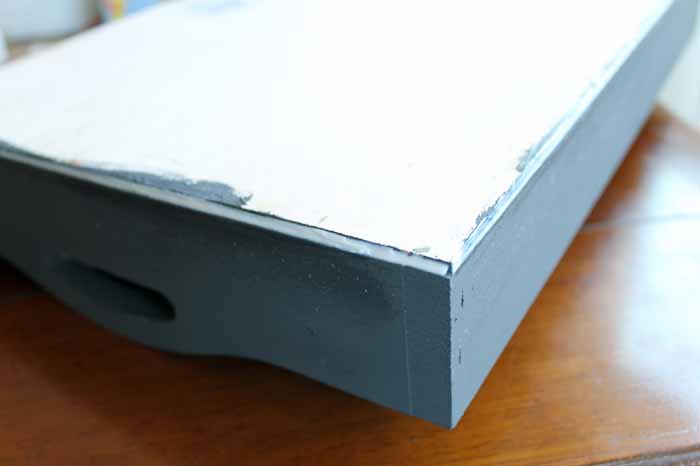
Allow the paint from the hand prints to dry completely. Remember that you can use any colors that you would like (or mom would like) on this project. You will also want to seal the edges of the tray. Use a clear adhesive or caulk on the bottom to go all the way around. This will prevent any seepage of the resin once poured. Allow this to dry completely before continuing.
Now it is time to add a layer of protection to your project so that mom can enjoy it for many years to come. Measure and mix up the EnviroTex Lite® according to the package directions. Remember that proper mixing is the most important part when working with this product. Be sure to use the two container mixing procedure and stir for the entire time indicated. Then you are ready to pour into your tray.
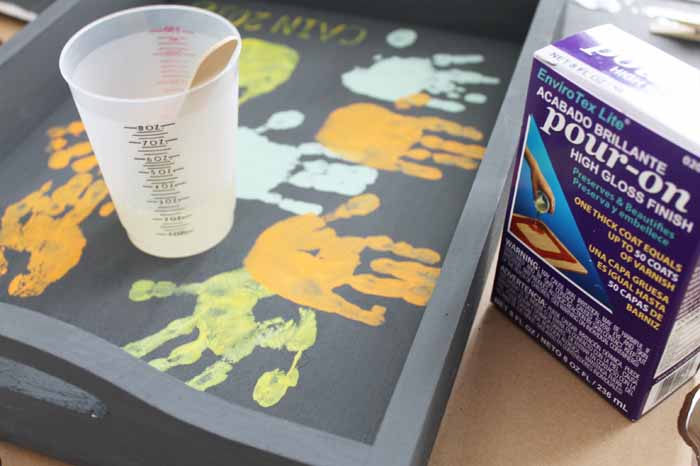
Pour into the bottom of the tray and tilt it to spread the resin all over the bottom. Continue until the bottom is covered in an even layer. You will want to remove any bubbles by either blowing on the resin or going over it with a flame. Again, you can refer to the product instructions for further details. Then allow to your project to cure completely in a place where it can sit level and undisturbed for about 24 hours.
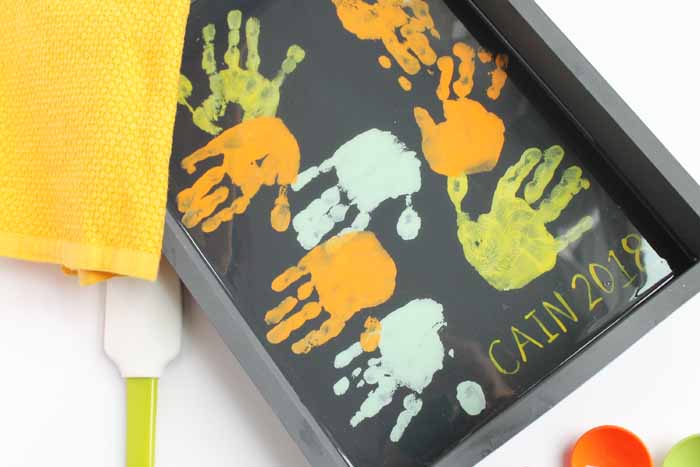
Once cured, your hand print tray is ready to wrap up and give to mom for Mother’s Day. She will love the sentiment and being able to use this tray in her kitchen for years to come.
Pick up your supplies and get started on your hand print tray today. After all, Mother’s Day is just around the corner and you don’t want to be left empty handed.
Angie has been blogging for over seven years at The Country Chic Cottage where she does a variety of crafts and home decor projects. You can even find a weekly recipe! She lives on a farm in rural Tennessee with her husband and three children. Painting is a favorite of Angie’s because it is a quick and easy way to make a big impact for very little money.


Best kinds of presents for Mother’s Day
Thank you, Angie for posting this great gift idea! I would also like to thank you for joining my link party. I hope to welcome you back soon.
Warm regards,
Dagmar Bleasdale
http://www.dagmarbleasdale.com
This is such a great Mother’s Day gift idea! Thanks for the tip about sealing the bottom so that the resin doesn’t leak out. Totally wouldn’t have thought of that! Thanks for sharing with us at Merry Monday this week!
Love this! This project is a feature on my blog for the Merry Monday party that goes live on Sunday evening! I also love the caulk tip around the edges. I never thought to do that! This was pinned to our group board! Would love a social media shout out to grow our party! Thank you!!! laura ps.. those little hands!!!