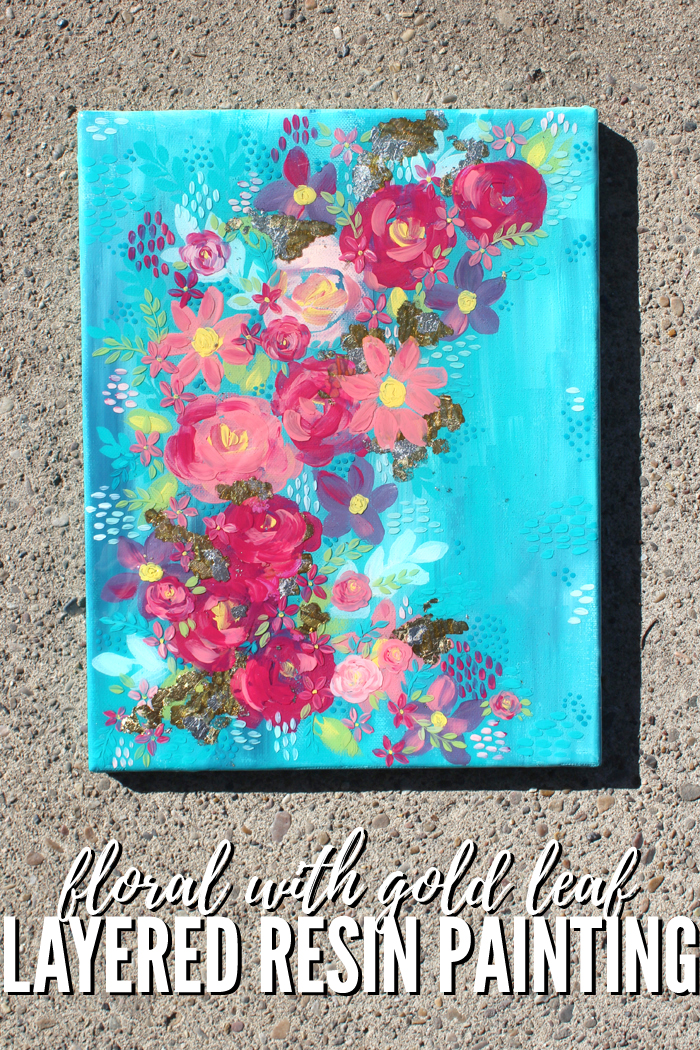
How to Make a Layered Resin Painting
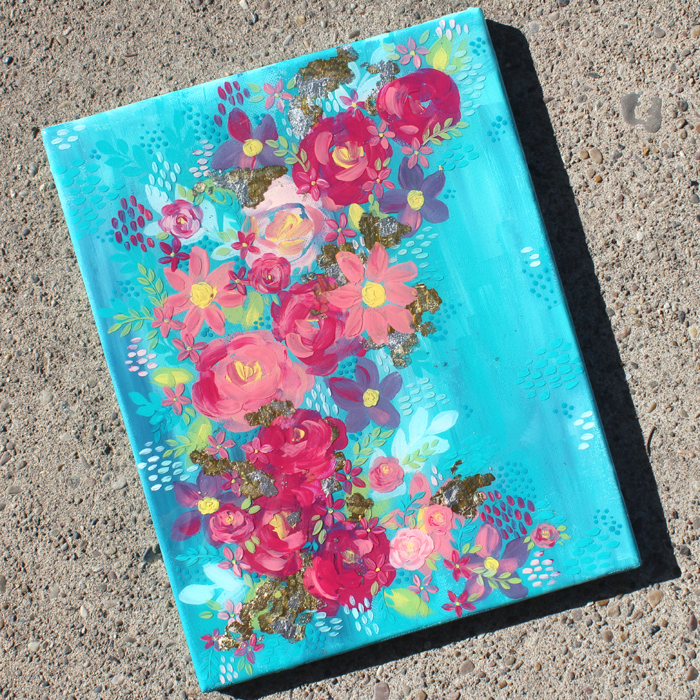
Hi Resin Crafters, it’s Natalie at Doodlecraft sharing a layered painting technique you will love. This painting is canvas with multiple layers of thick, creamy paints and 2 layers of Envirotex Lite High Gloss Resin. There are a variety of textures, shines, depths and finishes on this painting that makes it so intriguing.
First off, is there any surprise that I painted an aqua and teal background? Check out this post! Or this post! Or this one! The biggest question to ask yourself is what color will your background be?
Supplies Needed for Layered Resin Painting:
- Canvas
- Envirotex Lite High Gloss Resin
- Acrylic Craft Paint
- Paintbrushes
- Gold Leaf
- Gilding Adhesive
- Mixing Cups, Stirring Sticks, Gloves
- Cardboard Box that fits Canvas
- Mini Torch, Heat Gun or Straw for popping bubbles
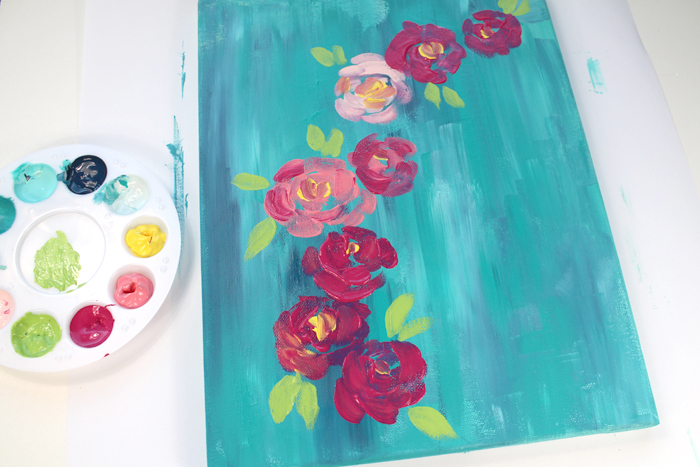
Step 1: Layer one of the canvas
Begin by painting the entire canvas in a brushy, stroke pattern. Similar to this canvas painting I did three years ago. Then let the background dry completely.
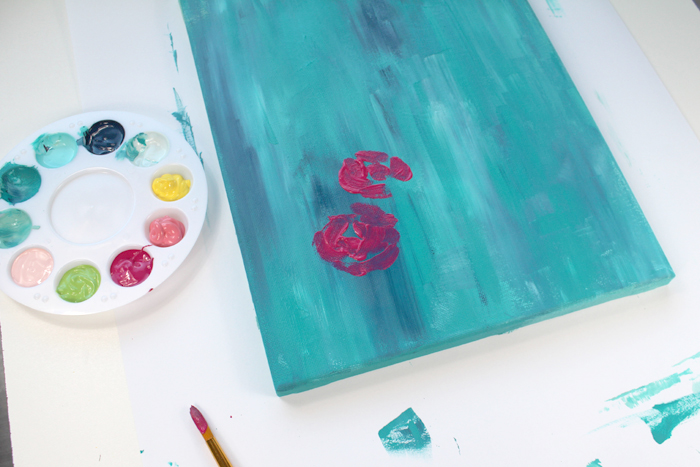
Step 2: Second layer of Flowers
Then paint a row of big, chunky flowers on the canvas. These flowers are very splotchy and random. Leave gaps of background colors between the blobby petals. Add green leaves. Do not strive for perfection here, keep them very abstract.
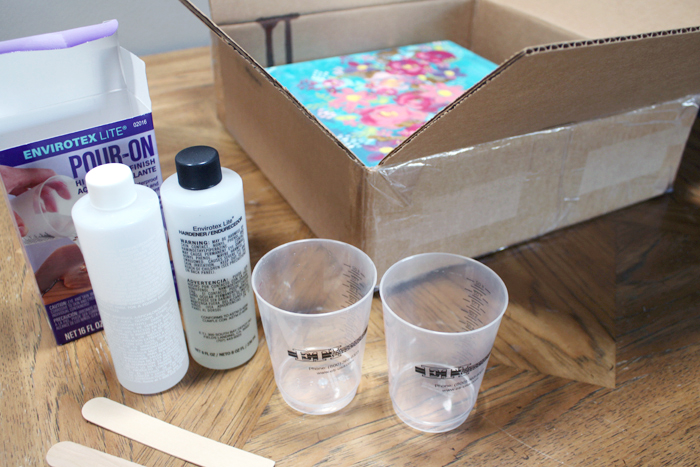
Step 3: First Layer of Resin
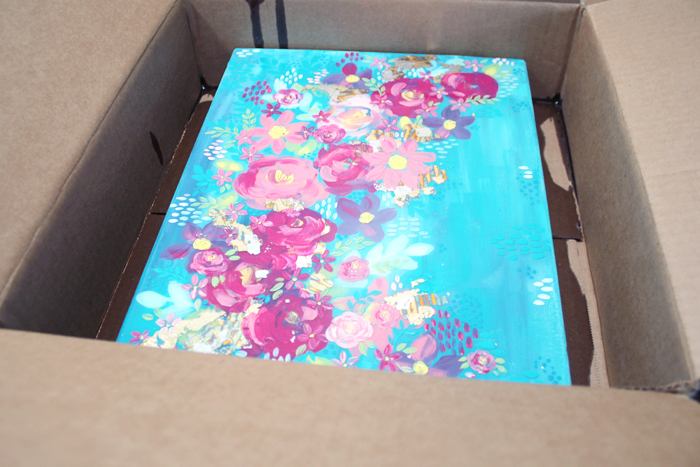
Now place the canvas in the cardboard box with a board inside the canvas to keep it’s shape. Then prop it up on plastic cups so the edges of the canvas are elevated. And make sure the box lid can still close.
Then mix up the Envirotex Lite High Gloss Resin in a mixing cup. Read the instructions carefully and be sure to mix properly in the two-phase process. After mixing in 2 separate cups with 2 different stirring sticks for the allotted time, pour the resin on top of the canvas and smooth it around with a stirring stick.
Gently close the box and let it dry at least 24-48 hours.
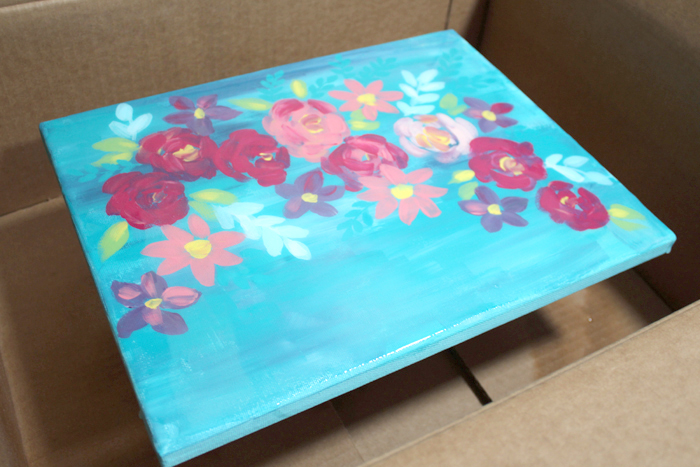
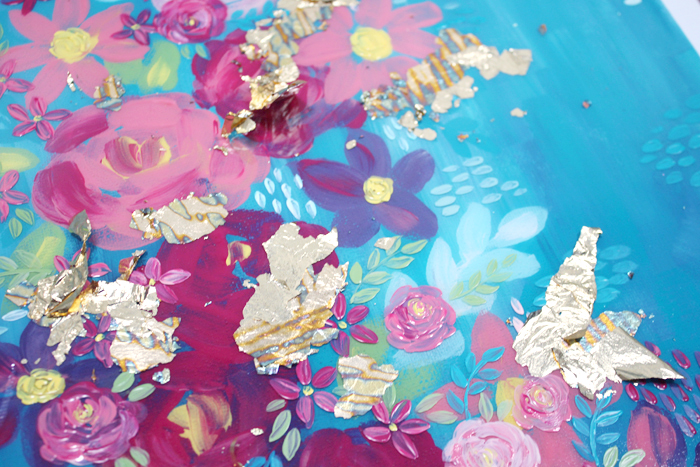
Step 4: Next Layer of Flowers
Now add another layer of flowers, leaves, fronds, spots, dots and lines over the resin.
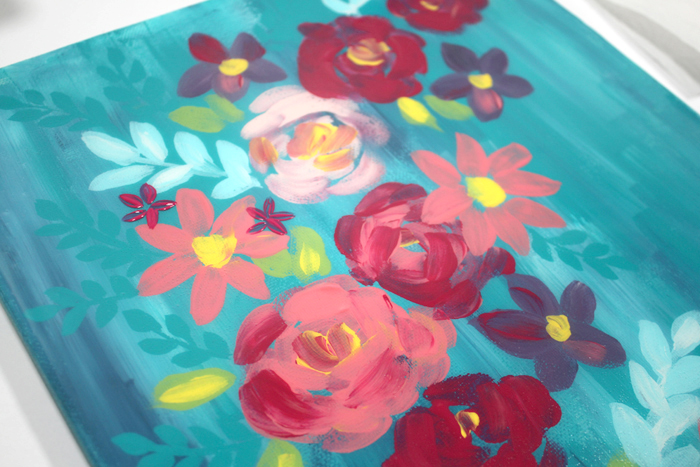
The texture is a little different painting on a glossy surface versus the canvas, so keep it thin in places and thick in others. Once satisfied with the additional small flowers and patterns, let the paint dry completely.

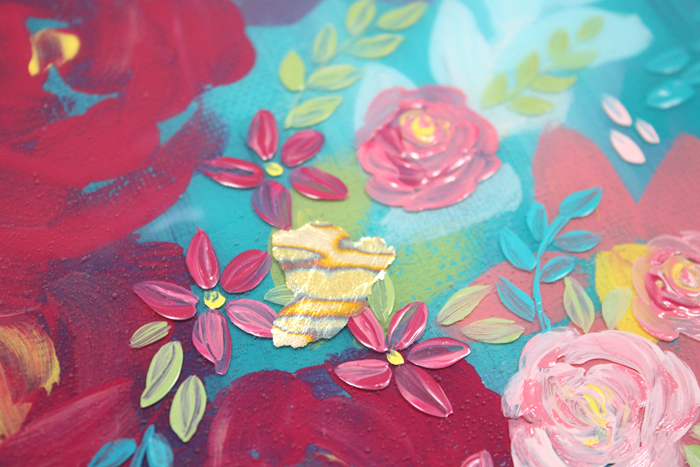
Step 5: Gold Leaf Layer
Now add little splotches of the Gold Leaf Gilding Adhesive to the canvas. Let the glue dry completely and it will be clear but still very tacky.
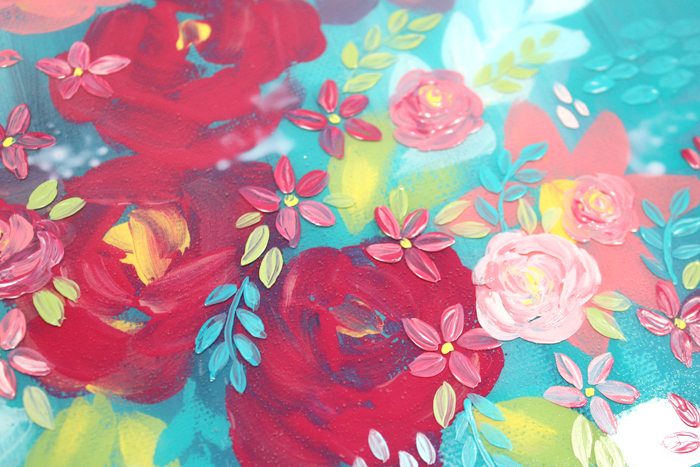
Then place the gold leaf (or in this case a variegated leaf) right on the tacky parts of the painting.

Then lift up the gold leaf and it will stick right where it was tacky and no where else.
Once gold leaf has been set in the desired places, dust off the excess leafing with a stiff paintbrush. I always step outside for this part, and end up with some gold sparkles on my sidewalk.
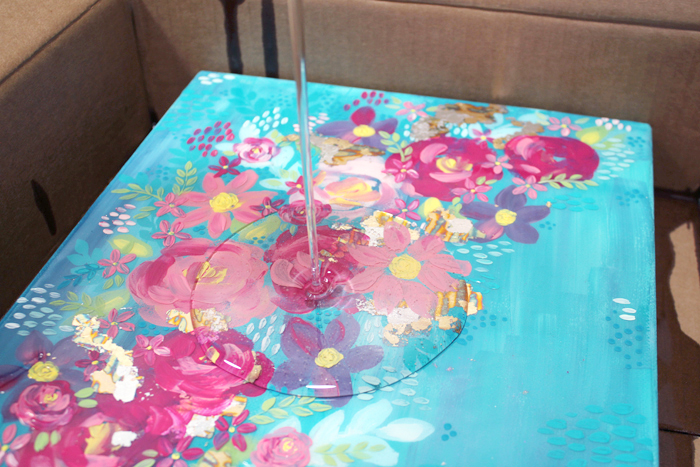
Step 6: Last Layer of Resin
Now return the painting to the risers in the cardboard box and mix up another batch of high gloss resin. Again, it’s super important to mix resin properly or it will not set right.
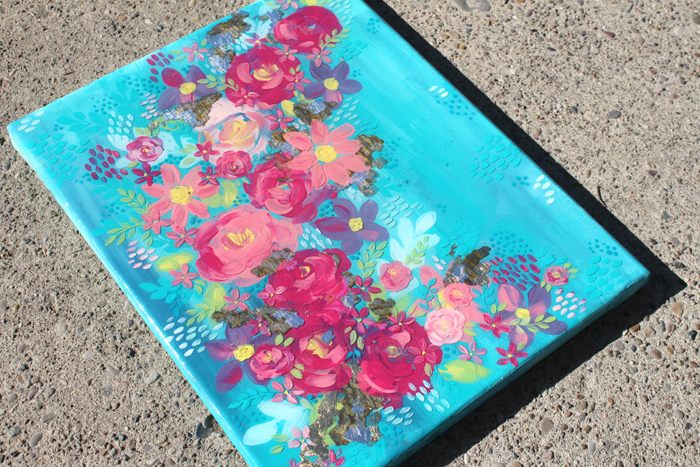
Then pour the shiny resin on the painting. This will magically add a smooth glossy shine but also make it look like there are way more layers of paint and gold.
Close up the box. This is important because it keeps debris, pet hair, flies and other things out of the finish while it cures. Open it back up after twenty minutes and pop any bubbles that have formed using a heat gun, mini torch or gently blowing them with a straw. Then let the resin cure for at least 2 days.
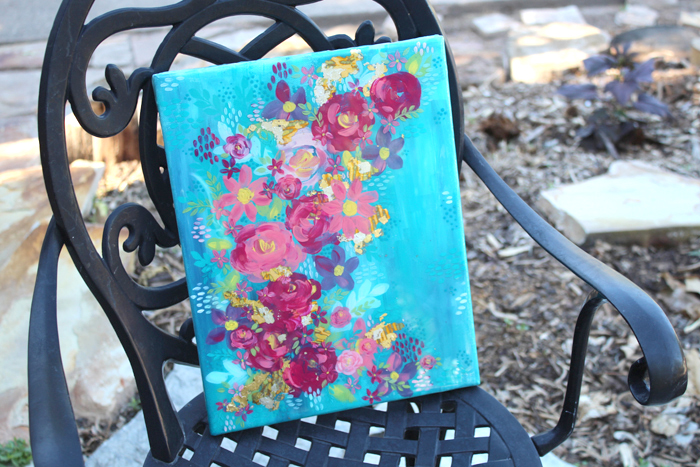
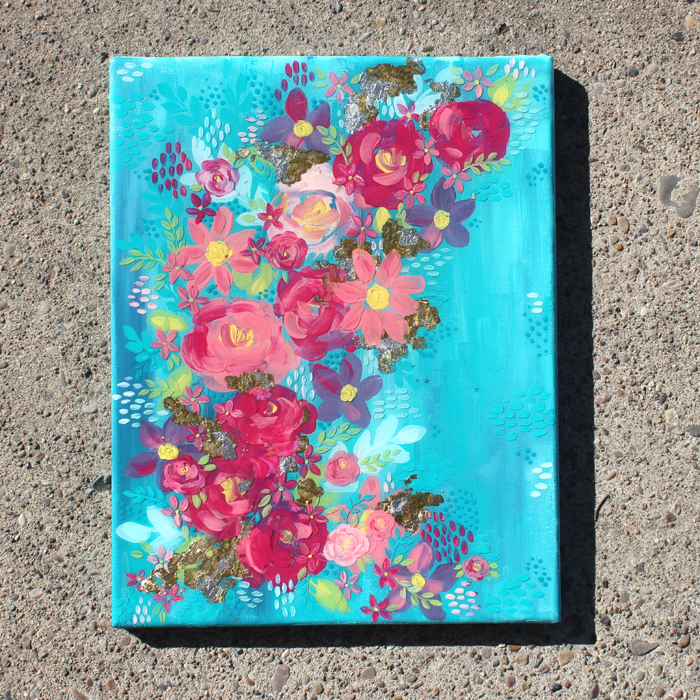
Remove the canvas and enjoy! I love how it looks aquatic, with little schools of fish swimming around the coral reef! I love that it’s my own creation–and no one else will have this art in their home.
Hopefully this gives you the courage to make your own layered canvas painting with Envirotex Lite High Gloss Resin. Like, Pin and Share!
Natalie Shaw is a Craft/DIY blogger at Doodlecraftblog.com. She loves sci-fi, fantasy and video game geekery and that comes out in many of her projects. She posts budget conscious DIY’s, crafts, jewelry, kid friendly projects, upcycled treasures and other fun on her blog 5 days a week.


Leave a Reply