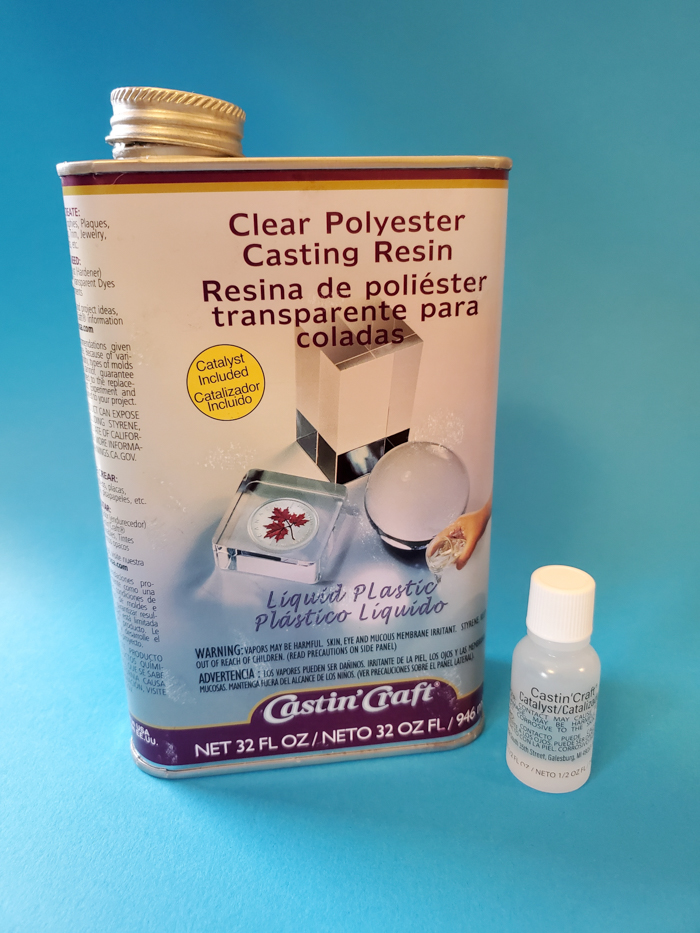
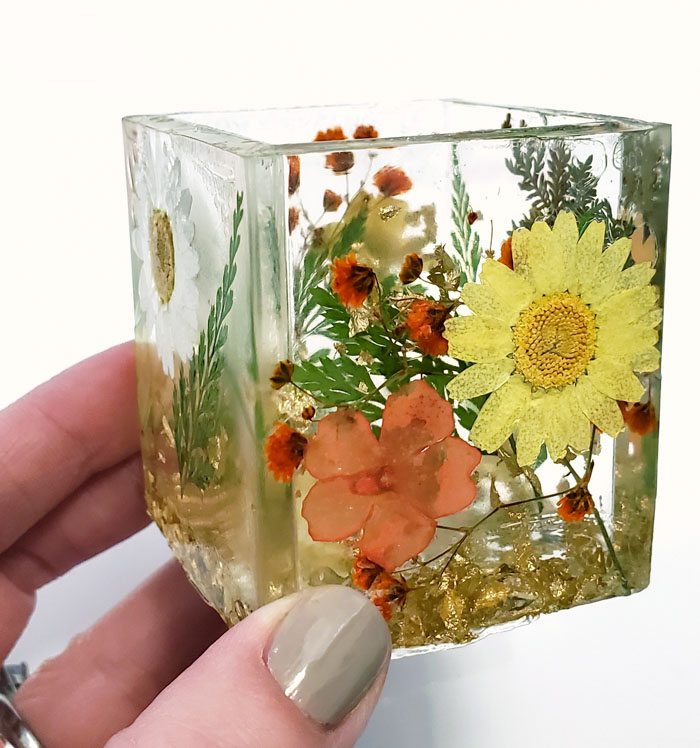
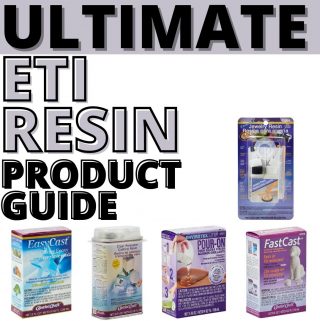
In case you haven’t noticed from some of the posts I have written lately, I’ve really grown fond of ETI’s Castin’ Craft Clear Polyester Casting Resin. Let’s get into some good details of how to get crystal clearest deep pours with Clear Polyester Casting Resin.
Without using the right kind of resin, deep pour projects can get really frustrating really fast. They may overheat, keep bubbles, or not even cure properly.
Polyester resin cures as plastic and was designed to have minimal shrinking and reduce cracks in deep pours. It also has a lower exothermic (heat-releasing) reaction with deep pours as opposed to resins designs for thin layers. It’s low viscosity makes it a dream for releasing bubbles. No bubbles means the clearest pour you can get!
The resin comes in a metal canister and pours with the consistency of syrup. A small bottle of catalyst is included with purchase and only a few drops are added. So it’s different than other resins that use a 1:1 or 1:2 resin and hardener mixture.
As a bonus, this resin has no expiration date!
With some of the technical stuff out of the way, here are some practical tips for casting using Castin’ Craft Clear Polyester Casting Resin.
Tip 1: Read the instruction sheet! Did you know that there is a whole informational guide for using ETI resins? Here is where you can read the sheet for Polyester Resin. This is totally the kind of stuff you want to skip over – and at first glance, it may even just look like irrelevant info, like the owner’s manual to your toaster. You know you’ll never read it – you just plug it in and add bread.
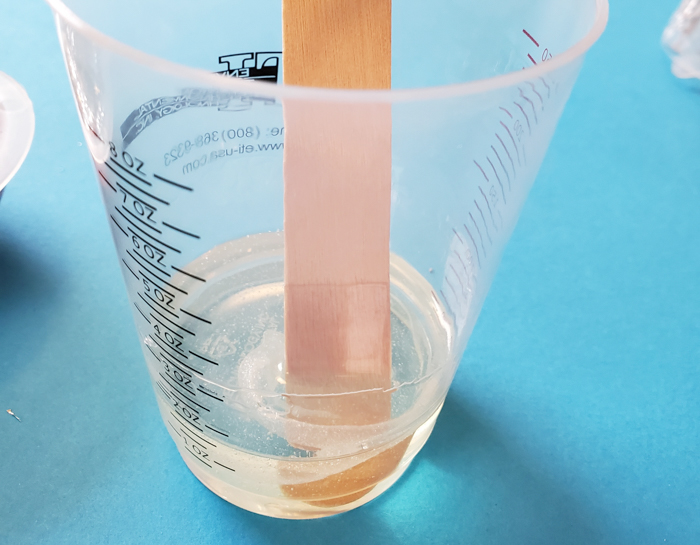
The instruction sheet will tell you how to measure and mix the catalyst. The number of drops depends on the depth of the layer, or the number of layers you’ll be adding.
Tip 2: Prepare anything you’re going to embed. Any paper-like items will need to be sealed to make sure resin doesn’t seep in and discolor them. Any plastic item may get distorted if it’s sensitive to low heat.
Tip 3: Know how much your mold will hold so you know how many drops of catalyst to add.
Tip 4: Watch the clock to know when to check for “gelling.” This is when the first layer of resin you poured starts to get a little like Jell-o. And it’s when you can add items into the casting that you don’t want sinking all the way to the bottom of the mold. The resin has enough structure to hold it in place.
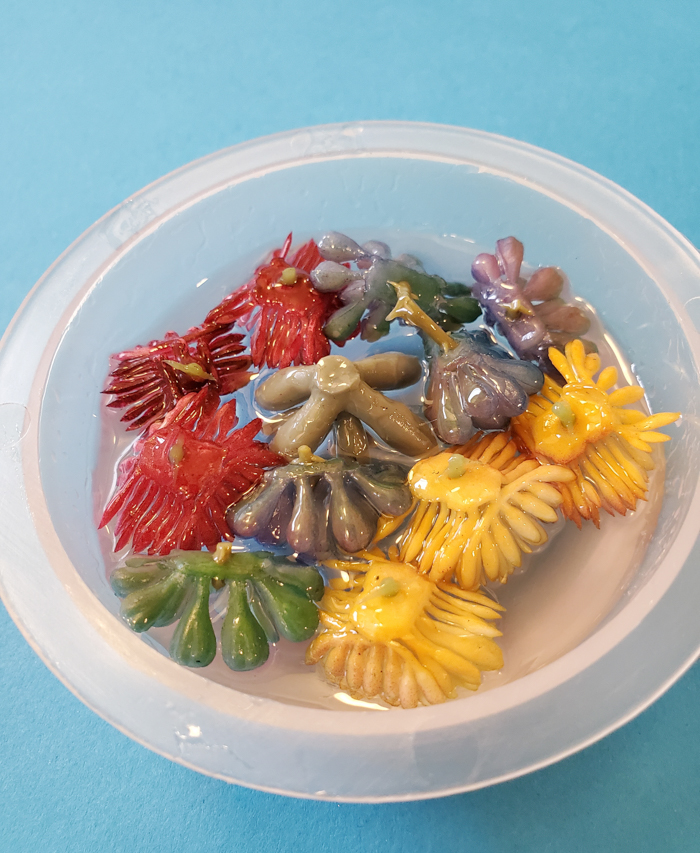
Tip 5: Don’t trap air bubbles under items that you add. Mix up your next layer of resin and pour a thin amount down, then lay the items and press them down at a bit of an angle. Or, if you are adding dried flowers, dip them in the fresh resin before laying down on the gelled layer. Then add the rest of the fresh resin.
Tip 6: The resin may need a few days to fully harden and lose any surface stickiness. You can always hit with a quick spray of Resin Spray Sealer to remove any remaining tackiness as well. Remember that patience is a virtue always when working with resin!
Which one of these tips sounds the most useful to you? Have you made anything with this type of resin before? Tell us in the comments!
Stephanie is a crafty wife and mom living in the Pacific Northwest. She shares her creative ideas -along with a bit of “making it up as she goes” – on her blog, Crafting in the Rain.


Leave a Reply