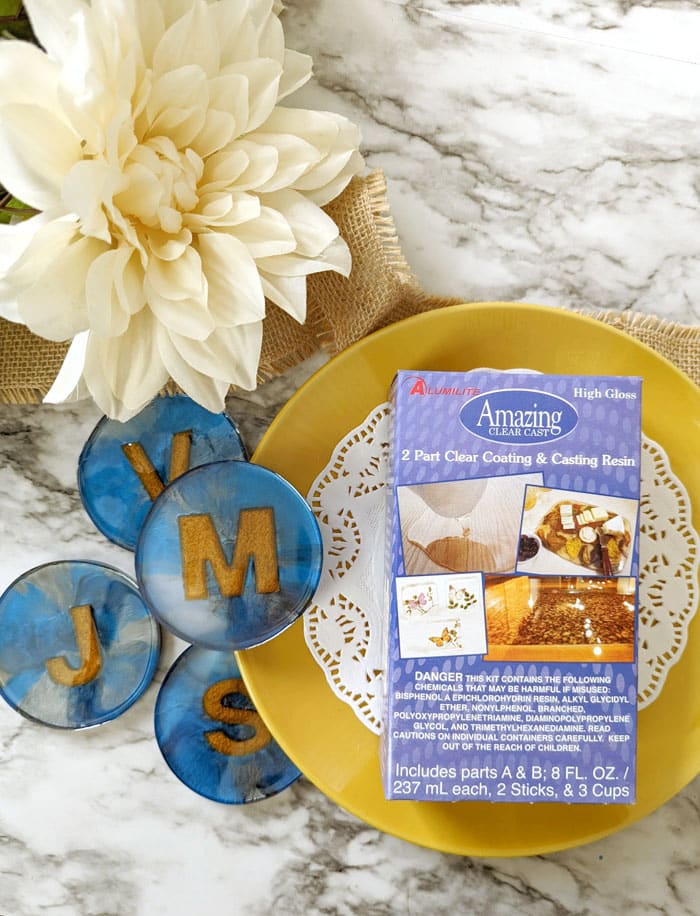
Today I’m showing you how to make monogram epoxy coasters with Alumilite Amazing Clear Cast Epoxy. To put a twist on personalized coasters, I’m adding a resin letter to the center of each one.
You can create these coasters to match any theme or color scheme. I went with a dark blue swirled base and gold letters.
Here’s what you’ll need to make these custom epoxy coasters:
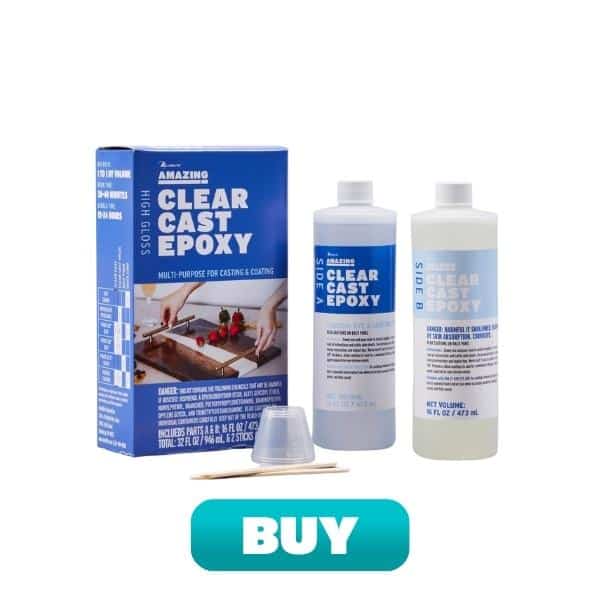
- Alumilite Amazing Clear Cast Epoxy
- Round Coaster Molds
- Alphabet Molds
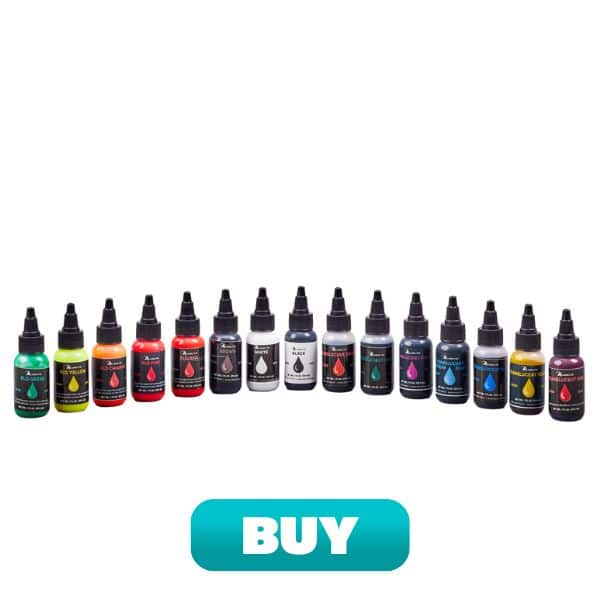
- Resin powder in Sky Blue and Gold Metallic and Alumilite Opaque Dye in Black
- Mixing cups and stir sticks
- Gloves and eye protection


Make epoxy letters
Since I’m making personalized monogram coasters, I’m putting a single initial in the center of each one. Depending on how many letters you need, you may need to repeat this process of pouring letters a couple of times (like if you need 2 S’s for example.)
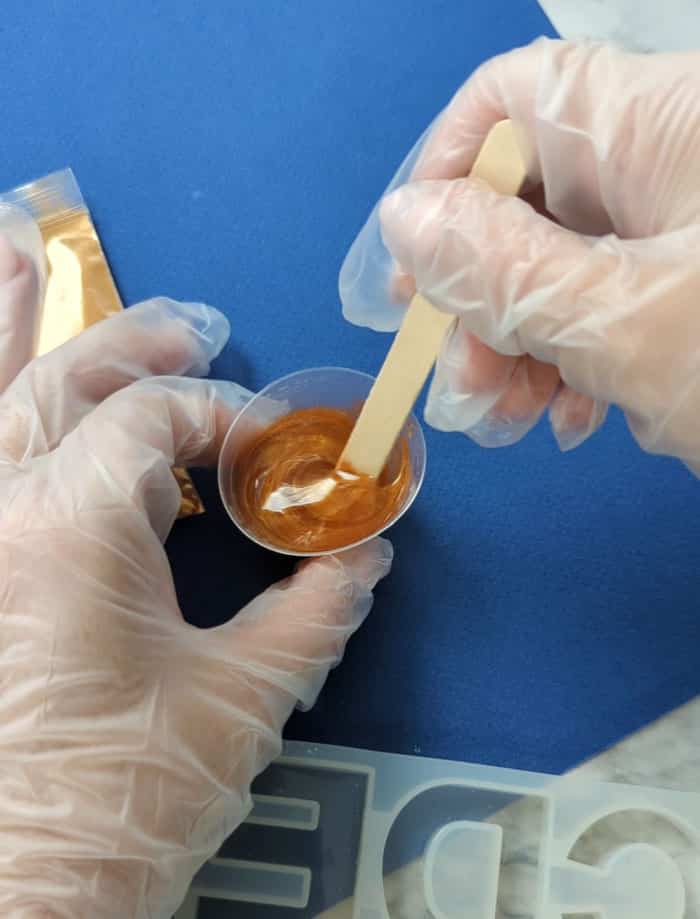
Pour Amazing Clear Cast in equal parts of A and B in a mixing cup. I did 1/2 ounce of each. Stir for 2 to 3 minutes. The mixture should be free of streaks when it’s completely mixed.
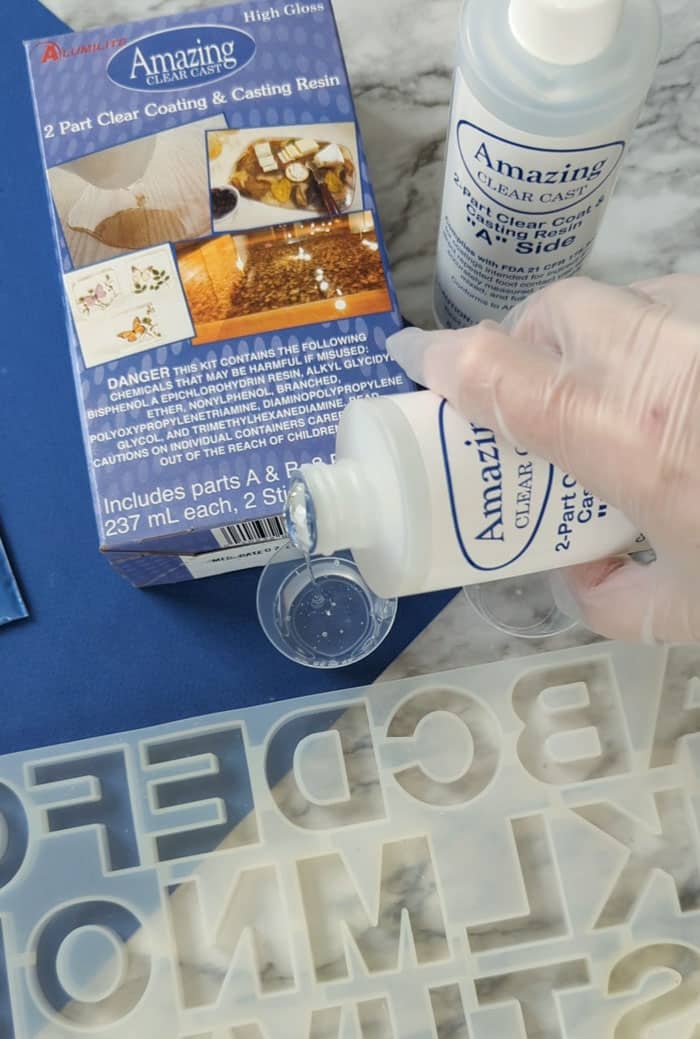
Next, add a bit of resin powder. I usually start with a small amount that would fit on the end of a popsicle stick and add a little more if I think it could be more concentrated. Too much colorant (anything more than around 5 – 8%, depending on the type) can inhibit the epoxy from fully curing.
When the color is incorporated, pour into the letter molds. Use a stir stick or something else to make sure the resin gets into all the edges and corners. Don’t fill the molds to the top because you want them to stay thin so they don’t pop over the top of the coaster later.
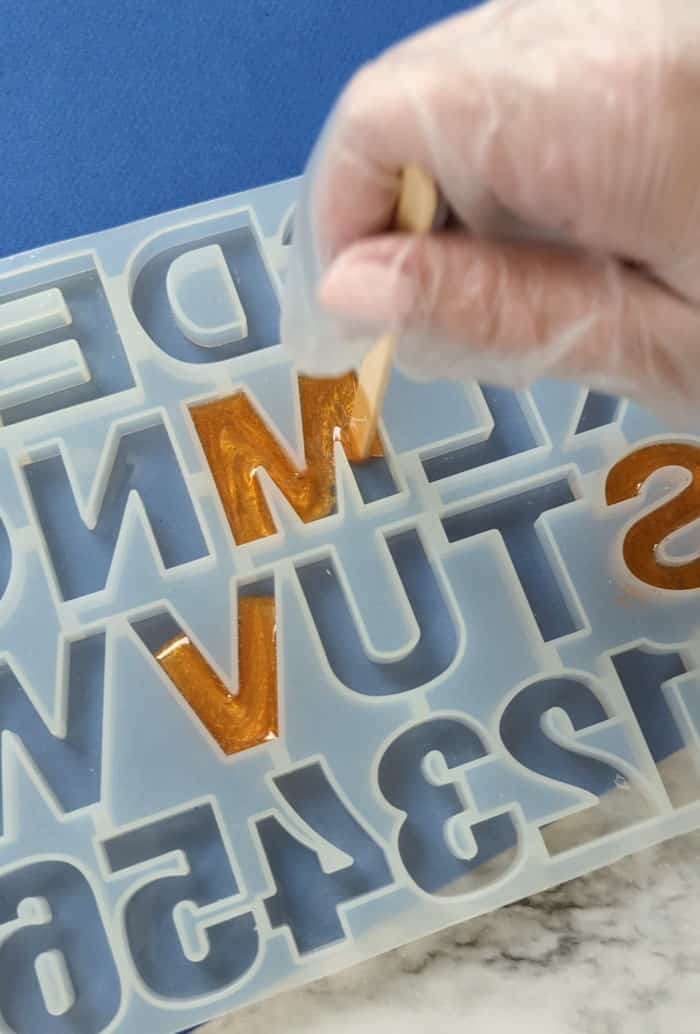
After a few minutes, pass a heat gun over the top to pop any bubbles that have risen to the surface.
Since thinner pours take longer to cure, wait a whole 24 hours before removing these letters from the molds.
Pour colored layer of epoxy coaster
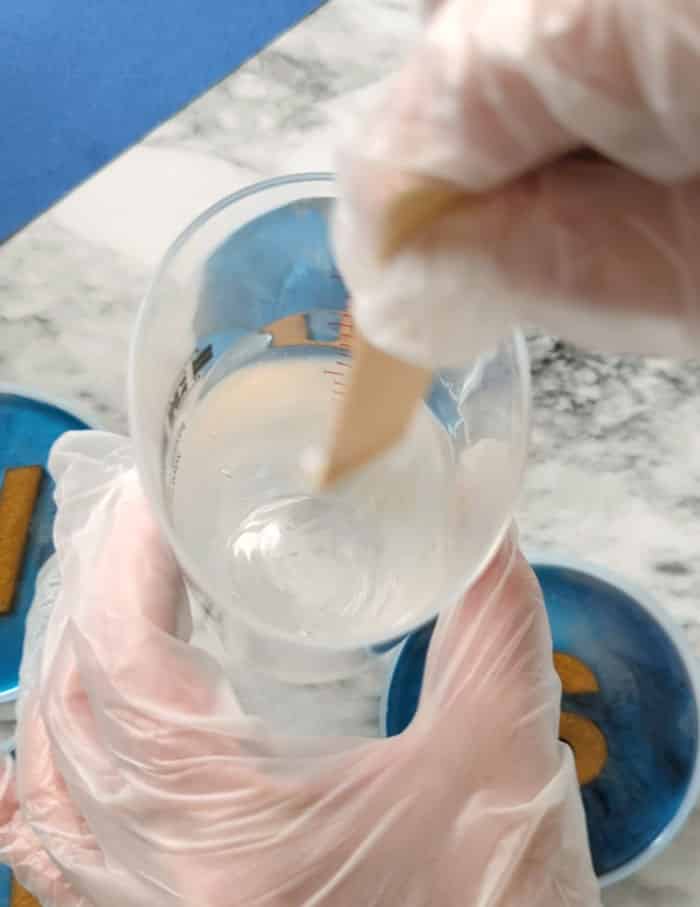
To start the epoxy coasters, mix up some more Amazing Clear Cast. I made 3 total ounces. Again, pour equal parts A and B into a larger mixing cup. Stir for 2 to 3 minutes.
You can see the difference in these two pictures – where the “swirl” is sill visible, then after it’s been all mixed and it’s clear.
Next, divide the epoxy between 3 cups, and add color as desired. I did a little bit with black opaque dye, and then a little more with blue resin powder, and then a combo of blue and black.
Pour lines of different colors across each coaster. Use a stick to swirl and drag the resin to the edges of the coaster. Fill the coasters about 1/4 inch deep.
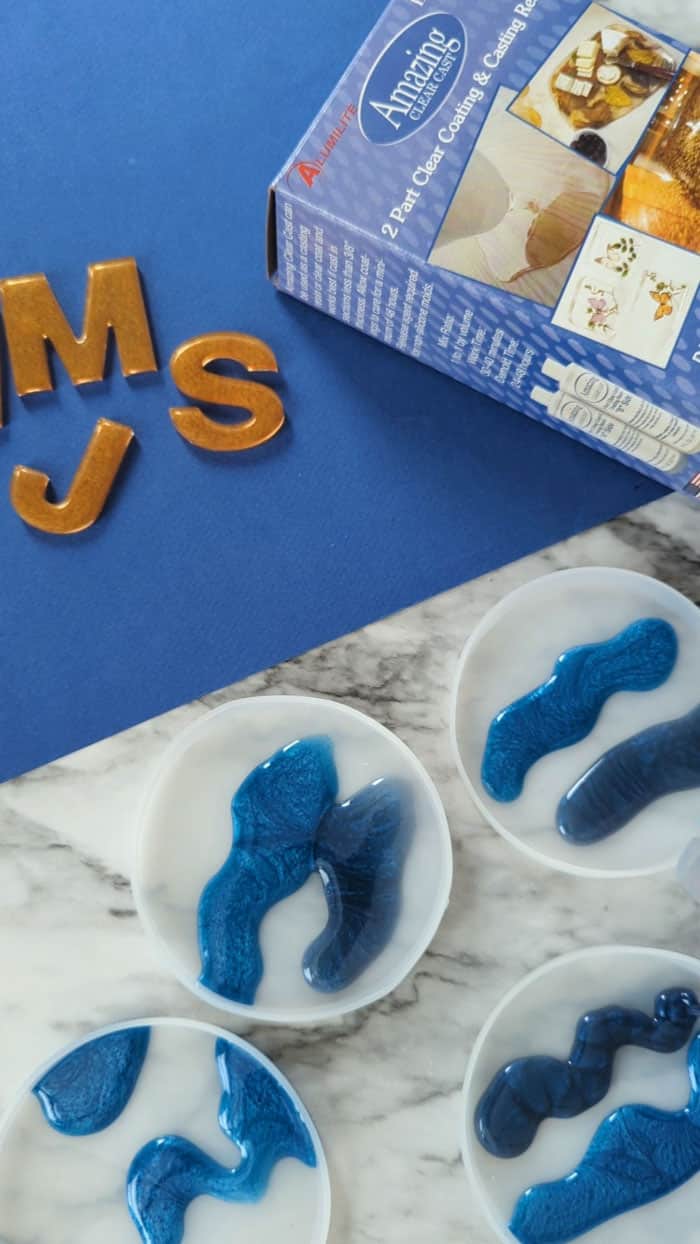
I used my heat gun to blend the colors a little bit and pop air bubbles. Don’t blend too much or the colors will muddy together.
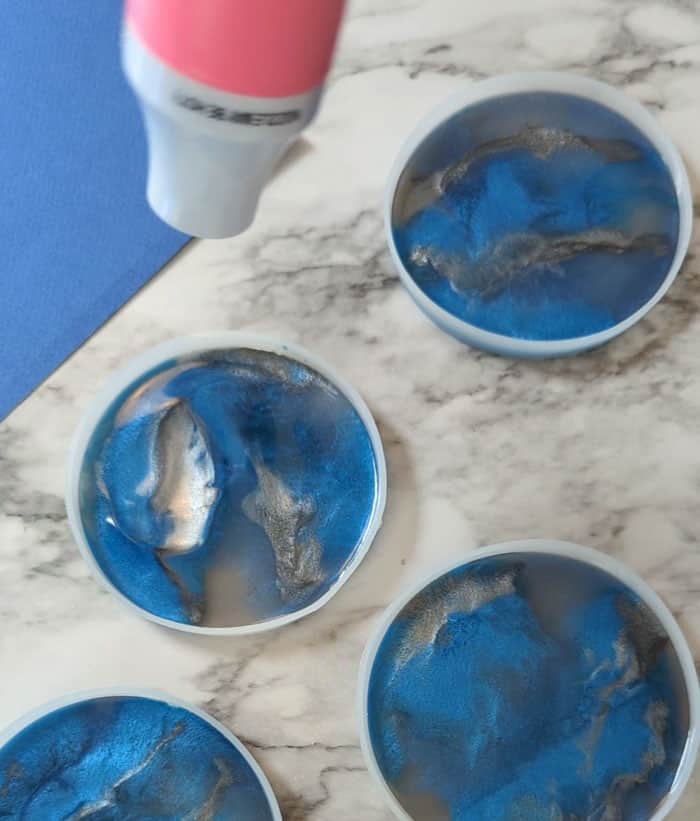
Another cool trick to get rid of bubbles in the Alumilite Amazing Clear Cast Epoxy is to spritz the top lightly with rubbing alcohol. Let the resin settle for about 10 minutes to let bubble rise to the surface, then the alcohol will make them disappear almost like magic.
Add letters to monogram resin coasters
After about 3 hours, the colored layer will have set a bit to a gel-like consistency. I tested the leftover resin in one of my mixing cups to make sure it had thickened up (a great trick so you don’t disturb your actual project while checking on it’s state of curing).
Then it’s time to gently press a letter down into the center. You only get one shot, since trying to pick up the letter and reposition it will mar the resin surface. Since we’re building these coasters right side up, make sure the letter is face up.
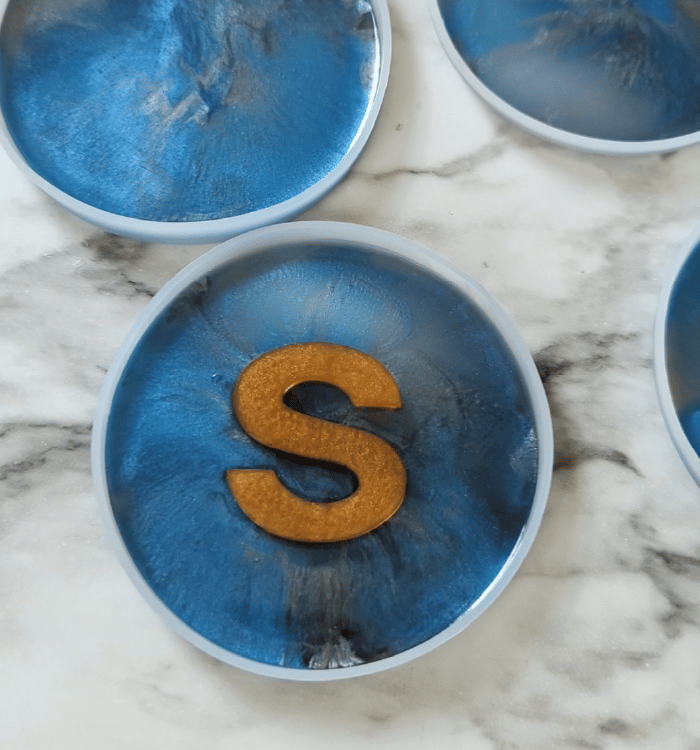
By setting the letter into the tacky resin, it will cure in place and we won’t risk it shifting when we pour the top layer.
Top clear layer
After another 12 hours or so, (or overnight) mix up more resin (the same as before). Pour into each mold, ensuring that the letter is covered also so there will be a flat surface for the coaster.
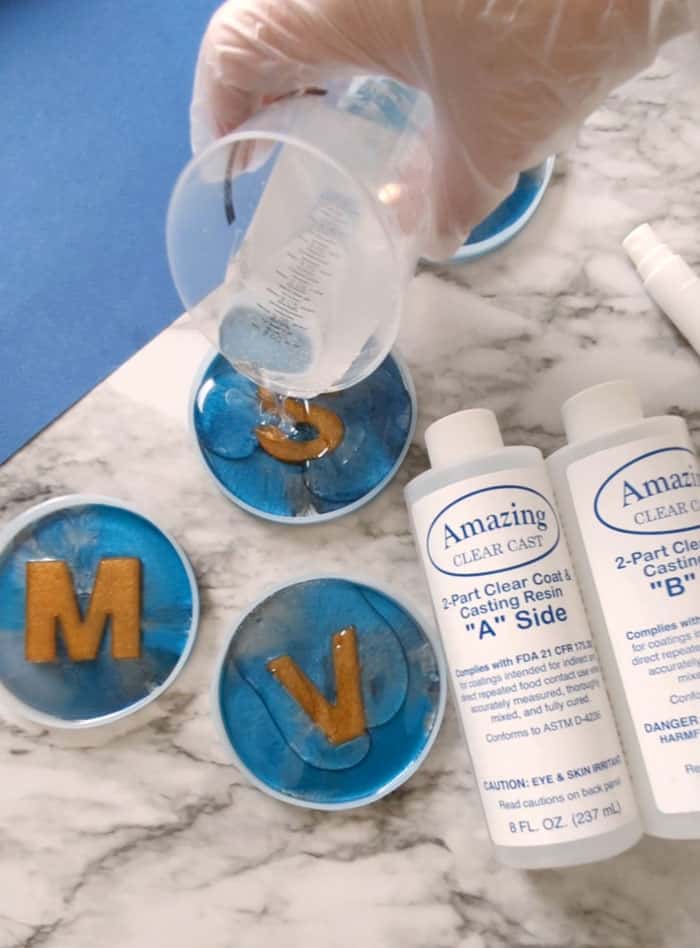
Check the edges of the coaster for stuck bubbles and drag them away from the edge.
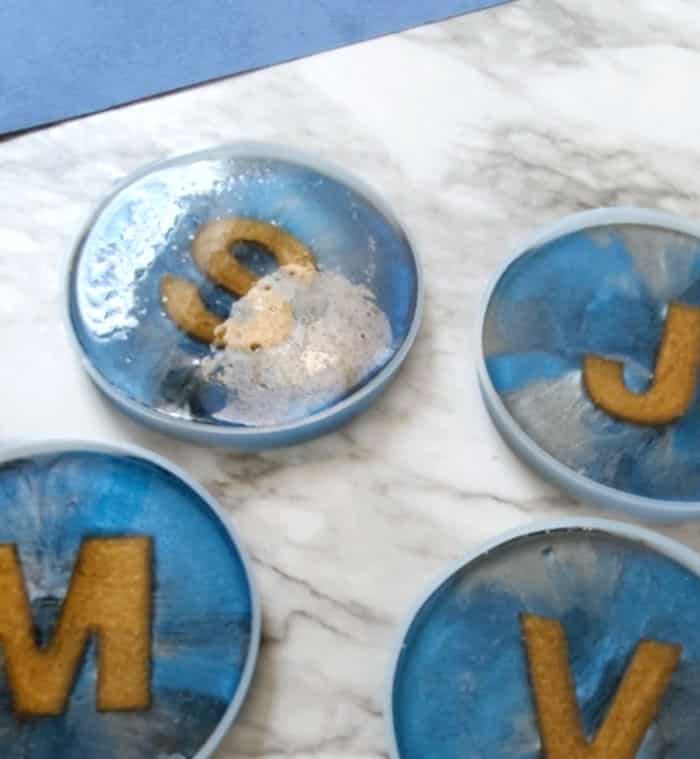
After 10-15 minutes, lightly spritz with rubbing alcohol to remove any remaining bubbles.
Look at the “S” coaster – you can see a bunch of bubbles popping.
Finished Epoxy Coasters
After the top coat cures for 24 hours, remove the coasters from the molds. Continue to let them cure for 72 hours before setting glasses on them.
Want a really fun way to display or gift these coasters? Use them as place cards at a holiday dinner! It would be perfect for Thanksgiving coming up.
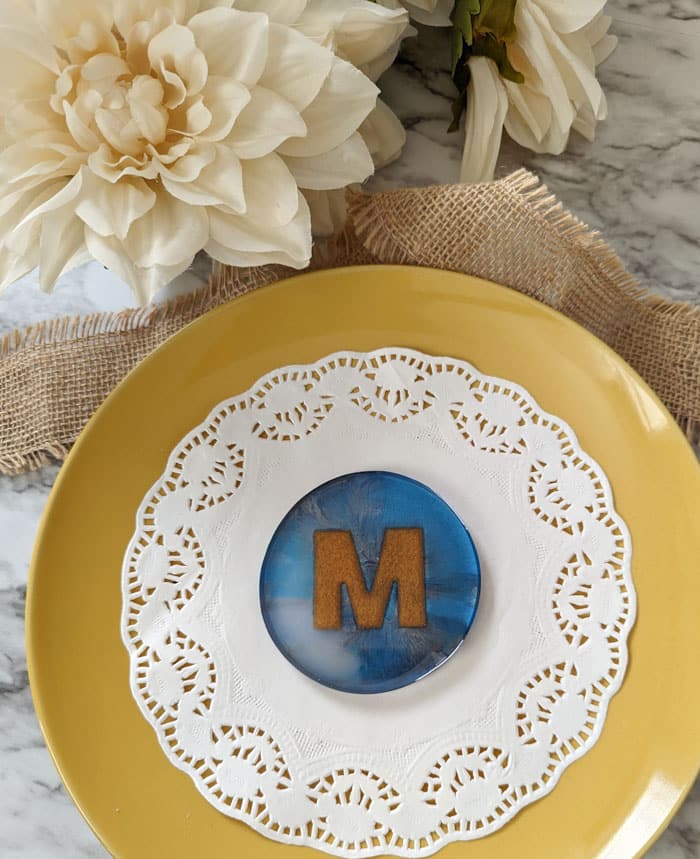
Layer a place setting with things like a placemat, a charger, a pretty plate (disposable is fine!), a napkin, a doily, and a coaster. Your beautiful work will be front and center, and guests can take home their custom resin coaster after dinner.
Do you have any questions about making epoxy coasters with Alumilite? Ask away! It was my first time using this specific product, and it was really easy to work with!
Check out all of these other fun epoxy coasters for more inspiration.
Stephanie is a crafty wife and mom living in the Pacific Northwest. She shares her creative ideas -along with a bit of “making it up as she goes” – on her blog, Crafting in the Rain.


Leave a Reply