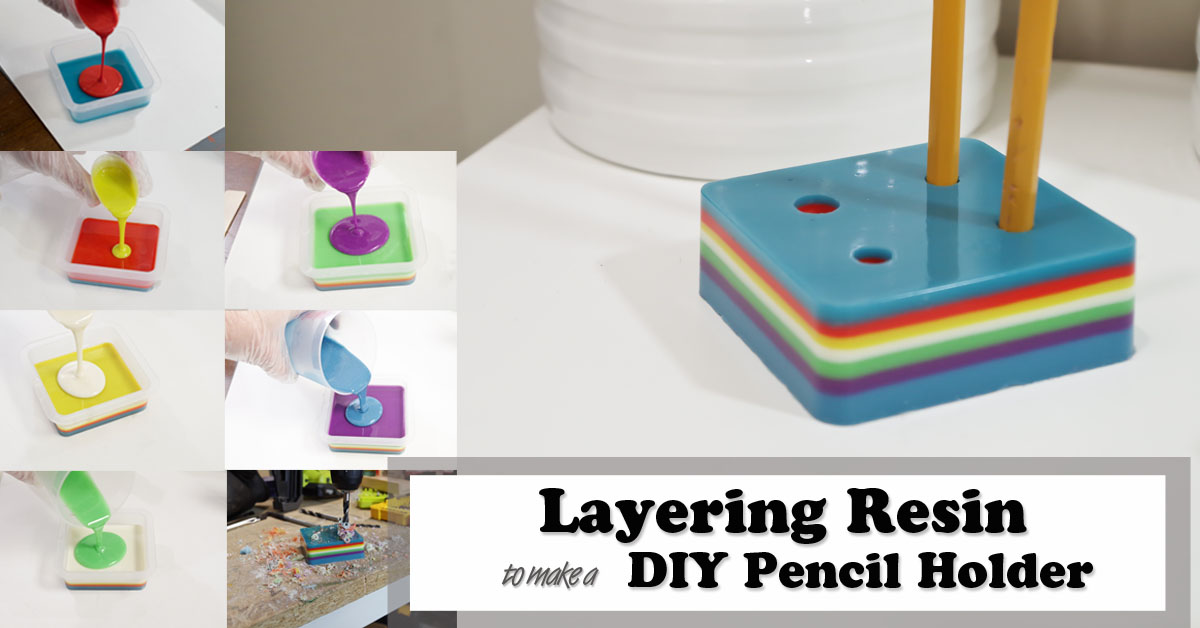
Hello resin crafters! I’m happy to bring this tutorial to you on how to go about Layering Resin. I decided to make this DIY Pencil Holder with Layered Resin so that you could see how it is done and one thing you can make with it. The options really are endless though, depending on what molds you have, what colors, and what kind of item you need. I could see this working really well for jewelry too!
Layering Resin – DIY Pencil Holder
Supplies:
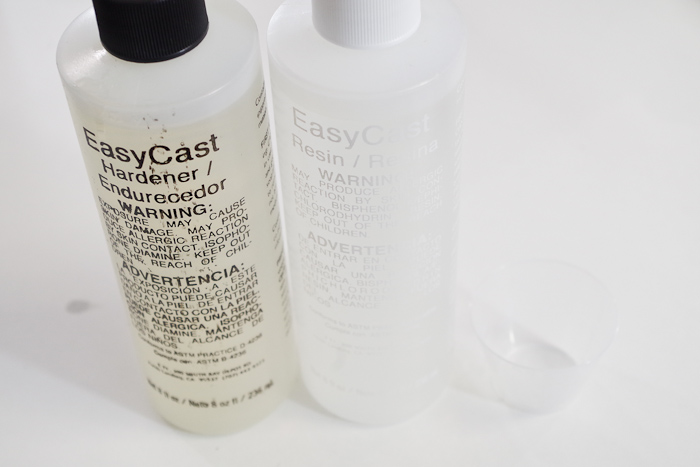
- EasyCast Clear Casting Epoxy
- Stir Sticks
- Disposable Measuring Cups
- Latex Gloves
- Protective Eyewear
- Square Mold
- Mold Release and Conditioner
- Micro-butane torch (optional)
- Paints of various colors – I used DecoArt Americana acrylic paints
- Drill
- Drill bit, same size or slightly larger than your pens or pencils
- Castin’ Craft Resin Spray Finish

Prep Your Mold:
Use the Mold Release and Conditioning Spray and just spray a thin layer into your mold. Let that dry, then spray a second thin layer. This will ensure your mold is ready to use and that your resin will be removable once it is cured.
Mixing Resin:
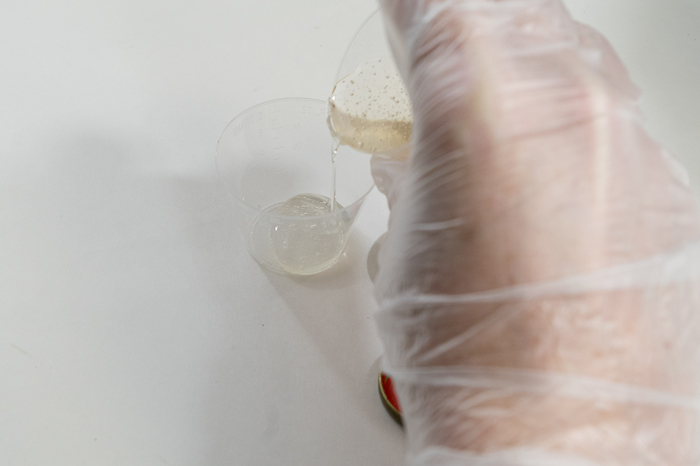
For the first layer (and each layer afterward) you’re going to mix equal amounts of Parts A and B of EasyCast. Put on your latex gloves and protective eyewear and here we go!
First, pour 1/4 oz. Part A into a marked measuring cup.
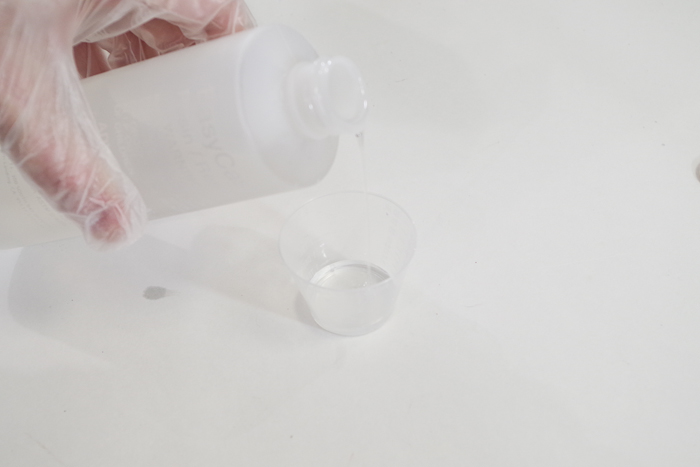
Next, pour 1/4 oz. Part B into the same cup.

Mix thoroughly, which takes about a minute or two.
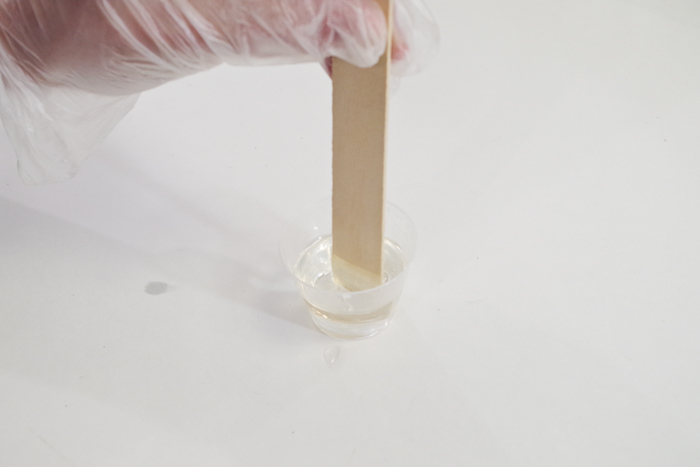
Pour into a second clean cup and mix thoroughly again. This ensures that all the resin is completely mixed.
Next, you’re going to add your paint color. I did about five drops of each paint color but this will really depend on the viscosity of your paints. You want to use as little as necessary to get your desired color, so do a few drops and mix, then add more if necessary. Too much paint will result in the resin not curing properly.

Again, mix the color in thoroughly and get ready to pour!
Pouring Resin:
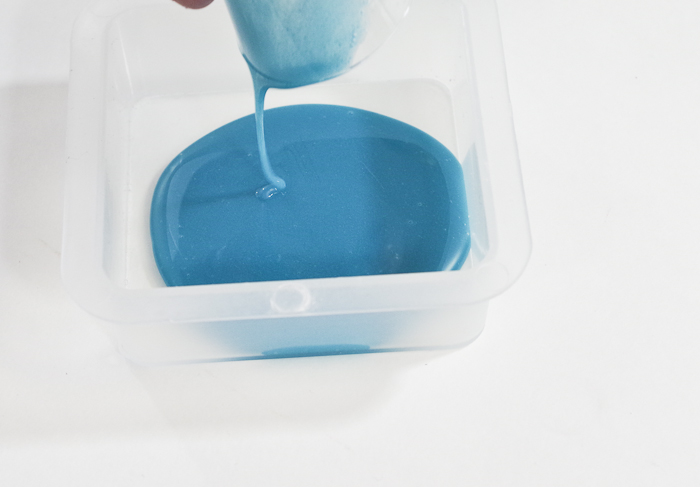
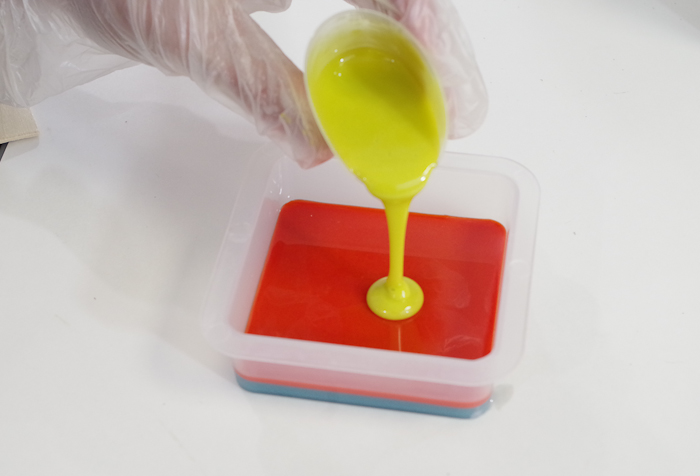
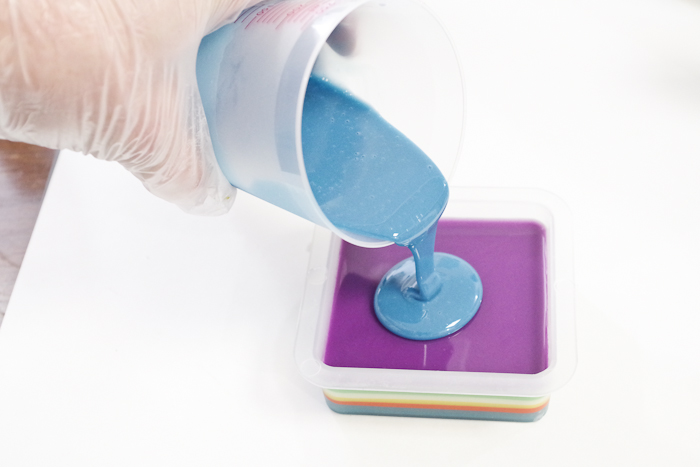
Pour the resin slowly and in one spot in the center of your mold. The resin will spread evenly across the bottom. If for some reason it doesn’t reach a corner, feel free to slightly tip the mold until it coats the bottom of the mold.
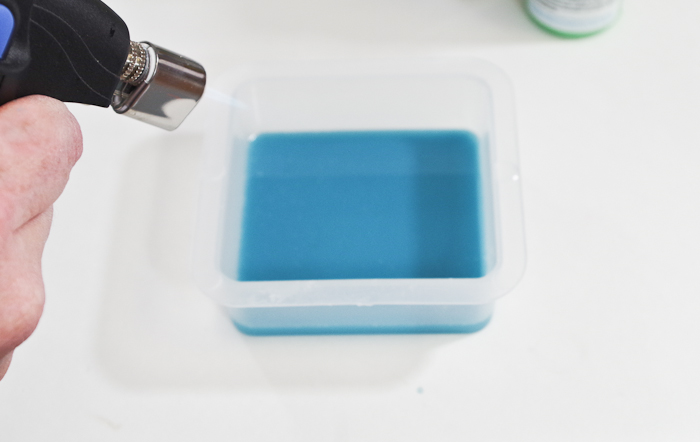
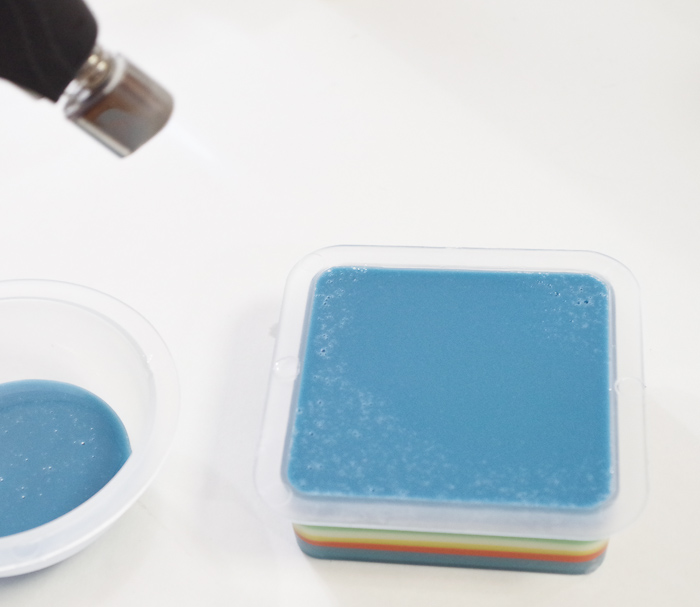
Let the resin settle for a few minutes, then use your micro-butane torch, or exhale over your piece, to remove the bubbles.
Now let this layer cure for at least 24 hours. Cover it with something large so it remains dust free.
Pouring Second Through Sixth Layers:
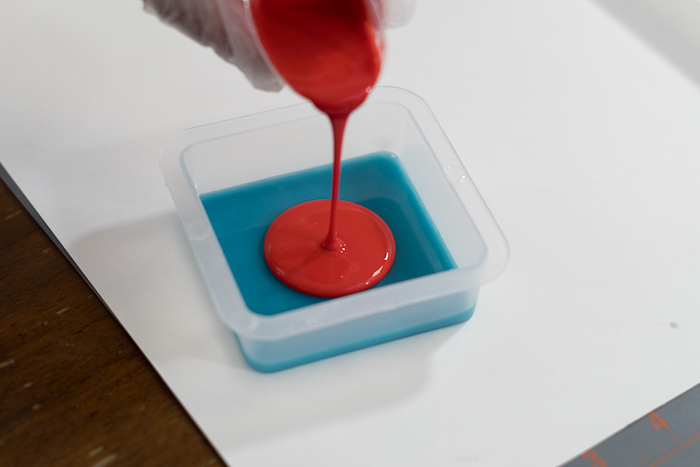
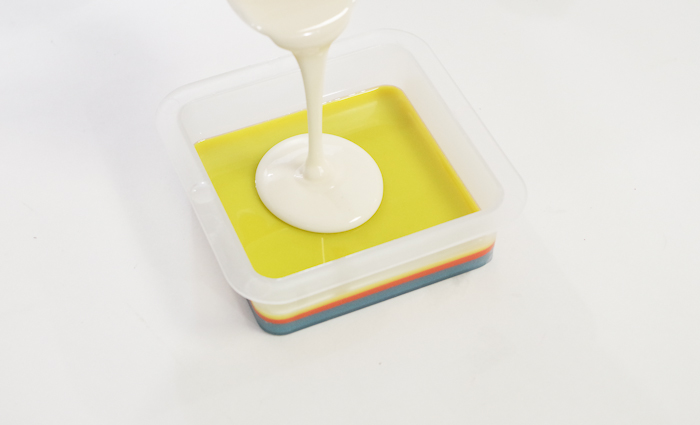
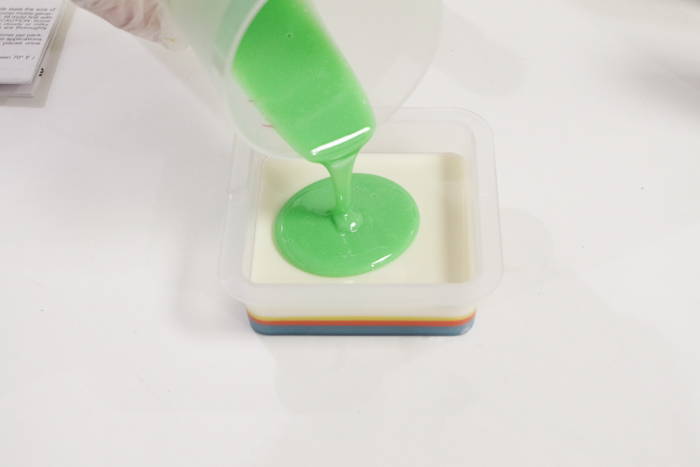
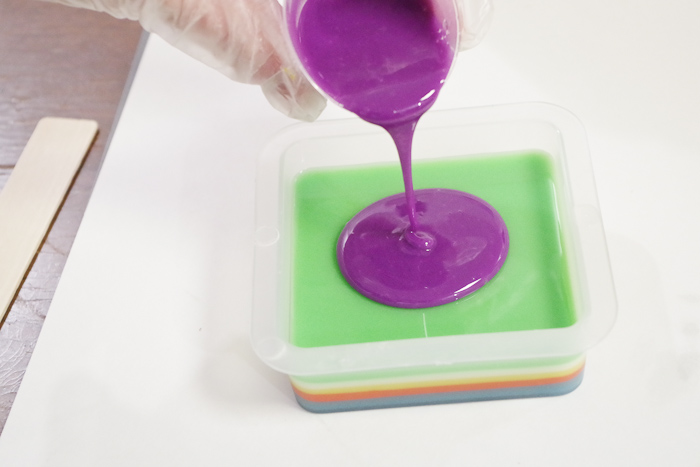
You will follow the exact same instructions for the second through sixth layers, just changing the colors added as you prefer. Be sure to wait at least 24 hours between each layer. You will find that the mixing and pouring goes quickly, so while this project takes many days, it is not very time consuming.
Here are some images of the resin layers being poured. Remember to pop the bubbles after each layer is poured!
For my final layer I decided to make a little more resin so it would be thicker, that is completely personal preference. I filled my mold completely, you may not want to do so as it does make it slightly more difficult to remove from the mold once cured.
Now that you have the final layer poured, again pop all of the bubbles and let it also cure for at least 24 hours. I did 48 just to be sure the entire piece was completely cured. If you have trouble releasing the piece from the mold at 24 hours, it may mean that it just needs some more curing time. I got a good image of the bubbles being popped on the middle section of this last layer, so I wanted to add that here.
Drilling Holes for the Pencil Holder:
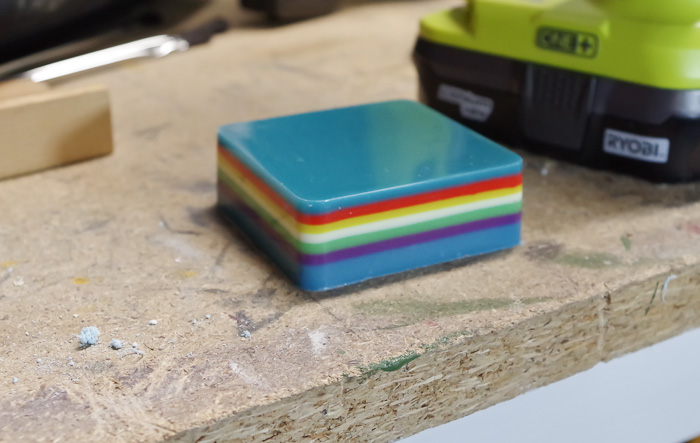
Remove your piece from the mold. This can be a little difficult with large pieces in a full mold like this, but just take your time pulling the sides away from the resin. Once the air seal is broken it will release pretty easily. One on side I did have to slide a thin knife blade in just to break the seal and then it popped right out.
Now you have a fully cure resin block with layered colors!
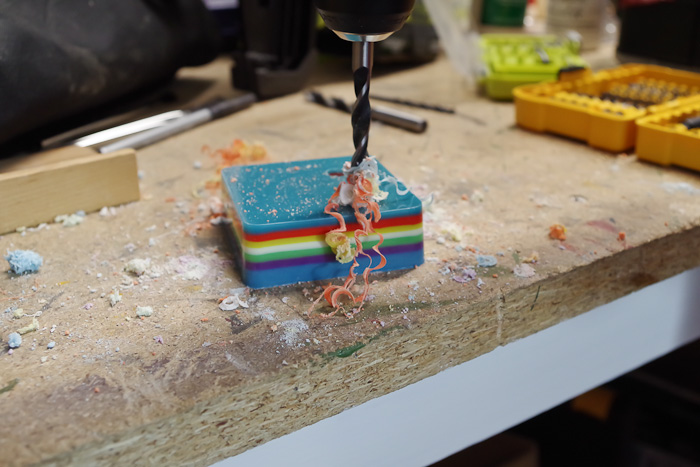
Time to turn it into a pencil holder. Grab your drill and a drill bit the size you want, and let’s get to it!
Begin drilling slowly into the resin where you want the holes to be.
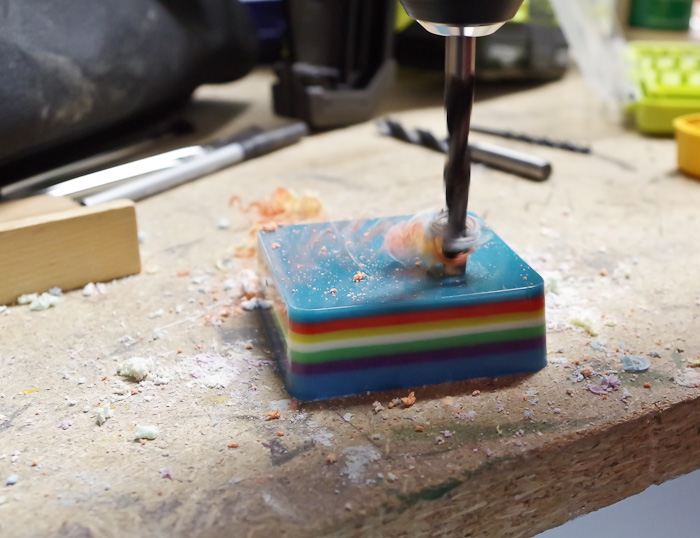
As you drill, you’ll notice the colors of the resin layers appearing in the resin dust.
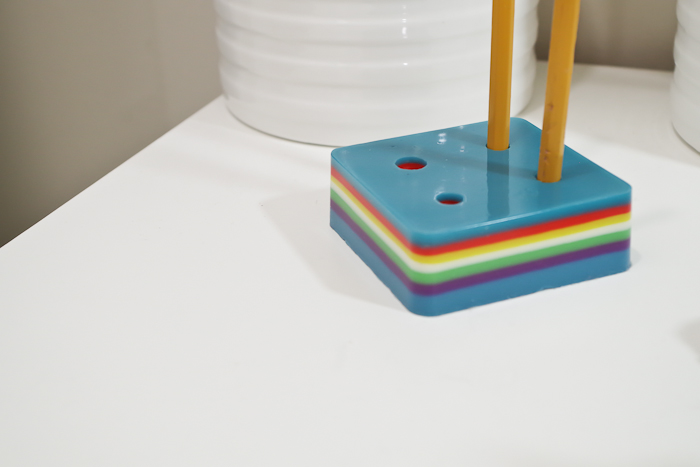
Drill until you get to your second to last layer color, which for me was purple.
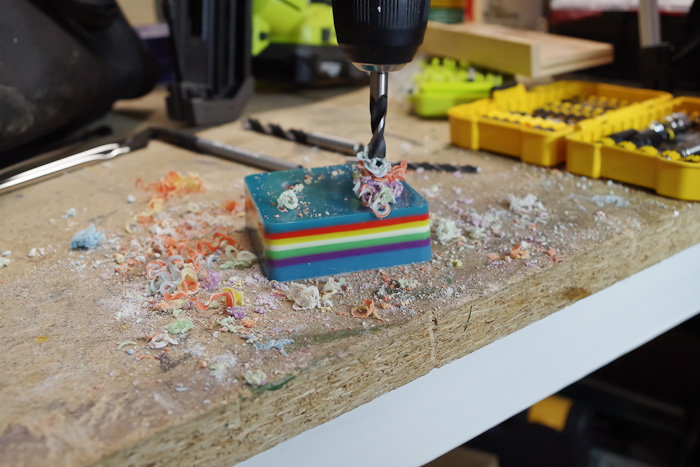
Then drill the other holes. I made four. Now brush off all the resindust (rather than sawdust, ha!) and spray with one thin coat of Resin Spray.
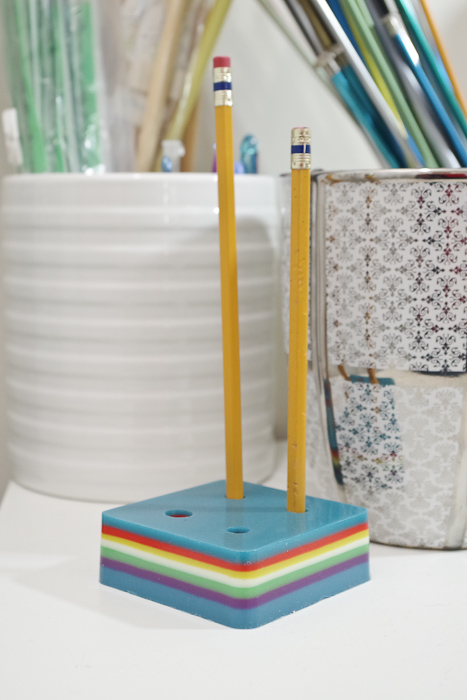
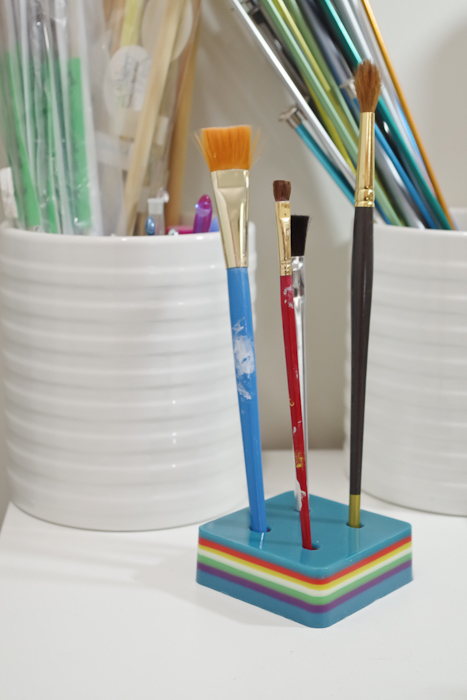
And there you have it! A shiny and colorful pencil holder!
Looking down into the holes you can see the resin colors perfectly. It’s really cool!
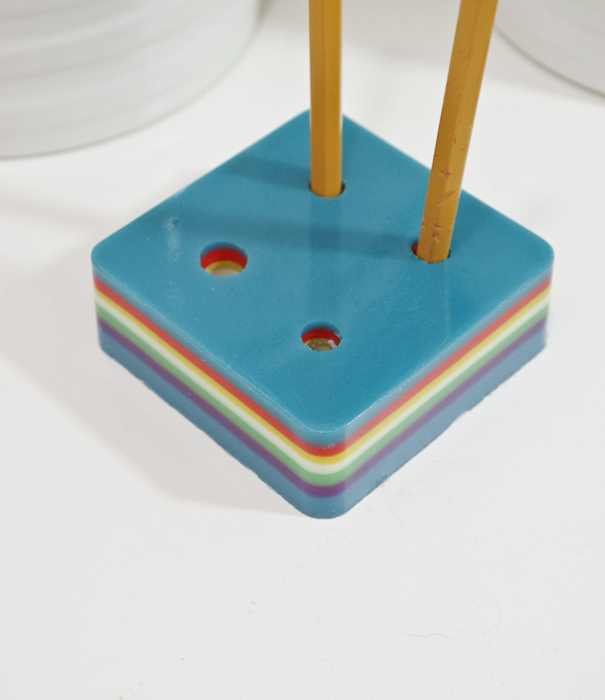
I just love all the colors sandwiched in between the blue.
Oh, one more thing: it holds more than just pencils!
What do you think? Do you like this project? What would you change?
Please share this image on Pinterest if you liked this tutorial! 
Sheri is a Maker and DIY blogger at Hazel + Gold Designs. She is usually in the middle of multiple projects at once and finds great satisfaction and joy in creating something new. She is constantly learning new skills, putting them to the test, and sharing her experience and knowledge with others. Her favorite hobbies are crafting, painting, crocheting and basic woodworking. Her goal is to inspire others to step out of their comfort zone, learn a new skill and have the confidence to make their life a little more beautiful!


This is so cool! I love it
Thank you Jessica!
Really your article so informative and your article post pics AWESOME, Love your images. beside i pin your post in my pinterest sharing link- https://www.pinterest.com/laranappo/layering-resin-diy-pencil-holder/
Thank you for sharing.
If I leave the colors clear will those layers show through?
No, sadly if your layers are all clear, the block will just look clear.