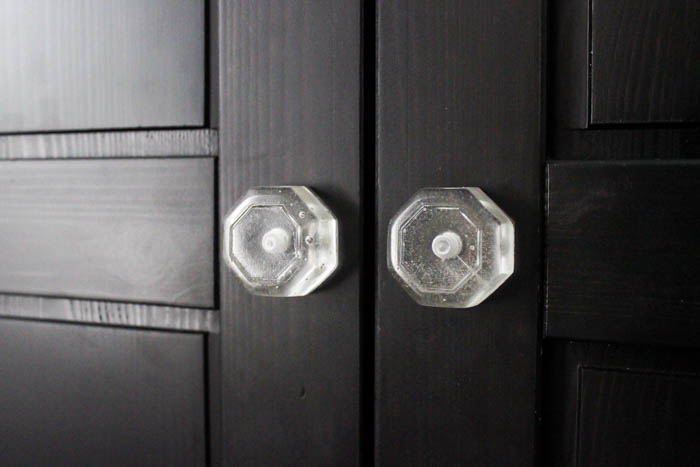
Hey everyone! This is Lindi, from Love Create Celebrate. I’m excited to be back sharing another great DIY project. Ever since I started using resin, I’ve been itching to make a clear resin knob. Not only do clear knobs look sleek and stylish, but seeing the hardware through the knob is so interesting! It gets my science-loving soul all excited.
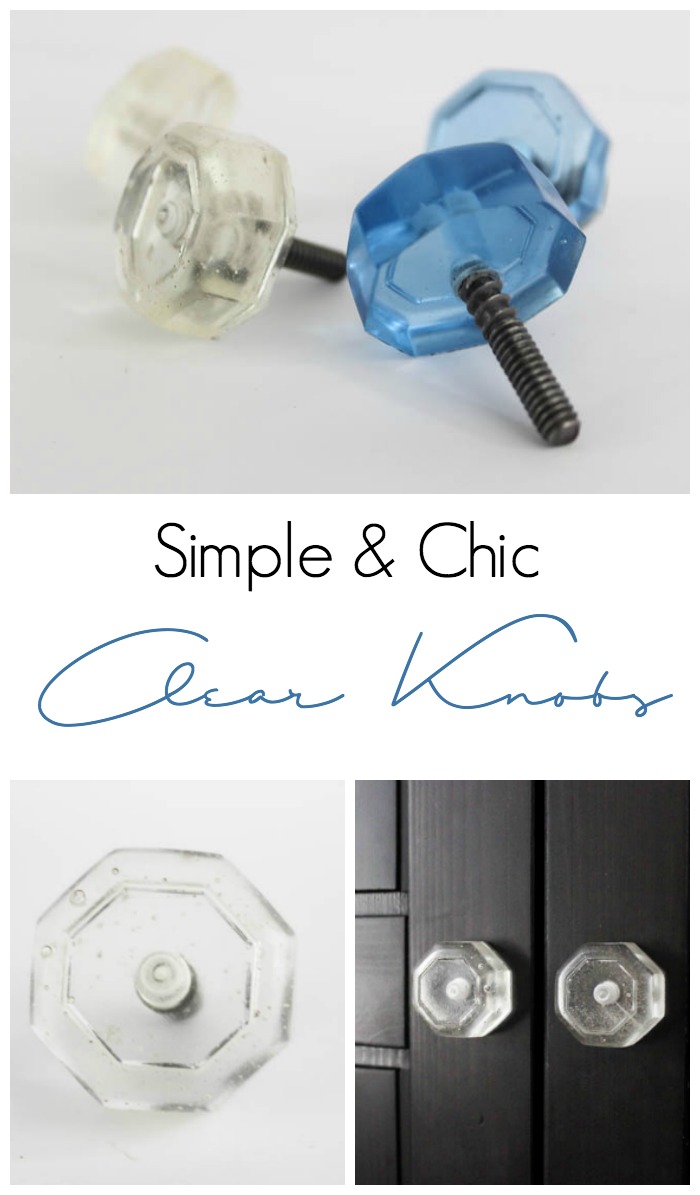
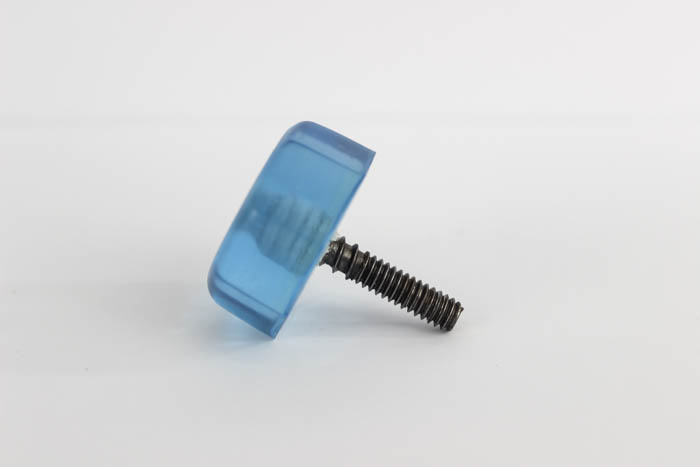
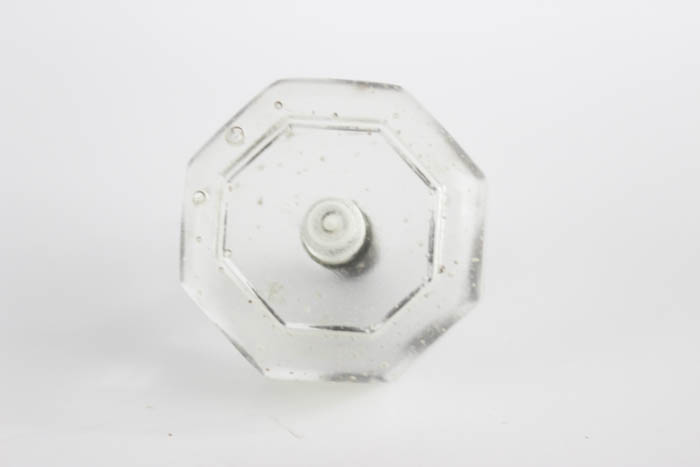
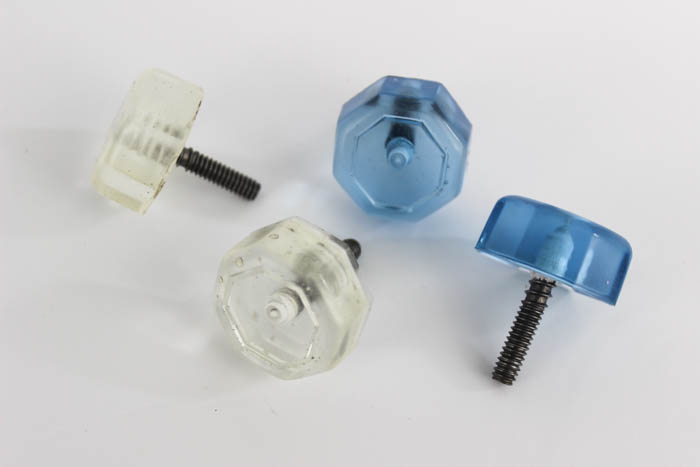
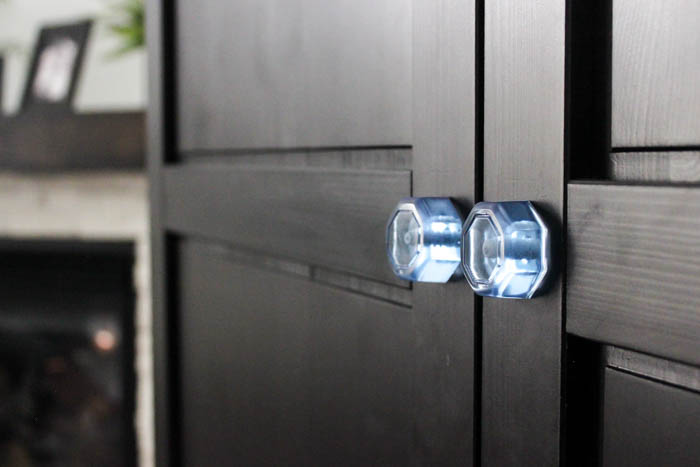
I made two versions of clear knobs. One with just resin, and one where I added the blue dye. There are tons of different shapes and colours that you can use to really make these knobs unique.
Materials:
- EasyCast Clear Casting Epoxy
- 8oz mixing cups (2)
- Stir sticks
- Transparent resin dye (optional)
- Reusable Knob Mold
- Mold Release and Conditioner Spray
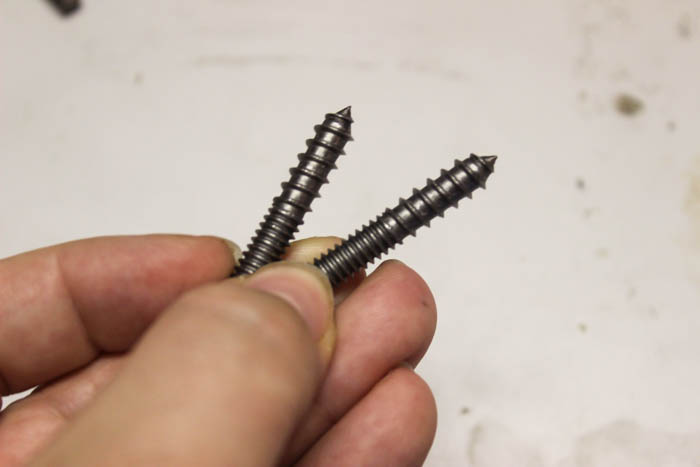
- Knob Hardware
- Two nuts that fit on your bolt
- Drill or Drill Press
- Crescent wrench and second wrench (or socket)
Instructions:
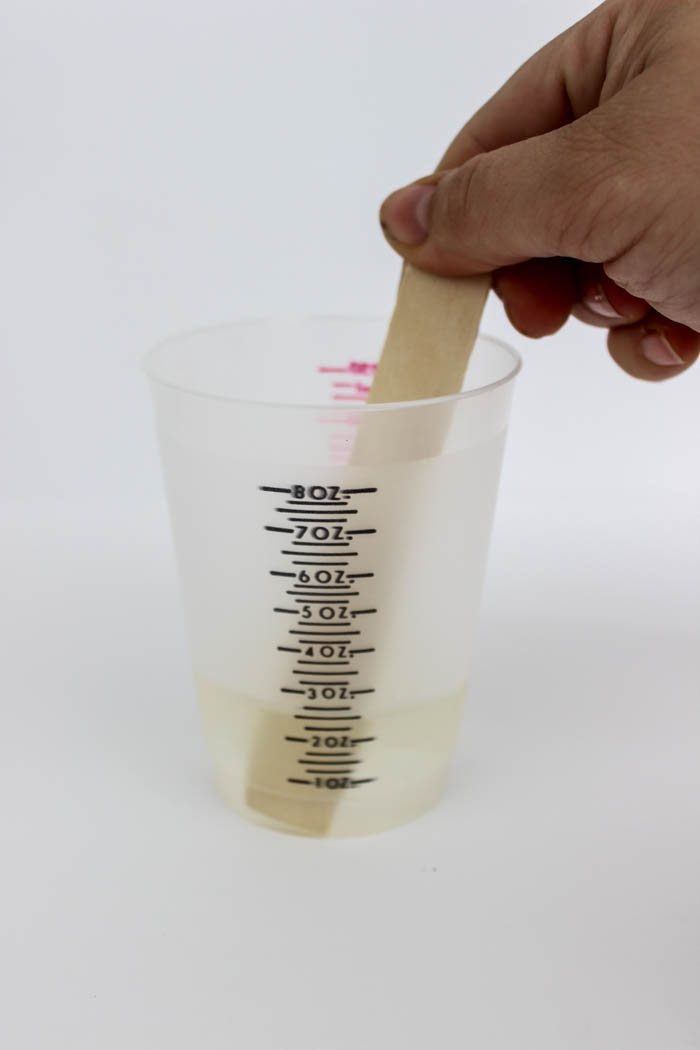
Start by mixing your EasyCast according to package directions. A total of two ounces made three knobs.
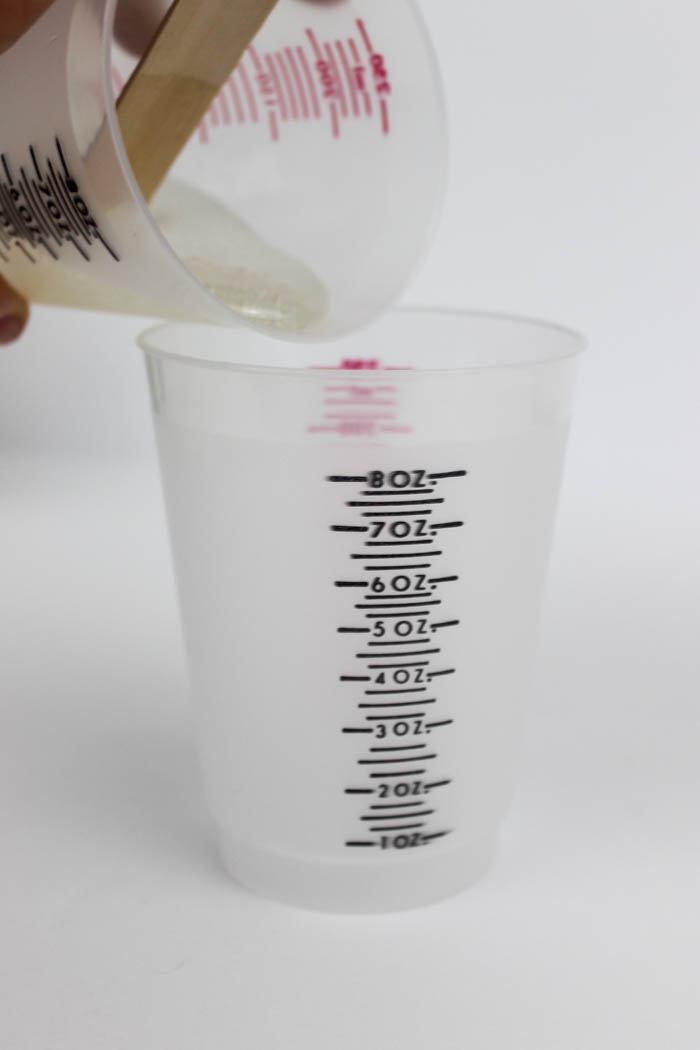
Once it’s all mixed, pour it into a second cup and mix again. This will ensure that all of Part A and B are properly combined. If you want to add a dye to your mixture, this is the time to do it. Add a drop at a time and stir. Do this until you get the colour you want.
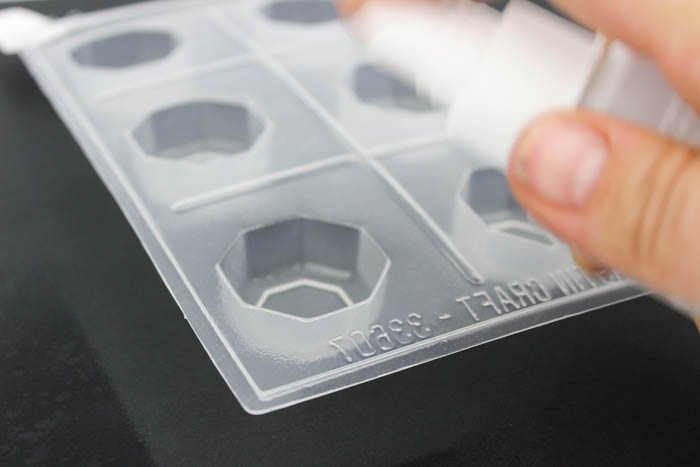
Spray the mold release and conditioner into your mold. This will make it easier to remove the knobs later.
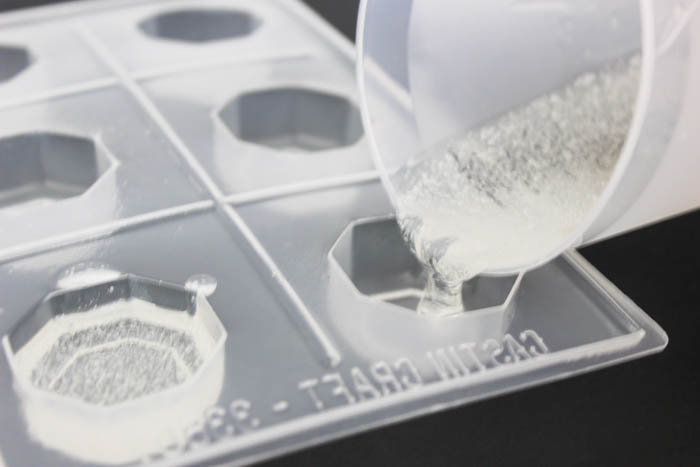
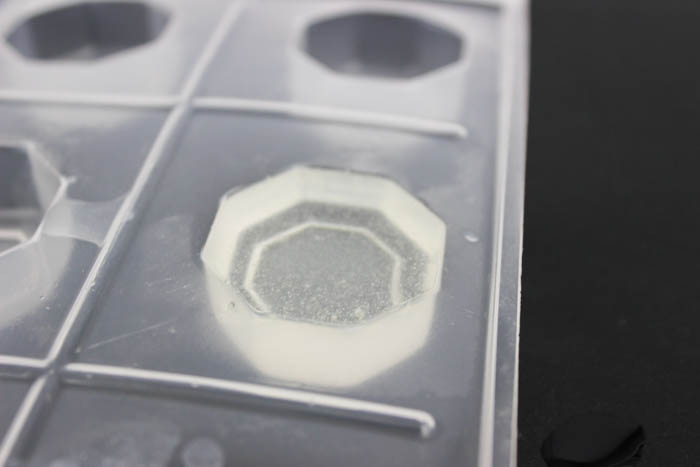
Pour the mixture into your knob molds – all the way to the top without spilling over.
After the EasyCast is poured, wait about 10 minutes for any bubbles to surface and exhale onto the surface to release bubbles that you don’t want to be able to see.
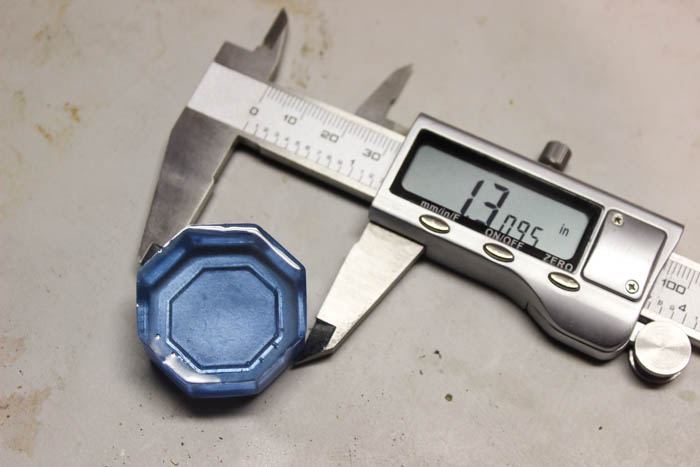
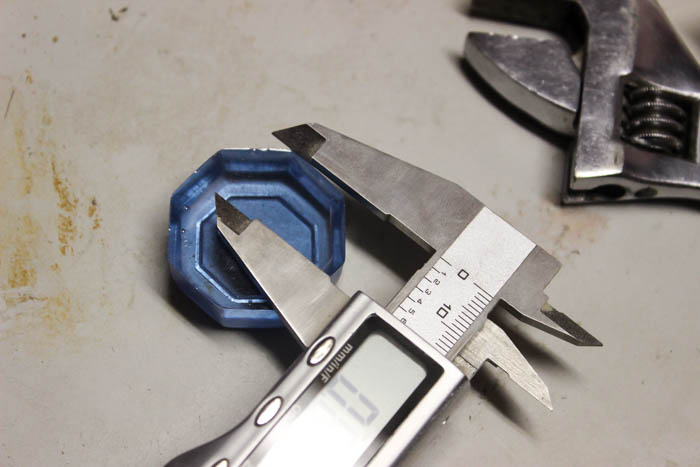
Wait 24 – 48 hours for the cast to fully set. When it is ready, pop it out of the mold and measure the width.
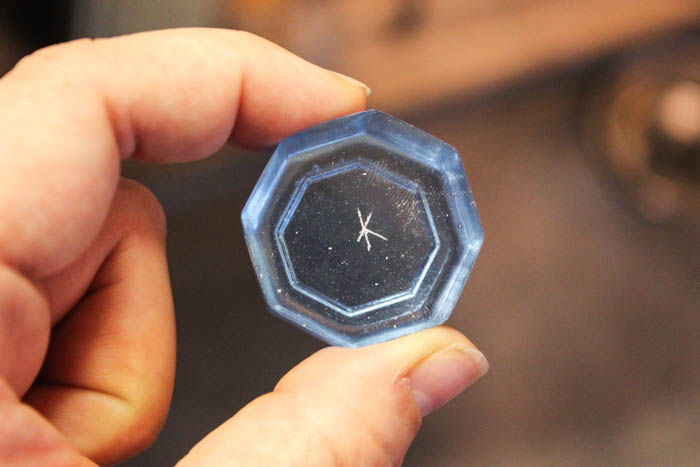
Find the centre (divide your width in half), and mark the centre on your knob. Anything sharp will scratch the surface.
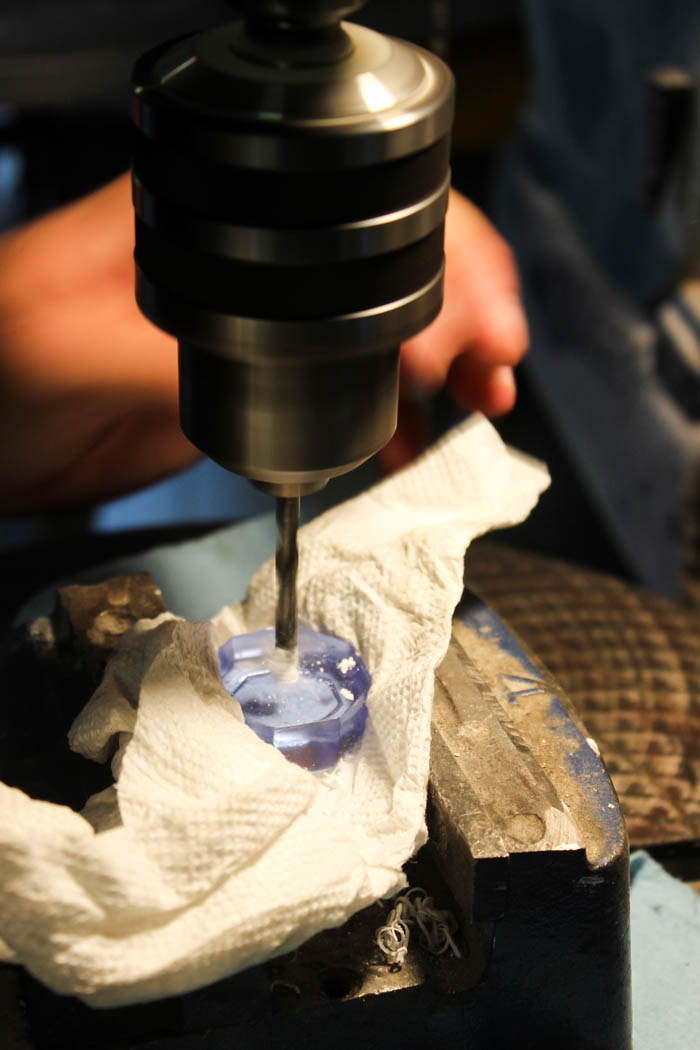
Using a drill or a drill press, and a bit that is the same size as our hardware, drill a hole directly in the centre of your knob. Make sure that you stop a few mm before going through the other side!
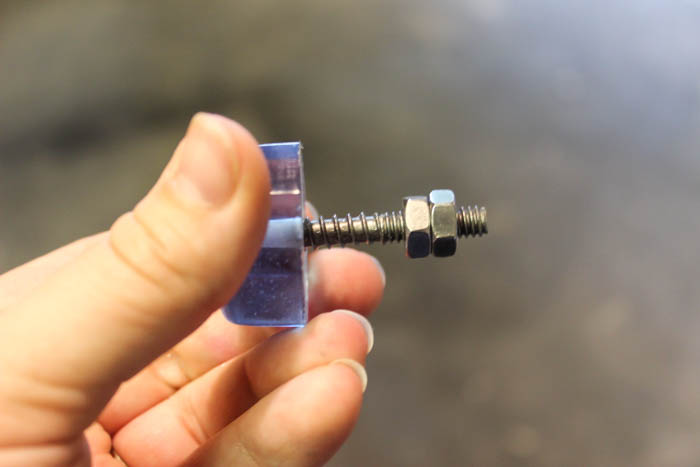
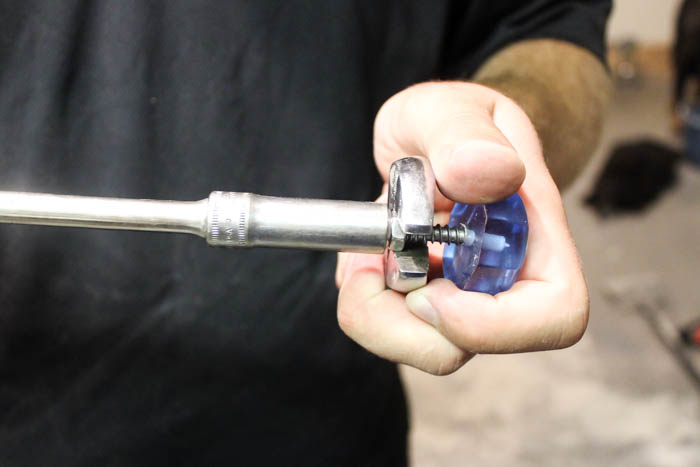
Start putting your hardware into your resin clear knobs. You won’t be able to put the hardware all of the way through with just your hands, but I have a great trick for you! Next, take your two nuts and put them onto the hardware tight to one another. This is where you may need the two wrenches: one to hold the bottom nut and one to tighten the second one to it.
Once the nuts are tight to one another, you can just use one wrench or a socket on the top nut to push the bolt down further. Once it’s down as far as you want, loosen and remove the nuts.
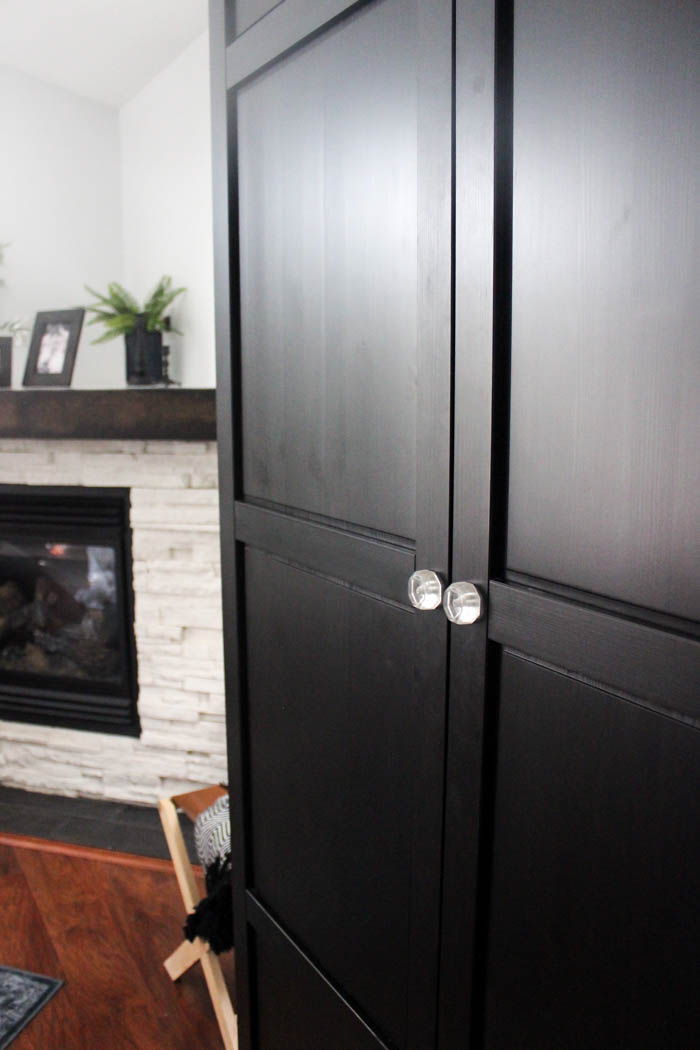
Now you can add your beautiful clear knobs to your favourite dresser or cabinet!
Hope you like the project! Enjoy!
Lindi is a DIY blogger at Love Create Celebrate that focuses on the home. She lives in Northern Canada where she became a self-taught crafter, decorator, builder, photographer – you name it! Her focus is helping her readers love, create, and celebrate their homes by sharing her favorite DIY furniture projects, DIY home décor projects, and home renovations.


[…] modern and chic DIY Resin Knobs are definitely on my must-make […]