Looking for a unique handmade gift this holiday season? Try making these marbled handle wood spoons for any chef on your gift giving list. This project is easy and will hold up to the wear and tear in the kitchen.
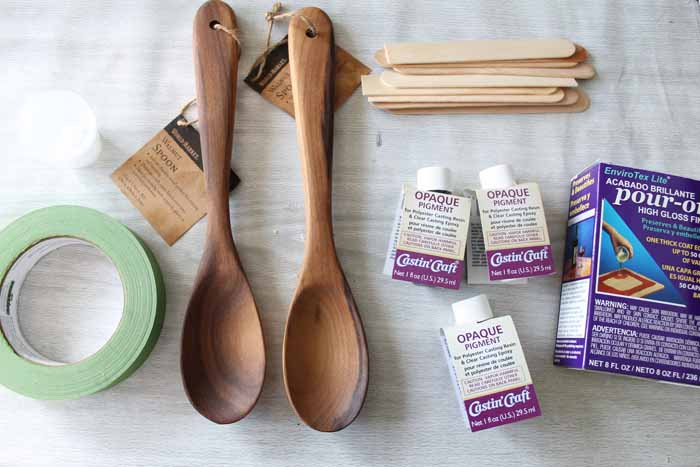
Supplies needed to make your own marbled handle wood spoons:
- Wood spoons (choose ones with a flat handle surface)
- Stir Sticks
- EnviroTex Lite Pour-On High Gloss Finish
- Castin’ Crafts Opaque Pigment (in the colors of your choice however I used white, green, and blue)
- Masking tape
- Measuring and mixing cups
- Toothpicks
- Rags
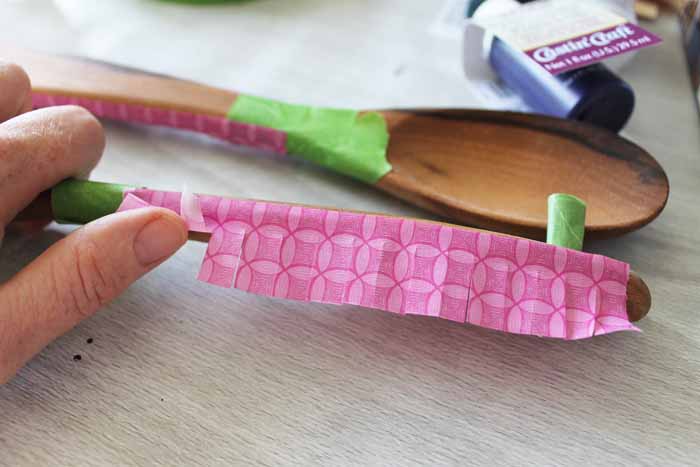
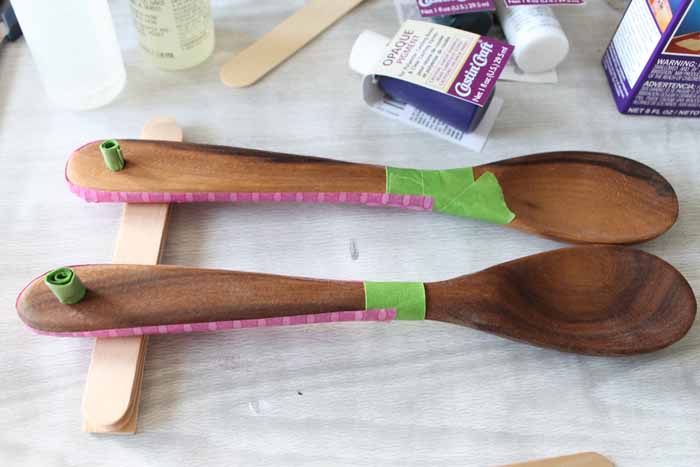
Start by masking off the handle of your wood spoon with the masking tape. TIP: Cut the tape into “fringe” to help it bend around the spoon handle.
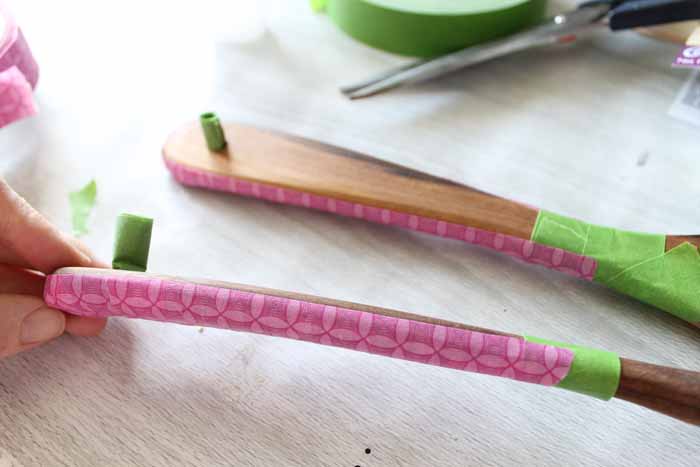
When completed, you will need to have masked the hole, the sides, and the end as shown below.
You will now need to make sure your spoons lay flat. I used a few stir sticks to support the ends and make it as flat as possible. You will also want to protect your work surface as the product will spill over the sides.
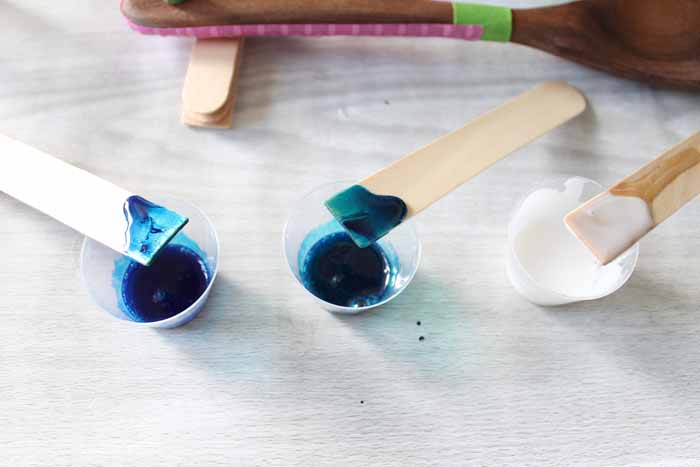
Start by mixing the EnviroTex Lite Pour-On High Gloss Finish according to the package directions. Then pour small amounts into three different measuring cups. NOTE: I used more white than the other colors. In each of these cups, add in the Castin’ Crafts Opaque Pigment and stir well. From left to right I used, blue, a mixture of blue and green, and white.
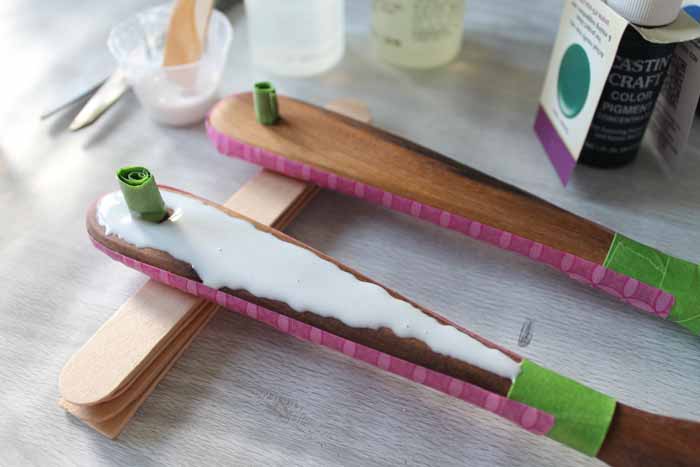
Start by dripping on small amounts of your white onto the handle. This project does not require much product so use very little. TIP: Toothpicks make it easy to lift a tiny bit of resin and drip onto your project.
Use toothpicks to drip on your colors as shown.
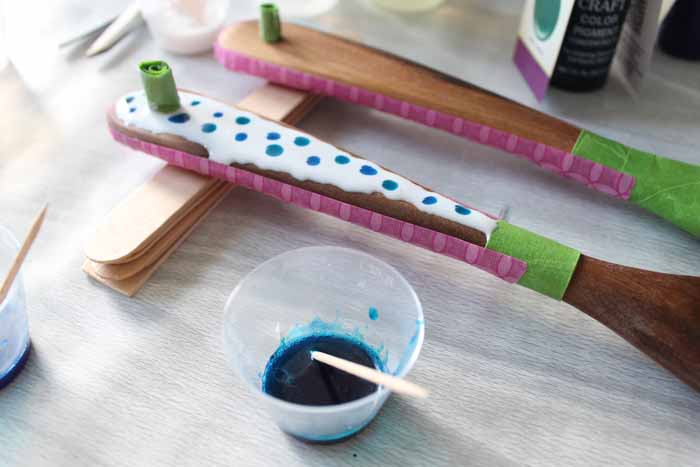
Use a clean toothpick to run through the resin and make a swirl.
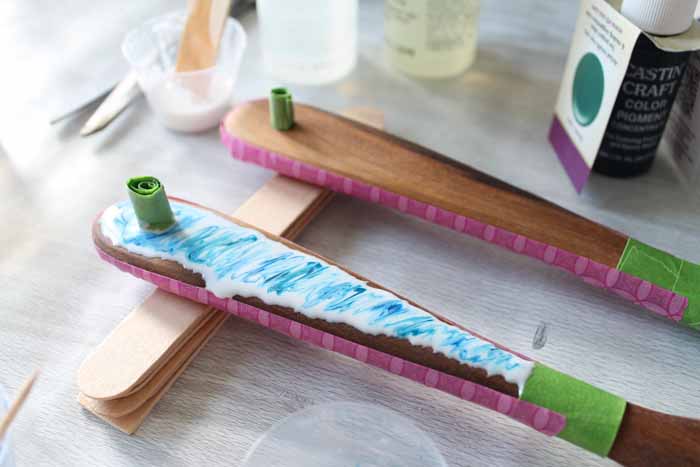
Allow to sit and run off the sides. NOTE: If your’s does not run off the sides, you might have to add a bit more white. Pop any bubbles that come up to the surface.
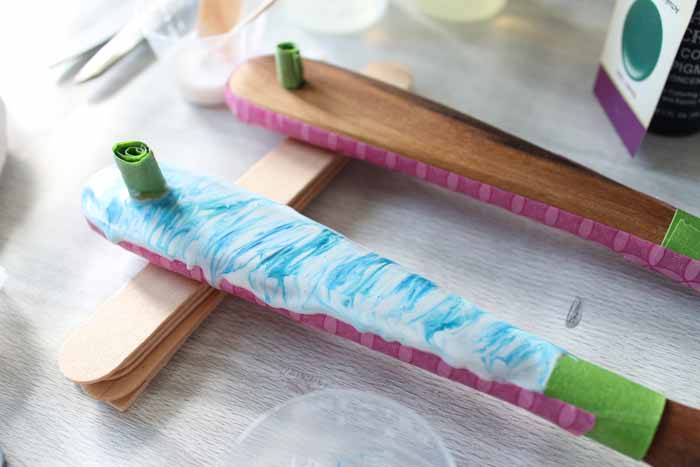
Repeat all of the steps above on a second spoon if desired. Then allow to lay flat until cured. I checked on these occasionally and used a damp rag to wipe away the excess from the sides.
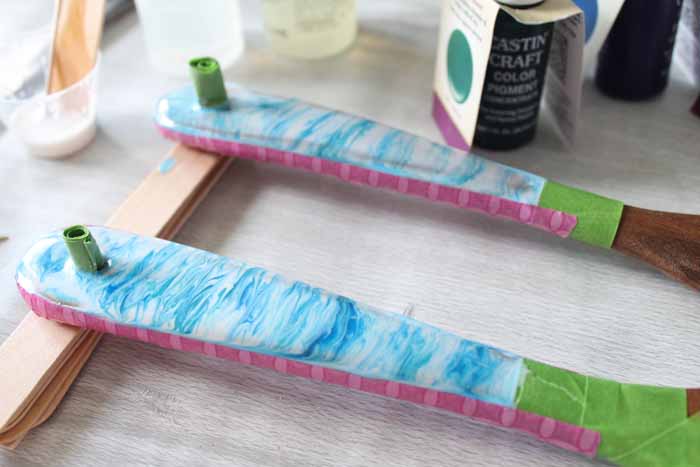
Once your product is partially cured, you can remove the masking and wipe away any product that has seeped under your tape with a damp rag. NOTE: Use the leftover resin in your mixing cups to test to see how set up the product is before completing this step. It should be fairly stiff.
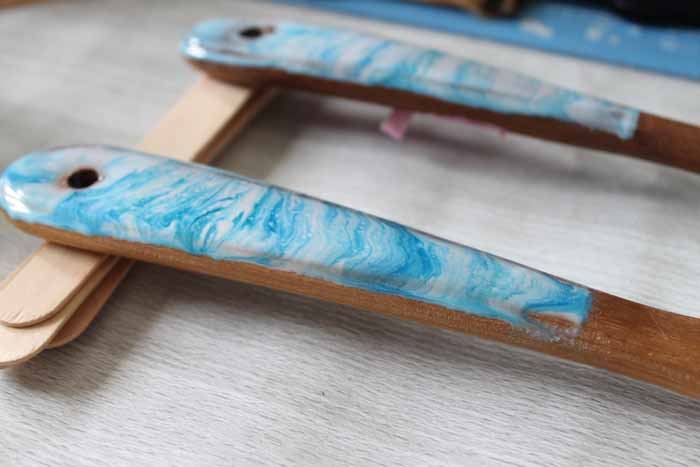
I checked on my spoons a few more times before allowing them to sit overnight to cure. Just make sure that no additional resin pours over the side. If it does, wipe away before it is cured with a damp rag.
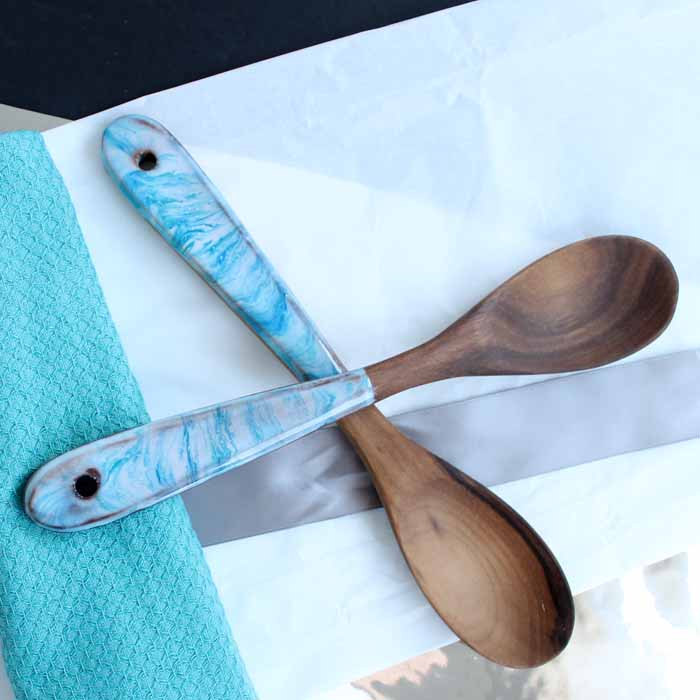
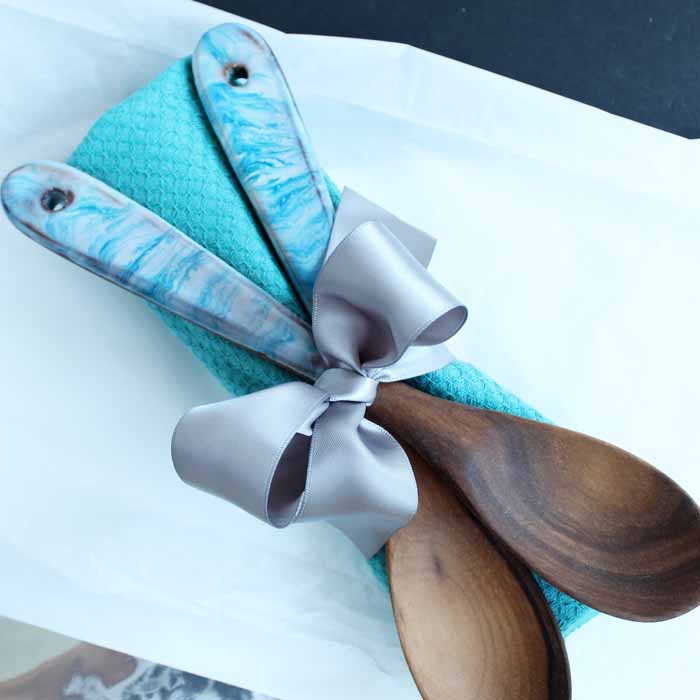
Once set, these marbled handle wood spoons are glossy and gorgeous!
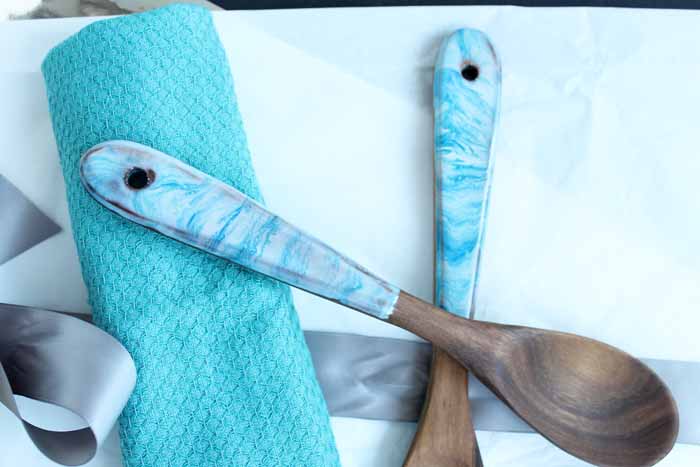
I do, however, wish I would have choose an even flatter handle for my project. The edges show through more than I would like. Note this when picking out your own spoons.
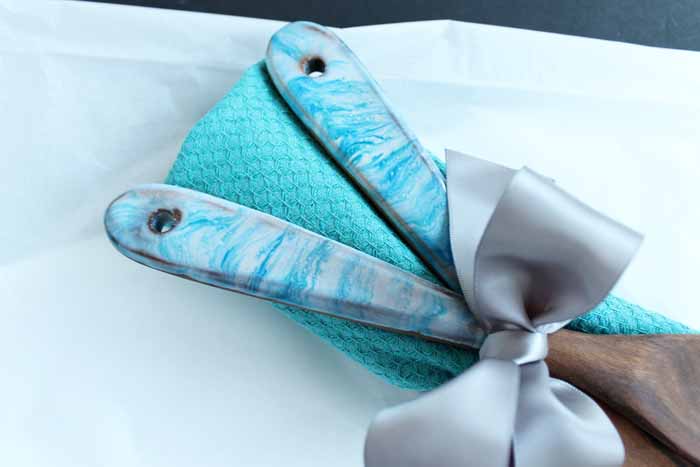
I added mine to a dish towel with a ribbon to create a quick and easy gift for the chef. Please note that these should be hand washed as all wood spoons are not to be placed in the dishwasher. You also do not want to leave your spoon in a hot pan. Be sure to put in on a spoon rest when not stirring your dishes.
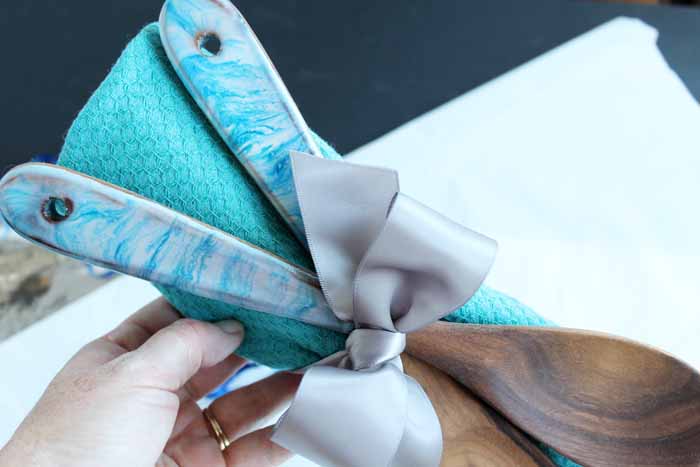
Give yours as a gift or make a set for your own kitchen. Either way you are sure to love the way this projects turns out! 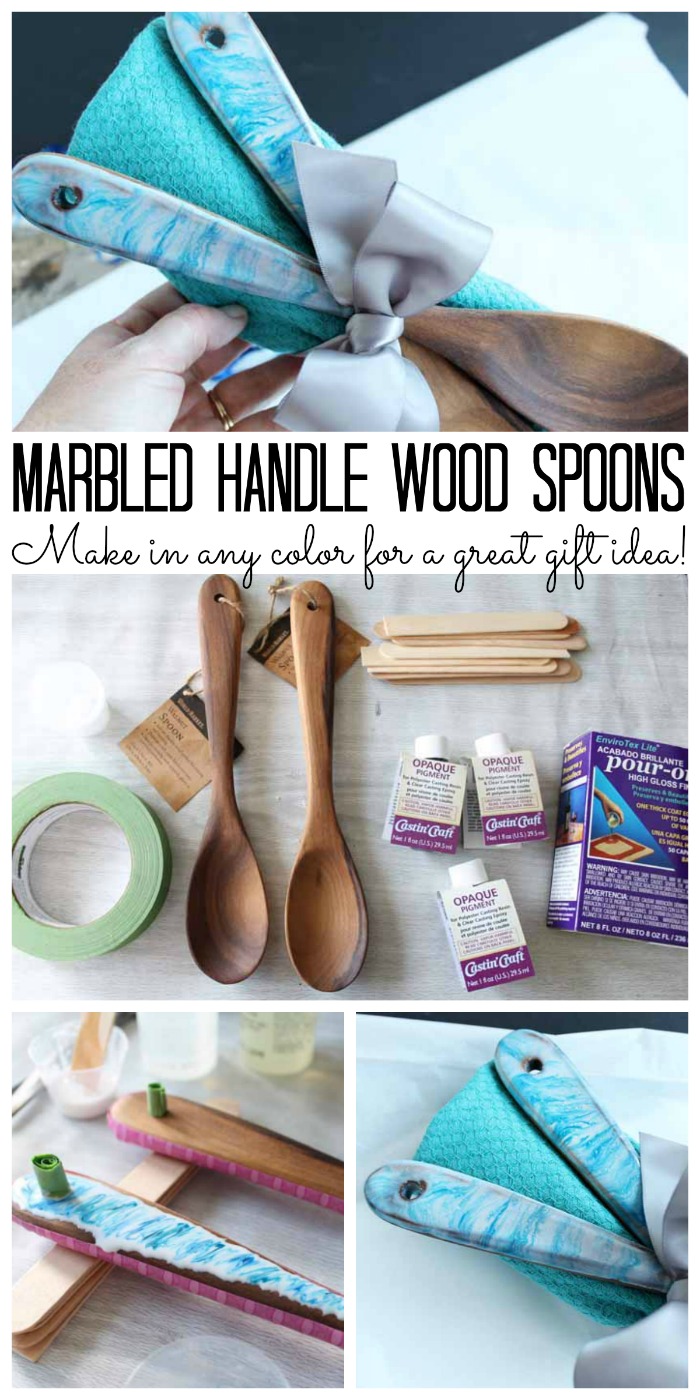
SaveSave
Angie has been blogging for over seven years at The Country Chic Cottage where she does a variety of crafts and home decor projects. You can even find a weekly recipe! She lives on a farm in rural Tennessee with her husband and three children. Painting is a favorite of Angie’s because it is a quick and easy way to make a big impact for very little money.

I love how these spoons look. Very pretty and a great gift indeed. Visiting from DIY and Recipe Link Party.
This is such a beautiful look Angie. And of course it makes a wonderful gift.
Angie,
These marbled handle wood spoons would make such a wonderful housewarming gift. Even if you didn’t know the house colors, you could go with something simple like black and white or gray and white. Thanks for the fabulous idea!
These are beautiful! Newbie here…Did you only do one side? Could you use these steps to do the reverse side or would that be a whole new procedure?
Hi Linda! You can absolutely do both sides! It’s easiest to do in 2 separate pours, otherwise you have to babysit the spoons turning them often to ensure even coverage.