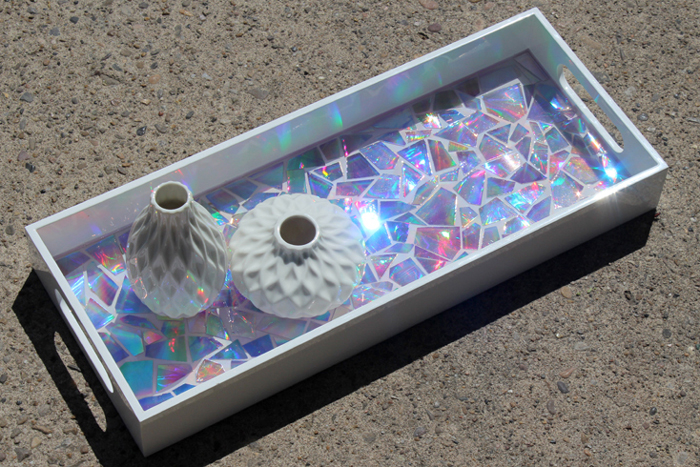
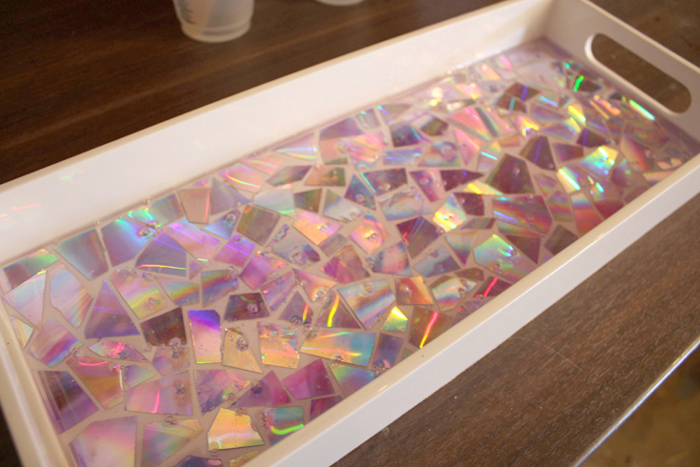
DVD Mosaic High Gloss Resin Tray
Hi, it’s Natalie from Doodlecraft! Isn’t this mosaic tray incredible? It’s so shiny and sparkly! Best part is that it’s a recycled craft! Do you have some old DVD’s laying around…like the ones that you burn yourself? Maybe you backed up your computer years ago and haven’t tossed the old discs yet. I bet CD’s would work too! Get them out and make a gorgeous mosaic tray for the entry table.
Supplies for Epoxy DVD Tray
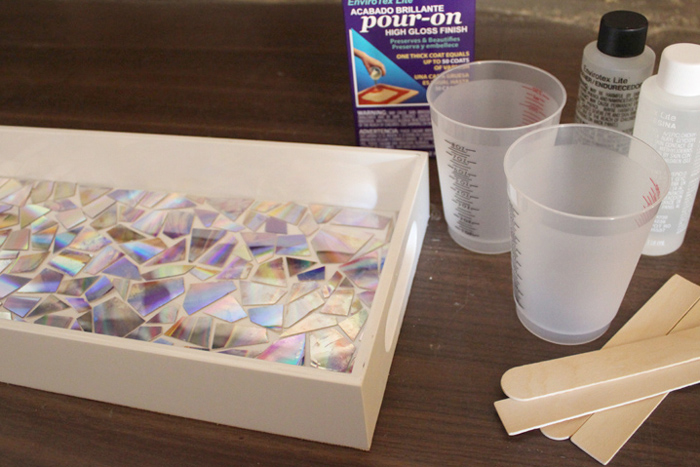
- Envirotex Lite Pour-on High Gloss
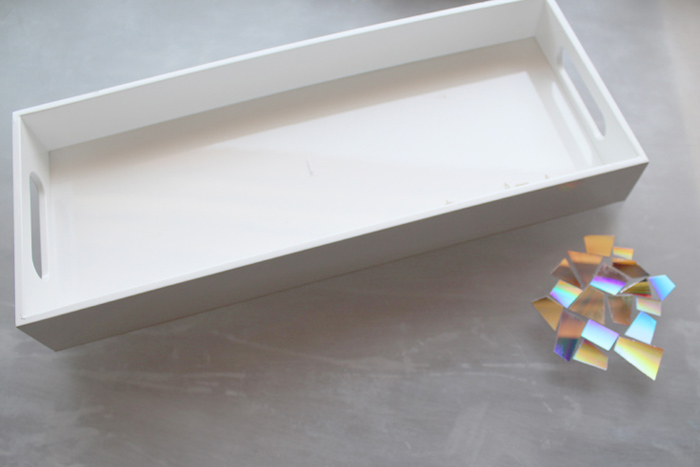
- Tray
- DVD’s (I used 9)
- Hot Glue/gun
- Mixing Cups
- Stirring Sticks
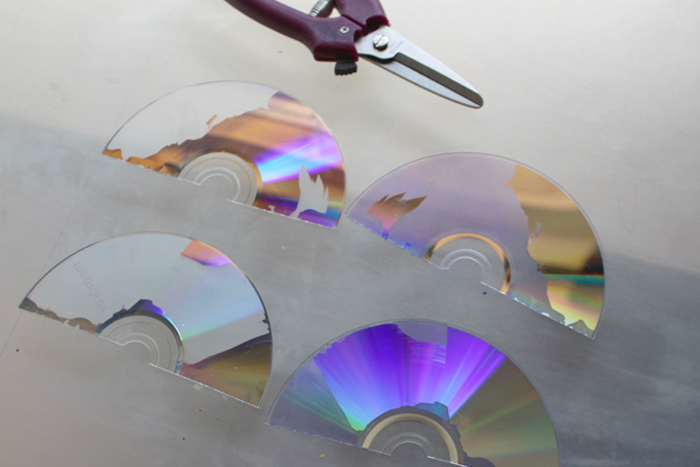
Start by cutting your DVD’s in half with some strong scissors or clippers.
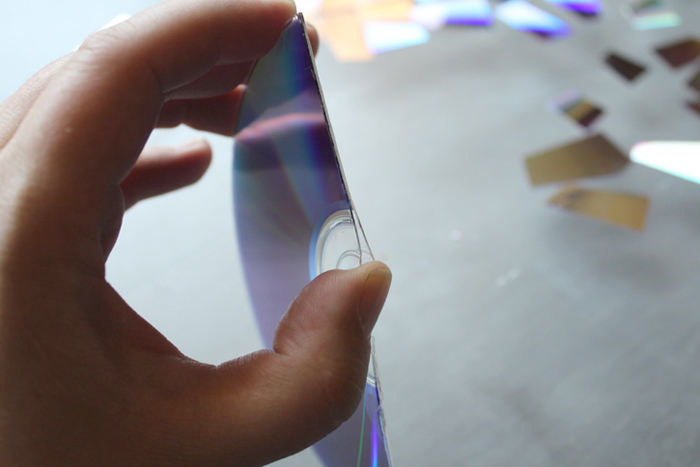
DVD’s have 2 layers with the metallic foil in between the layers. Gently pry them apart with your fingers.
Then cut the halves so they are in little tile pieces of different shapes and sizes with the shiny rainbow metallic side up. Try not to touch the shiny metallic surface as it will leave finger prints.
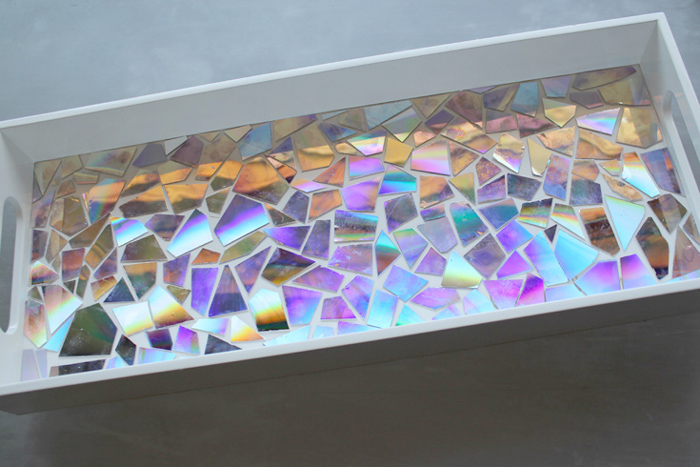
Then hot glue each piece on the inside of the tray. Cut pieces to fill spaces. Fit them in like a mosaic tile craft.
It takes a lot more DVD’s than you think it will take. I had my kids guess how many disks I used and they guessed 3. I used 9 for my 18 by 8″ tray.

The empty spaces between the mosaic tiles look like grout, so try to keep a uniform spacing around all the little “tiles”.
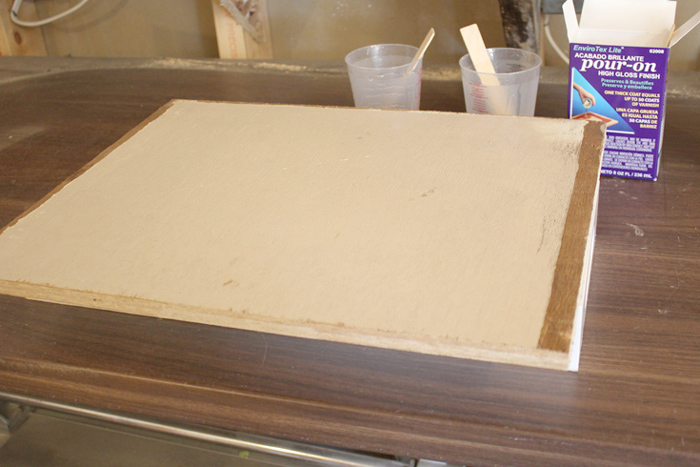
Now, I head out to the garage, but go somewhere that will be undisturbed for 24 hours.
You will need the EnviroTex Lite High Gloss Finish. I used 8 oz. Read the directions carefully and follow it exactly. This is a one to one ratio. It needs to be mixed in one cup for 2 minutes and then poured into a second cup with a different stirring stick and then mixed for another minute.
Then pour the high gloss in the tray. Gently move the tray around so the resin fills the base of the tray all the way to the corners.
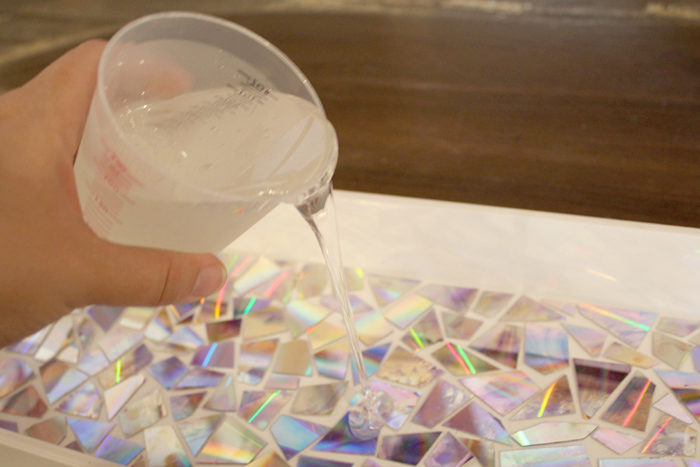
Instantly there are bubbles forming. Cover with a board and wait 20 minutes.
Then use a heat gun on low heat and gently blow over the tray, it will instantly pop the bubbles.

Cover with the board again to prevent dust from settling on the surface of the resin. Then wait 24 hours. This is the hard part.
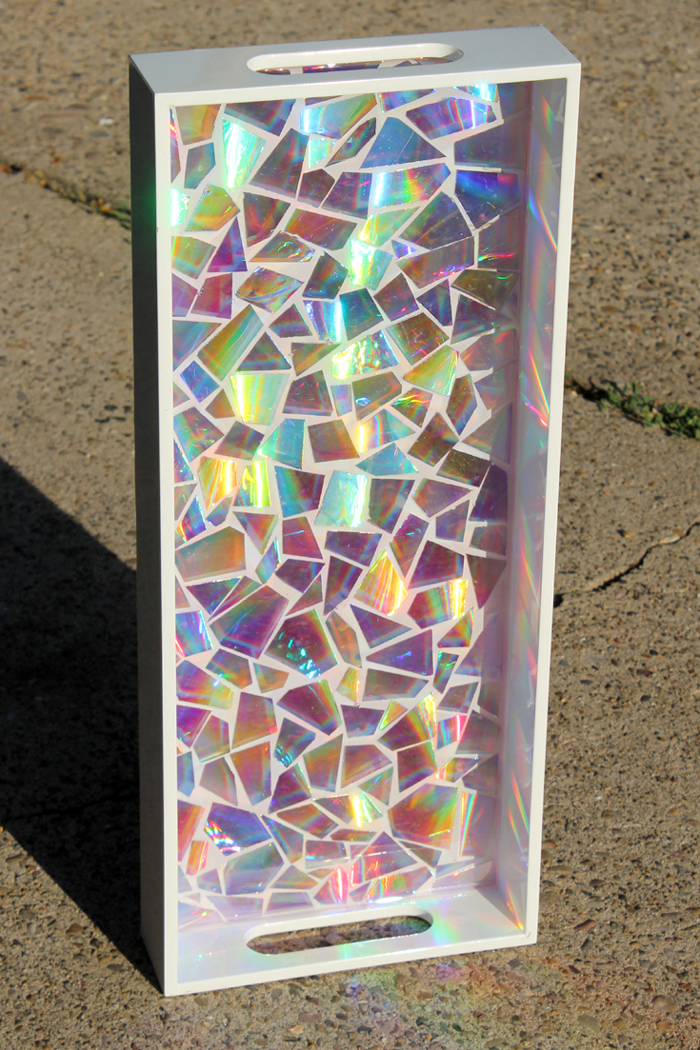
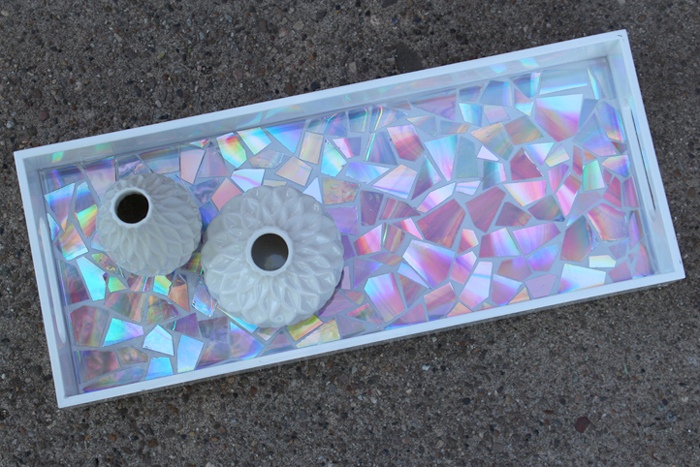
This mosaic tray has about a 1/4″ thick glossy resin coating all the tile pieces. Nothing but a smooth, wonderful texture–and so shiny! Be careful walking outside with this blinding piece!
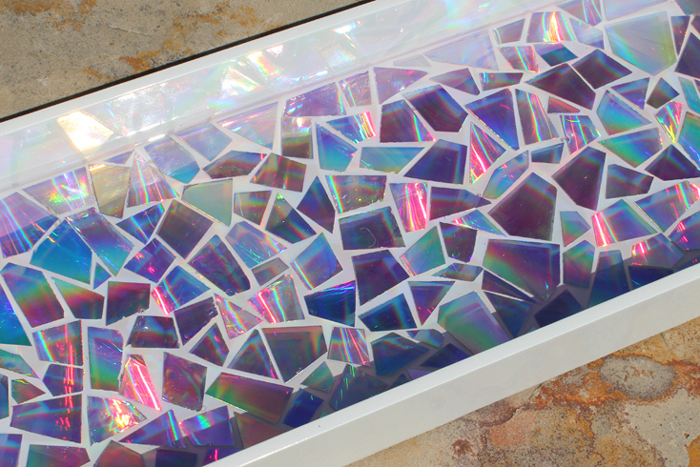
I love the range of rainbow colors it shows. By just moving slightly the colors change.
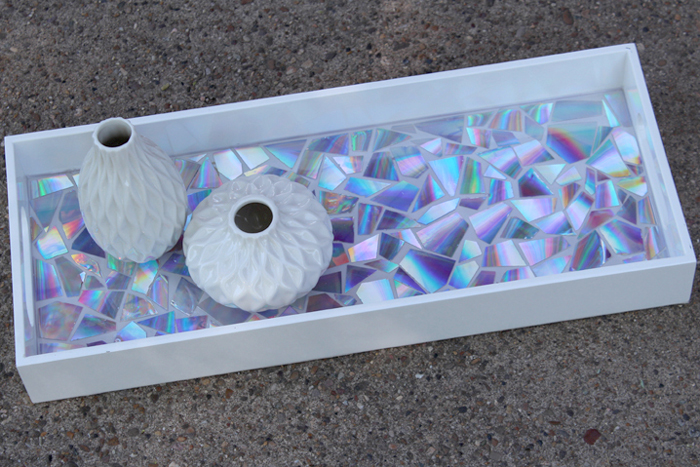
Isn’t it just the best? I love it. I find myself wondering what else I can turn into a DVD mosaic!

Natalie Shaw is a Craft/DIY blogger at Doodlecraftblog.com. She loves sci-fi, fantasy and video game geekery and that comes out in many of her projects. She posts budget conscious DIY’s, crafts, jewelry, kid friendly projects, upcycled treasures and other fun on her blog 5 days a week.


This is a great project I am going to try! Thanks for sharing.
Your tray with DVD’s is fantastic…
I was not wondering what you think about these uses???
I am in the process of saving money to buy an RV…. To live in and travel… Older hippie style…
I have thought about using DVD’s on the counter of the kitchen and bath counter… Just like you did… except I know I will have to use a thick resin… And I also thought about using broken Mirror pieces
On the floor with thick resin…
Have you ever tried anything like
This??? If so how did it work out??…
If not… What do You think???
Thank You… Alice 11/16/2017…
Yes, use ETI Enviro-Tex lite, it’s perfect for countertops and tabletops as well as a tray.
https://www.eti-usa.com/envirotex-lite
Will that work with CDs instead of dvds
Yes, they have a different color scheme, but are equally shiny. 🙂
You could paint both sides using a few other colors and then break em apart as well and then theres shiny, plus colors and a beautiful mosaic blend…tah dah!!!
Did you have to be careful with the hot gun, to make sure the tray didn’t melt? I’ve never used a heat gun so forgive me if that’s a silly question.
Yes, heat guns get super hot, super fast. I only use it on the low setting, but don’t keep it in the same place long, just quickly pop the bubbles. Hope this helps!
Can you use a hair dryer if you dont have a heat gun?
Hair dryers will blow the resin around much more than a heat gun, but a micro torch works or simply blowing gently through a straw to pop the formed bubbles.
Rubbing alcohol in a spray bottle helps pop bubbles as well…
Wow. This looks like so much fun and I’d love to do something as of this sort too!
Could I use MOD PODGE instead of resin?
Resin really is the star of the show on this project. It fills in all the gaps and makes the surface absolutely smooth and easy to clean. This effect could not be achieved with Mod Podge.
Where did you find your tray?
At the thrift store 🙂
I’m a bit confused. Once you cut the DVD’s in half, do you take out the center piece out or keep it within the plastic sides?
Remove one of the plastic sides, keep the other one. By splitting the disks in half, the shinier, more prismatic surface is revealed.
I used to make decorative plates using the resin and old Christmas ornaments. I have since moved and don’t know how to clean up the cups for mixing resin now that I no longer have a laundry tub. Do you just throw the cups away, or how do you clean it up?
Most of the time I just throw the cups away. However, if I set them out and let them dry, I can peel off the resin pretty easily and reuse the cup…at least from the second mixing cup.
Beautiful project!
I bought some bare wooden trays on Amazon . I will have to paint them .
Can you glue the pieces in place with something other than a hot glue gun? I’m planning on letting the grandchildren glue their pieces in place.
Thank you!
I’m sure you can you other adhesives, but hot glue dries so quickly so it’s pretty nice.
I am not so sure I could match up pieces. Yours turned out great.
What material is your tray made of? Wood?
It’s probably mdf with a lacquer finish…I just got it at a thrift store.
Nice and thank you…Is this epoxy safe to make food and drink utensils?
Hi Zom! It’s FDA approved for contact with food, but not for direct contact like utensils.
Beautiful project!
After you cut the DVDs, it looked like some parts were peeling off. Do you just use the parts that didn’t peel? Or peel everything? Thank you!