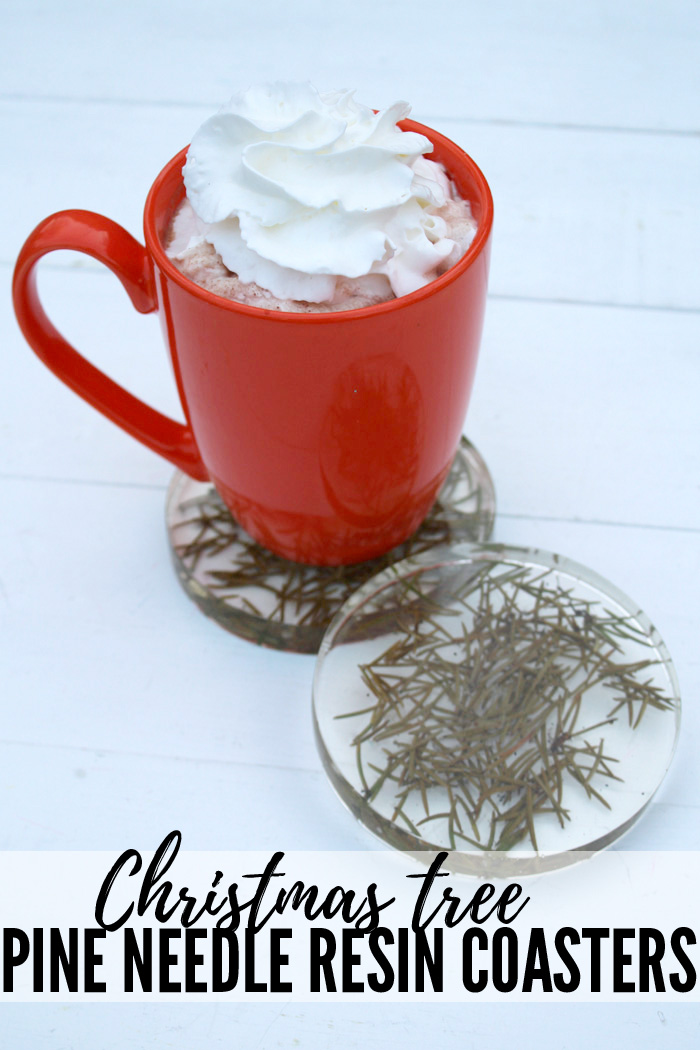
Pine Needle Resin Coasters from the Christmas Tree
Hi Resin Crafters, it’s Natalie from Doodlecraft sharing a great way to preserve your Christmas tree to enjoy year after year. Pine needle coasters are easy to make with EasyCast Resin and a small branch from your Christmas tree. Make a resin coaster each year to memorialize your holidays spent together. This craft is simple and doesn’t take much time at all.
In all honesty, my husband and I have never had a live Christmas tree. This year will be our 19th Christmas together and no, never had a live tree. I’m okay with that. I like to work on handmade gifts, and they almost always involve pine–so I still get that delightful Christmas tree smell…in saw dust form. I diffuse my home with pine to make it smell amazing…but our tree has always been a fake. This craft is perfect if you get live trees each year. I’m showcasing coasters, but go ahead and add a hole, tie a string and hang it as a Christmas tree ornament. It would be fun to see the differences year after year.
Supplies Needed:
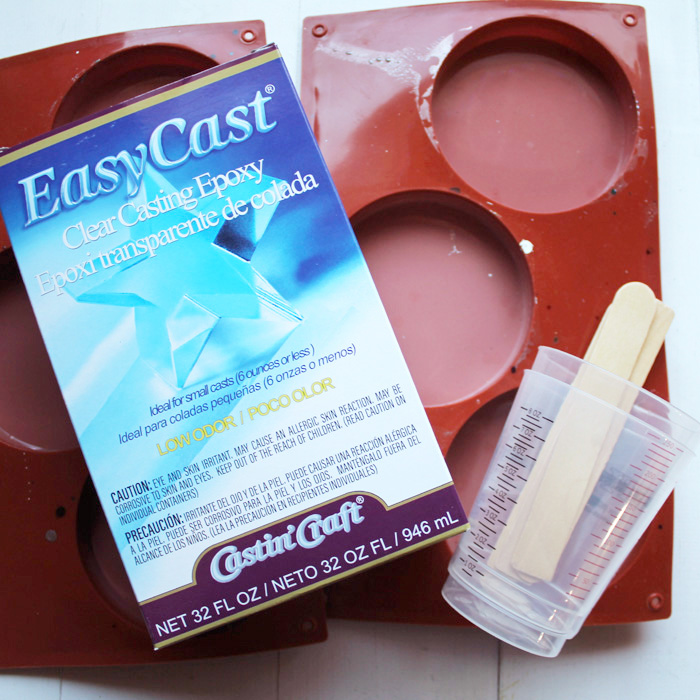
- EasyCast Clear Casting Epoxy
- Coaster Silicone Molds
- 2 Mixing cups, 2 stirring sticks, disposable gloves and work surface
- Pine Needles
- Heat Gun, Embossing Tool or Mini Torch
- Nail File
- Number Beads (optional)
Step 1: Resin Mixing
Begin by reading the directions carefully for the resin. Mixing resin is simple, but needs to be done exactly for the chemical reaction to take place. It is mixed in a 2 phase process. 1 part of the resin and 1 part of the hardener, mixed for 2 minutes. Then transfer into a second mixing cup and use a second stick to mix for another full minute. This ensures complete mixing.
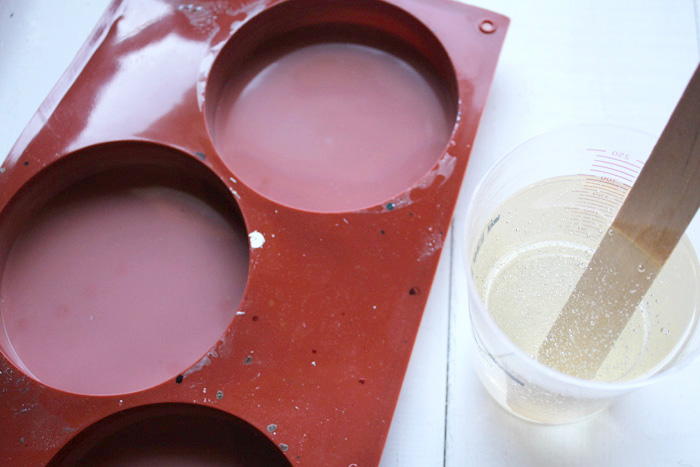
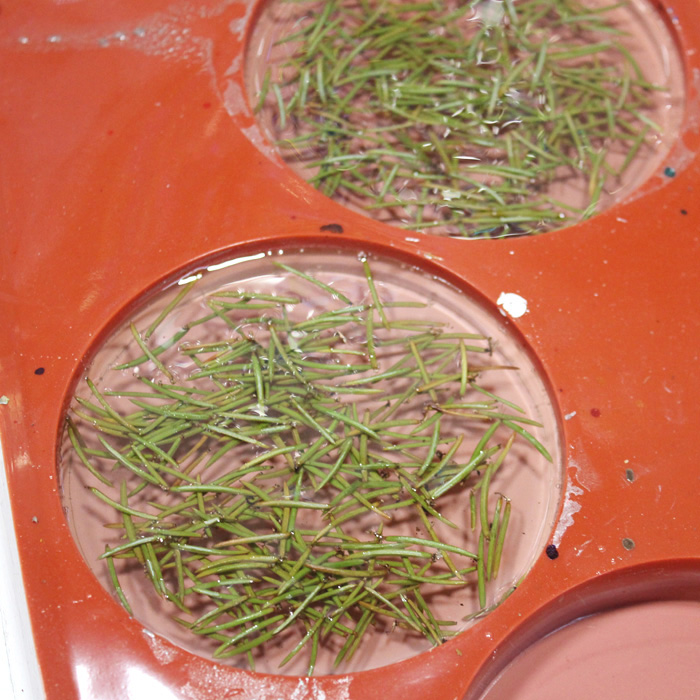
Then pour the resin into the silicone molds. I just filled up 2 of the cavities and used about 6 ounces of mixed resin, 3 ounces for each coaster.

Step Two: Pop Bubbles
Next, wait about 20 minutes, then use a small heat gun to pop any of the bubbles that have formed and come to the surface.

Gently blow heat or use a torch to pop the bubbles on the surface. Do not apply heat to one spot for too long. Just work quickly and pop the bubbles.
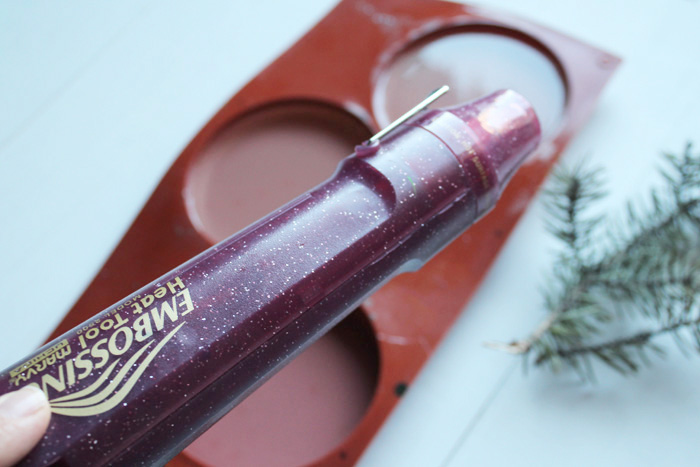
Then the resin will be clear and free from bubbles.
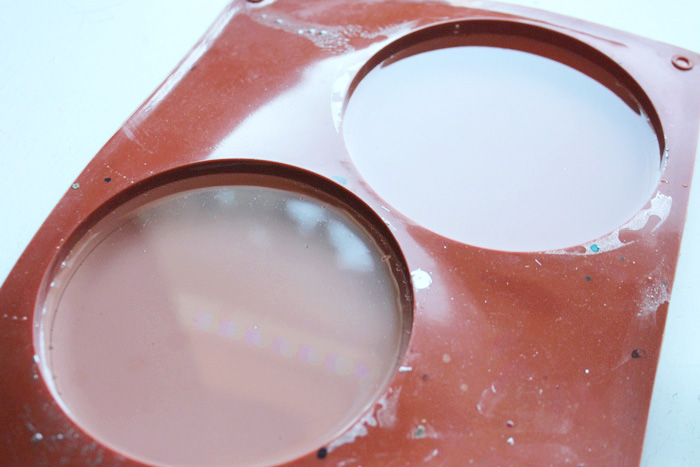
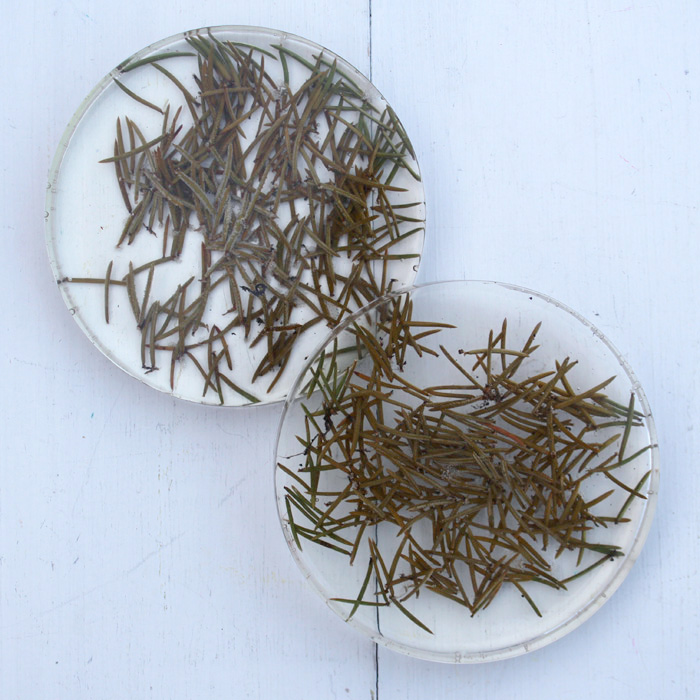
Step Three: Add Pine Needles
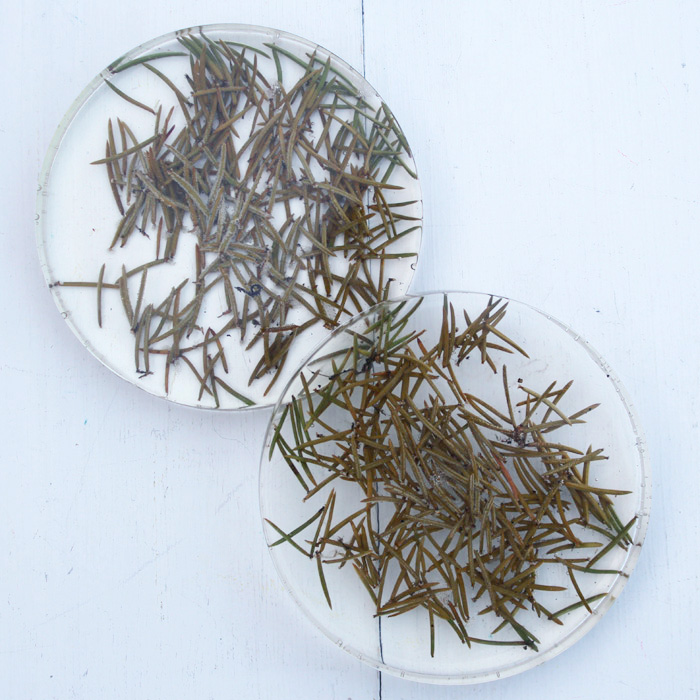
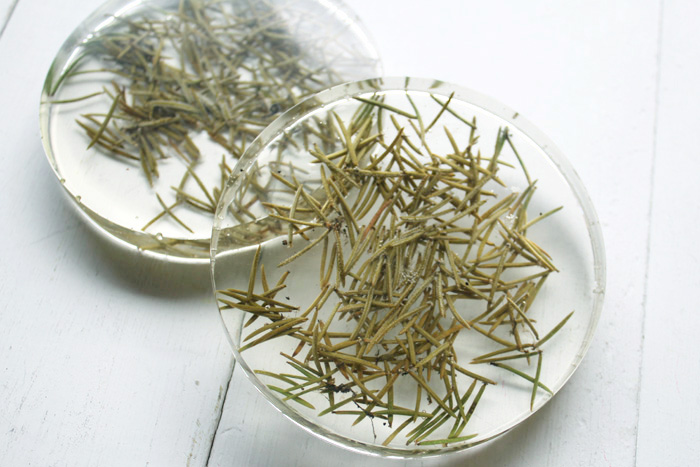
Then add the pine needles right on the surface of the resin. No need to press them down, they will sink as they sit and become completely covered with resin.
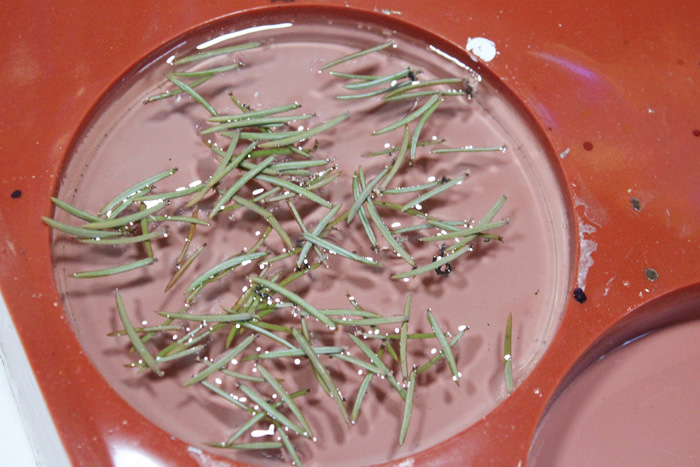
Step Four: Harden Overnight
Add a good amount of pine needle pieces and then set the coaster mold aside to cure overnight.
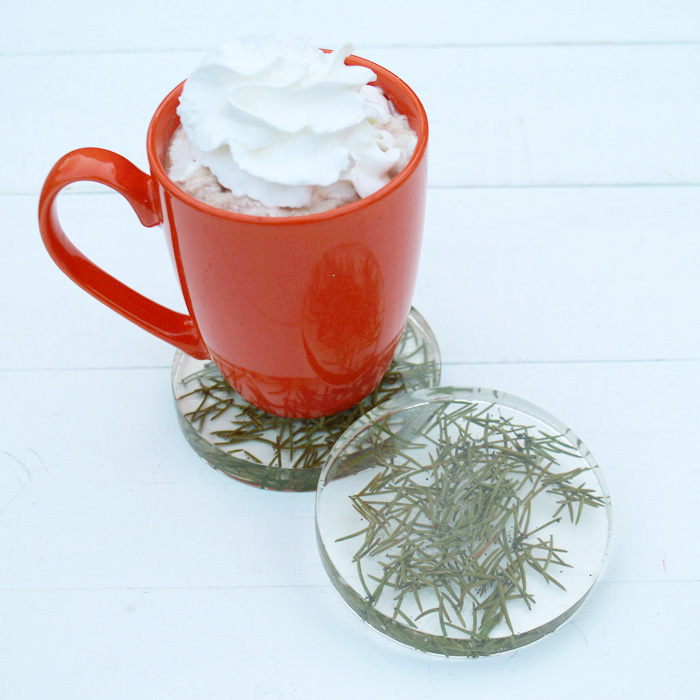
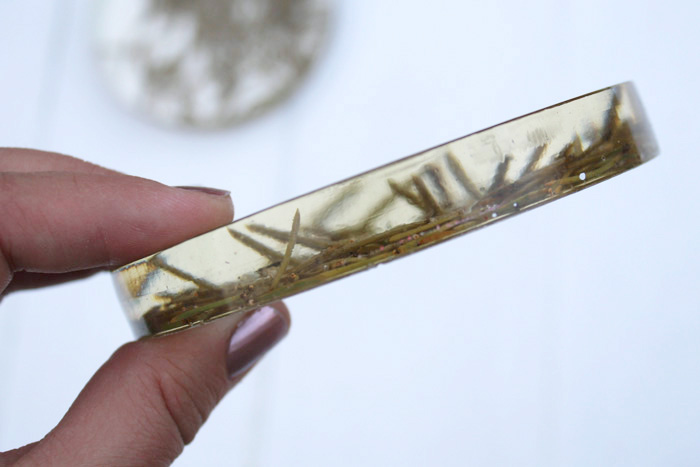
Step Five: Remove and Enjoy!
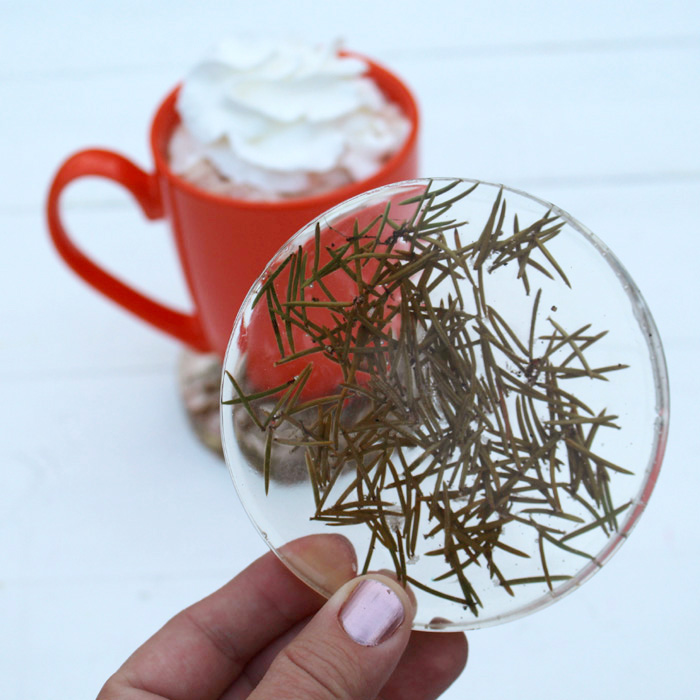
The next day peel the resin coasters out of the mold, this part is highly satisfying. Check out the pine needle coasters! I love seeing how the needles settled in the resin to give texture and life to this fun coaster.
Another fun idea would be to add the year of the tree the pine needles came from…using these plastic number beads.
Use a nail file to lightly sand around the edges of the resin to make sure it is smooth and ready to sit on the coffee table without scratching it.
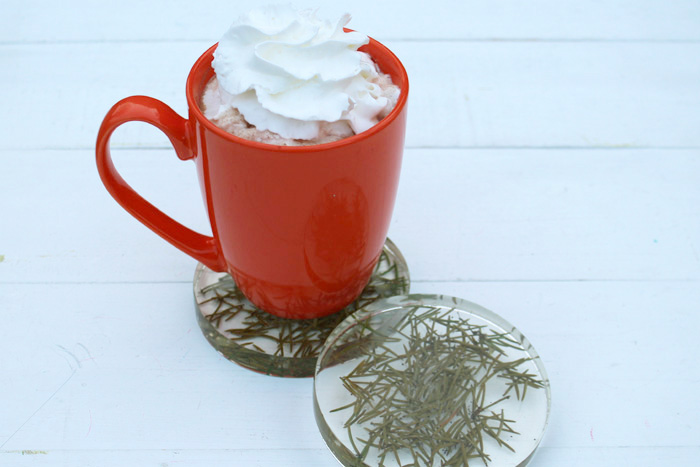
Now you can enjoy the texture and look of your pine tree year round! Or pack these away with the Christmas decorations and enjoy them again next year!
That’s it!
This is a great way to preserve that Christmas tree and enjoy some hot chocolate on a cold Winter morning.
Like, Pin and Share!
Natalie Shaw is a Craft/DIY blogger at Doodlecraftblog.com. She loves sci-fi, fantasy and video game geekery and that comes out in many of her projects. She posts budget conscious DIY’s, crafts, jewelry, kid friendly projects, upcycled treasures and other fun on her blog 5 days a week.


Do you think and entire pine bough could be encased in resin? I’d like to do the branch with pine needles and small pine cones.
Hi Rachele, absolutely! This would work best with the polyester casting resin and you would want to ensure that it’s well sealed prior.