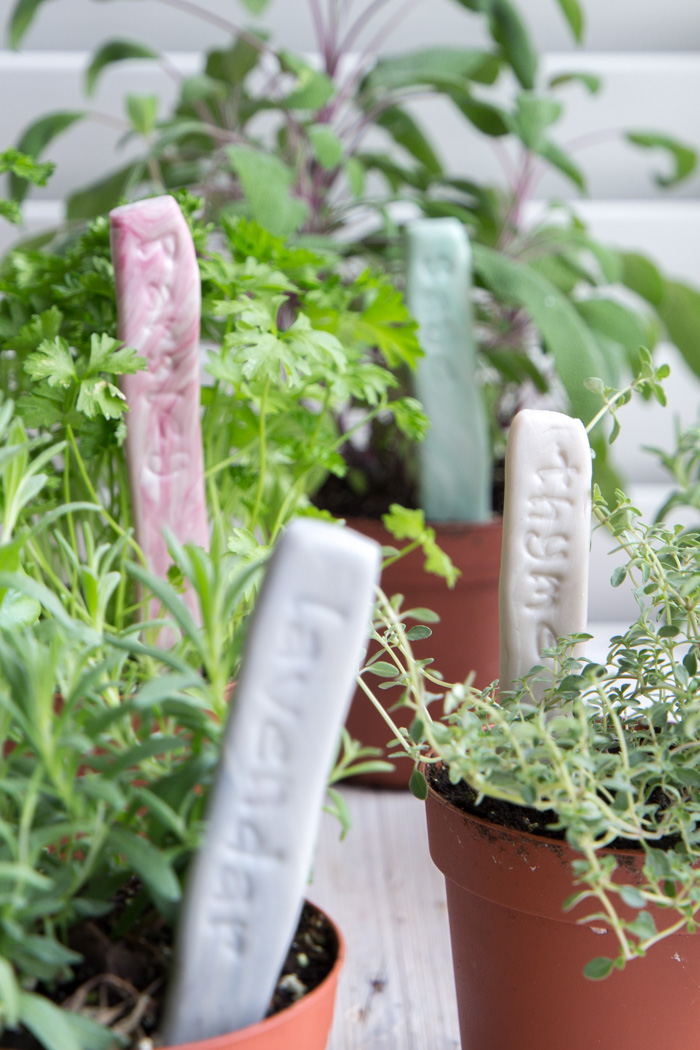
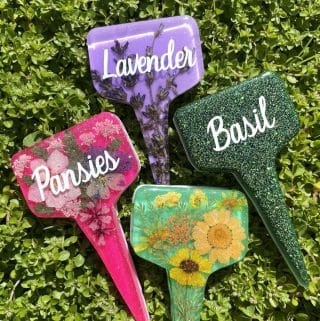
I can barely wait to get my hands in our garden and start planting some flowers and vegetables! Some of the first plants to go in will be these herbs I picked up at our local nursery. I’ve always wanted to make my own little plant labels, something simple and cute that I could reuse year after year and maybe pass on to my girls down the road. I saw these really cute DIY stamped clay garden markers and wanted to try making something similar, but with a touch of colour.
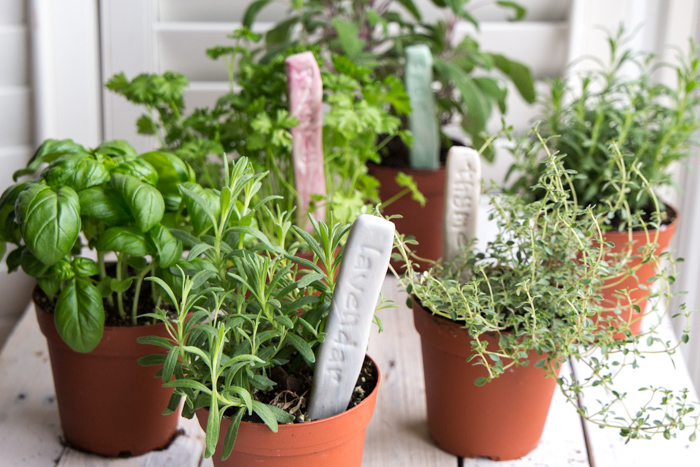
Materials needed for these DIY stamped clay plant labels:
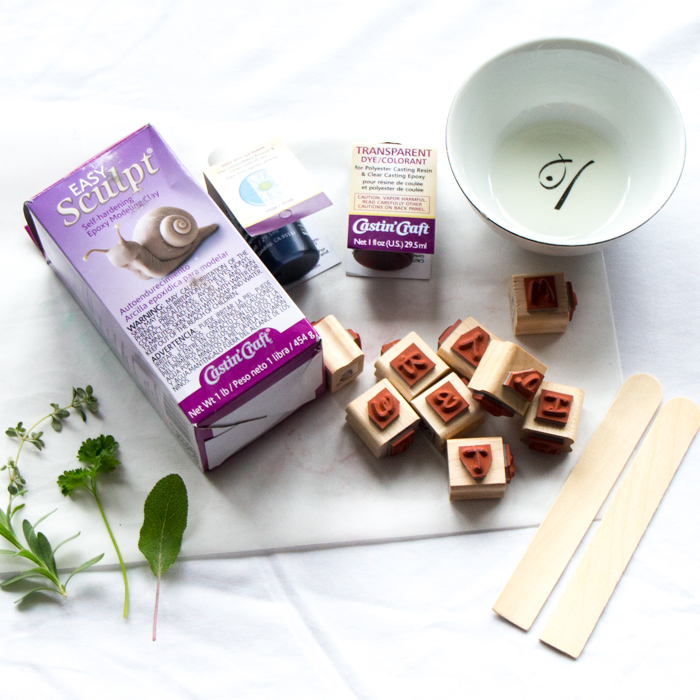
- Easy Sculpt Self-hardening Epoxy Modeling Clay
- Castin’ Craft Universal Transparent Dyes (blue, green, red)
- A release agent such as vegetable oil, olive oil or Castin’ Craft Mold Release and Conditioner
- Gloves, wooden craft sticks, paper towels
- Alphabet rubber stamp set
Forming the plant labels with Easy Sculpt clay:
Follow these steps to make one plant label at a time as it is easier to get the components to completely blend together in smaller amounts. Be sure to read the instructions provided in the packaging prior to starting. Also, protect your working surface with a sheet of wax paper.
- Use two wood sticks to take equal amounts of components “A” and “B” from the containers (be careful not to cross mix the materials in the containers).
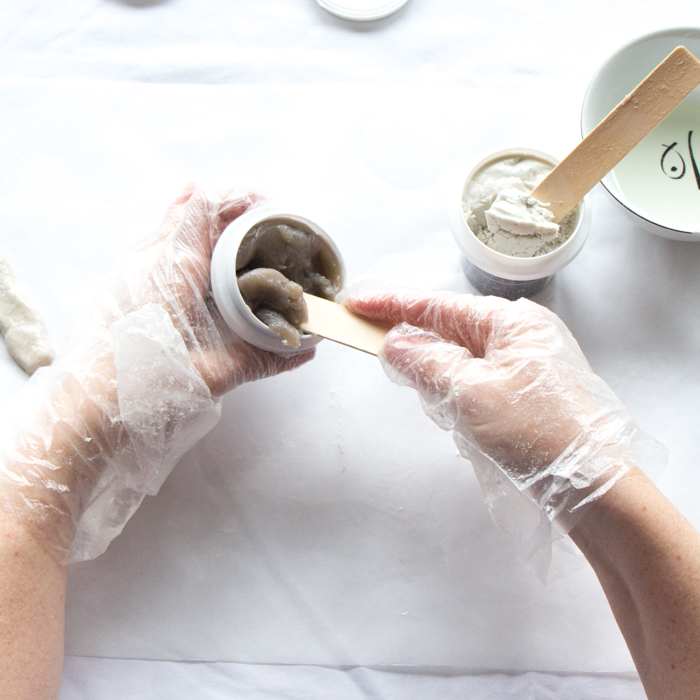
3. Spread some of the release agent on your gloves to keep the keep the clay from sticking. Form the clay into balls of approximately equal size by eye, a little larger across than a quarter coin.
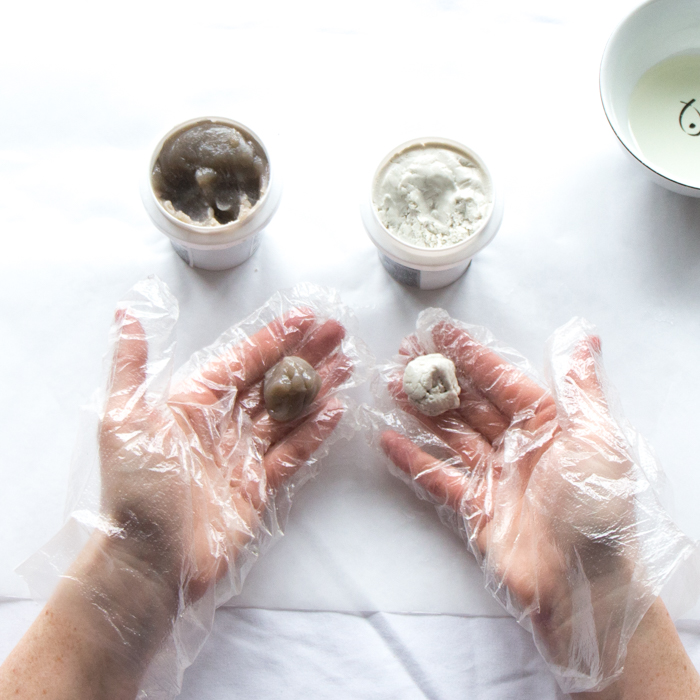
4. Press together and completely blend the two balls until they are a uniform colour with no ribbons or marbling (about 1-2 minutes). Press out any little clumps to make sure the components are completely combined.
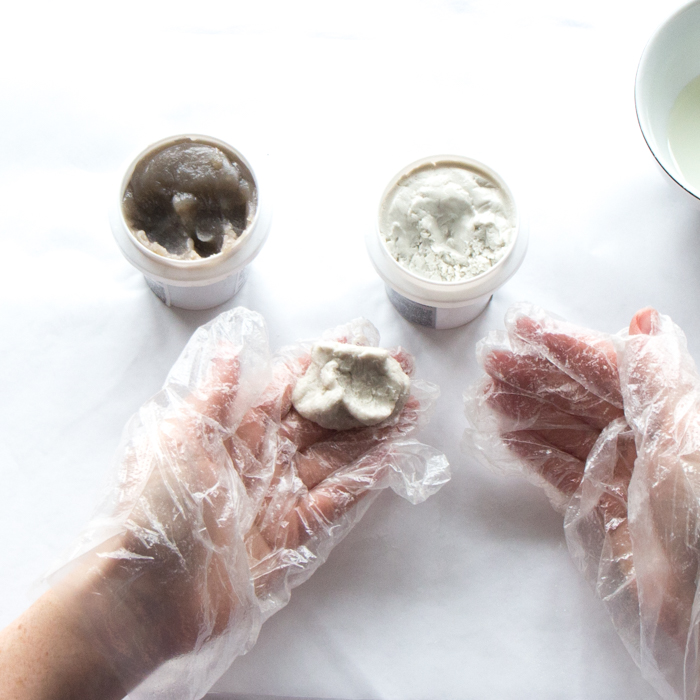
5. If desired, add three drops of the Transparent Dye in a colour of your choice. Blend the Dye into the clay completely or just partially to achieve a marbled finish in the end.
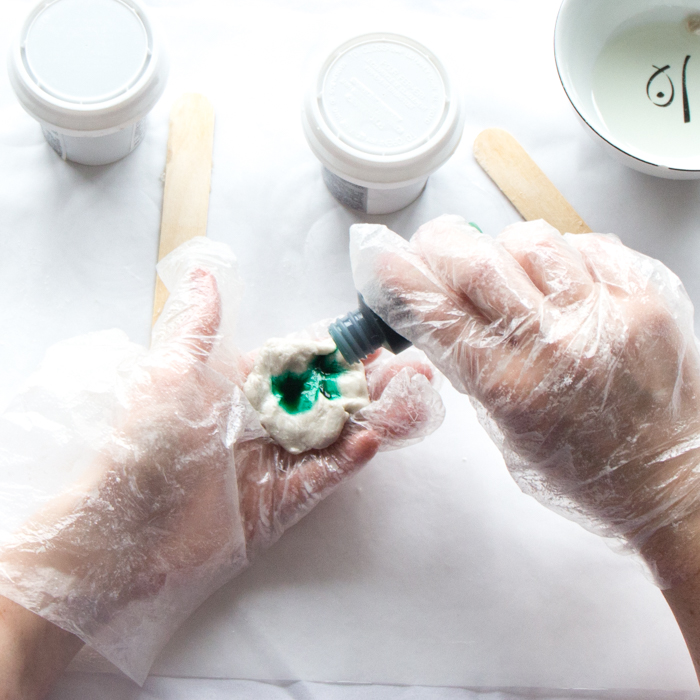
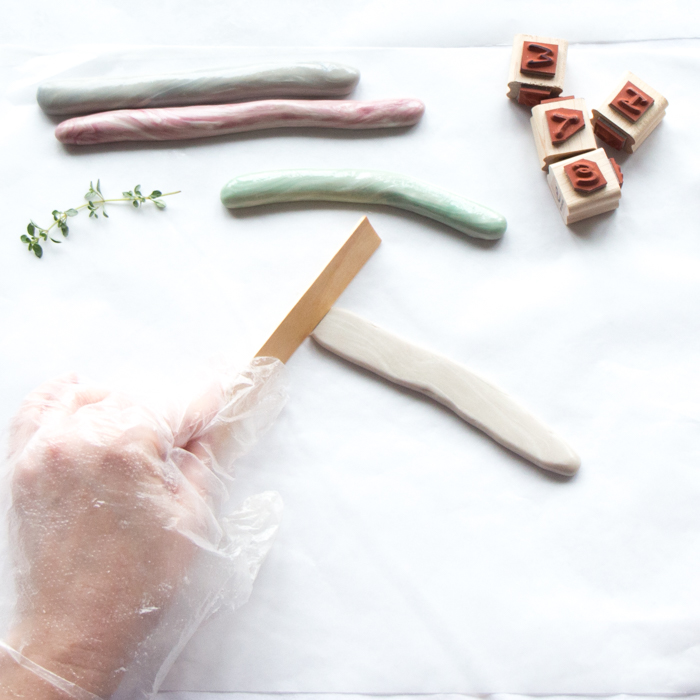
6. The clay will start to get softer and stickier at this point (great to use as an adhesive in this state!). Form the clay roughly into a 6″ long cylinder. Repeat this process to make as many herb garden markers as you’d like. Let the Easy Sculpt clay cure for at least 2 hours before proceeding to the next step.
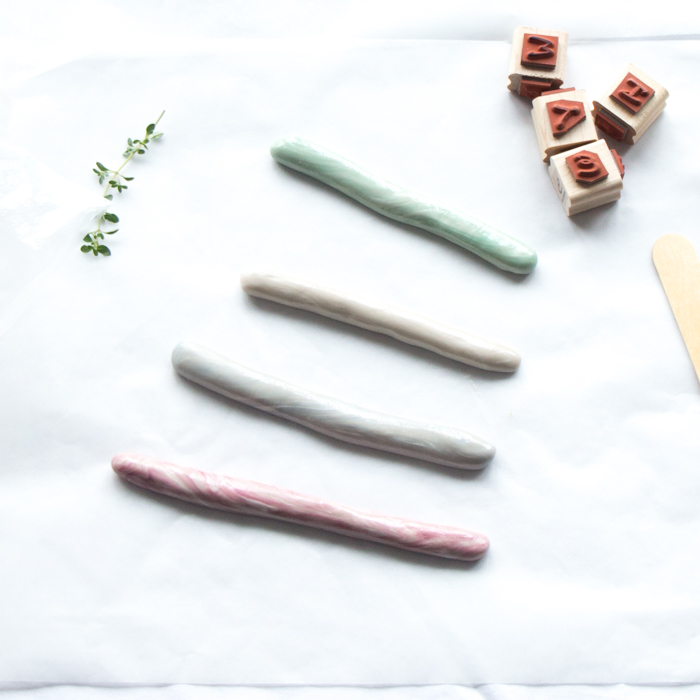
Imprinting the DIY plant labels:
After about two hours check on the hardness of the clay. The pieces should still be malleable but not too soft. The Easy Sculpt clay will reach a soft but firm cure within 5 hours of mixing, so you have a good amount of time to reform and shape the clay to make the DIY plant labels.
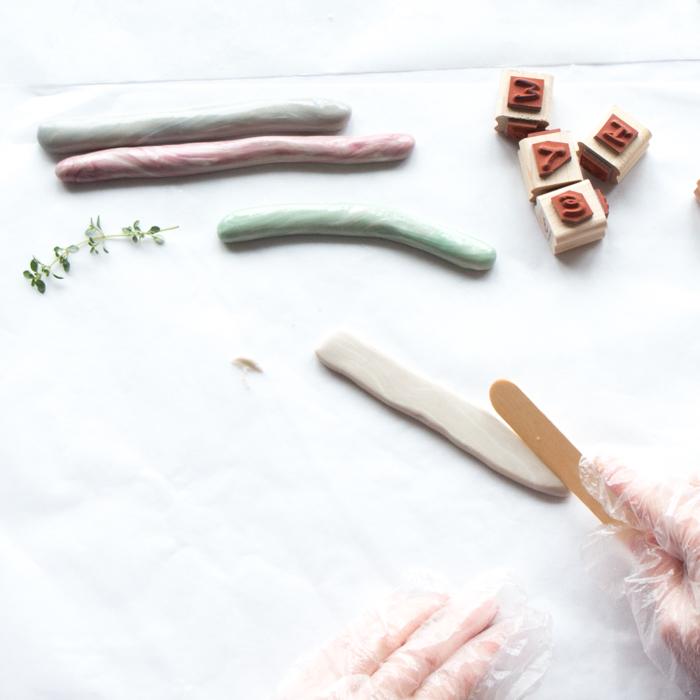
7. Use a flat surface such as the wood craft stick to flatten the clay cylinders to about 1/4″ thickness.
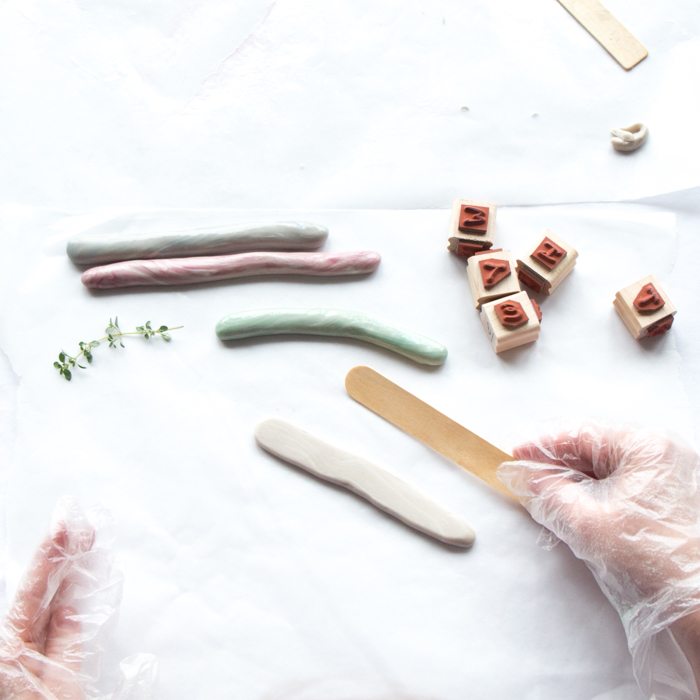
8. Snip a bit of clay off of the top for a more rectangular shape and then cut an angle off the bottom to create a point.
9. Use alphabet rubber stamps and gently press the names of your herbs onto each plant marker.
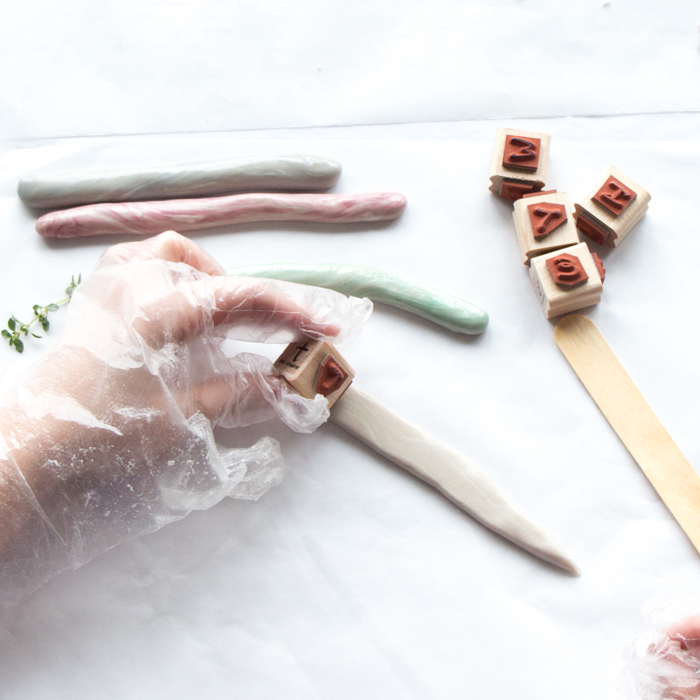
10. Finally, if you’d like, you can also press a sprig of the herb onto the plant label to make a subtle impression.
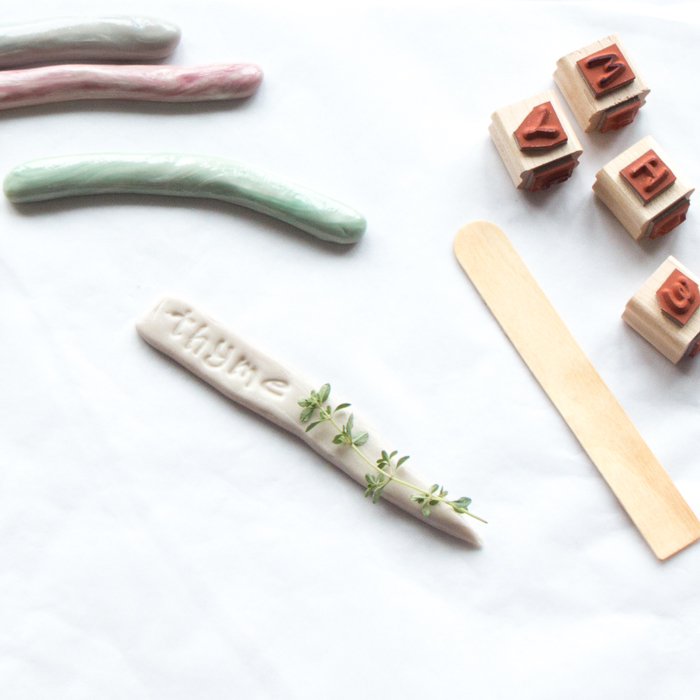
The nice thing about the slow cure time for the Easy Sculpt Modeling Clay is that if you make a mistake, or don’t like how something looks, you can smoosh it back up into a ball and start all over!
Once happy with how your DIY plant labels look, let it cure overnight (fully cured in 24 hours).
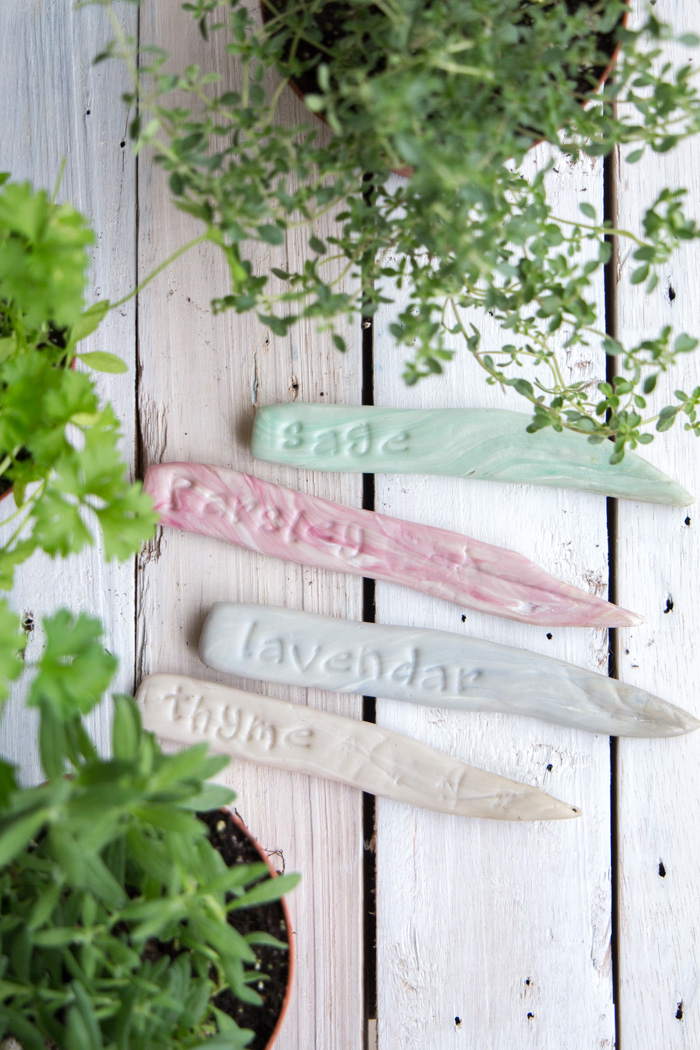
I’m so pleased to have these new little decorations for my herb garden. I love the slightly marbled effect of the Transparent Dye and then they’ll add a subtle touch of colour to my otherwise all-green herb garden. I think I’ll make a set to give my mom as a gift for Mother’s Day as well!
Like it? Pin it for later!
Jane and Sonja are sisters, moms and lifelong craft addicts both living near Toronto, Canada with their families. They share their love of creativity, nature and coastal DIY ideas on their blog Sustain My Craft Habit. They craft and decorate their homes using repurposed and upcycled items and materials found in nature.

I love this project. I’ve made a couple of resin projects in the past and can’t wait to give this one a try for my herb garden!
Thank you so much for coming by Pam and your kind words. We’d love to see your version when you get a chance to make them. 🙂
These are so neat! 🙂 I need to make a whole bunch of these for my garden!
I’d like to invite you to share this at the Farmhouse Friday link party, which is live right now! 🙂 When you link up, I will share it with a direct link back to your post on all my social media, including on the DIY Farmhouse Style Facebook group, which at this writing has 154k+ members. I hope to see you there! 🙂
Michelle @ The Painted Hinge
http://www.thepaintedhinge.com